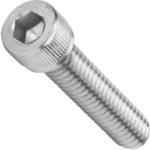
A wood screw’s number describes its nominal diameter, while the second measurement describes its length. A #8 x 1-1/4-inch screw is therefore a size #8 screw that is 1-1/4 inches long. It is not 8 mm wide, and the number does not identify the screwdriver bit. Use the diameter chart below to identify common traditional inch wood-screw sizes, then check the head, drive, thread pattern, and material before ordering a replacement.
This reference covers ordinary numbered wood screws. Proprietary construction, cabinet, pocket-hole, and structural screws can have different geometry. Their manufacturer’s product drawing and installation instructions take priority.
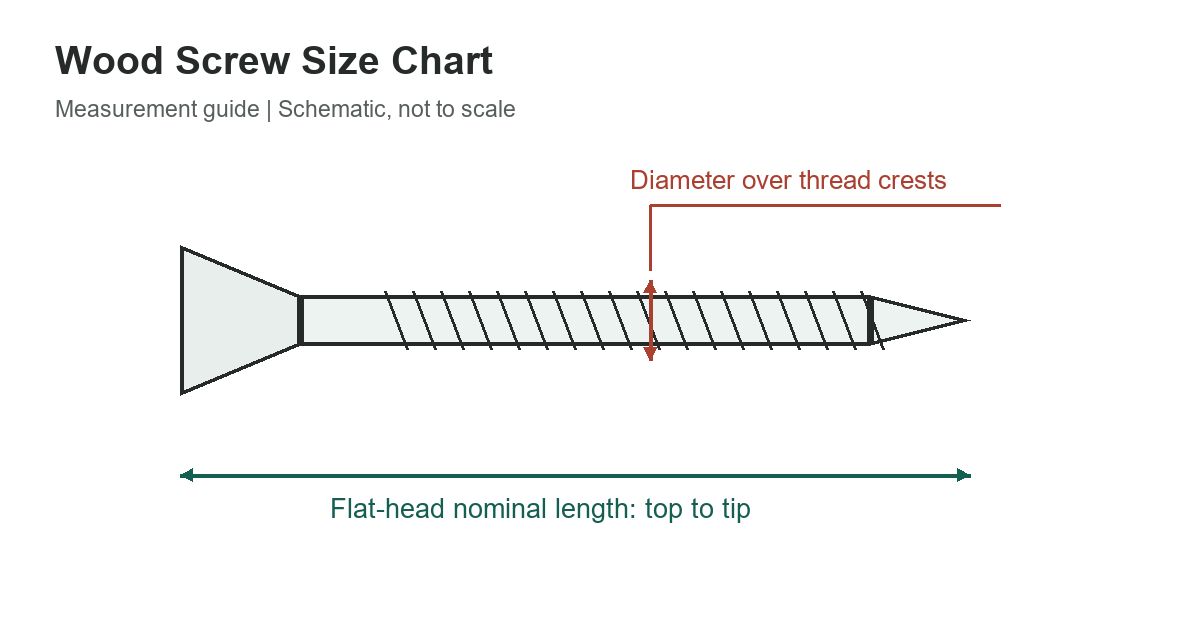
Common wood-screw numbers and nominal diameters
The inch values are basic nominal diameters, not the minimum and maximum dimensions of every manufactured screw. The metric column is the calculated inch value multiplied by 25.4 and rounded to three decimal places. These conversions help identify a screw; they do not make an inch screw interchangeable with a similarly sized metric product.
| #4 | 0.112 | 2.845 |
|---|---|---|
| #6 | 0.138 | 3.505 |
| #8 | 0.164 | 4.166 |
| #10 | 0.190 | 4.826 |
| #12 | 0.216 | 5.486 |
| #14 | 0.242 | 6.147 |
6 rows
Scroll horizontally to view all columns.
For example, a #8 wood screw has a nominal basic diameter of 0.164 inch, or approximately 4.166 mm. A #10 is 0.190 inch, approximately 4.826 mm. Measuring a worn or plated screw with calipers may give a slightly different result. Compare the measurement with its packaging or manufacturer specification rather than forcing the nearest nominal label onto an unidentified fastener.
Measure diameter at the threads, not the head
Place the caliper jaws across the outside crests of the threaded portion. The head is wider than the screw body, and its diameter changes with the head style. A flat head and a pan head can share the same screw number while requiring very different recesses in the workpiece.
The smooth shank can also mislead you. Traditional cut-thread and rolled-thread wood screws do not necessarily have the same relationship between shank diameter and thread diameter. If you are matching a screw that passes through a hinge, bracket, or slotted fitting, inspect that clearance separately. Do not use a head measurement as the nominal screw diameter.
Measure length from the correct starting point
A flat countersunk head is designed to finish flush, so its nominal length normally includes the head. A pan or round head remains above the surface, and its length is normally measured from the underside of the head to the tip. An oval countersunk head has a raised crown; use the supplier’s measurement drawing rather than assuming that the crown follows the rule for a flat head.
Imagine replacing a flush screw in a metal hinge with a pan-head screw carrying the same printed length. The amount of metal below the head, the way the fitting seats, and the exposed profile can all change. Match the head form as well as the length. A screw that prevents a hinge or latch from closing is not an equivalent replacement simply because its diameter fits.
Screw number and screwdriver size are different
The # in a screw diameter and the # in a Phillips bit are separate sizing systems. A #8 screw does not need a #8 Phillips bit. Check the actual recess: Phillips, slotted, square, and Torx-style drives have different engagement shapes. Choose a bit that seats fully without rocking, and replace a damaged bit before it rounds the recess.
Use the screwdriver sizes chart when identifying the drive. Keep loose screws separated by head and drive as well as diameter; a mixed container can hide several incompatible fasteners that look similar from above.
Do not turn the diameter chart into a pilot-hole chart
The outside thread diameter is not a universal pilot-hole diameter. A pilot hole leaves material for the threads to engage, while a clearance hole lets a screw pass through the first part. Wood species, screw design, distance from an edge, and the joint’s purpose all matter. Follow the screw maker’s drilling guidance and test an ordinary nonstructural joint in offcuts of the same material when appropriate.
Stop if the timber splits, the screw twists unusually hard, or the head starts to strip. Driving harder is not a substitute for checking the hole, alignment, and fastener. For brackets carrying substantial loads, overhead fixtures, guardrails, or structural connections, use the specified fastening system and design instructions. This identification chart does not establish withdrawal strength, shear capacity, or a safe tightening torque.
A quick replacement checklist
- Match nominal diameter, head form, drive shape, and length measurement.
- Check whether the original had a smooth shoulder or threads under the head.
- Confirm coating and material suit the location and treated timber, where applicable.
- Check the fitting’s hole and countersink instead of assuming they suit every screw of that number.
- Keep an intact sample and the original product information when a connection is safety-critical.
For larger hex-head wood fasteners, start with the bolt and wrench-size reference. For general workshop measurement references, browse the size-chart library.
Dimensions and measurement references
AFT Fasteners’ wood-screw specifications distinguish basic diameter from manufacturing limits. Bolt Depot’s fastener-notation guide explains how diameter, head, and length appear in product descriptions. Check the drawing for the exact screw when dimensions affect fit.