Rockwell hardness is an indentation test result, not a material name or a universal conversion to strength. The right scale depends on the expected hardness, indenter, force, specimen geometry and governing material specification. This guide helps narrow the test route; it does not assign a scale from an alloy family alone.
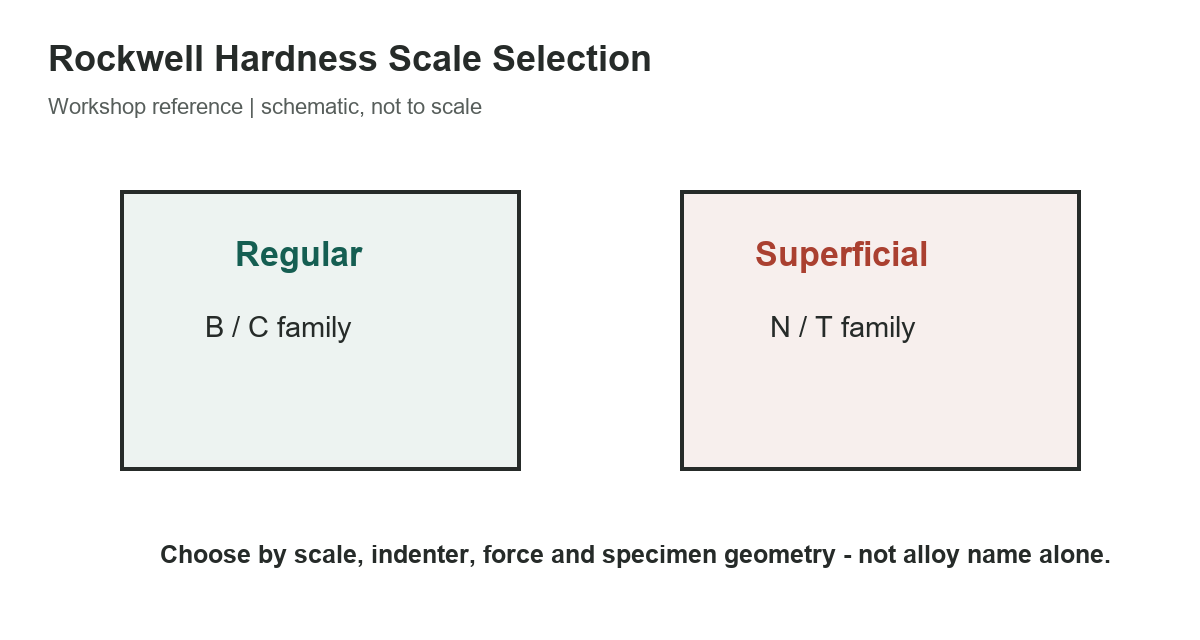
Choose a test route, then verify the exact scale
Use the table to frame a conversation with the testing lab or quality engineer. A scale label such as HRB, HRC, HR15N or HR30T identifies a specific test setup; changing the indenter or force changes the measurement system. ASTM E18 covers regular and superficial Rockwell methods for metallic materials, while ASTM E10 covers Brinell and ASTM E110 covers portable Rockwell and Brinell methods.
[gs_table id=”10975″]
Regular and superficial Rockwell are different test setups
Regular Rockwell scales are commonly encountered as B and C on drawings and inspection reports. Superficial Rockwell scales use lower test forces than regular Rockwell and include N and T scale families. That makes superficial testing a possible route for thinner or more surface-sensitive specimens, but it does not waive minimum-thickness, backing, spacing or surface requirements. Select the exact scale in the governing method rather than treating “superficial” as a universal thin-sheet correction.
The B and C letters do not tell the whole story. The chosen scale pairs a prescribed indenter and force with a hardness range and material context. Before testing, identify the product specification, expected range and any customer requirement. The instrument must have the correct, verified indenter and load system; changing scales after a result is recorded can make the report incomparable.
Check specimen geometry and preparation
Hardness depends on the test surface and the support below it. A thin coupon can flex or transmit the indentation to an anvil; a curved surface can require a correction; a rough, decarburized, coated or work-hardened surface may not represent the underlying material. ASTM E18 includes guidance for minimum test-piece thickness and correction of results on convex cylindrical surfaces. Follow the applicable procedure rather than applying a homemade correction.
Leave sufficient distance between impressions and from edges so one indentation does not influence another. Keep the test surface clean, flat where the method requires it, and perpendicular to the indenter. Remove scale or coatings only when the specification permits and when preparation will not alter the material condition being evaluated. Record the exact location and preparation if a result could vary across a part.
When another method may fit better
Brinell creates a larger impression than many Rockwell setups and can be useful where a broader sample of a metallic surface is desired, provided the material, dimensions and test conditions meet ASTM E10. It is not automatically better for castings or heterogeneous materials; use the material specification and qualified laboratory procedure to determine suitability.
Portable testers can help with large components or installed equipment, but portability alone does not guarantee that results match a bench test. ASTM E110 defines requirements for portable Rockwell and Brinell instruments that meet the method. Validate the device, surface, access and any conversion or correlation method. If the device cannot meet the applicable verification requirements, results may require a different method or supporting validation.
Report the scale, not just a number
A useful inspection record includes the hardness value and scale, method and standard revision, part and location, instrument identification, surface condition, test direction when relevant, and any correction or conversion applied. Do not report “hardness 62” without its scale. A number on one scale is not directly interchangeable with a number on another scale.
Conversion charts are estimates for specific material classes and ranges; they are not new measurements. ASTM E18 discusses correlations and their limitations, and standards do not make a converted value equivalent to a direct test. Use the scale required by the drawing or material specification whenever possible. Escalate ambiguous requirements before accepting or rejecting a part.
Simple selection sequence
First identify the material and the applicable product or acceptance specification. Next check thickness, shape, access, surface condition and expected hardness. Select a permitted test method and exact scale, confirm that the instrument and indenter are verified, and prepare the location. Make the required number of impressions and record scale-specific results exactly as the procedure requires. If these checks cannot be met, consult the testing lab or responsible engineer before using an alternate scale.
Related references: exact inch-to-metric length relationships, rose chucking reamer dimensions, and ribbed-neck bolt dimensions. Each covers a separate shop-reference task.
Sources and scope
Current method scope is listed by ASTM E18-25, ASTM E10-23 and ASTM E110-14(2023). The older handbook page was reviewed only to identify the original hardness-scale topic; its material-family mappings are not presented as a modern selection rule.