A hex lag screw is identified by its nominal thread diameter and length, not by the socket that turns its head. For example, a conventional 3/8-inch hex lag screw commonly takes a 9/16-inch wrench or socket. The diameter, across-flats head measurement, thread engagement, and length each answer a different question. Check all of them before replacing a fastener in timber or ordering screws for a bracket.
This page explains common identification measurements. It does not calculate a connection’s capacity or prescribe a universal pilot hole or torque. Structural, overhead, and safety-critical connections need the specified fastening system and installation requirements.
Selected hex lag screw sizes
The table lists selected common nominal sizes and conventional hex head wrench openings. The millimeter values are calculated conversions of the nominal screw diameter, not substitutes for inch fasteners. Special heads, proprietary products, and damaged screws may differ; verify the exact product drawing and physical head.
| 3/8 | 9.525 | 9/16 |
|---|---|---|
| 1/2 | 12.700 | 3/4 |
| 5/8 | 15.875 | 15/16 |
| 3/4 | 19.050 | 1-1/8 |
4 rows
Scroll horizontally to view all columns.
Choose the fastener diameter for the designed connection, then choose the socket for its head. Do not select a larger screw merely because you already own that socket. Conversely, a loose socket can round a head even when the screw itself is the correct diameter for the connection.
Lag bolt or lag screw?
Retailers often use the name lag bolt for a large wood-threaded screw with a hex head. The common terminology does not make it interchangeable with a machine bolt and nut. The coarse wood thread engages the receiving material differently from a machine thread. Identify the actual fastener rather than relying on the name printed on a shelf label.
Also distinguish ordinary hex lag screws from engineered structural wood screws. A structural screw may have a different head, shank, thread pattern, coating, and approved installation method. Similar diameter and length are not enough to establish equivalence. Use the replacement named in the design, hardware instructions, or manufacturer approval.
How to measure an existing lag screw
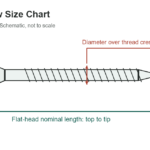
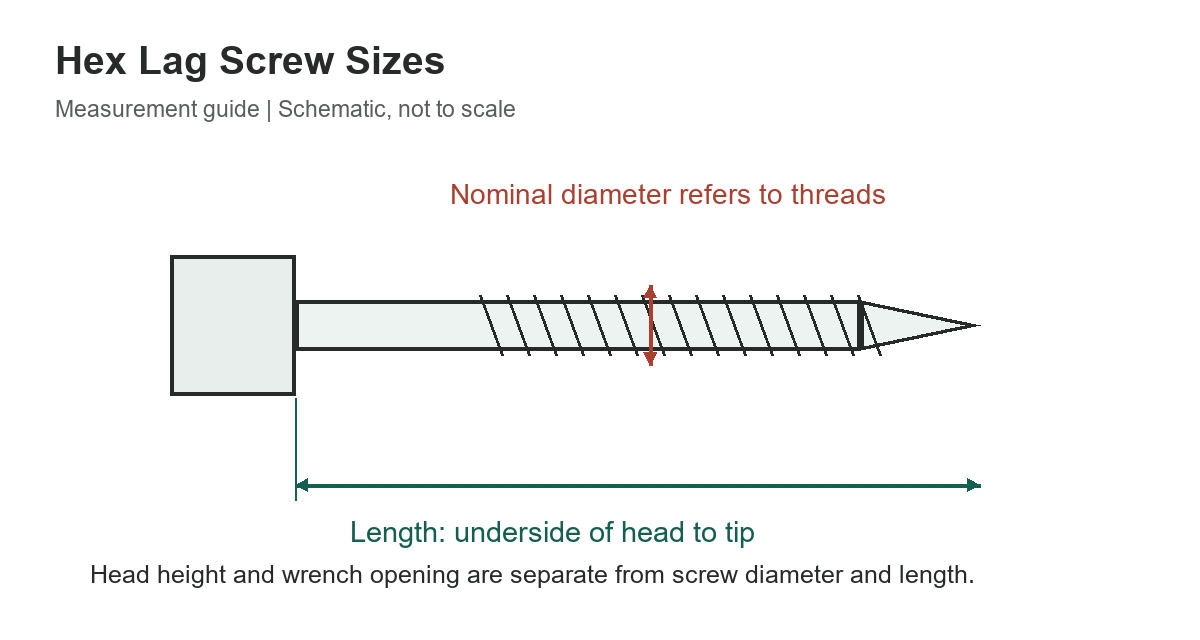
With the screw removed from service where it is safe and appropriate to do so, measure across the outside thread crests for its approximate major diameter. Keep the caliper square to the screw axis. A reading taken at the point, between threads, or across the smooth shoulder can give a different result and should not be treated as the nominal thread diameter.
Measure conventional hex lag screw length from the underside bearing face of the head to the end of the point. Do not include the height of the hex head. Record any washer separately because it occupies part of the assembled length but is not part of the screw’s nominal length.
Finally, measure across opposite flat faces of the head to identify the wrench opening. The corner-to-corner dimension is larger and is not the nominal socket size. The broader bolt chart with wrench sizes compares lag, ordinary hex, and other head patterns.
Nominal length is not useful thread engagement
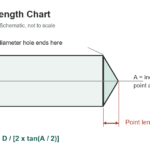
The thickness of a bracket, washer, spacer, and first piece of timber all reduce the length reaching the receiving member. A smooth shoulder may also extend into the joint. The pointed end is not equivalent to the same length of fully formed thread. Determine the connection’s required effective penetration from its design or installation instructions.
For a simple layout example, a 3-inch screw passing through a 1-inch first piece and a 1/8-inch bracket has 1-7/8 inches remaining beyond those two parts before considering a washer, gaps, the point, or any unthreaded portion. That subtraction describes the geometry only. It does not establish adequate penetration or a permitted load.
Portland Bolt notes that standard and nonstandard lag screws can have different thread lengths. Fully threaded and partially threaded screws of the same nominal diameter and overall length can therefore behave differently in a particular assembly. Check the actual thread extent instead of assuming every screw in a bin is identical.
Pilot holes and installation torque need their own guidance
A general diameter chart cannot determine the correct pilot hole for every wood species and joint. Material, grain orientation, edge distance, fastener design, and load requirements all matter. Follow the controlling installation instructions. Enlarging a hole simply because a screw is difficult to drive can reduce thread engagement; forcing the screw can split timber or damage the fastener.
Likewise, a machine-bolt torque table is not a lag-screw installation schedule. Wood compression, friction, coatings, and the specific connection affect the result. Stop if the wood splits, the head deforms, or the screw turns without developing the intended connection. Investigate the cause instead of continuing to tighten.
Check more than dimensions when replacing one
- Match the specified fastener type, diameter, length, and thread extent.
- Confirm the head seats properly on the fitting or specified washer.
- Check material and coating compatibility with the environment and timber treatment.
- Inspect the existing timber and hole for splitting, decay, or damage.
- Use the connection designer’s replacement requirements for load-bearing hardware.
The SAE wrench-size guide can help organize tools, and the size-chart library contains related measurement references.
Fastener references
Portland Bolt’s hex lag screw reference covers standard dimensional features and nonstandard products. Bolt Depot’s documented 3/8-inch hex lag screw distinguishes the 3/8-inch nominal diameter from its 9/16-inch head width. Always use the specific product and connection documentation where fit or capacity matters.