There is no universal concrete thickness for a 2-post car lift. The exact lift model controls the minimum slab thickness, compressive strength, reinforcement, curing age, anchor spacing, crack and joint clearance, and any regional or seismic requirements. A common “4-inch slab is enough” rule can be unsafe because some lifts require more than 6 or 8 inches, and a slab can be thick enough but still unsuitable because of cracks, joints, weak concrete, unknown reinforcement, or post-tension cables.
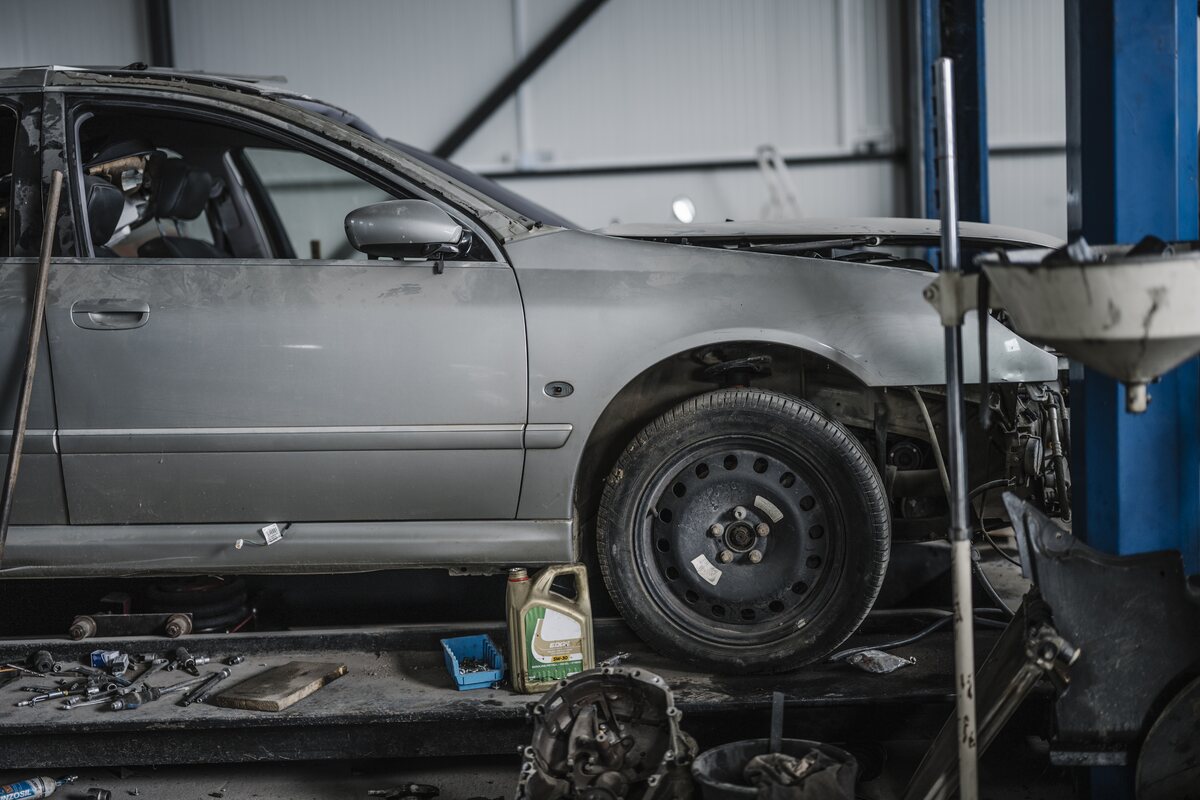
Vehicle lift photograph by Shixart1985, Wikimedia Commons, CC BY 2.0; reused as a general lift-planning reference.
Quick answer
Use the installation manual for the exact 2-post lift model as the controlling requirement. Treat the minimum thickness as one gate, not the complete approval. Before ordering, confirm the slab’s thickness, concrete strength, age, reinforcement, level, crack condition, anchor and edge clearances, and the presence of post-tensioning or embedded services.
The difference between current model examples is substantial. BendPak’s published requirements list 4.25 inches for XPR-9 and XPR-10 series, 6 inches for XPR-12 series, and 8 inches for XPR-15/18 series. The same published table calls for 3,000 PSI concrete cured for at least 28 days and model-specific reinforcement and spacing. Rotary’s support guidance uses a general 5-inch and 3,000-PSI rule for many lifts but still directs owners to confirm the exact model manual. These examples are not interchangeable rules.
Why a 2-post lift loads the slab differently
A 2-post lift concentrates vehicle weight and lifting forces at two narrow post footprints. Each post transfers anchor tension, shear, and overturning forces into the concrete around its baseplate. The load is not spread across long runways in the same way as a drive-on 4-post lift.
The slab must resist more than the static vehicle weight. The post, arms, adapters, vehicle position, lifting height, anchor pattern, concrete strength, and dynamic movement all affect the installation. A crack running through an anchor group, an expansion joint near a post, or a thin section over a void can reduce the available capacity even when a tape measure shows the required thickness.
Current model examples
These examples show why the exact manual matters. They are planning references, not permission to install a lift on a similar-looking slab.
| Manufacturer/model or series | Lift capacity | Minimum slab thickness | Concrete strength and cure | Anchor, edge, or joint notes | Source/manual date |
|---|---|---|---|---|---|
| BendPak XPR-9 series | 9,000 lb | 4.25 in (108 mm) | 3,000 PSI; minimum 28-day cure | Do not install on cracked or defective concrete; anchor clearance and exact layout follow the manual | XPR-9 manual, Rev. D4, January 2024 |
| BendPak XPR-10S series | 10,000 lb | 4.25 in | 3,000 PSI; minimum 28-day cure | Anchors must be more than 6 in from cracks, expansion joints, or a wall; level concrete required | XPR-10S manual, Rev. E1, March 2021 |
| BendPak XPR-12 series | 12,000 lb | 6 in | 3,000 PSI; minimum 28-day cure | Published foundation table calls for #6 rebar at 10-inch spacing; verify the exact model manual | BendPak slab requirements, Feb. 2025 |
| BendPak XPR-15/18 series | 15,000–18,000 lb | 8 in | 3,000 PSI; minimum 28-day cure | Published foundation table calls for #6 rebar at 10-inch spacing; higher capacity does not permit a thinner slab | BendPak slab requirements, Feb. 2025 |
| Rotary two-post guidance | Model dependent | General guidance: 5 in | General guidance: 3,000 PSI | Rotary says special requirements may apply; confirm the exact lift manual and local conditions | Rotary concrete FAQ |
The BendPak foundation table also lists series-specific reinforcement and spacing. A row from a general table cannot override a newer model manual, a local building requirement, a seismic design condition, or a professional structural recommendation.
What to verify before ordering
Slab thickness and construction
Find the plans, construction records, or original concrete specification. Measure at more than one location if the slab may have a thickened edge, repair patch, trench, step, or variation in elevation. A measurement near a garage door threshold does not prove the thickness in the lift bay.
Ask whether the floor is a slab-on-grade, a suspended or elevated slab, a basement slab, or a slab over a void. A slab over a basement or crawl space may require structural review even if its measured thickness matches the lift manual. Do not anchor a 2-post lift into asphalt, loose fill, masonry, a floating topping, or an unknown surface.
Concrete strength and age
Thickness and strength are separate requirements. The model may require a minimum compressive strength such as 3,000 PSI and a minimum curing period such as 28 days. New concrete can look hard while continuing to gain strength. Obtain the mix and test documentation when available, then follow the manual’s cure requirement.
Do not use a home rebound reading, a surface appearance, or a general contractor’s guess as a substitute for the manufacturer’s requirement. If the concrete history is unknown, ask a qualified professional how to verify it without weakening the anchor zone.
Reinforcement and anchor spacing
Reinforcement can improve slab performance, but the lift manual may specify a bar size and grid spacing. Locate reinforcement before drilling and keep anchors away from cracks, control joints, expansion joints, slab edges, and other openings by the distances stated in the manual.
Do not move a post a few inches to avoid a joint without rechecking the bay, arm reach, vehicle balance, ceiling clearance, and anchor layout. A different position can place an anchor near an edge or a floor penetration.
Cracks, joints, and defects
Mark every crack, joint, patch, drain, trench, anchor, and area of spalling in the planned footprint. A hairline crack and a moving structural crack are not the same condition, and a control joint is not an acceptable anchor location merely because it looks clean.
BendPak’s XPR-10S manual explicitly requires anchors to be more than 6 inches from cracks, expansion joints, or a wall and says not to install on cracked or defective concrete. Treat that as a model-specific example, not a universal distance for every lift.
Post-tension slabs: stop before drilling
Post-tension cables can be under high stored tension. Drilling into one can cause severe injury, structural damage, or both. A garage may contain a post-tension slab even when there is no visible warning at the planned lift position.
Look for construction records, stamped plans, warning signs, cable-end hardware, or building documentation. Use qualified locating and scanning services when appropriate. Do not rely on a metal detector alone, and do not begin exploratory drilling to “see what is there.” If the slab type cannot be confirmed, pause the lift project until a qualified professional provides a safe anchor plan.
The same stop condition applies to radiant floor heating, electrical conduit, plumbing, embedded drains, and other concealed services. The lift layout must avoid them while preserving the exact anchor and edge clearances.
How to verify an existing slab
Use a staged process:
- Read the exact lift manual and save its revision date.
- Mark the required post footprints, baseplates, anchor groups, cracks, joints, walls, drains, and obstructions on a scaled floor plan.
- Gather construction drawings, concrete tickets, testing reports, and information about repairs or additions.
- Confirm the slab type and hidden-service risk before any drilling.
- Have a qualified contractor or structural professional assess thickness, condition, strength, reinforcement, and anchor locations when records are incomplete.
- Document the approved layout, anchor type, hole depth, torque, cure time, and inspection requirements.
Core drilling or a test hole can be useful only when the professional selects the location and method. A test that damages the intended anchor zone or misses a thickened section does not establish that the entire bay is suitable.
When the existing slab is not adequate
Do not solve an inadequate slab by using longer anchors, reducing the lift capacity, moving one post onto a different surface, or adding a thin topping. Those changes can leave the base material or anchor group unsuitable.
The correct path may be a new engineered footing, a properly designed thickened slab, a different lift style, or a professional installation in another bay. The repair design must account for soil, drainage, frost, reinforcement, slab isolation, local code, post placement, and the exact manufacturer’s anchor requirements. Have the design reviewed before concrete is placed.
Certification and local approval
For residential installations, check the authority having jurisdiction and the current code path. The Automotive Lift Institute explains that the 2024 International Residential Code requires residential automotive lifts to be listed and labelled to ANSI/ALI ALCTV, with ALI Gold label and directory listing as the way to verify certification. Certification is model-specific; one certified model does not make every lift from the manufacturer certified.
Also check whether the local inspector, insurer, condo board, or municipality requires an ALI-certified model, permit, inspection, or professional installation. Follow the lift listing, the current manual, and the local authority’s requirements together.
Pre-order inspection checklist
- Exact manufacturer, model, capacity, and manual revision identified.
- ALI certification checked for that model when required.
- Slab type identified as slab-on-grade or reviewed by a professional if elevated.
- Thickness verified at the post locations.
- Concrete strength and cure age meet the manual.
- Reinforcement and post-tension status verified before drilling.
- Cracks, joints, walls, drains, and embedded systems mapped.
- Anchor edge and joint clearances confirmed.
- Floor is level within the model’s stated tolerance.
- New footing or slab design prepared if the existing concrete fails any requirement.
- Local permit, inspection, and insurance requirements checked.
For related planning, compare 2-post versus 4-post car lifts, use the car-lift ceiling-height guide, and review GarageSanctum’s best car lifts for a home garage. These pages support planning; the exact installation manual controls the slab decision.
Sources and method notes
Model examples were checked against the BendPak XPR-9 manual, BendPak XPR-10S manual, BendPak 2025 slab and footing requirements, Rotary’s concrete FAQ, and Automotive Lift Institute residential/code guidance. Requirements can change by model revision and jurisdiction. Do not install a lift based only on this summary.