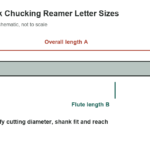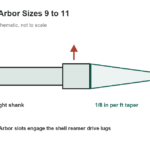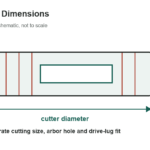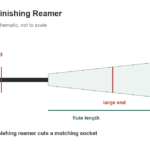
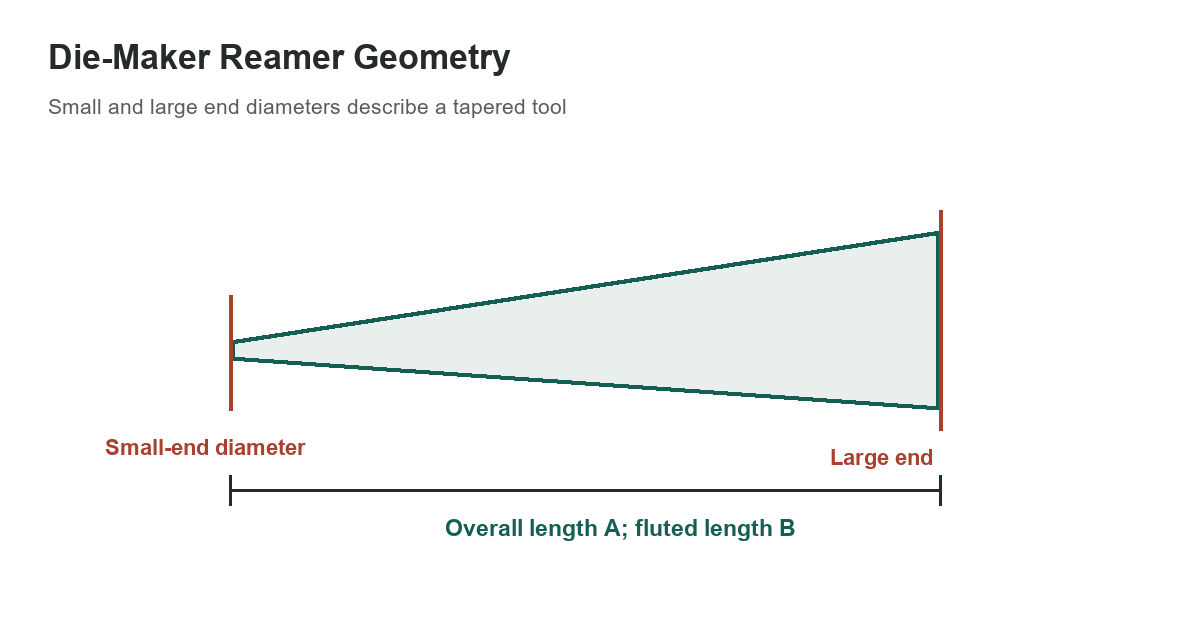
This selected chart is for Gammons helical die-maker reamers in Schedule D1, with a 0.013-inch-per-inch taper. The catalog identifies A as overall length and B as flute length. Size 3/A is distinct from the separate D2-series sizes such as 5AA; always match the schedule and tool drawing before ordering or inspection.
[gs_table id=”11201″]
Letter sizes identify this reamer series
The letters in this table belong to the die-maker reamer series. They are not drill-letter sizes and should not be used to infer a drill diameter. Similar size labels may appear in other cutting-tool systems, but their dimensions and purpose can differ. Identify the tool family and standard before selecting a replacement or specifying a finished hole.
Small-end and large-end diameters, flute length and overall length are nominal catalog dimensions, not inspection tolerances. Confirm the exact part number, taper schedule, material and current drawing with the supplier before specifying a tool.
When comparing two tools, align their measuring datums before comparing lengths. One supplier may report overall length from the end of the shank, while another drawing may label a flute or cutting length separately. Verify whether dimensions include a tang, reduced section or other feature. A difference that looks small in a summary may change how much of the cutting edge can reach the work or how much support remains in the holder.
Use taper geometry with the workpiece
For a tapered reamer, insertion depth changes the diameter presented to the hole. A tool can therefore fit loosely near the small end yet bind as it advances. Check the required finished diameter, taper, engagement length and any stop or seating condition as a coordinated set. Do not treat the large-end diameter alone as the hole size that will result.
Hole preparation matters. A pilot hole that is too small can overload the tool; one that is too large can leave insufficient stock for a clean finishing pass. The correct allowance depends on the work material, reamer geometry, machine rigidity and finish requirement. Use the tool maker’s application guidance and a process trial where appropriate, rather than deriving a universal allowance from the selected rows.
Distinguish nearby reamer types
These dimensions apply only to the named die-maker series. They are not interchangeable with straight-flute finishing reamers, chucking reamers or Morse-taper shank tools. For a different taper-tool family, compare the taper-shank reamer selection guide and the Morse-taper finishing reamer dimensions. The Brown & Sharpe taper reamer chart covers another family and should not be substituted for this one.
Confirm the actual tool before machining
Match the marking, part number, material and taper to the intended operation. Check shank compatibility and available reach independently from cutting geometry. Measure the prepared hole and tool using the specified method, then verify the finished result with suitable inspection equipment. If a dimension is near a tolerance limit, use the original standard or controlled drawing rather than values rounded for a web table.
For ordering or inspection, use the complete Gammons Schedule D1 catalog entry and the drawing for the specific reamer.
Dimensions: Gammons helical die-maker reamer catalog, Schedule D1.