Quick answer: To remove an LED light cover safely, turn the power off first, support the cover with one hand, then identify how it is held: twist-off glass, center nut/finial, side screws, spring clips, snap tabs, or a sliding diffuser. Do not pry hard against glass or drywall. If the cover will not move, look for hidden screws, clips, paint buildup, or a locking notch before forcing it.
Safety And Tools
For simple cleaning, switching off the wall switch may be enough for some people, but the safer habit is to turn off the breaker before removing a cover from a ceiling fixture, recessed trim, bathroom light, garage light, or any fixture where your fingers may touch metal parts near wiring. Let hot bulbs or fixtures cool before handling them.
| Tool | Why it helps | Avoid |
|---|---|---|
| Step ladder | Keeps both hands free at ceiling height | Standing on chairs or boxes |
| Microfiber cloth or gloves | Better grip and fewer fingerprints | Oily hands on glass or acrylic |
| Small screwdriver | Loosens visible screws or tabs | Digging into drywall or cracking plastic |
| Painter’s tape | Marks cover orientation before removal | Permanent marker on visible trim |
| Non-contact voltage tester | Useful if the cover exposes wiring or trim hardware | Assuming a switch made the fixture safe |
Identify The Cover Type First
Most broken light covers happen because someone pulls when they should twist, twists when they should loosen a nut, or pries against a hidden spring clip. Look around the entire rim before applying force.
| Cover type | How it usually releases | Common clue |
|---|---|---|
| Twist-off dome or glass | Support and rotate counterclockwise | No visible screws, shallow notches or bayonet slots |
| Center nut or finial | Hold glass, unscrew center cap/nut | Decorative knob in the middle |
| Side screws/thumb screws | Loosen screws while supporting cover | Small screws around rim |
| Spring-clip recessed LED trim | Pull down gently, squeeze springs, unplug if needed | Flat round trim in ceiling |
| Snap-in diffuser | Flex cover slightly or release tabs | Plastic lens on strip/shop light |
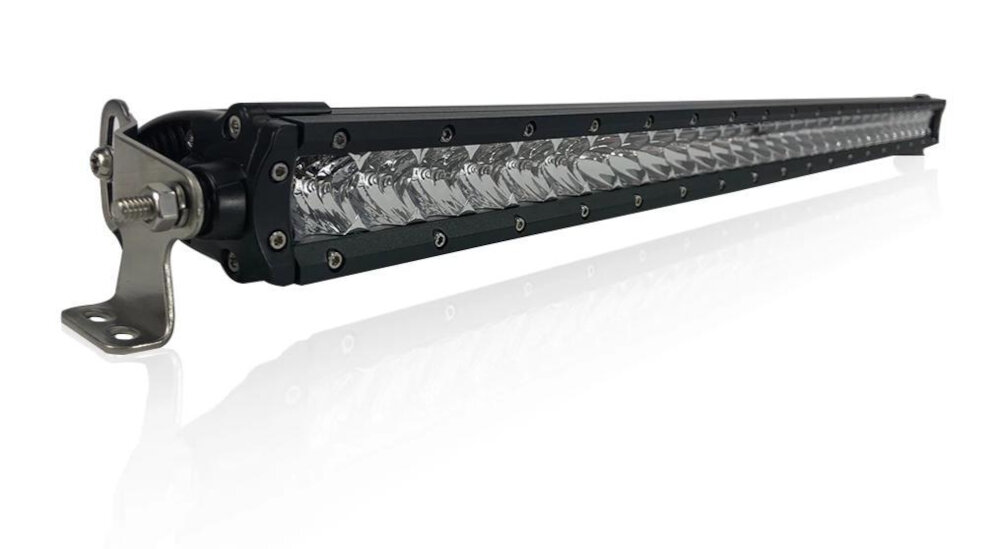
| Sliding tube/strip cover | Remove end cap or slide diffuser out | Long linear fixture with plastic lens |
Step-By-Step Removal
- Turn off power and let the fixture cool.
- Set a stable ladder so your face is not directly under the cover.
- Support the cover with one hand before loosening anything.
- Look for visible screws, center nuts, side tabs, notches, or spring clips.
- Use the matching release method from the table above.
- Lower the cover slowly and place it on a towel or soft surface.
- Clean, replace bulbs/modules if the design allows, then reinstall without overtightening.
Fixture-Specific Tips
| Fixture | Best technique | What can go wrong |
|---|---|---|
| Flush-mount ceiling LED | Try twist first, then look for hidden screws or spring tabs | Paint can glue the rim to ceiling |
| Bathroom vanity LED | Support glass shades, loosen thumb screws evenly | Small set screws can fall into sink |
| Recessed LED trim | Pull down a few inches, then squeeze spring arms | Spring clips can snap back against fingers or drywall |
| Garage/shop LED strip | Remove end cap or release diffuser tabs along the side | Brittle plastic can crack in cold garages |
| Outdoor porch light | Check for corrosion and gasket sticking before twisting | Old glass can bind to the fixture |
If The Cover Is Stuck
Do not keep prying in one spot. Work around the rim gently. Paint, dust, corrosion, and heat can make covers stick. For a twist-off cover, try slight upward pressure while turning. For a painted rim, score the paint line carefully with a utility knife before twisting or pulling. For outdoor covers, check for set screws and corrosion before adding force.
If the cover is glass and flexing, stop. If the fixture moves with the cover, stop. The mount may be loose, and pulling harder can damage wiring or drywall.
Cleaning And Reinstalling
Wash glass covers with mild soap and water, then dry completely before reinstalling. Use a soft cloth on acrylic diffusers because they scratch easily. Do not spray cleaner into the fixture body or onto LED boards. Reinstall covers snugly, not aggressively tight. Overtightening can crack glass or make the next removal harder.
When To Replace The Cover Or Fixture
| Problem | Best fix | Why |
|---|---|---|
| Yellowed acrylic diffuser | Replace diffuser or fixture | Cleaning rarely restores old plastic clarity |
| Cracked glass cover | Replace cover before reuse | Heat and vibration can spread cracks |
| Rusty outdoor screws or rim | Replace hardware or fixture | Corrosion will keep returning if seals fail |
| Loose fixture body | Repair mounting/electrical box | The cover is not the main problem |
| Integrated LED board exposed | Do not touch board; replace fixture if needed | Many integrated fixtures are not serviceable |
Related GarageSanctum Guides
- LED light suddenly stopped working
- How long LED lights last
- LED light fixture lifespan
- LED porch lights blinking
- LED vs regular light bulbs
Source Notes
- Home Depot fixture use/care guide example includes the standard warning to shut off electricity at the fuse or breaker before working on fixture wiring.
- DIY StackExchange recessed trim discussion describes common spring-clip retention on recessed trim rings.
- NFPA electrical safety guidance supports the safety boundary around warm fixtures, burning smells, sparks, and electrical warning signs.