Effortlessly Remove Armada Running Boards with These Quick and Easy Steps
If you’re looking to upgrade your truck’s look or functionality, running boards are a great addition. They not only provide a convenient step to get in and out of your vehicle but also add a sleek and stylish touch to its appearance. However, there may come a time when you want to remove your running boards, whether it’s for maintenance or for a different style upgrade. Removing running boards from your truck can seem like a daunting task, but with the right tools and a little patience, it can be done easily and effortlessly. Fortunately, removing running boards from your truck is a straightforward process that can save you a lot of money in installation fees. By following some simple steps, you can remove your armada running boards quickly and efficiently, without damaging your vehicle. In this article, we’ll guide you step-by-step through the process of removing your armada running boards, no matter the reason for doing so. We’ll also provide you with some tips and tricks to ensure that your truck looks as good as new once the running boards are removed. So, let’s get started!
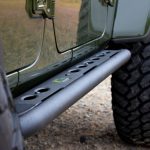
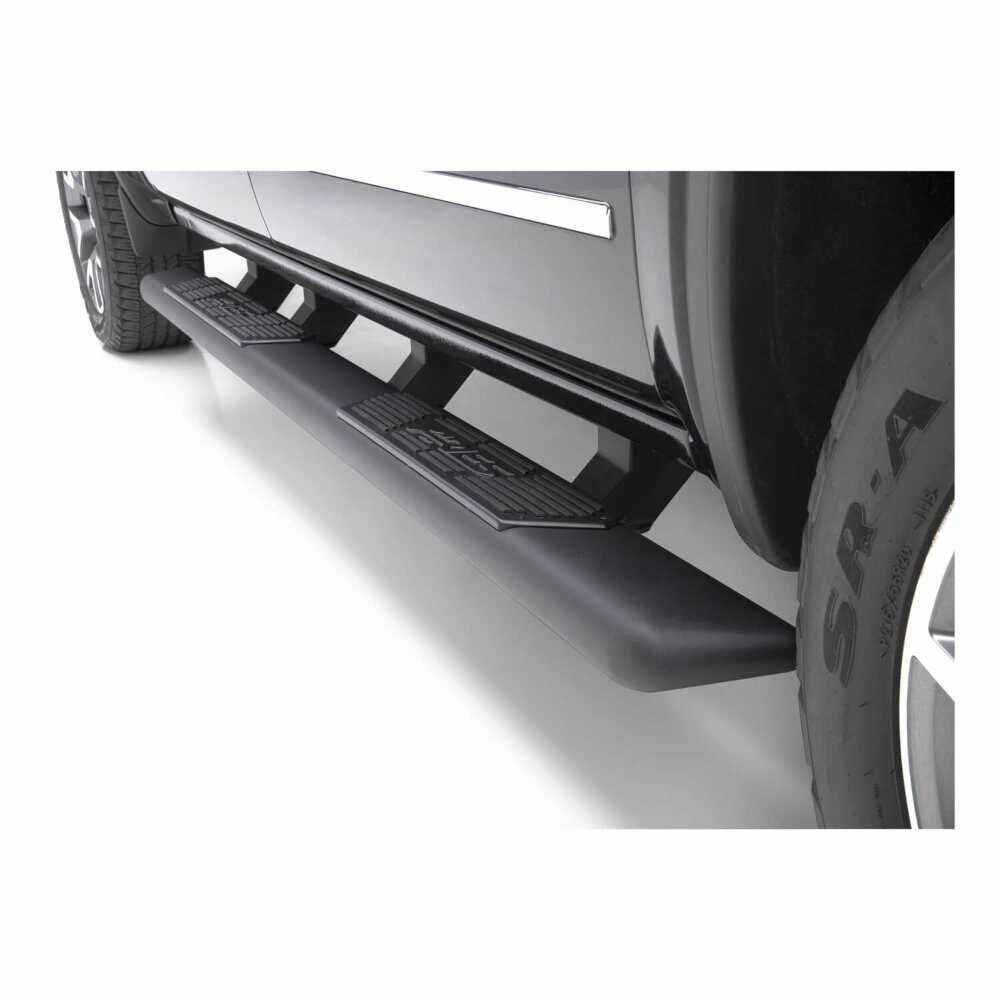
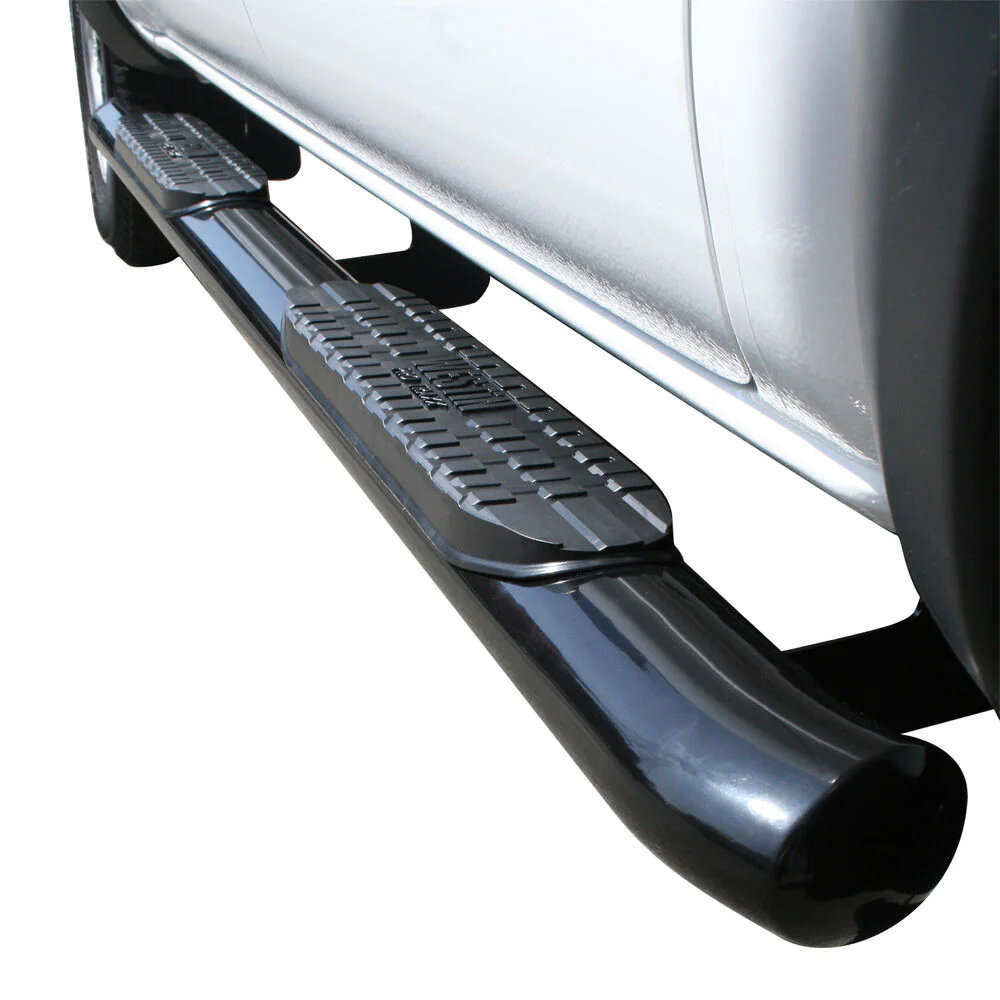
Armada Running Boards are a popular accessory installed on many Nissan Armada SUVs. These running boards provide an additional step for passengers to enter and exit the vehicle, especially helpful for those with mobility issues. However, there are several reasons why one might want to remove the Armada Running Boards. First, they can be cumbersome and reduce ground clearance, making off-road driving more challenging. Additionally, over time, the running boards can become damaged or corroded, decreasing their aesthetic appeal and potentially impacting their functionality. Finally, removing the running boards can make accessing and servicing the underside of the vehicle easier, reducing maintenance costs and increasing safety.
Gather the Necessary Tools
Before you start removing your Armada running boards, it’s essential to gather all the necessary tools. Doing so will ensure that you have everything you need to complete the task quickly and efficiently. First and foremost, you’ll need a socket wrench set with a 10mm socket. This tool is crucial as it will help you remove the bolts that hold the running boards in place. Additionally, you’ll need a pry tool to help you remove the clips that hold the running boards to the vehicle’s frame. A pry tool will come in handy as it will help you remove the running boards without causing damage to your car’s body. Lastly, you’ll need a flat-head screwdriver to help you disconnect any wiring or electrical components that may be attached to the running boards. Once you have gathered all the necessary tools, it’s time to get started. It’s crucial to have everything you need within reach to avoid any delays or frustration during the process. Make sure that the tools are organized and easily accessible. This will allow you to move swiftly and confidently during the removal process. Having all the necessary tools in one place will also ensure that you don’t lose any parts or pieces during the process. Therefore, take the time to gather everything you need before getting started, and you’ll have a smooth and successful running board removal.
If you are planning on removing the running boards from your Armada, you will need a few tools to get the job done. Firstly, you will need a socket set with various sizes to remove the bolts that hold the running boards in place. Additionally, you will need a wrench to assist with the removal process. A pair of pliers will also come in handy to detach any wiring or clips that are connected to the running boards. Finally, a pry bar or flathead screwdriver will be useful to gently pry the running boards away from the vehicle. With these tools on hand, you can easily remove your Armada’s running boards in a quick and hassle-free manner.
The tools required for removing Armada running boards are essential for an effortless and efficient process. A socket wrench set is necessary to remove the bolts that secure the running boards to the vehicle’s frame. A trim removal tool is also needed to release the clips that attach the running boards to the vehicle’s body without causing damage. A flathead screwdriver is essential for prying apart any stubborn clips. Finally, a torque wrench is necessary to ensure that the bolts are properly tightened when reattaching the running boards. Without these tools, the removal of Armada running boards would be a time-consuming and potentially damaging process. However, with the right tools, it can be quick and easy.
Remove the Running Board Brackets
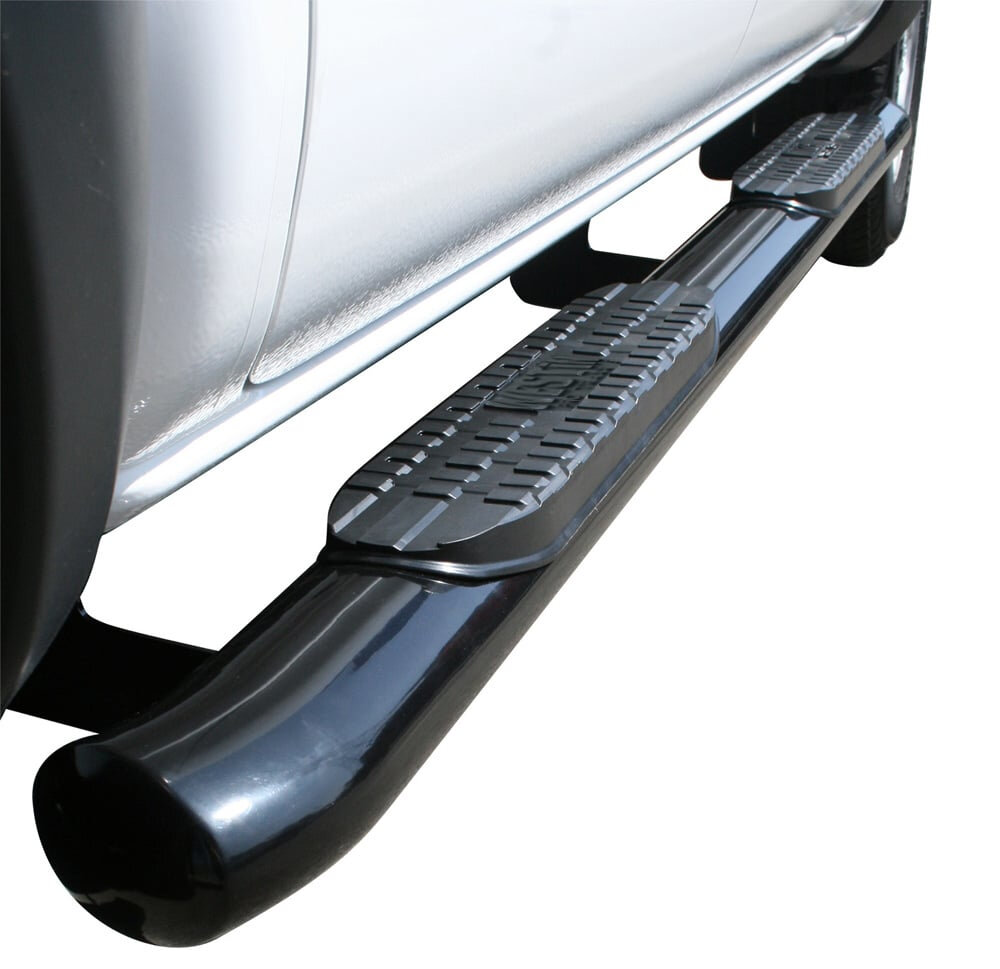
Removing the running board brackets from your Armada can seem like a daunting task. However, with the right tools and steps, it can be done effortlessly. Before beginning, make sure to have a socket wrench set and a pry bar on hand. The first step is to locate the running board brackets underneath your Armada. They are located near the front and back wheels and are connected to the frame of the vehicle. Use the socket wrench set to loosen the bolts that are securing the brackets to the frame. Once the bolts are loose, use the pry bar to gently pry the brackets away from the frame. Be careful not to damage any surrounding parts of the vehicle during this process. Repeat this step for the remaining brackets until all have been removed. Removing the running board brackets will not only give your Armada a sleek and modern look, but it will also improve the functionality of your vehicle. By removing the brackets, you are eliminating unnecessary weight and reducing the chances of damage to the vehicle during off-road adventures. Additionally, removing the brackets will make it easier to clean the underside of your Armada. With these quick and easy steps, you can effortlessly remove the running board brackets from your Armada and reap the benefits of a more efficient and stylish vehicle.
If you want to remove the running board brackets of your Armada, there are some simple steps that you can follow to make the process quick and easy. First, you need to locate the brackets, which are usually located underneath the vehicle. You can use a flashlight or a lift to help you see them better. Once you have located them, you can use a socket wrench to unscrew them from the vehicle. Make sure to keep track of the bolts and washers that you remove, as you will need them later when you reinstall the brackets. Once the brackets are removed, you can easily take off the running boards. This process is simple and straightforward, and can be done in just a few minutes with the right tools and a little bit of know-how.
When it comes to removing Armada running boards, there’s no need to panic or feel overwhelmed. The process is actually quite simple, and can be completed in just a few quick steps. To get started, you’ll want to gather all the necessary tools, including a socket wrench, pliers, and a trim removal tool. Next, locate the mounting brackets under the running boards, and use the socket wrench to remove the bolts holding them in place. Then, gently pry the running board away from the brackets using the trim removal tool and pliers, being careful not to damage any of the surrounding trim or body of the vehicle. Repeat this process on the other side, and voila! Your Armada running boards are now removed and ready for replacement or storage.
Removing the Armada running boards may sound like a daunting task, but with these simple steps, you can do it effortlessly. First, locate the bolts that secure the running boards in place. Use a socket wrench to remove the bolts. Once all bolts are removed, gently pull the running board away from the vehicle. Be careful not to damage any wiring or clips. Store the running board in a safe, dry location until you are ready to reattach it. With these quick and easy steps, you can remove the running boards in no time.
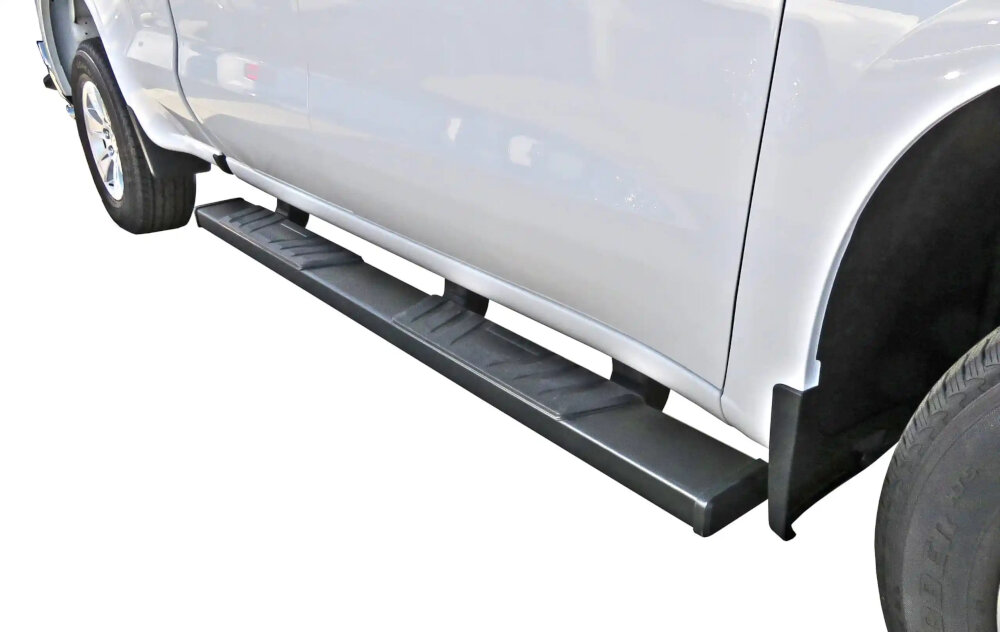
Remove the Running Board

The running boards of a Nissan Armada are a convenient accessory to have on your vehicle, but they can get in the way when you need to perform maintenance or repair work. Luckily, removing them is a straightforward process that can be done with just a few tools and some elbow grease. By following these quick and easy steps, you can effortlessly remove your Armada’s running boards in no time. To begin, locate the mounting brackets that attach the running board to the vehicle’s frame. You can usually find these underneath the board itself, along the length of the vehicle. Use a socket wrench or a pair of pliers to remove the bolts that secure the bracket to the frame. Be sure to keep track of any nuts or washers that come off with the bolts. Once the brackets are removed, gently slide the running board towards the rear of the vehicle until it is free from the mounting brackets. Repeat this process for the other side of the vehicle, and you’re done! Removing the running boards not only makes maintenance and repairs easier, but it can also give your Armada a sleeker, more streamlined appearance.
If you’re looking to remove the running boards on your Armada, follow these simple steps to do it with ease. First, locate the bolts that are holding the running board in place and use a socket wrench to loosen them. Then, carefully slide the running board out of the brackets that are secured to the frame of the vehicle. You may need to use a pry bar or rubber mallet to gently loosen the running board if it’s stuck. Once the running board is removed, use a wire brush to clean any dirt or debris from the brackets and frame. Finally, replace the bolts and tighten them securely to ensure that the running board won’t come loose while driving. By following these quick and easy steps, you’ll be able to remove your Armada’s running boards effortlessly.
If you’re looking to remove your Armada running boards, don’t worry; it’s a quick and easy process. Firstly, locate the bolts connecting the running board brackets to the frame of your vehicle. You should be able to see them underneath the running board. Next, using a socket wrench, loosen and remove these bolts. Once all bolts have been removed, you can gently slide the running board off of the brackets. Repeat this process on the other side. It’s important to note that some running boards may have additional brackets or screws, so be sure to consult your owner’s manual before beginning. With these simple steps, you’ll have your Armada running boards removed in no time.
Removing the Armada running boards is a task that requires some effort, but with these quick and easy steps, it can be done effortlessly. The first step is to locate the bolts that hold the running board in place and remove them using a socket wrench. Once the bolts are removed, gently pry the running board away from the vehicle and carefully disconnect any wiring or sensors that may be attached to it. It’s important to make sure that the wiring and sensors are not damaged during the removal process. With these simple steps, you can remove the Armada running boards without any hassle and enjoy a sleeker, more streamlined look for your vehicle.
Clean and Finish
The Clean and Finish step is crucial to ensure that your Armada Running Boards are in top condition before you reinstall them. This step involves removing any excess dirt or grime that may have accumulated on the running boards during use. You can use a gentle soap solution and a soft-bristled brush to scrub away any dirt or stains. Once you have thoroughly cleaned the running boards, make sure to rinse them off with clean water and dry them with a soft cloth. This will help to prevent any water spots or streaks from forming on the surface. After cleaning, it’s also a good idea to inspect the running boards for any signs of damage or wear and tear. If you notice any issues, it’s best to address them before reinstalling the running boards. The Finish step involves applying a protective layer to the running boards to help keep them looking their best. There are several products available that are specifically designed for use on running boards, such as protective sprays or waxes. These products can help to protect the running boards from dirt, grime, and other environmental factors that can cause damage over time. Simply apply the product according to the manufacturer’s instructions, and allow it to dry completely before reinstalling the running boards. With proper cleaning and finishing, your Armada Running Boards will look great and provide reliable performance for years to come.
After removing the running board from your Armada, it’s important to clean and finish the area where it was attached for a seamless look. Begin by using a degreaser to remove any adhesive residue or grime left behind. Once the area is clean and dry, use a rubbing compound to smooth out any scratches or imperfections on the paint. Follow up with a polishing compound to bring back the shine and protect the paint. Finally, apply a wax or sealant to further protect the area from dirt and debris. With these simple steps, your Armada will look as good as new without any signs of the previously attached running board.
If you’re looking for a seamless finish when removing your Armada running boards, there are a few tips to keep in mind. First, make sure to have all the necessary tools on hand and follow the manufacturer’s instructions carefully. It’s also important to take your time and work slowly, being careful not to damage any surrounding areas. Use a clean and sturdy surface to place the running boards on as you remove them, and consider using a protective cover to prevent scratches or dings. Finally, be sure to clean up any debris or leftover materials once the job is complete, leaving the area looking neat and tidy. With these simple tips, you’ll be able to remove your Armada running boards with ease and achieve a seamless finish that looks professional and polished.
If you’re looking to remove the Armada running boards from your vehicle, you’ll be pleased to know it’s a straightforward process that requires only a few simple steps. First, locate the bolts that hold the running boards in place and use a socket wrench to loosen them. Once the bolts are loose, gently pull the running board away from the vehicle and set it aside. Repeat the process for the other side, and you’re done. Remember to store the running boards in a safe and dry place until you’re ready to re-install them. With these quick and easy steps, you can effortlessly remove your Armada running boards and have your vehicle looking just the way you want it.
It cannot be emphasized enough how crucial it is to have the appropriate tools and follow the necessary steps when removing armada running boards. Without the right tools, the task can be frustrating and time-consuming, and you could damage your vehicle in the process. Furthermore, if you do not follow the steps carefully, it could lead to a poorly installed or unsafe running board. To ensure a successful removal, take the time to gather the necessary tools and carefully follow each step in the process. This will not only make the task easier and quicker, but it will also ensure that your vehicle is not damaged, and the running board is installed safely.
Conclusion
In conclusion, removing armada running boards may seem like a daunting task, but with the right steps and tools, it can be done quickly and easily. By following the steps outlined in this article, you can effortlessly remove your armada running boards, whether you’re doing it for maintenance, replacement, or just to switch up the look of your vehicle. Remember to take your time, use caution, and always prioritize safety when working on your car. With these tips and tricks, you’ll be removing your armada running boards like a pro in no time!