Why Your LED Light Suddenly Stopped Working and How to Fix It
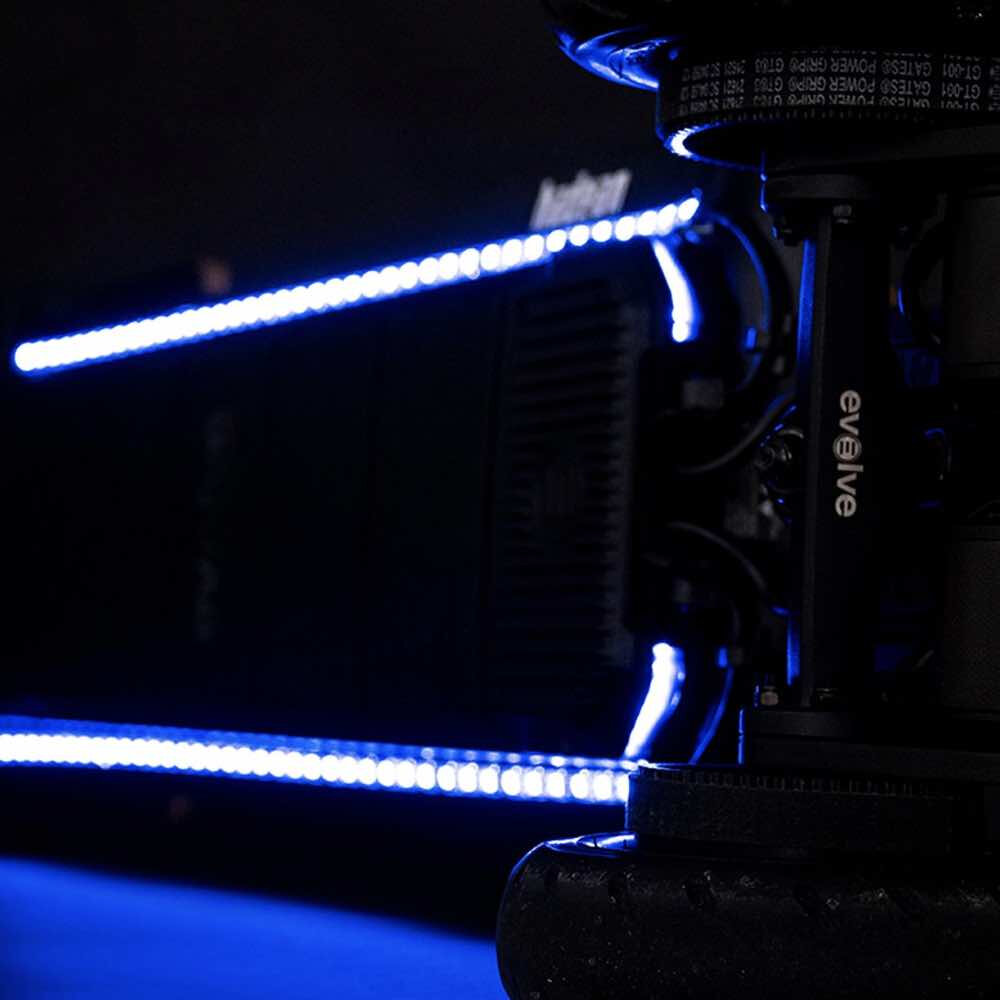
Light-emitting diodes (LEDs) play a vital role in modern lighting solutions. They are highly efficient, durable, and eco-friendly compared to traditional incandescent bulbs. However, even the most advanced LED lights may suddenly stop working for various reasons. If you’ve ever encountered this issue, you know how frustrating it can be, especially if you’re not sure what caused it. Fortunately, there are several reasons why your LED light may have stopped working, and in this article, we’ll explore some common causes and how to fix them. Firstly, LED lights are designed to last for years, but they can still experience failures due to various factors. For instance, power surges, loose connections, and faulty wiring can all cause your LED lights to stop working. Additionally, overheating, aging components, and environmental factors such as humidity or exposure to direct sunlight can also affect your LED lights’ performance. The good news is that you don’t have to be an electrician to fix most of these issues. With a little bit of troubleshooting and some basic tools, you can quickly diagnose and repair your LED light, saving you the frustration and expense of having to buy a new one.
LED lights, or Light Emitting Diodes, are a type of energy-efficient lighting that have become increasingly popular in recent years due to their long lifespan and low energy consumption. Unlike traditional incandescent bulbs, which use a filament to produce light, LED lights use a semiconductor material that emits light when an electric current is passed through it. This makes them more durable and resistant to damage from vibrations or shock. Additionally, LED lights do not emit heat like traditional bulbs do, making them a safer and more environmentally friendly option. However, if your LED light suddenly stops working, it could be due to a variety of reasons, such as a faulty power supply or a damaged circuit board.
LED lights have become increasingly popular and widely used in recent years, and for good reason. Not only are they more energy-efficient and longer-lasting than traditional incandescent bulbs, but they also emit less heat and are generally safer to use. LED lights are also highly versatile in terms of color and brightness, making them ideal for a wide range of applications, from home lighting to commercial signage. Additionally, LED lights are environmentally friendly, as they do not contain harmful materials such as mercury, and can be easily recycled. Overall, the importance of LED lights cannot be overstated, and as their popularity continues to grow, it is important to understand how to properly maintain and troubleshoot them to ensure they continue to function effectively.
LED lights have become increasingly popular because of their energy efficiency and long lifespan. However, these lights can still encounter problems that cause them to stop working. One of the most common reasons for LED lights to stop working is the power supply. LED lights require a constant voltage to function properly, and if the power supply fails, the lights will no longer work. Another common issue is overheating, which can cause the LED lights to burn out prematurely. Other factors that can contribute to LED light failure include faulty wiring, water damage, and poor installation. When LED lights stop working, it’s important to identify the root cause of the problem so that it can be fixed properly.
Loose or Faulty Connections
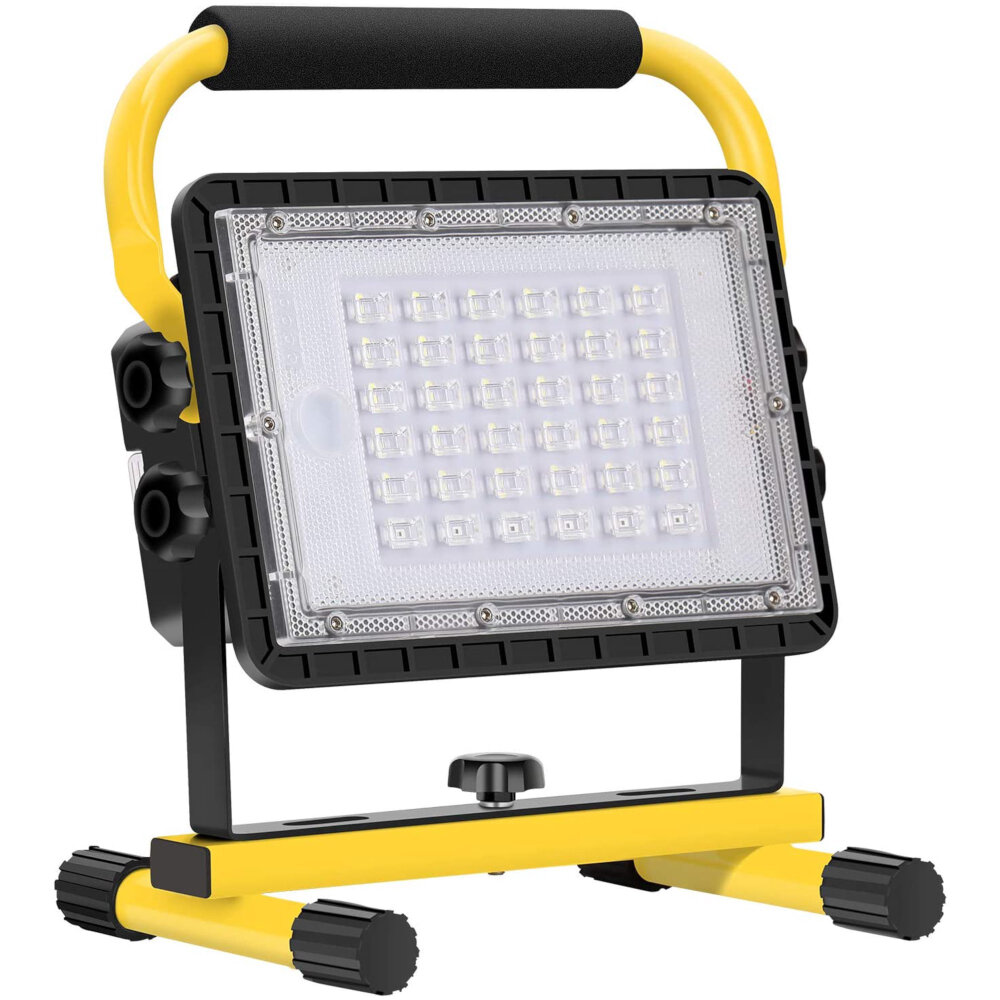
Loose or faulty connections are a common cause of LED lights suddenly stopping working. When the connections between the LED light and its power source are loose or faulty, the electrical current may not be able to flow properly. This can result in the LED light flickering, dimming, or even turning off completely. Loose connections can also cause damage to the LED light over time if left unchecked, leading to costly repairs or replacements. To fix loose or faulty connections, start by turning off the power source to the LED light. Then, inspect the connections between the LED light and its power source. Look for any signs of damage or corrosion, and gently tighten any loose connections. If the connections are severely damaged, they may need to be replaced entirely. Be sure to use the appropriate tools and materials when making any repairs to ensure the safety and functionality of the LED light. Regularly checking and maintaining the connections between your LED light and its power source can help prevent future issues and extend the lifespan of your LED light.
Loose or faulty connections are a common issue that can cause LED lights to suddenly stop working. These connections can occur at various points in the lighting system, including the power source, wiring, or bulb socket. When a connection is loose or faulty, it can interrupt the flow of electricity and prevent the LED light from functioning properly. Some common signs of loose or faulty connections include flickering lights, dimming, or a complete loss of power. To fix the issue, it is essential to identify the location of the faulty connection and ensure that all connections are secure and tight. This may involve tightening screws or connectors or replacing damaged wiring or bulb sockets. By addressing loose or faulty connections, you can restore your LED lights to their full functionality and enjoy steady, reliable illumination once again.
If your LED light has suddenly stopped working, it could be due to loose or faulty connections. To check for loose connections, start by turning off the power to the light and unscrewing the fixture to access the wiring. Inspect the wiring and connections for any signs of wear or damage, such as frayed wires or loose connections. Tighten any loose connections and replace any damaged wiring. To check for faulty connections, use a multimeter to test the voltage at different points in the circuit. If the voltage is not consistent, there may be a faulty connection that needs to be repaired or replaced. Regularly checking and maintaining your LED light’s connections can help prevent sudden failures and prolong the lifespan of your lighting system.
One common reason why LED lights suddenly stop working is due to loose or faulty connections. To fix this issue, the first step is to turn off the power supply to the light. Next, inspect the connections between the light and the power source. If the connections are loose or dirty, clean them using a soft cloth and tighten them back in place. If the connections are damaged, they may need to be replaced entirely. It is important to ensure that all connections are secure and properly tightened to prevent the issue from recurring. Once the connections are fixed, turn the power supply back on and test the light to ensure it is working properly.
Overheating

Overheating is a common issue that can cause LED lights to stop working suddenly. This problem can be caused by a variety of factors, such as insufficient airflow, high ambient temperatures, or using the wrong type of bulb. When an LED light overheats, it can cause damage to the internal components, such as the driver or diodes, leading to failure. It’s important to address this issue promptly to prevent permanent damage to the fixture. To prevent overheating, it’s important to ensure that your LED lights are installed correctly and have proper ventilation. Make sure that the fixture is not obstructed and has sufficient space around it to allow for airflow. Additionally, consider using LED bulbs specifically designed for the fixture you are using. Some bulbs may generate too much heat for the fixture to handle, which can cause overheating. If you suspect that your LED light is overheating, turn it off immediately and let it cool down. If the issue persists, it’s best to consult a professional electrician to diagnose and fix the problem.
Overheating in LED lights can occur due to various reasons such as poor ventilation, high ambient temperatures, or excessive current flow. When LED lights get too hot, it can cause the components to malfunction, leading to sudden failure of the light. This can also result in permanent damage to the LED light, reducing its lifespan significantly. Overheating can be prevented by ensuring proper ventilation and avoiding the use of incompatible components or power sources. Additionally, it is crucial to choose LED lights that are designed to handle the intended environment and application to avoid any malfunctioning or failure.
Overheating is a common issue with LED lights that can lead to failure of the device. To prevent overheating, it is important to ensure proper ventilation and cooling of the LED lights. This can be achieved by installing the lights in a well-ventilated area and avoiding placing them in enclosed spaces or near other heat sources. Additionally, it is important to use LED lights that are designed to handle the required level of heat and power, as using lights that are not suited for the application can cause them to overheat and fail prematurely. Regular maintenance and cleaning of the lights can also help to prevent overheating by removing any dust or debris that may be blocking the airflow. By taking these steps, you can ensure that your LED lights operate efficiently and last for years to come.
LED lights can suddenly stop working due to overheating. Overheating can cause the LED chip to burn out, resulting in a complete failure of the light. To fix overheating in LED lights, you can take several steps. First, ensure that the LED light is not covered, obstructed, or installed in a poorly ventilated area. If this is the case, consider moving the light to a cooler location with better ventilation. Second, check the LED driver or power supply to ensure that it is functioning correctly and providing the correct amount of power to the LED. Finally, you may want to consider installing a heat sink to help dissipate the heat generated by the LED light, which can help prevent overheating and prolong the life of the light.
Power Supply Issues
When it comes to LED lights, power supply issues are a common culprit for sudden failure or malfunctions. A power supply issue can be caused by a variety of factors, such as electrical surges, overloading, or faulty wiring. If the power supply is not providing the necessary voltage or current to the LED light, it may not function properly, or it may not turn on at all. In some cases, the LED light may flicker or emit a dim or uneven light output, indicating an issue with the power supply. To diagnose and fix a power supply issue with an LED light, it’s important to first check the power source and wiring. Make sure the power source is providing the correct voltage and current to the LED light, and check for any loose or damaged wiring that may be affecting the power supply. If the power supply issue is caused by overloading or electrical surges, consider using surge protectors or voltage regulators to protect the LED light and its power supply. In some cases, it may be necessary to replace the power supply or the LED light itself to ensure proper function and prevent further issues.
Power supply issues are a common cause of LED light failure. These issues can arise from a variety of sources, such as electrical surges, faulty wiring, or an overloaded circuit. A sudden power surge can cause the LED light to malfunction, and a faulty wiring connection can prevent the light from receiving adequate power. Overloading the circuit can also cause the LED light to stop working, as the circuit may not be able to handle the amount of power required to run the light. To address power supply issues, it is important to identify the source of the problem and take appropriate steps to rectify it. This may include replacing faulty wiring, installing a surge protector, or redistributing the load on the circuit.
If your LED light suddenly stopped working, it could be due to power supply issues. To check for power supply issues, start by unplugging the light and plugging it into a different outlet to see if it turns on. If it does, then there is an issue with the original outlet. If it doesn’t turn on, use a multimeter to test the voltage output of the power supply. Check for any loose connections or damaged wiring. Additionally, check if the power supply is compatible with the LED light and if it can handle the required wattage. If the issue persists, it may be necessary to replace the power supply with a compatible one.
If your LED light has suddenly stopped working, the issue might be related to the power supply. To fix it, start by checking if the power source is working properly by using a voltage meter. If the voltage reading is low or zero, the problem might be with the power outlet or the electrical system. Check for any loose connections or damaged wires and fix them accordingly. If the power source is working properly, then the issue might be with the LED driver or the transformer. In this case, you might need to replace the faulty component or seek professional help. It is important to ensure that the power supply issues are fixed promptly to avoid any safety hazards and to ensure the longevity of your LED light.
LED Driver Failure
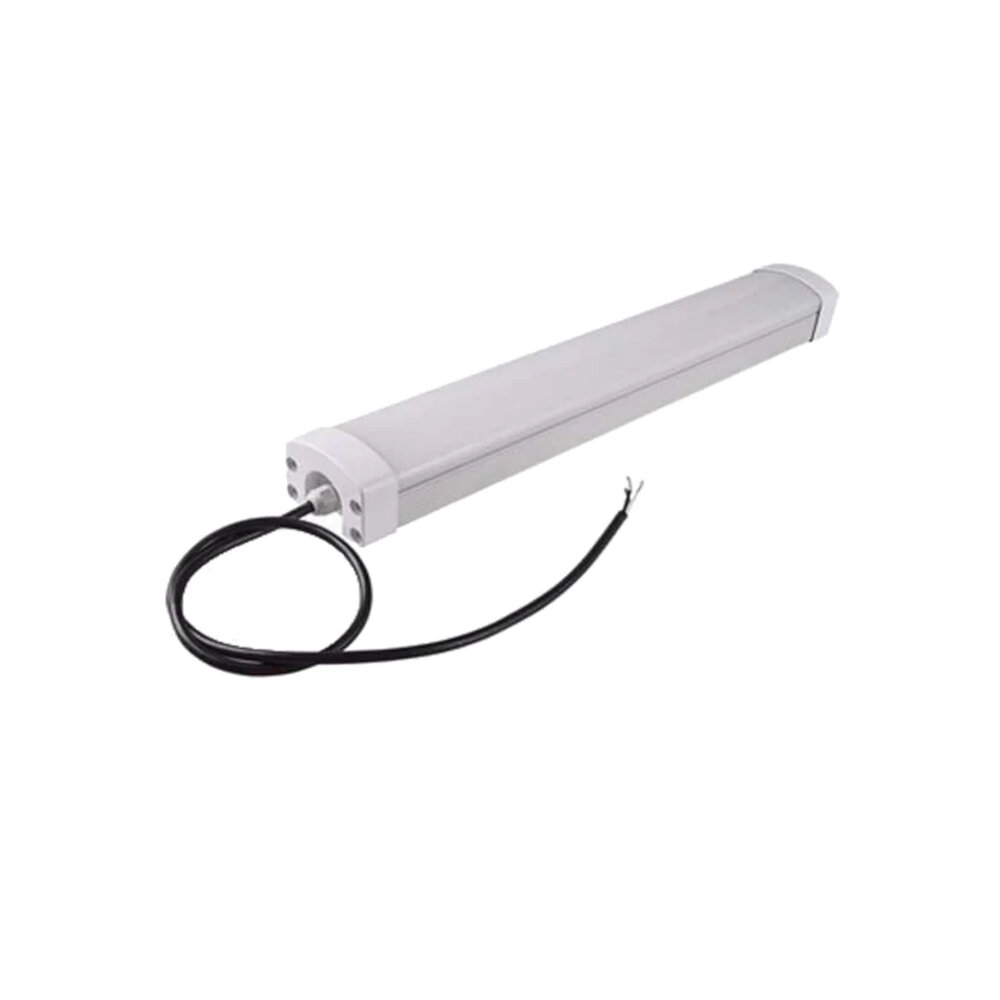
LED driver failure is one of the most common reasons why your LED light suddenly stops working. The LED driver is responsible for regulating the amount of current and voltage that flows through the LED bulbs. When the LED driver fails, it can cause the LED light to flicker or turn off completely. There are several reasons why LED drivers fail, such as overloading, overheating, or power surges. Overloading occurs when too many LED lights are connected to one driver, causing it to exceed its maximum capacity. Overheating can occur when the LED driver is not properly ventilated, causing it to overheat and eventually fail. Power surges can also cause LED driver failure, especially if the LED light is not protected by a surge protector. To fix LED driver failure, the first step is to identify the problem. If the LED light is flickering, it could be a sign of an overloaded driver. To fix this, you can either disconnect some of the LED lights or replace the driver with a higher capacity one. If the LED light is turning off completely, it could be a sign of an overheating driver. To fix this, you can either improve the ventilation around the driver or replace it with a more efficient one. If power surges are the culprit, you can protect your LED light by using a surge protector. It is also important to regularly inspect and maintain your LED lights to prevent future failures.
LED driver failure can occur due to several reasons. One of the main causes is overloading, which happens when the driver is subjected to a current greater than its capacity. This can be due to a faulty LED or an incorrect installation. Another cause is power surges, which can damage the driver and cause it to fail. Poor quality drivers can also fail due to overheating, which can cause the components to burn out. In some cases, driver failure can also occur due to manufacturing defects. When troubleshooting LED light failure, it is important to identify the root cause of the problem and take appropriate measures to fix it.
If your LED light has suddenly stopped working, it is possible that the LED driver has failed. To check for LED driver failure, first, check if the power supply is working properly. If the power supply is functioning well, then check if the LED driver is getting enough voltage. You can use a multimeter to check the voltage output of the LED driver. If the voltage output is too high or too low, then it indicates that the LED driver has failed. You can also check the LED driver for any physical damage or burnt components. If you find any damaged components, then it is a clear indication that the LED driver has failed and needs to be replaced.
LED driver failure is one of the most common reasons why LED lights suddenly stop working. This can be due to various reasons such as voltage fluctuations or power surges. To fix LED driver failure, the first step is to identify the problem. This can be done by checking the power source, connections, and the LED driver itself. If the driver is faulty, it may need to be replaced. It is important to choose the right driver that is compatible with the LED light. Additionally, it is important to ensure that the wiring and connections are secure and properly installed. Regular maintenance and inspections can help prevent LED driver failure and ensure that the LED lights function properly for a longer period of time.
There are several reasons why your LED lights may suddenly stop working. One common cause is overheating, which can lead to a reduced lifespan of the LED or even complete failure. Another possible reason is a loose connection, which can be caused by improper installation or wear and tear over time. Voltage spikes or power surges can also damage LED lights, as can exposure to moisture or water. Additionally, LED lights may stop working due to manufacturing defects or simply reaching the end of their lifespan. To fix these issues, it is important to properly install and maintain the LED lights, protect them from power surges and moisture, and replace any faulty components.
Fixing LED lights is of utmost importance because they are not only energy-efficient and long-lasting but also contribute to reducing carbon footprint. A malfunctioning LED light can be a nuisance, causing inconvenience and compromising safety. It is essential to identify the root cause of the issue, which could range from a faulty power source, a damaged bulb, or a wiring problem. Taking the time to fix LED lights not only saves money but also helps to reduce waste and conserve resources. Additionally, it ensures that the lighting system remains reliable and functional, providing optimal illumination to the space it serves.
To ensure your LED lights last as long as possible, there are a few tips to keep in mind. First, avoid leaving your lights on for extended periods of time, as this can cause them to overheat and burn out. Secondly, keep your lights clean by wiping them down regularly with a soft, dry cloth. This will help prevent any dirt or dust from accumulating and potentially damaging the light. Finally, be sure to purchase high-quality LED lights from a reputable manufacturer, as cheaper options may be more prone to failure. By following these simple tips, you can enjoy your LED lights for years to come.
Conclusion

In conclusion, LED lights have become an essential part of our daily lives, but they can occasionally stop working without any warning. The reasons for this can vary from defective components to damaged wires, and the good news is that most of them can be fixed using simple troubleshooting steps. It is crucial to diagnose the issue correctly, and then follow the appropriate steps to repair it. By identifying the problem and taking the time to fix it, you can save money and ensure that your LED lights continue to provide you with bright and efficient lighting for years to come. So, don’t hesitate to get your hands dirty and take the necessary steps to get your LED lights working again!

