Master the Art of Lowering Running Boards with These Simple Steps for 4 Runner Owners
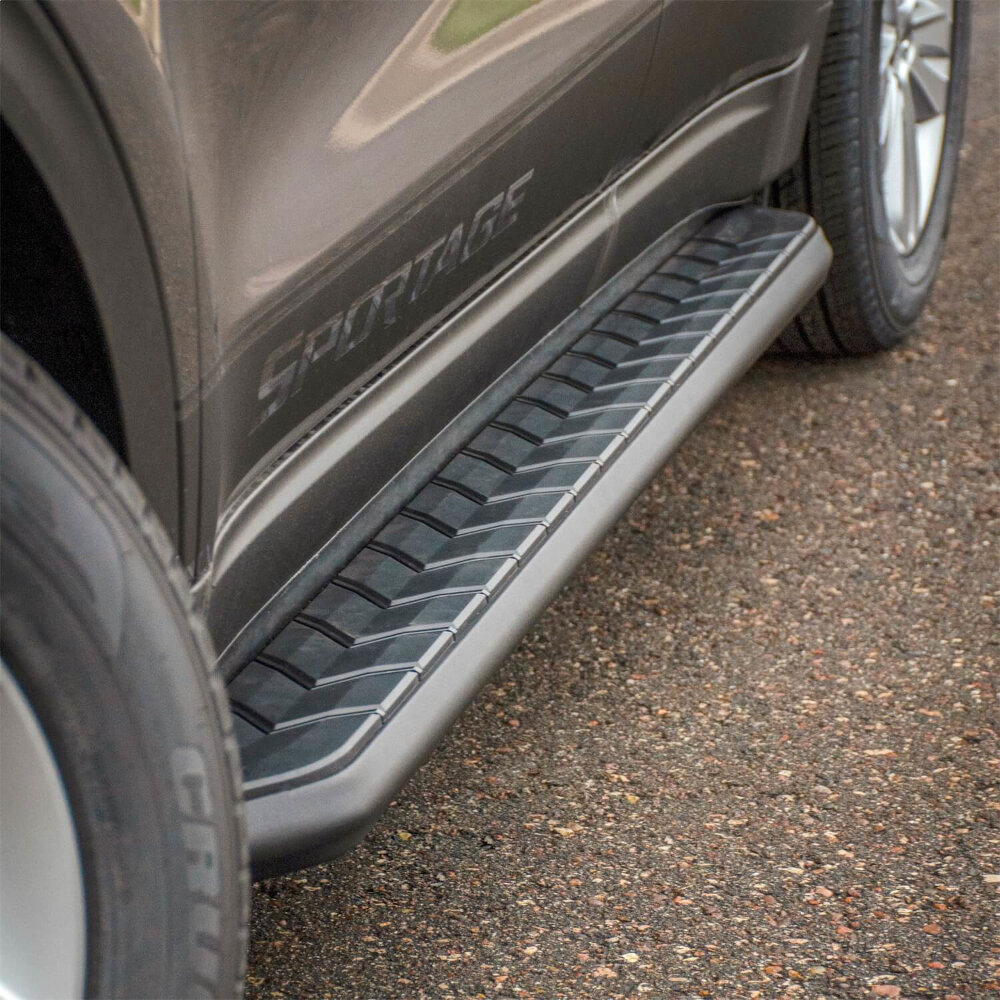
For Toyota 4Runner owners, lowering or adjusting running boards starts with identifying the board type and the kit instructions. Lowering running boards can provide a better entry and exit experience for both the driver and passengers, and can also enhance the overall look of the vehicle. Whether it’s for practical or aesthetic reasons, mastering the art of lowering running boards is a valuable skill to have as a 4 Runner owner. The process of lowering running boards may seem complex, but it can be broken down into simple steps. The job is manageable for some owners, but power steps, rusted fasteners, missing brackets, and wiring faults can make it a repair-shop job. By following the steps carefully and taking the time to understand the process, 4 Runner owners can ensure that their running boards are lowered safely and effectively. With this skill in hand, owners can enjoy the benefits of easier entry and exit from their vehicle, as well as the satisfaction of knowing they have mastered a new skill.
Running boards are a useful accessory on many 4Runner builds. These boards serve multiple purposes, ranging from enhancing the vehicle’s aesthetic appeal to providing practical assistance to passengers. Running boards act as a safety measure, making it easier for passengers to enter and exit the vehicle while minimizing the risk of accidents and injuries. They also help protect the vehicle’s body from damage caused by rocks, debris, and other road hazards. Additionally, these boards offer a comfortable stance for passengers to rest their feet while on long journeys. They are not essential on every build, but they can improve access and add some rocker-area coverage when they fit correctly.
4 Runner owners who enjoy off-road adventures and long drives often find themselves struggling to climb up and down their vehicles due to the high ground clearance. To ease this difficulty, lower-mounted or deployable running boards are a common upgrade for many SUV owners. Lowering running boards helps to reduce the distance between the ground and the vehicle, making it easier for passengers to enter and exit the vehicle with ease. Moreover, it also adds a touch of aesthetics to the vehicle and enhances its overall look. The right setup can improve entry height, but off-road owners should also protect ground clearance and rocker-panel clearance.
Quick Answer: Identify The Running Board Type First
For a Toyota 4Runner, “lowering running boards” can mean two different jobs. Fixed running boards are usually repositioned or replaced with a lower-profile kit. Power running boards deploy and retract through their motorized linkage, controller, and vehicle wiring. Do not treat those as the same repair.
Before loosening brackets or touching wiring, confirm the model year, whether the boards are OEM, aftermarket fixed boards, or aftermarket power steps, and the exact installation sheet for that kit. If the board is binding, sagging, hitting the rocker panel, or failing to deploy evenly, diagnose that fault before adding passengers’ weight.
| Board type | What “lowering” usually means | Safe first check |
|---|---|---|
| Fixed running board | Adjusting bracket position or replacing with a lower step board. | Confirm all mounting points, bracket orientation, torque specs, and rocker-panel clearance. |
| Power running board | Normal deploy/retract movement or repair of a board that will not initialize correctly. | Check the kit manual, linkage bind, wiring, controller, and initialization procedure before forcing the step. |
| Off-road slider/step | Usually not meant to “lower”; it is mounted for protection and clearance. | Do not sacrifice ground clearance or rocker protection without understanding trail use. |
Related GarageSanctum guides: compare power running boards, see our nerf bars vs. running boards guide, browse running-board buying considerations, or visit the truck accessories hub.
Installation Notes Used For This Refresh
- Toyota accessory instructions for 2010-era 4Runner running boards specify bracket alignment and final torque checks rather than guessing bracket tightness.
- Toyota service bulletin information for automatic running boards points to initialization and normal-operation confirmation when a power board is inoperative.
- AMP Research/RealTruck-style power-step instructions emphasize checking for linkage bind and controlled deployment before treating the step as ready for use.
Preparation
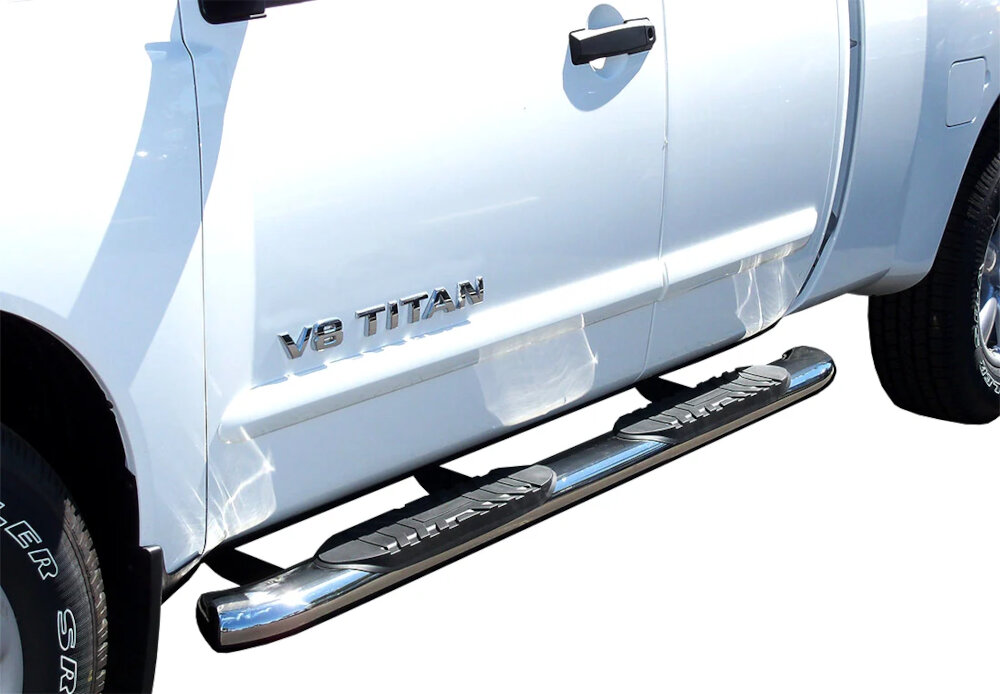
Preparation is key when it comes to lowering running boards on a 4 Runner. Before beginning any work on your vehicle, make sure you have all the necessary tools and equipment ready. This includes a set of wrenches, a jack, and safety goggles. You should also have a clean and well-lit workspace to ensure that you can perform the task safely and effectively. Additionally, it is important to read the owner’s manual carefully before attempting to lower the running boards. This will give you a clear understanding of the process and any specific instructions or warnings that you need to be aware of. Once you have gathered your tools and equipment and familiarized yourself with the owner’s manual, it is time to prepare your 4 Runner. Start by parking the vehicle on a flat surface and engaging the parking brake. Next, use the jack to lift the vehicle and support it on jack stands. This will provide you with the necessary clearance to work underneath the vehicle safely. Finally, remove any debris or obstructions from the area around the running boards. This will ensure that you can access the running boards easily and without any hindrances. By taking the time to prepare your vehicle and workspace properly, you can ensure that you can lower the running boards safely and effectively.
Lowering running boards on a 4 Runner can be a challenging task, especially for those who are not familiar with the process. However, with the right tools, it can be done quickly and efficiently. To begin with, you will need a socket wrench set to loosen the bolts that hold the running boards in place. A rubber mallet will be necessary to gently tap the running boards to loosen them from their brackets. A flathead screwdriver will also come in handy to pry the brackets away from the body of the vehicle. Finally, a torque wrench is needed to ensure that the bolts are tightened to the proper torque specification. With these tools at your disposal and the steps outlined in the article, you will be able to lower your running boards with ease.
When working with running boards, safety should be the top priority. Running boards are essential for accessing the vehicle easily, but they can also pose a significant safety hazard if not lowered correctly. A poorly lowered running board can cause tripping, slipping, or even falling, which can lead to severe injuries. Therefore, it is crucial to follow the necessary safety measures when lowering the running boards. These measures may include wearing appropriate footwear, using proper tools, and being aware of your surroundings. By prioritizing safety, you can ensure that you and your passengers avoid any potential accidents or injuries while using the running boards.
Preparation depends on the board type. For fixed boards, support the board, loosen only the required brackets, align the step, and torque hardware to the kit instructions. For power boards, use the switch or door-triggered operation only after confirming that the linkage, wiring, and controller are working normally. By following these simple steps, you can safely and easily lower your running boards and enjoy the added convenience they provide when entering and exiting your 4 Runner.
Lowering Running Boards
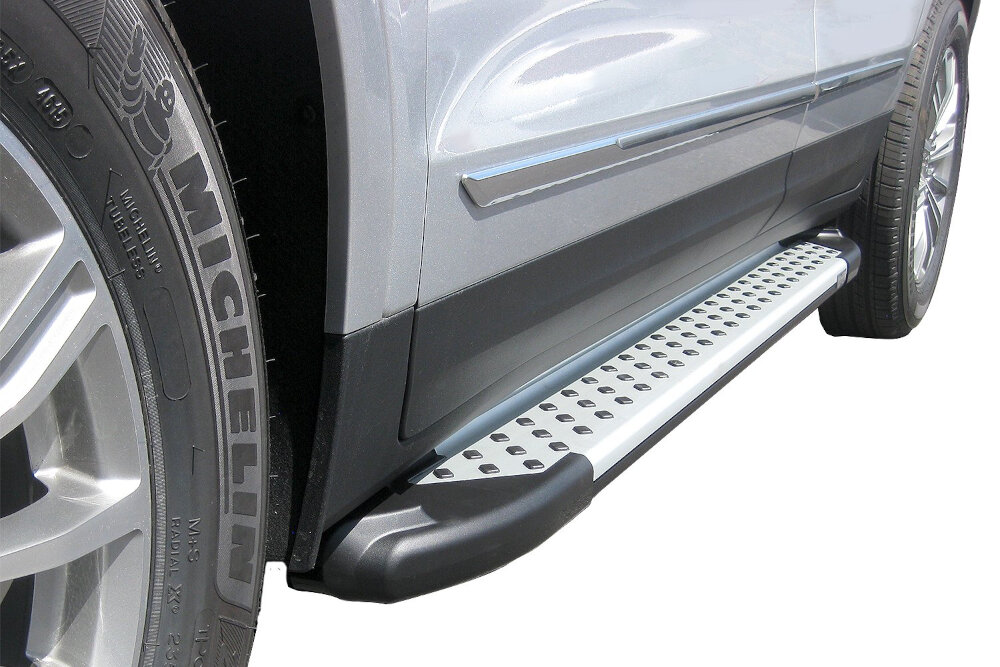
Lower or deployable running boards can improve access on a 4Runner, but the mounting style determines the right procedure. Lowering running boards not only enhances the aesthetic appeal of the SUV but also makes it easier for passengers to get in and out of the vehicle. Some fixed-board installs are straightforward; power-step work requires more care because the linkage and wiring can bind or fail. The first step is to remove the existing running boards using a socket set. Once the old running boards are removed, the new lower running boards can be installed in their place. Use factory mounting points when the kit supports them; drill only when the exact kit instructions require it. The new running boards can also be wired to the vehicle’s electrical system to light up when the doors are opened. A lower step can be useful, but it should not create a low-hanging obstacle for trail use or road debris. The modification not only looks great but also makes it easier for passengers to get in and out of the vehicle. Lower running boards are particularly useful for children, the elderly, and anyone with mobility issues. The modification is also relatively inexpensive and can be done with basic tools and a little bit of time. Overall, lowering running boards is an excellent modification for anyone who wants to enhance the appearance and functionality of their 4 Runner.
The running boards on your 4 Runner can provide a convenient step up into your vehicle, but they can also be a hindrance when getting in or out of your car. If the boards are power-operated, lower them only through the intended controls and inspect uneven or noisy operation before use. Start by locating the switch or button that controls the running boards, typically found on the driver’s side door panel. Press the button to lower the boards, and you should hear a motorized sound as they extend. If your vehicle doesn’t have a button, look for a lever underneath the dashboard. Once the boards are lowered, test them out by stepping on them to ensure they’re secure and stable. Before driving, confirm that power boards retract fully and that fixed boards are tight and have enough road and trail clearance.
There are various methods and techniques that can be used to lower running boards on a 4 Runner. One approach is to use a hydraulic lift system that is controlled by a switch or remote. This allows for easy and convenient operation, without requiring any physical effort from the user. Some aftermarket systems use electric motors and linkages; follow the specific kit manual instead of mixing procedures from other systems. Alternatively, some 4 Runner owners may choose to manually lower the running boards by using a lever or handle. This option may require more effort, but it can be a cost-effective and reliable solution for those who prefer a more hands-on approach. Ultimately, the choice of method and technique will depend on individual preferences and needs.
When it comes to lowering running boards on a 4 Runner, there are a few common mistakes that can be made. Firstly, not following the manufacturer’s instructions can result in damage to the running boards or vehicle. It is also important to ensure that the running boards are securely locked in place before using them to avoid accidents. Another mistake is not cleaning the running boards regularly, which can cause them to become slippery and dangerous to use. To avoid these mistakes, it is important to read and follow the instructions carefully, regularly check the running boards for damage, and clean them regularly. By doing so, 4Runner owners can reduce the chance of loose hardware, poor alignment, or unsafe step operation.
Maintenance
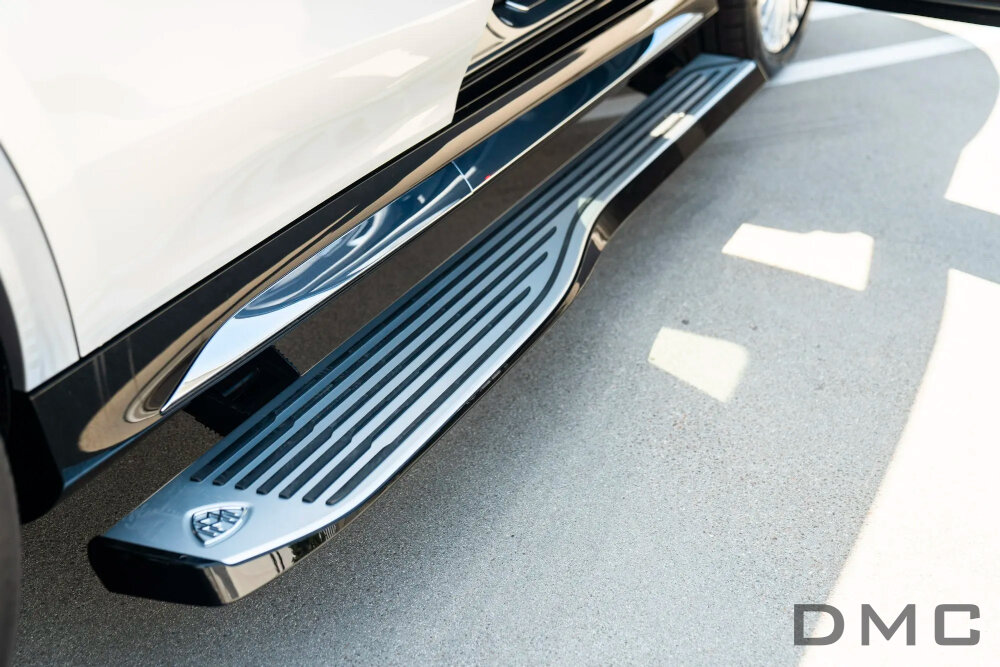
Maintenance is a crucial aspect of keeping your vehicle in top-notch condition. Regular inspection helps catch loose hardware, corrosion, binding hinges, damaged wiring, and slippery tread surfaces. Maintaining your running boards is just as important as maintaining any other part of your vehicle. Dirty or damaged running boards can affect the overall appearance of your vehicle and can even pose a safety hazard. To ensure that your running boards are in good condition, it is important to clean them regularly. This can be done using soap and water, or a specialized cleaner designed for the specific material of your running boards. In addition to cleaning, it is also important to inspect your running boards for any signs of damage such as cracks or rust. If any damage is found, it should be repaired as soon as possible to prevent further deterioration. Regular maintenance of your running boards can help keep them looking good and functioning properly for years to come. In conclusion, maintaining your running boards is a crucial part of keeping your vehicle in good condition. Regular cleaning and inspection can help ensure that they remain safe and reliable, and can also help prolong their lifespan. By following these simple steps, 4 Runner owners can master the art of lowering running boards and keep their vehicles looking and functioning their best.
Maintaining running boards is crucial for several reasons. Firstly, it ensures the safety of the passengers and the driver by providing a safe and sturdy platform to step on while entering or exiting the vehicle. Secondly, it protects the vehicle’s undercarriage from damage caused by rocks, debris, and other road hazards. Regular cleaning and maintenance also prevent rust and corrosion, which can compromise the running board’s structural integrity. Lastly, well-maintained running boards enhance the overall appearance of the vehicle, making it look more stylish and well-kept. Therefore, it is imperative for 4 Runner owners to master the art of lowering running boards and keep them in pristine condition to enjoy their benefits.
To keep your running boards in good condition, it’s essential to maintain them regularly. Regular cleaning is the first step towards keeping them in good shape. Make sure to clean them using a soft cloth and a mild cleaning detergent to avoid scratches. It’s also important to check the bolts and screws at least once a year to ensure they are tight and secure. Lubricate the hinges and other moving parts with a silicone-based lubricant to prevent rust and corrosion. Additionally, avoid stepping on the running boards when they are retracted to avoid damaging them. These checks can help the boards last longer, but finish wear, rust, road salt, and trail impacts still matter.
As with any modification or installation, there may be common issues that arise when attempting to lower running boards on a 4 Runner. One common issue is misalignment, which can occur when the running boards aren’t flush with the vehicle’s body. To fix this, it’s recommended to double-check the installation instructions and make sure all bolts and brackets are tightened properly. Another issue could be interference with other parts of the vehicle, such as the exhaust or suspension. In this case, it’s important to carefully inspect the running board and its placement to ensure it won’t cause any damage or safety hazards. By taking the time to address these common issues, 4 Runner owners can decide whether the board needs adjustment, repair, replacement, or professional diagnosis.
Benefits of Lowering Running Boards
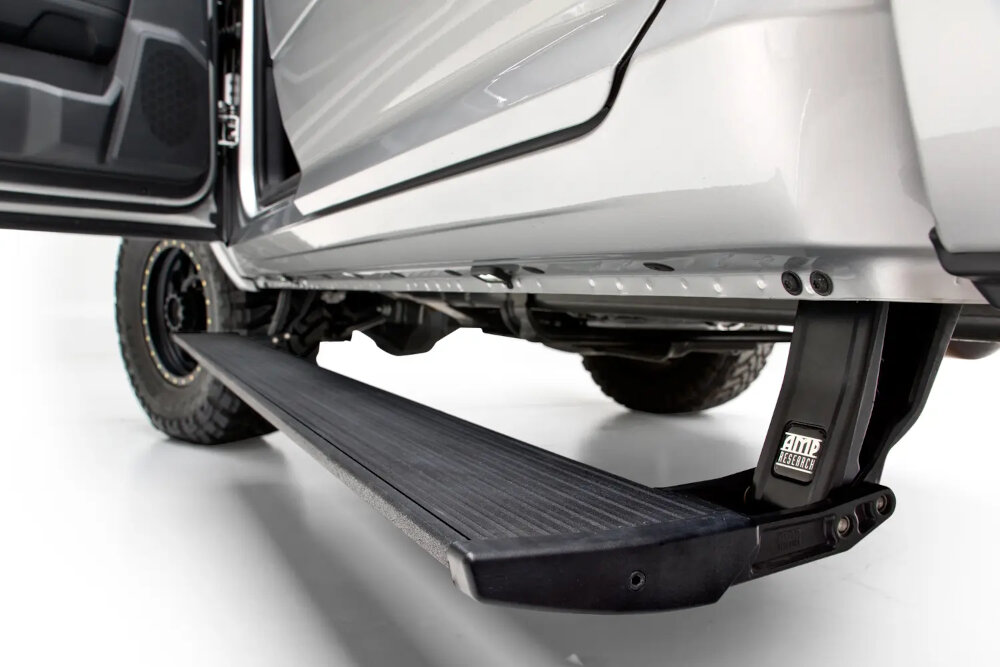
The advantages depend on the board type and how the 4Runner is used. One of the most obvious benefits is that it makes it easier for passengers to get in and out of the vehicle. This is especially important for those with mobility issues or smaller children who may struggle to climb up into the high cabin of a 4 Runner. By lowering the running boards, you provide a convenient step for passengers to use, reducing the risk of slips, falls, and injuries. Additionally, lowering the running boards can improve the overall appearance of the vehicle, giving it a sleeker, more streamlined look. This is especially true if you opt for running boards that are color-matched to the vehicle’s exterior or that feature unique details or designs. Another benefit of lowering running boards is that it can improve the off-road capabilities of a 4 Runner. When driving off-road, clearance is key, and running boards that sit too high can get caught on rocks, roots, or other obstacles. For off-road use, lower boards can reduce clearance, so balance entry comfort against trail protection. This can be especially beneficial for those who frequently take their 4 Runner on off-road adventures, as it can help them tackle challenging trails with greater ease and confidence. Overall, the right board height can improve access, but it should be chosen around passengers, clearance, bracket strength, and the kit’s instructions.
Lower or power-deploying running boards can help many 4Runner owners. Not only does it improve accessibility, making it easier for passengers to get in and out of the vehicle, but it also enhances the overall appearance of the car, adding a sleek and modern touch. Lower running boards also provide additional protection from dirt and debris, keeping the car cleaner for longer periods of time. Do not count on a running-board change to improve fuel economy; treat access, fitment, and clearance as the real decision points. Overall, lowering running boards is a simple yet effective modification that can greatly enhance the functionality and appearance of a 4 runner.
Lowering running boards on a 4 Runner can significantly enhance the overall appearance and functionality of the vehicle. These simple steps can help drivers master the art of lowering running boards in no time. With the right boards installed, the vehicle can look cleaner and be easier to enter. Additionally, the lowered boards provide easier access for passengers, especially for those with limited mobility. The running boards can also serve as a useful tool for loading and unloading cargo on top of the vehicle. By following these steps, 4 Runner owners can improve the look and functionality of their vehicle, making it more comfortable and convenient for themselves and their passengers.
As a 4Runner owner, you may have concerns or questions regarding the process of lowering running boards. Perhaps you are worried about the safety of the process or unsure about the tools required. However, rest assured that start by confirming whether your 4Runner has fixed boards, sliders, or power steps, then follow the matching procedure. By following the step-by-step instructions and taking necessary precautions, you can safely and effectively lower your running boards, providing easier access to your vehicle and a sleeker appearance. Don’t hesitate to ask for help or clarification if needed, and enjoy the benefits of this simple yet impactful modification to your 4Runner.
This guide is a guide for owners of Toyota 4 Runners who want to learn how to lower their running boards. The article explains that lowering running boards can be useful for those who have difficulty getting in and out of their vehicle, as well as for those who want to give their 4 Runner a more aggressive appearance. The article provides step-by-step instructions on how to lower the running boards, including checking existing brackets, aligning the boards, and tightening hardware to the kit’s specifications. The author also provides tips on how to ensure that the running boards are properly aligned and secured, and emphasizes the importance of safety precautions throughout the process. Overall, the article offers a helpful and comprehensive guide for 4 Runner owners who want to customize their vehicle’s running boards.
As a final word of advice for 4 Runner owners looking to lower their running boards, it is important to exercise caution and follow the manufacturer’s instructions carefully. While lowering the running boards can provide easier access to the vehicle, it can also create a potential hazard if not done correctly. Ensure that the running board brackets are properly secured and that all bolts and screws are tightened to the recommended torque specifications. Additionally, consider investing in quality aftermarket running boards that are specifically designed to be lowered, as these will provide a safer and more reliable option for accessing your 4 Runner. With the right kit instructions and careful checks, you can improve access without creating loose hardware, binding power steps, or avoidable clearance problems.
As a writer, I strongly believe that readers’ feedback and experiences are invaluable in creating engaging and informative content. Therefore, I encourage all 4 Runner owners who have tried lowering running boards to share their experience and provide feedback. Your input can help other owners master the art of lowering running boards and avoid any potential mistakes. Whether you have succeeded or encountered challenges, your story can inspire and inform others. So, don’t hesitate to share your thoughts in the comments section below and let’s help each other become better 4 Runner owners.
Conclusion
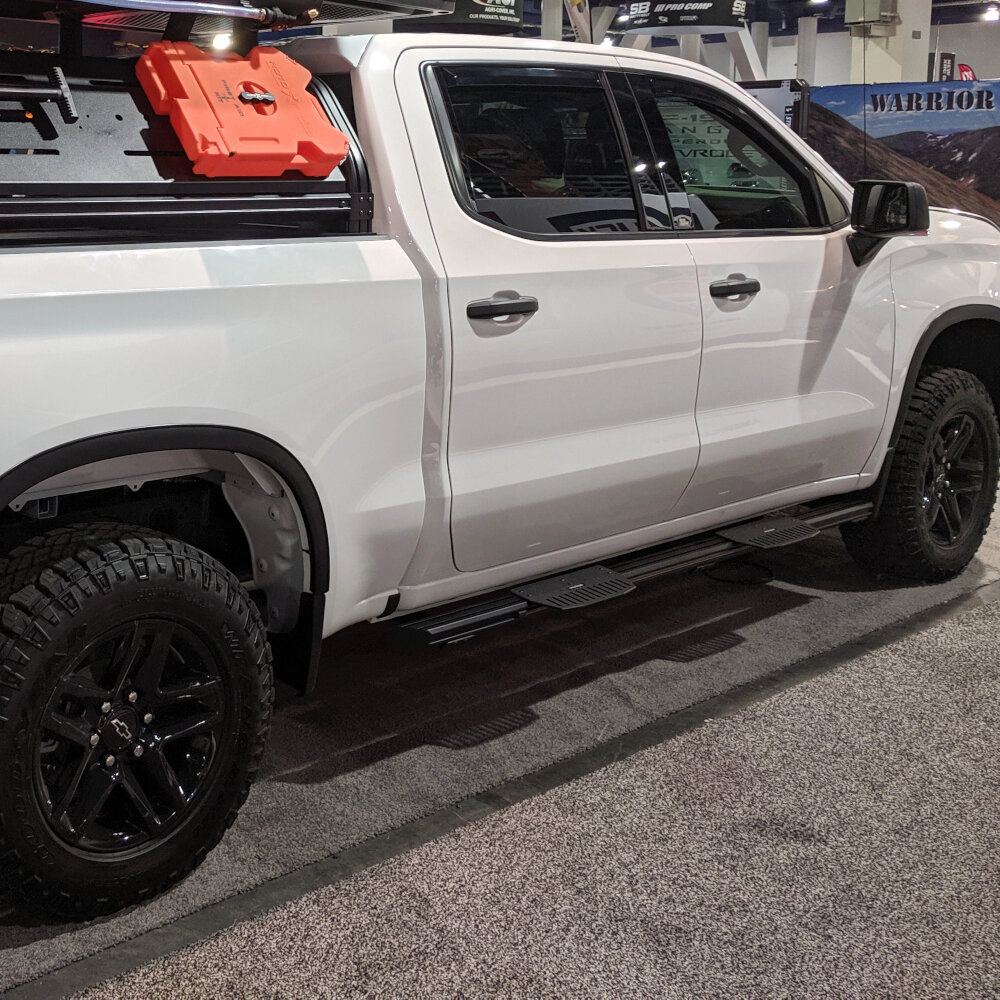
In conclusion, mastering the art of lowering running boards for 4 Runner owners is a simple yet important task to enhance the functionality and convenience of your vehicle. By following the correct kit instructions, you can check that the running boards are aligned, tight, and safe to use. It is crucial to take care of your running boards to avoid any potential damage or accidents. Lowering running boards may seem like a small task, but it can make a significant difference in your overall driving experience. So, take the time to learn and practice these steps to understand how your specific 4Runner running boards are supposed to work.