Easy Steps to Remove Toyota Sequoia Running Boards: A Comprehensive Guide
The Toyota Sequoia running boards are an important part of the vehicle that allows passengers to easily enter and exit the car. However, over time, these running boards may become worn out or damaged, requiring replacement or removal. Removing the running boards can also be necessary for modifications or upgrades to the vehicle. The job can be manageable, but it depends on board type, rust, wiring, and whether the board is fixed or power-operated. This comprehensive guide is designed to provide you with the necessary steps to remove the running boards from your Toyota Sequoia without damaging brackets, paint, wiring, or rocker panels. Whether you are looking to replace the running boards or simply want to remove them temporarily, this guide will provide you with all the information you need. With clear and concise instructions, you can plan the work, keep the hardware organized, and know when to stop for professional help. So, let’s dive in and learn the easy steps to remove Toyota Sequoia running boards.
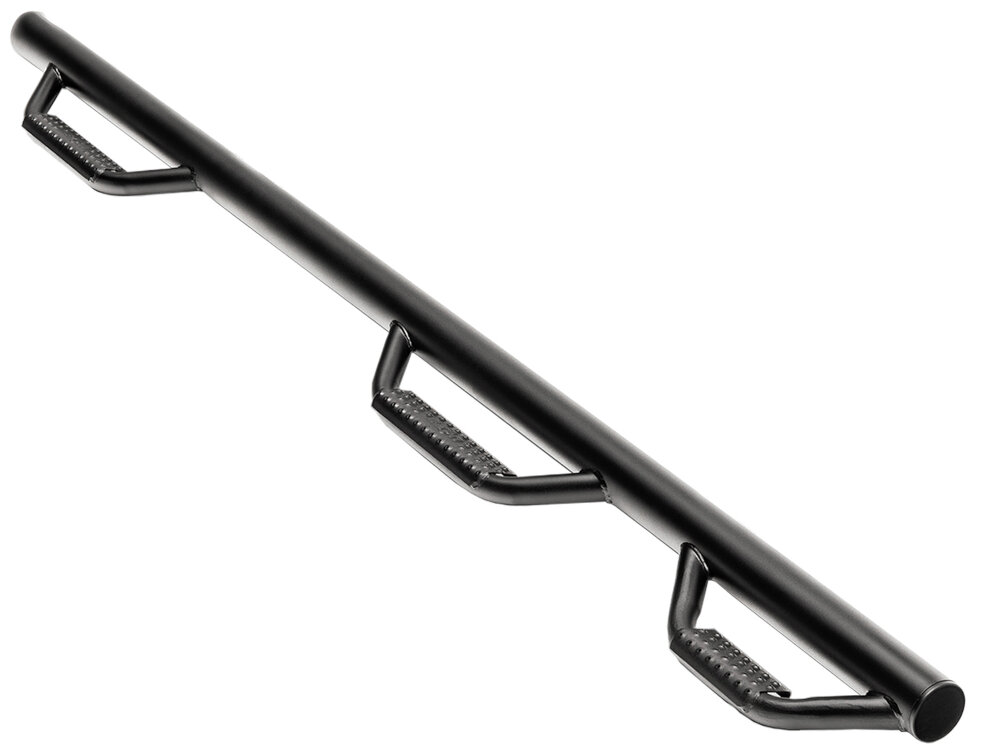
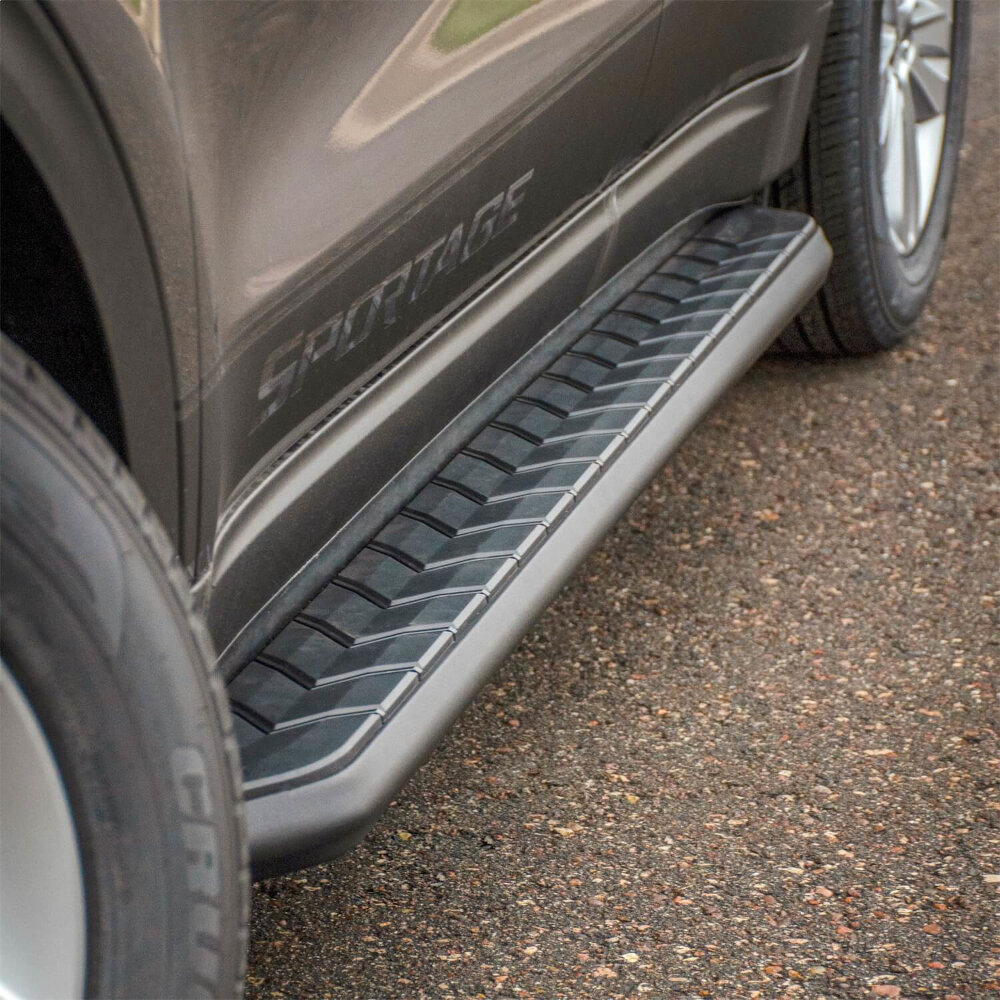
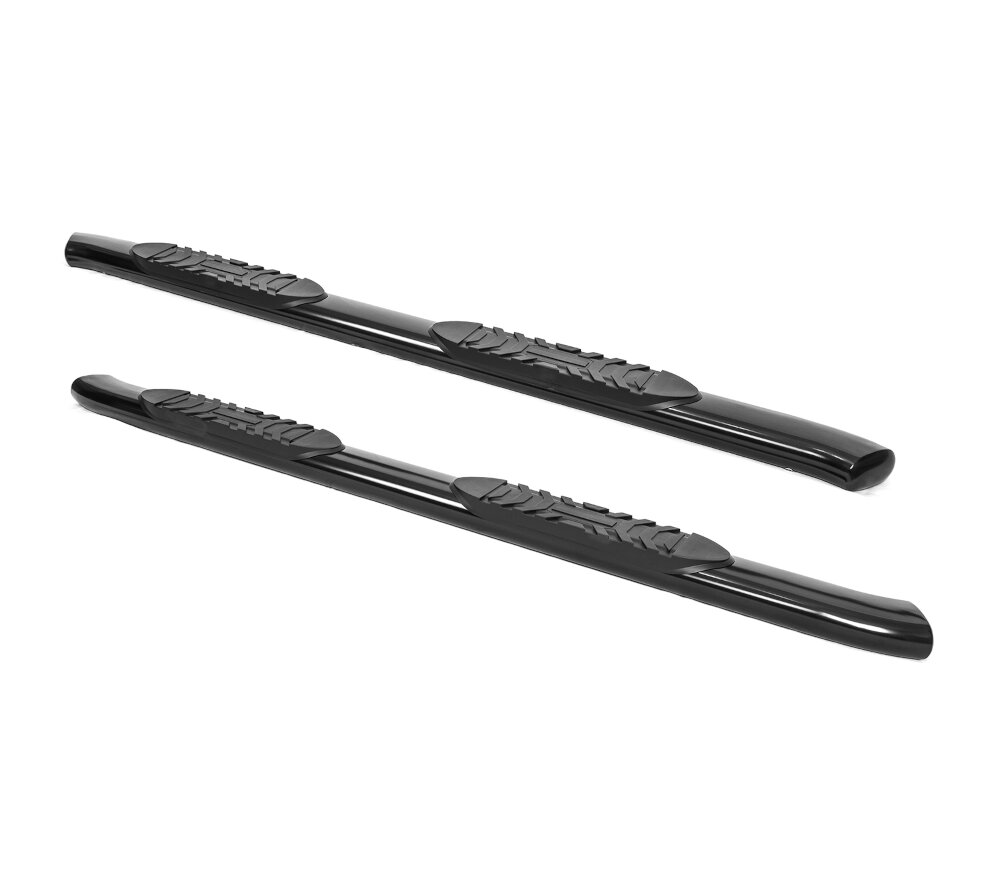
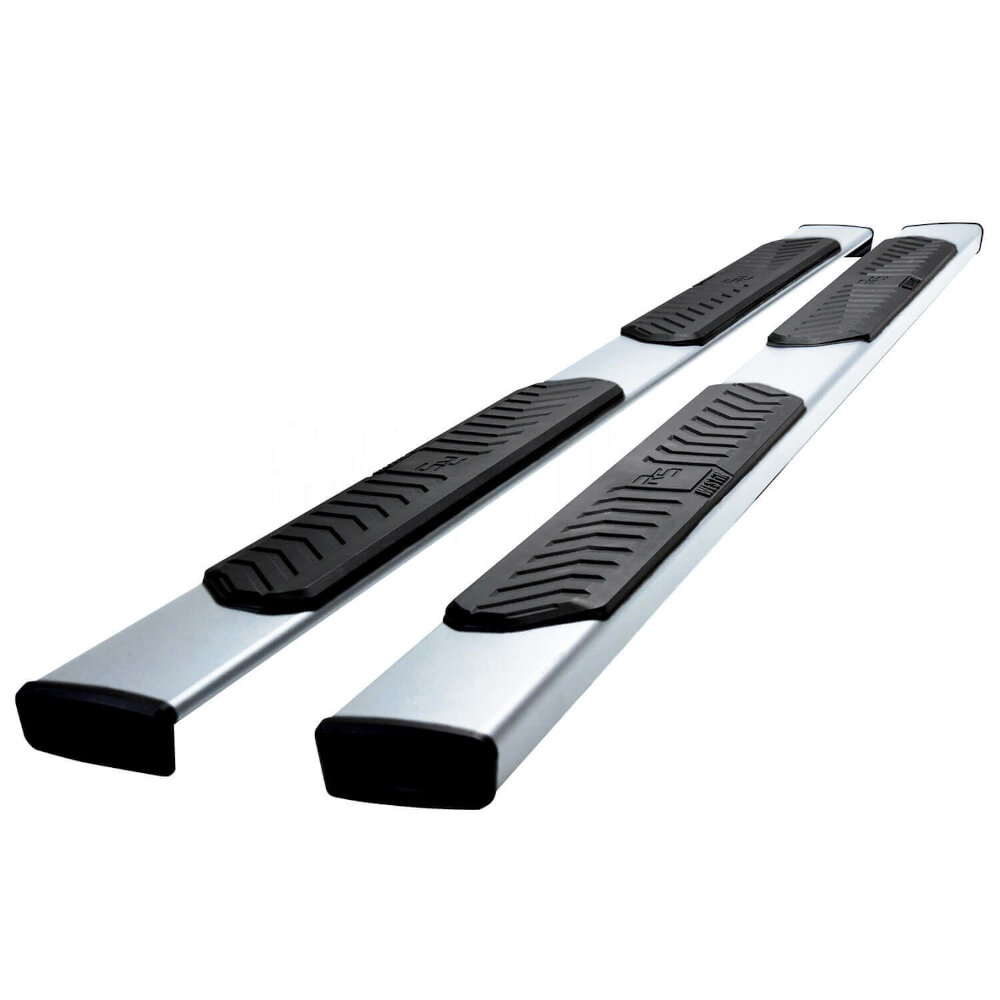
Toyota Sequoia running boards are a stylish and practical accessory that can enhance the look of your vehicle while also providing a convenient step up into the cabin. These running boards are typically made of durable materials such as aluminum or steel and are designed to withstand the wear and tear of daily use. They are available in a range of styles and finishes, including black powder-coated or chrome, to complement the look of your vehicle. Whether you are looking for a functional upgrade or simply want to add some flair to your Toyota Sequoia, running boards are an excellent choice. However, if you need to remove them for any reason, it is important to follow the right steps to avoid damaging your vehicle.
Removing running boards can be useful when they are damaged, rusted, loose, or being replaced. Running boards are typically attached to the chassis of the car, and over time, they can become damaged or corroded. Loose or corroded brackets can damage mounting points if ignored. Additionally, removing running boards may slightly reduce weight, but access, clearance, and bracket condition are the real reasons to do the job. By following the easy steps outlined in this guide, you can remove the boards while reducing the chance of broken fasteners, scratched paint, or loose hardware.
Quick Answer: Support The Board Before Removing Hardware
Removing Toyota Sequoia running boards is usually straightforward, but the board can be heavier than it looks and the brackets may hide rust, wiring, clips, or seized fasteners. Support the running board before removing the last bolts, use the correct metric socket, and stop if a captive nut spins, a bracket bends, or a harness is attached.
Power steps and fixed running boards need different handling. A fixed board removal is mostly hardware and trim work. A power running board also has motors, wiring, linkage, controller logic, and pinch points, so disconnect power only as directed by the kit manual and do not force a stuck linkage.
| Before removal | Why it matters | Safer move |
|---|---|---|
| Identify board type | OEM fixed boards, aftermarket fixed boards, sliders, and power steps use different brackets. | Check the model year and kit instructions before assuming bolt count or torque specs. |
| Protect paint and rocker panels | Boards can shift once the last fastener is loose. | Use a helper, padding, and a stand or jack with a block to support the board. |
| Check rust and fasteners | Seized bolts can snap or spin captive hardware. | Use penetrating oil, proper six-point sockets, and avoid prying against painted surfaces. |
| Plan reinstallation | Loose or over-tightened hardware can damage brackets or make the step unsafe. | Label hardware and use the specific kit torque values when reinstalling. |
Related GarageSanctum guides: compare power running boards, understand nerf bars vs. running boards, see a related 4Runner running-board adjustment guide, or browse the truck accessories hub.
Installation Notes Used For This Refresh
- AMP Research PowerStep instructions for Tundra/Sequoia note model-specific alignment and torque steps, which is why this guide avoids one-size-fits-all bolt counts.
- Toyota accessory instructions for running boards emphasize eye protection, clean work areas, correct sockets, bracket locations, and torque checks.
- Aftermarket running-board instructions commonly require checking clearance and periodically rechecking hardware tightness after installation.
Tools Required
When it comes to removing the running boards of Toyota Sequoia, there are several tools that you will need. Firstly, you will need a socket wrench set with various socket sizes to remove the bolts that hold the running boards in place. It is recommended to have a ⅜ inch socket wrench set with sockets ranging from 10mm to 17mm. This will ensure that you have all the necessary socket sizes to remove the bolts from the running boards. Additionally, you will also need a Phillips head screwdriver to remove any screws that may be holding the running boards in place. Apart from the socket wrench and Phillips head screwdriver, you will also need a pry bar or a trim removal tool to remove any clips or retainers that may be holding the running boards in place. A pry bar will help you remove the running boards without causing any damage to the vehicle’s paint or bodywork. Furthermore, you may also require a rubber mallet or a hammer to tap the running boards gently to loosen them from their position. In conclusion, with a socket wrench set, Phillips head screwdriver, pry bar or trim removal tool, and a rubber mallet or hammer, you can remove many fixed running boards, but seized bolts or power-step wiring can make the job more involved.
Removing the running boards from your Toyota Sequoia requires a few essential tools to ensure the process is smooth and straightforward. Firstly, you will need a socket wrench set with a variety of socket sizes to remove the bolts holding the running boards in place. Additionally, a pry bar or flathead screwdriver can be useful to help remove the clips holding the running boards to the vehicle’s frame. It is also recommended to have a torque wrench on hand to ensure the bolts are tightened to the correct specifications during reinstallation. Finally, protective gloves and safety glasses are essential to ensure your hands and eyes are protected during the removal process. With these tools in hand, the process of removing your Toyota Sequoia’s running boards should be more controlled.
There are several tools required to remove Toyota Sequoia running boards, and each of them serves a specific purpose. The socket wrench is used to remove bolts and nuts, while a torque wrench ensures that the bolts are tightened to the correct torque specification during reinstallation. A pry bar or flathead screwdriver is used to pry off the plastic clips that hold the running board to the frame. A trim removal tool is needed to remove the plastic covers that conceal the bolts. Do not drill the frame unless the exact replacement kit instructions require it and identify the correct location. Finally, a wire brush or sandpaper can be used to clean any rust or debris from the frame before installing the new brackets. By using the appropriate tools, removing and installing Toyota Sequoia running boards can be done quickly and easily.
Step-by-Step Guide
If you are removing Toyota Sequoia running boards, start with the correct instructions for your model year and board type. This guide gives a practical checklist, but it is not a substitute for the OEM or aftermarket kit manual. The first step in removing the running boards of your Toyota Sequoia is to gather all the necessary tools. You will need a socket wrench, a flathead screwdriver, and a trim removal tool. Once you have all the necessary tools, you can begin the removal process. The guide takes you through each step, from removing the bolts that hold the running boards in place to prying off the plastic covers that conceal the screws. After removal, inspect the mounting points before deciding whether to reinstall, replace, or leave the boards off.
The first step in removing Toyota Sequoia running boards is to remove the bolts. This can be straightforward on clean hardware, but corrosion and hidden clips can complicate it. Before you begin, make sure you have a socket wrench, a socket extension, and a socket of the correct size for the bolts. Once you have the necessary tools, locate the bolts that hold the running boards in place. These are typically located along the underside of the board and may be covered by plastic caps. Use the socket wrench and extension to remove each bolt, being careful not to strip them. Support the board before the last fastener comes out so it does not twist against the body or drop unexpectedly.
Once you have ensured that your work area is safe and clean, you can begin removing the running board from your Toyota Sequoia. To do this, start by locating the bolts that attach the running board to the vehicle’s frame. These bolts are typically found underneath the board and may be covered by plastic caps or other trim pieces. Once you have located the bolts, use a socket wrench or other appropriate tool to loosen and remove them. Be sure to keep track of all bolts and hardware as you remove them, as you will need to reattach the running board later. Once all of the bolts have been removed, carefully lift the running board off of the vehicle and set it aside.
Once the running board has been successfully removed, it’s important to clean the area where it was attached thoroughly. This will ensure that any dirt, debris, or residual adhesive is removed, giving you a clean surface to work with if you decide to install new running boards. To do this, you can use a mixture of warm soapy water and a soft-bristled brush or sponge to scrub away any grime. If there is any leftover adhesive, you can use an adhesive remover or rubbing alcohol to dissolve it. Once you’ve finished cleaning, make sure to dry the area completely to prevent rust or other damage. Taking the time to clean this area properly will not only reduce corrosion risk around the mounting area.
Once you’re done with the removal process, it’s time to install new trim pieces if needed. This step involves attaching the new trim pieces to the vehicle’s body using screws or clips. To ensure a secure fit, make sure to align the trim pieces properly before installing them. Also, be cautious not to over tighten the screws as it could damage the trim or the vehicle’s body. Installing new trim pieces can enhance the overall appearance of your Toyota Sequoia and restore the trim appearance. It’s recommended to choose high-quality trim pieces that are durable and match the color of your vehicle for a seamless finish.
Once you have cleaned the mounting brackets and removed the old running boards, it’s time to reinstall the bolts. Make sure you align the brackets with the holes on the underside of the vehicle and hand-tighten the bolts before tightening them with a torque wrench. It’s important to use the correct torque specifications as over-tightening can damage the brackets, while under-tightening can cause the running boards to become loose or even fall off while driving. Once the bolts are tightened, do a final check to ensure the brackets and running boards are securely in place before using the running board again.
Tips and Tricks
When it comes to removing the running boards of your Toyota Sequoia, there are a few tips and tricks that can make the process much easier. Firstly, it is important to have all the necessary tools and equipment ready before starting the job. This includes a socket set, pliers, a pry bar, and a torque wrench. It is also a good idea to have some lubricant spray on hand to help loosen any stubborn bolts or screws. Another helpful tip is to start with the running board on the driver’s side of the vehicle. This is because the wiring for the lights on the running boards is usually located on this side, and it can be easier to access it first. It is also important to take your time and work carefully, as rushing the job can lead to damage to the vehicle or injury to yourself. By following these tips and tricks, you can make the process of removing the running boards from your Toyota Sequoia as controlled and low-risk. In addition to these tips, it is also important to be aware of any potential safety hazards while working on your vehicle. This includes wearing appropriate protective gear such as gloves and safety glasses, as well as ensuring that the vehicle is on a level surface and securely supported before starting the job. It is also important to follow all manufacturer recommendations and guidelines, and to consult with a professional mechanic or technician if you are unsure about any aspect of the job. By taking these precautions and following the tips and tricks outlined in this guide, you can successfully remove the running boards from your Toyota Sequoia and complete the job with confidence and ease.
Removing running boards from your Toyota Sequoia can be a daunting task, but with the right approach, it can be done more predictably. One of the most effective tips for removing running boards more easily is to use penetrating oil or lubricant on all the bolts and screws beforehand. This will help to loosen any rust or debris that may be holding them in place and make it easier to remove them. Additionally, using a socket wrench with an extension bar can provide more leverage and make it easier to reach bolts that may be difficult to access. Another helpful tip is to have a friend or helper assist you, as they can hold the running board in place while you remove the bolts. Finally, be sure to wear gloves and protective eyewear to prevent any injuries during the removal process.
When it comes to removing running boards from your Toyota Sequoia, it’s important to take the necessary precautions to prevent any damage to your vehicle or the running board itself. Start by removing any dirt or debris from around the running board with a soft-bristled brush. Use lubricant or penetrating oil on any bolts or screws to make the removal process smoother. Be sure to use the correct tools and follow the manufacturer’s instructions carefully. If you encounter any resistance, stop and assess the situation to avoid forcing anything and causing damage. These checks reduce risk, but stop if a fastener spins, a bracket bends, or wiring is still attached.
Removing running boards from a Toyota Sequoia should be planned around safety, access, clearance, and bracket condition rather than fuel-economy promises. Additionally, running boards can get in the way when trying to get in or out of the car, especially for children or those with mobility issues. Removing them can also make it easier to clean the vehicle and can even give it a sleeker, more streamlined appearance. Overall, taking the time to remove running boards from a Toyota Sequoia can change the look and access height, but it is not the best choice for every owner or passenger.
Removing running boards from a Toyota Sequoia requires a few tools and some careful steps to ensure a smooth process. Firstly, gather a socket set, a pry bar, and a torque wrench to remove the bolts and nuts holding the boards in place. Next, locate the brackets and remove them from the vehicle’s underside. Use a pry bar to carefully loosen the boards from their brackets and lift them off the vehicle. It is important to take care not to scratch or damage the vehicle’s paint during this process. Finally, use the torque wrench to tighten any bolts or nuts that were removed during the process. With the right support, tools, and instructions, many fixed Sequoia running boards can be removed without damaging the vehicle.
Conclusion
In conclusion, removing the running boards from your Toyota Sequoia can be straightforward when the hardware is clean and the board is properly supported. With the right tools and a bit of patience, you can remove the boards methodically without forcing clips, fasteners, or trim. It’s important to remember that safety should always come first, so be sure to take all necessary precautions before starting the removal process. By removing the running boards, you can improve the overall appearance and functionality of your vehicle, while also making it easier to access and maintain. If the board is powered, badly rusted, or mounted with damaged hardware, get help before continuing.