Chevy Running Board Installation: A StepbyStep Guide
Looking to add a touch of style and functionality to your Chevy truck? Look no further than running boards! Running boards are a popular add-on for trucks, providing a convenient step up into the vehicle and adding an extra element of flair to the exterior. In this step-by-step guide, we’ll walk you through the process of installing running boards on your Chevy truck, ensuring a seamless and professional-looking installation that’s sure to turn heads on the road. Whether you’re a seasoned DIYer or a beginner looking to tackle your first project, installing running boards on your Chevy truck is a straightforward and rewarding task. Not only will your truck look great with the new addition, but you’ll also enjoy the added convenience of having a sturdy stepping surface to help you get in and out of the vehicle with ease. So, let’s get started on this exciting project and take your Chevy truck to the next level!
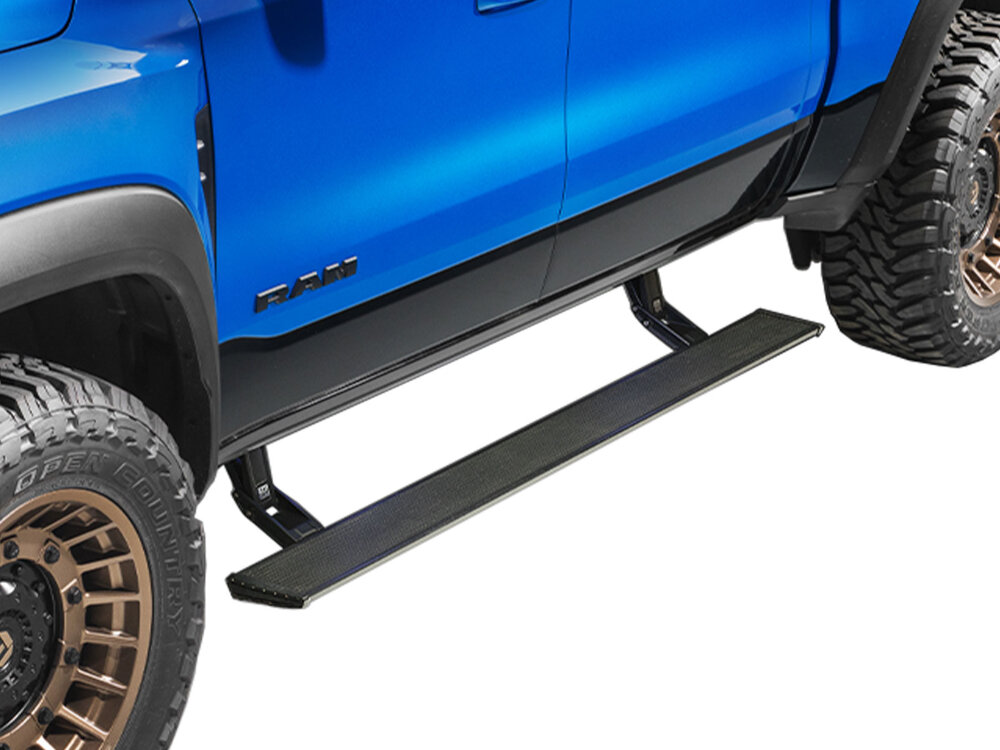
Running boards are an essential accessory for Chevy trucks, as they provide a range of benefits that can enhance the functionality and appearance of these vehicles. One of the most significant advantages of running boards is that they offer a safe and convenient step up into the cab of the truck, especially for those with limited mobility or shorter stature. Additionally, running boards can help to protect the paint and body of the truck, as they shield against debris, mud, and other road hazards. They can also add a touch of style and elegance to the truck, enhancing its overall appearance and value. Overall, installing running boards on a Chevy truck is a practical and worthwhile investment that can improve both the performance and aesthetics of the vehicle.
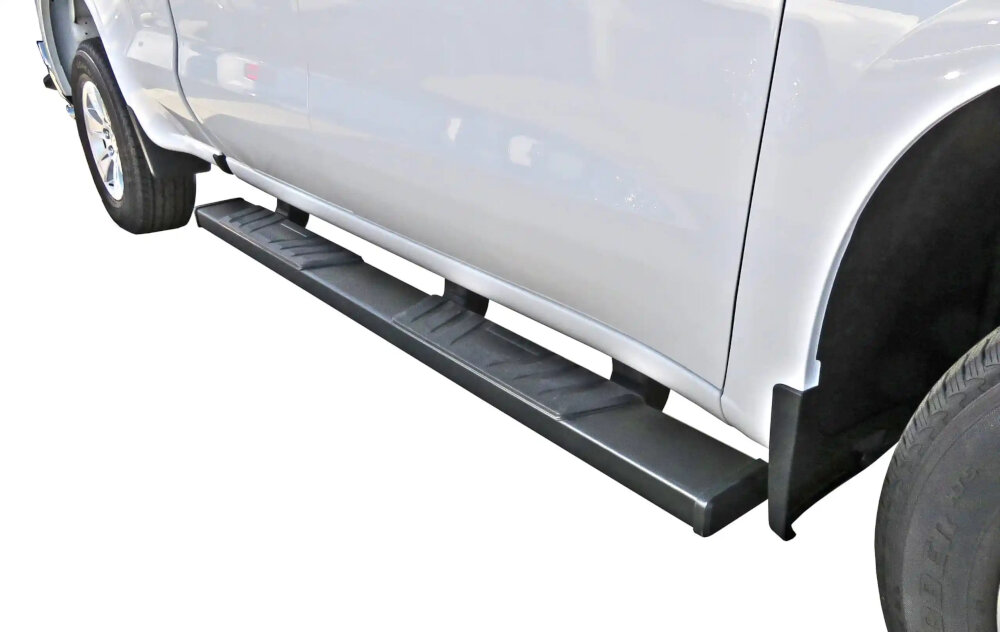
Installation may be necessary for various reasons, one of which is to improve the functionality and appearance of your vehicle. In the case of Chevy running board installation, it can provide a safer and more convenient way to enter and exit your vehicle, especially for those with mobility issues or who have lifted trucks. The added step can also protect the side of your vehicle from scratches and dings caused by debris or other vehicles. Additionally, running boards can enhance the overall look of your Chevy, giving it a more rugged and stylish appearance. While installation may require some time and effort, the benefits of having running boards installed can be well worth it in the long run.
Following a step-by-step guide is crucial when it comes to proper installation of Chevy running boards. The guide provides a structured and organized approach to the installation process, which helps to ensure that each step is completed correctly and in the right order. Skipping or overlooking any step can result in improper installation, which can lead to safety hazards and vehicle damage. Additionally, a step-by-step guide can provide clarity and reduce confusion, especially for individuals who are not familiar with the installation process. By following a guide, the installation process can be completed efficiently, effectively, and with confidence, resulting in a well-installed running board that adds functionality and style to your Chevy.
Materials Needed
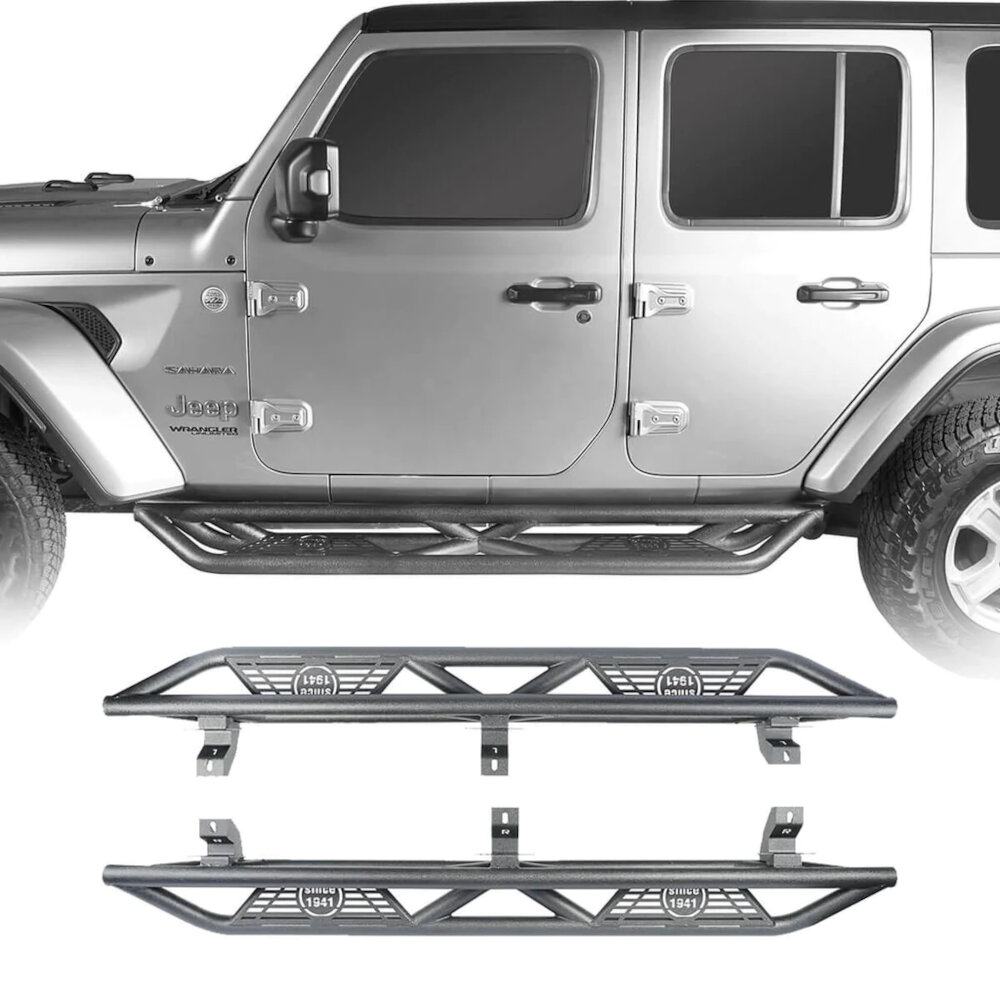
When it comes to installing running boards on your Chevy truck, having the right materials is crucial to ensure a successful installation. The first and most important material you will need is the running boards themselves. You can purchase running boards online or at your local auto parts store. Make sure to select the right model and size that fits your Chevy truck. Running boards come in various materials such as aluminum, stainless steel, and ABS plastic. Each material has its own advantages and disadvantages, so choose the one that fits your budget and needs. In addition to the running boards, you will also need mounting brackets, screws, and nuts. The mounting brackets are used to attach the running boards to the frame of your Chevy truck. Make sure to select the right brackets that match the model and size of your truck. The screws and nuts are used to secure the brackets onto the frame of your truck. It’s important to use high-quality screws and nuts to ensure that the running boards are securely fastened and won’t come loose while driving. With these materials in hand, you’re ready to begin the installation process and add a stylish and functional touch to your Chevy truck.
Before starting the Chevy running board installation, it is essential to ensure you have all the necessary materials. You will need a drill, drill bits, a socket set, a torque wrench, a tape measure, a center punch, a rubber mallet, and a saw. Additionally, you will need the running board kit, which should include the running boards, brackets, hardware, and instructions. It’s crucial to have all the required materials before starting the installation to avoid delays and ensure a smooth process. With the right materials and tools, you can successfully install the Chevy running boards and enhance the appearance and functionality of your vehicle.
The installation process of Chevy running boards involves several items, each serving a specific purpose to ensure that the boards are securely installed. First, the mounting brackets are used to attach the running boards to the vehicle’s frame, providing a strong foundation for the boards. Second, the bolts and nuts are used to fasten the brackets to the frame, ensuring that the brackets and running boards are tightly secured. Third, the washers are used to distribute the pressure evenly across the brackets and frame, preventing damage to the vehicle. Finally, the end caps are used to cover the exposed ends of the running boards, providing a finished and polished look to the installation. Overall, each item plays a crucial role in the installation process and contributes to the longevity and stability of the running boards.
Preparation
Preparation is a crucial step when it comes to installing Chevy running boards. Before beginning the installation process, make sure that you have all the necessary tools and materials. You will need a drill, drill bits, a wrench, a socket set, and a torque wrench. Additionally, you will need the running boards themselves, brackets, and any necessary hardware. It is important to make sure that you have the right size and style of running board for your Chevy model. Review the instructions carefully, and familiarize yourself with the steps in the process before starting. Next, prepare your Chevy for the installation process. Park your vehicle on a flat surface and engage the emergency brake. Make sure that the engine is turned off and that the keys are removed from the ignition. If necessary, use a jack to lift the vehicle and provide more clearance for the installation. It is also a good idea to clean the area around the mounting points, removing any dirt or debris that may interfere with the installation. By taking the time to properly prepare your tools and your vehicle, you can ensure a smooth and successful installation of your Chevy running boards.
Preparing the truck before installing Chevy running boards is a crucial step that should not be overlooked. Proper preparation ensures that the installation process is smooth and seamless, reducing the likelihood of any hiccups or damage to the truck. It also ensures that the running boards are installed securely and durably, so they can withstand the weight and pressure of passengers and cargo. Preparing the truck involves cleaning and inspecting the mounting areas to ensure they are free of debris or rust. It also involves measuring and marking the correct placement of the running boards, as well as test-fitting them before installing them permanently. Taking the time to prepare the truck before installing Chevy running boards will save time and hassle in the long run, and ensure a job well done.
Before installing new running boards on your Chevy truck, it’s essential to prepare the vehicle properly to ensure a smooth and successful installation. The first step is to clean the truck carefully to remove any dirt, dust, or grime that may interfere with the installation process. Once the truck is clean, you should remove any old running boards or debris that may be present. This will enable you to assess the condition of the truck’s body and determine whether any repairs or modifications are required before installing the new running boards. By taking the time to prepare your Chevy truck properly, you can ensure that the installation process goes smoothly and that your new running boards look and function correctly for years to come.
Installation
Installation of running boards on your Chevy vehicle can add both style and functionality. However, it is important to note that the installation process can vary depending on the make and model of your vehicle. In this step-by-step guide, we will discuss the general process of Chevy running board installation. Before beginning the installation process, it is important to ensure that you have all of the necessary tools and materials. This may include a drill, a socket set, a torque wrench, and the running boards themselves. It is also important to carefully read the manufacturer’s instructions prior to beginning the installation process. Once you have gathered your materials and familiarized yourself with the instructions, you can begin the installation process. This generally involves removing the existing rocker panels, drilling holes for the brackets, and attaching the brackets to the vehicle. The running boards are then attached to the brackets using bolts and washers. Once the running boards are securely attached, it is important to check for proper alignment and tighten all bolts and screws to the manufacturer’s specifications. With a little patience and attention to detail, you can successfully install running boards on your Chevy vehicle and enjoy the benefits of added style and functionality.
To install running boards on your Chevy, you’ll need to follow a few key steps. First, gather all the necessary tools, including a drill, screws, and a socket wrench. Next, locate the mounting holes on the underside of the vehicle and use a drill to make the necessary holes for the brackets. Once the brackets are secured, attach the running board to the brackets using screws and a socket wrench. Finally, double-check that everything is securely fastened and test the running board to ensure it can support weight and function as intended. With these steps, you can easily and successfully install running boards on your Chevy.
Ensuring that running boards are properly secured to a truck is crucial for both safety and functionality. To do this, start by carefully reading the installation instructions provided by the manufacturer. Make sure you have all the necessary tools and hardware, and that the running boards are properly sized for your specific truck model. Begin by cleaning the surface of the truck where the boards will be installed, and then use a torque wrench to tighten the mounting brackets to the recommended torque specification. Double-check that all bolts and screws are tightened and that the running boards are level and flush with the truck body. Finally, take the truck for a test drive to ensure that the running boards are stable and secure, and make any necessary adjustments before hitting the road.
Final Touches
After completing all the necessary steps of the Chevy Running Board Installation, it’s time to give the final touches to your vehicle. It’s essential to double-check everything to ensure that your running board installation is done correctly. First, check the bolts and screws to make sure they are tight and secure. Loose bolts can cause a lot of problems while driving, and it can also damage your running board’s structure. Tighten them up until they are snug and make sure they’re not over-tightened to avoid any damage to the vehicle. Next, wipe down the running boards with a clean cloth to remove any dirt or debris that may have accumulated during installation. You can use a mild soap solution to clean them thoroughly. Also, check for any scratches or scuffs on the running board’s surface and use a touch-up paint to cover them. Finally, take a step back and admire your work. The Chevy Running Board Installation has transformed the look and functionality of your vehicle. It’s an excellent addition that will make your vehicle stand out from the rest, and it will also provide an easier and safer way to enter and exit your car.
After installing the Chevy running board, there are a few finishing touches that must be considered to ensure a seamless finish. First, it is important to clean any debris or residue left behind during the installation process. This can be done using a mild soap and water solution or a specialized cleaner designed for automotive finishes. Next, the running board should be inspected for any scratches or dents that may have occurred during installation. If any damage is found, it should be addressed immediately to prevent rust or corrosion from forming. Finally, a protective coating or wax should be applied to the running board to protect it from the elements and maintain its appearance over time. These final touches will not only ensure a professional-looking installation but also help prolong the life of the running board.
Maintaining the running boards on your Chevy is essential to ensure their longevity. First and foremost, it is important to clean the running boards regularly to prevent dirt and debris from accumulating and causing damage. Using a mild soap and water solution, gently scrub the running boards and dry them thoroughly. Additionally, inspect the running boards periodically for any signs of rust or corrosion, as this can weaken the metal and lead to structural damage. If you notice any damage, address it immediately to prevent further deterioration. Finally, consider applying a protective coating to the running boards to prevent scratches and other forms of wear and tear. By following these simple maintenance tips, you can ensure your Chevy’s running boards remain in excellent condition for years to come.
Following a step-by-step guide for installation is crucial for anyone attempting to install any kind of product or system. In the case of the Chevy running board installation, following a guide is even more important as it ensures that the installation is done correctly and safely. The guide provides a clear set of instructions that must be followed in order to ensure that the installation is completed in the correct order and that each step is completed properly before moving on to the next. Failure to follow the guide can result in an improper installation, which can lead to safety issues, damage to the product, or even injury to the installer. Therefore, it is important to take the time to carefully read and follow the step-by-step guide to ensure a safe and successful installation.
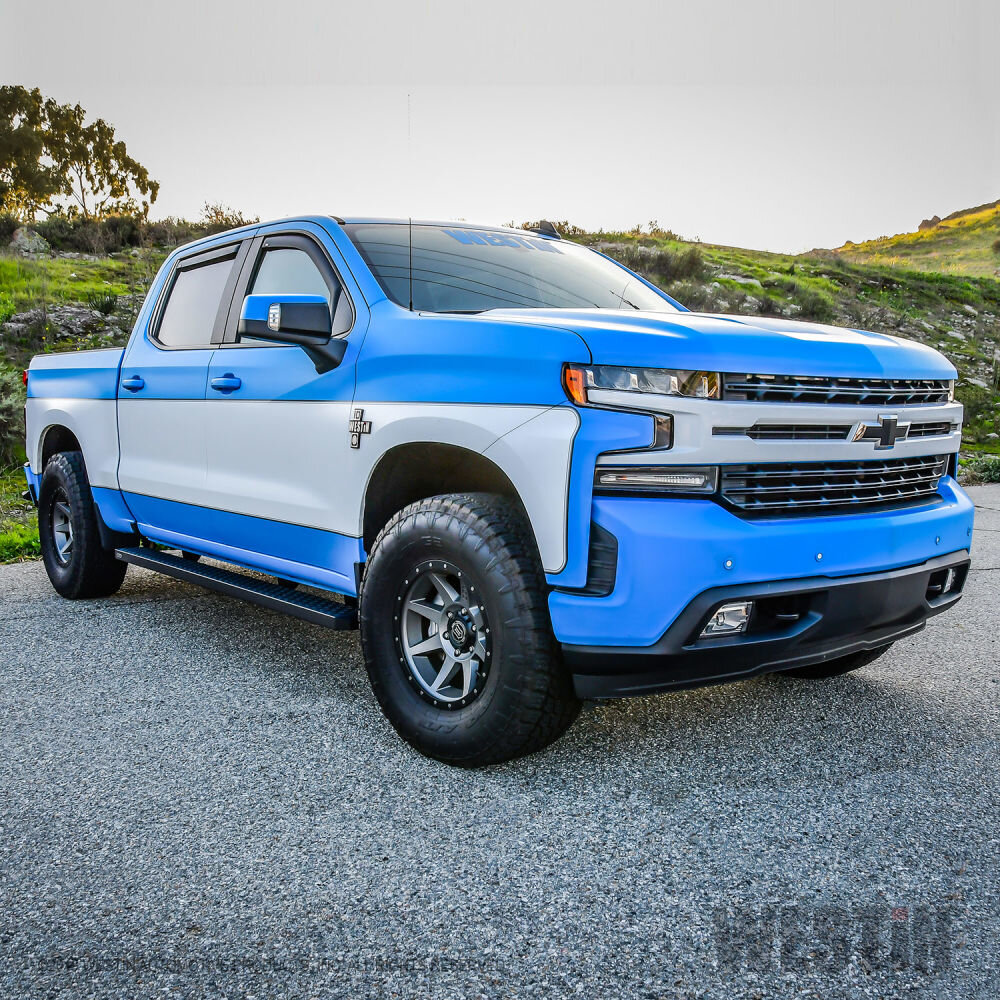
If you are a Chevy truck owner, you already know how versatile and dependable these vehicles are. But did you know that installing running boards can enhance both the functionality and appearance of your truck? Running boards provide a number of benefits, including easier access to the cabin, added protection from road debris, and improved fuel efficiency by reducing wind resistance. Plus, they can give your Chevy truck a sleek and stylish look that sets it apart from the rest. Whether you use your truck for work or play, installing running boards is a smart investment that will make your driving experience even more enjoyable. So why wait? Follow our step-by-step guide to Chevy running board installation and start enjoying the benefits today!
Conclusion

In conclusion, installing running boards on your Chevy can be a great way to enhance the overall look and functionality of your vehicle. By following the step-by-step guide provided, you can have your running boards installed in no time. Not only do running boards provide additional support and convenience for passengers entering and exiting the vehicle, but they also add a touch of style to your Chevy. Whether you’re a seasoned DIYer or new to automotive projects, this installation guide will help you successfully complete the task. So, don’t hesitate to give your Chevy the upgrade it deserves with a set of sleek and sturdy running boards.
