4Runner Maintenance: Removing Running Boards Made Easy
The Toyota 4Runner is a reliable and durable SUV that has been a favorite among adventure seekers for decades. As with any vehicle, regular maintenance is crucial to ensure it runs smoothly and lasts for years to come. One aspect of 4Runner maintenance that can often be overlooked is the removal of running boards. Although running boards can be a convenient addition to the vehicle, they can also become damaged or worn out over time, making them a potential hazard. In this guide, we will detail the steps necessary to safely and easily remove running boards from your Toyota 4Runner. Taking the time to properly remove running boards from your 4Runner can prevent potential damage to the vehicle and ensure that any replacements or repairs are done correctly. It can also be a relatively straightforward process that can be completed with a few basic tools. Whether you are looking to replace your running boards or simply want to clean up the appearance of your vehicle, this guide will provide you with all the necessary information to complete the task efficiently and effectively. So, let’s get started and get those running boards off your 4Runner!
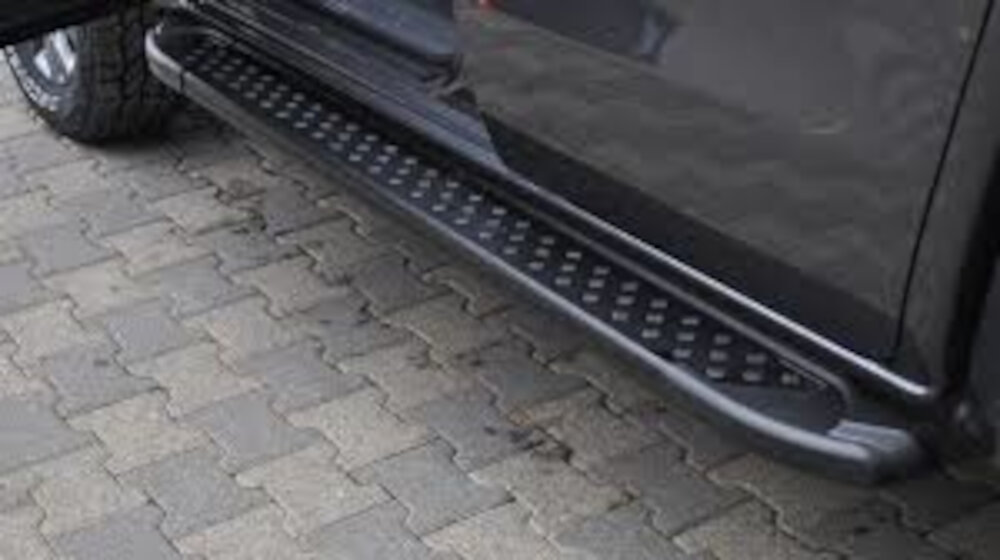
The running boards of a 4Runner SUV are not only functional for easy access to the vehicle, but they also enhance the overall appearance of the car. It’s crucial to maintain these boards to ensure the safety of passengers and prevent any potential accidents that may occur due to loose or damaged boards. Regular cleaning and inspection of the running boards can help detect any wear and tear, rust, or other damages that may require immediate attention. If the boards are not properly maintained or damaged, they may need to be removed for maintenance or replacement. Removing the running boards can be a daunting task, but with the proper tools and instructions, it can be done quickly and efficiently.
Tools and Materials Needed
Maintaining your 4Runner is crucial to ensure its long-term performance and durability. Removing running boards is a common task that many 4Runner owners undertake to enhance the vehicle’s accessibility and aesthetics. However, before you begin the process, you must ensure that you have the necessary tools and materials. Firstly, you will need a set of wrenches and sockets, as well as a ratchet and extension. These tools will help you remove the bolts holding the running boards in place. You may also need a pry bar or a screwdriver to help you remove the clips or screws that hold the running boards in place. Additionally, you may require a torque wrench to ensure that you tighten the bolts to the manufacturer’s specifications. Finally, you will need a pair of gloves and safety glasses to protect your hands and eyes from any debris or sharp edges. By having all these tools and materials ready, you can ensure that the process of removing running boards from your 4Runner is smooth and efficient. In conclusion, removing running boards from your 4Runner can be an easy and straightforward process if you have the right tools and materials. It is essential to ensure that you have all the necessary equipment before you begin the task to avoid any delays or complications. By following the manufacturer’s instructions and using the correct tools and materials, you can safely remove the running boards and maintain your 4Runner’s performance and appearance.
Removing the running boards from a 4Runner requires a set of specialized tools and materials to ensure the task is completed safely and efficiently. Firstly, a socket wrench set with a variety of socket sizes is needed to remove the bolts securing the running boards. In addition, an impact wrench can be helpful for stubborn bolts. A pry bar or trim removal tool is necessary to gently pry the running boards away from the vehicle without damaging the surrounding trim. It is recommended to have a pair of gloves and safety glasses to protect hands and eyes from sharp edges and flying debris. Finally, a clean workspace and a drop cloth or cardboard to protect the ground from scratches and dings will make the process smoother. By having these tools and materials on hand, the removal of 4Runner running boards can be done safely and efficiently.
When it comes to finding the tools and materials needed for 4Runner maintenance and removing running boards, there are a few different options. One option is to check your local auto parts store or hardware store for tools like socket wrenches, pliers, and screwdrivers. For items like replacement clips or bolts, it may be helpful to search online for the specific parts you need. Additionally, some car enthusiasts may have a collection of tools that they are willing to lend or sell. It’s important to do some research and compare prices to ensure you are getting the best deal on the necessary tools and materials.
Preparation
Preparation is key when it comes to removing running boards from your 4Runner. Before you begin the process, make sure you have all the necessary tools and equipment. This includes a socket set, a wrench, and a pry bar. You may also want to have a friend on hand to help you with the removal process. Having an extra set of hands can make the job much easier and safer. In addition to having the right tools, it’s important to prepare your 4Runner for the removal process. Start by parking on a level surface and engaging the parking brake. Then, disconnect the battery to prevent any electrical shocks while working on the running boards. Finally, take a moment to inspect the running boards and note any damage or wear that may need to be addressed during the removal process. By taking these steps to prepare, you can ensure a smooth and safe removal process for your 4Runner’s running boards.
Removing running boards from your 4Runner may seem daunting at first, but with the right tools and steps, it can be a breeze. First, park your 4Runner on level ground and engage the emergency brake. Then, use a socket wrench to remove the bolts holding the running boards to the frame of the vehicle. Be sure to keep the bolts and any other hardware in a safe place for later reinstallation. Next, locate the wiring harness that connects the running boards to the electrical system of the vehicle and carefully unplug it. Finally, gently lift the running boards off of the frame and set them aside. With these simple steps, you can easily remove your 4Runner’s running boards and give it a sleek, streamlined look.
Before beginning the process of removing running boards on a 4Runner, it is crucial to take necessary safety precautions. Firstly, ensure that the vehicle is parked on a level surface to prevent it from rolling or tipping over. Secondly, wear appropriate safety gear, such as safety goggles and gloves, to protect yourself from any injuries that may occur. It is also essential to disconnect the battery to prevent any electrical hazards. Additionally, make sure to have all the necessary tools and equipment on hand before starting the process. Always follow the manufacturer’s instructions and take extra care when working with heavy or sharp objects. By taking these safety precautions, you can ensure a safe and successful process of removing running boards from your 4Runner.
Removing the Running Boards
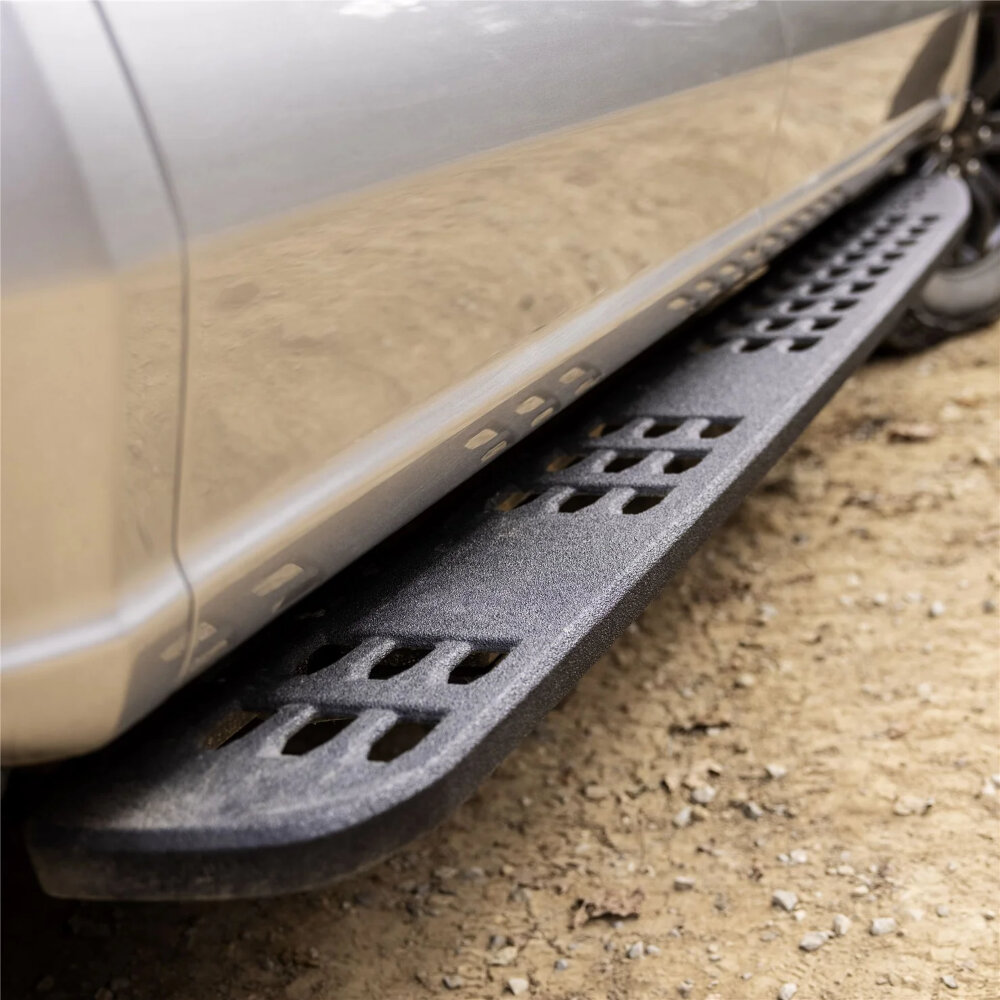
The running boards of a 4Runner are a convenient accessory for getting in and out of the vehicle, but they can also be a hindrance for off-roading and other activities. Removing the running boards can improve ground clearance and make it easier to access the undercarriage of the vehicle for maintenance purposes. The process of removing the running boards is relatively simple and can be done with basic tools. First, the bolts attaching the running board to the vehicle must be located and removed. This may require the use of a socket wrench or other tool to loosen and remove the bolts. Once the bolts are removed, the running board can be gently lifted off of the vehicle. It is important to be careful when removing the running board as it may be heavy and could cause injury if mishandled. After the running boards are removed, it is important to clean the area where they were attached to the vehicle. This can be done using a wire brush or other tool to remove any dirt or debris. It may also be necessary to touch up the paint or apply a rust inhibitor to prevent corrosion. Removing the running boards can be a simple and effective way to improve the performance and appearance of a 4Runner. It is important to follow the proper steps and take necessary precautions to ensure safety and prevent damage to the vehicle. With a little bit of effort and attention to detail, anyone can remove the running boards from their 4Runner and enjoy the benefits of increased ground clearance and easier maintenance access.
Removing the running boards from your 4Runner can be a simple and straightforward process if you follow these detailed instructions. First, locate the mounting brackets that secure the running boards to the vehicle’s frame. Use a socket wrench to loosen and remove the bolts that hold the brackets in place. Next, gently pull the running board away from the vehicle and detach any wiring or cables that may be connected to it. Once the running board is completely free, store it in a safe and secure location. It is important to note that removing the running boards may require additional steps depending on your specific 4Runner model and the type of running boards installed. Always consult your owner’s manual or a trusted mechanic before attempting any maintenance on your vehicle.
Removing running boards from your 4Runner can be a tricky task, especially if you’re not careful enough. To avoid damaging the vehicle or the running boards during the removal process, there are some tips you should keep in mind. Firstly, make sure you have the right tools for the job, such as a socket wrench, pliers, and a pry bar. Secondly, take your time and work slowly, being mindful of the location of any screws or bolts that need to be removed. Thirdly, use a non-slip mat or towel to protect the vehicle’s paintwork from scratches and dings. Finally, be gentle when prying off the running boards and avoid using excessive force, as this can cause damage to both the boards and the vehicle. By following these tips, you can easily and safely remove your 4Runner’s running boards without causing any damage.
During the removal process of running boards from your 4Runner, some common issues may arise that require troubleshooting. One of the most frequent issues is rusted or stuck bolts that make it difficult to remove the running boards. In this case, you can use rust penetrant spray or a lubricant to loosen the bolts. Another issue that may occur is damage to the vehicle’s paint or body while removing the running boards. To prevent this, you should use protective material like tape or a cloth between the running board and the vehicle’s body. Additionally, some running boards may have wiring or electrical connections that may need to be disconnected before removal. If you encounter any electrical issues, you should refer to the vehicle’s manual or seek the help of a professional. By troubleshooting these common issues, you can make the removal process smoother and easier.
Reinstallation
Reinstallation is a crucial step in the maintenance process of a vehicle as it ensures that all the components are properly secured and in their correct position. In the case of running boards, the reinstallation process involves aligning the brackets with the holes on the frame of the vehicle and tightening the bolts to ensure a secure fit. It is essential to ensure that the brackets are aligned correctly, as any misalignment can lead to rattling and potentially damage the vehicle’s frame. Additionally, it is important to tighten the bolts to the manufacturer’s recommended torque specifications to prevent over-tightening, which can cause the bolts to break or strip the threads. When reinstalling running boards, it is important to check for any signs of wear or damage, including rust or bent brackets. If any damage is found, it is crucial to replace the damaged components before reinstalling the running boards to ensure safe operation. Additionally, it is recommended to use a thread-locking compound on the bolts to prevent them from loosening over time due to vibration. Proper reinstallation of running boards can help improve the vehicle’s appearance and functionality while ensuring safe operation for the driver and passengers.
Now that you have successfully removed the running boards from your 4Runner, it’s time to reinstall them safely and efficiently. Before beginning this process, ensure that you have all the necessary tools and hardware, including bolts, washers, and nuts. Step one is to position the running board on the vehicle’s side and ensure that it aligns with the mounting holes. After that, insert the bolts and tighten them using a wrench or socket set. It’s essential to follow the correct torque specification, which can be found in your owner’s manual. Next, attach the brackets to the running board using washers and nuts and tighten them firmly. Finally, double-check all bolts and nuts to make sure they are secure and the running board is correctly installed. By following these step-by-step instructions, you can safely and efficiently reinstall the running boards onto your 4Runner.
When removing and reinstalling running boards on your 4Runner, it’s essential to ensure a secure and long-lasting installation. Firstly, make sure to clean the mounting area thoroughly and remove any rust or debris that might weaken the connection. Secondly, use high-quality hardware to secure the running boards to the vehicle’s body and tighten them to the manufacturer’s specifications. Thirdly, apply a corrosion-resistant coating to the mounting area and the bolts to prevent rust and corrosion. Finally, check the running boards regularly for any signs of damage or loosening and tighten them as needed to maintain a safe and secure installation. By following these tips, you can ensure that your running boards will stay securely attached to your 4Runner for years to come.
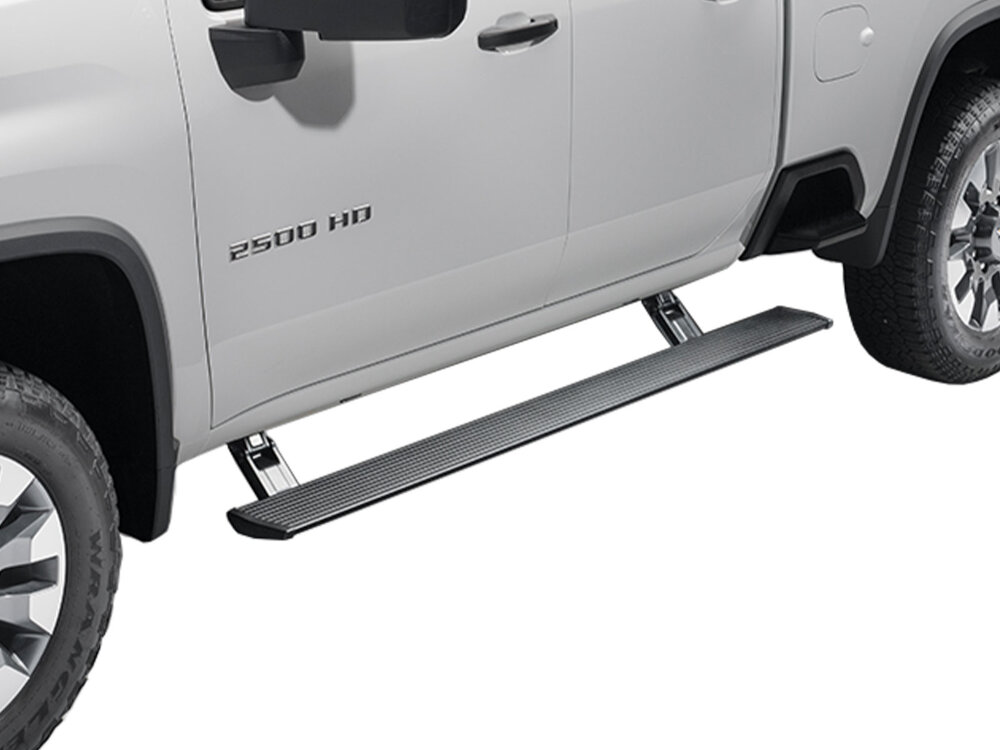
Maintaining 4Runner running boards is an essential part of vehicle maintenance that is often overlooked. These components provide a secure footing for passengers to enter and exit the vehicle safely, protecting them from slips and falls. In addition to providing a functional benefit, running boards also enhance the aesthetic appeal of the vehicle, giving it a sleek and polished look. Neglecting to maintain running boards can lead to rust, corrosion, and damage to the vehicle’s body, which can be costly to repair. Regular cleaning, inspection, and repair of running boards can ensure that they remain in optimal condition and continue to function properly. In short, maintaining 4Runner running boards is not only a matter of safety but also a wise investment in the longevity and value of the vehicle.
In conclusion, removing and reinstalling running boards on your 4Runner can be a simple task if you follow the right steps. It is important to have the right tools and equipment, as well as a clear understanding of the process. Make sure to take your time and be careful when removing the bolts and brackets to avoid damaging your vehicle. When reinstalling, make sure to tighten the bolts securely and test the stability of the running boards before using them. If you are not confident in your abilities, it may be best to seek professional help. Overall, maintaining your 4Runner’s running boards is important for both aesthetics and functionality, and with the right care, they can last for years to come.
Conclusion

In conclusion, maintaining your 4Runner is essential for its longevity and optimal performance. Removing the running boards may seem like a daunting task, but with the right tools and instructions, it can be a straightforward process. Regularly checking and cleaning the running boards can also prevent dirt and debris buildup, which can lead to rust and damage. By taking care of your vehicle, you can enjoy a smooth and safe driving experience for years to come.