Remove Power Assisted GM Running Boards: Safety-First Guide
Power assisted running boards are a great convenience feature in modern cars. They provide easy access to the vehicle’s cabin by automatically deploying when the door is opened and then retracting when the door is closed. However, these running boards can sometimes malfunction and cause inconvenience to the car owner. In such cases, it is necessary to remove the running boards to repair or replace them. Removing power assisted running boards can be a daunting task, especially for those who are not familiar with the process. This guide gives a safer overview for removing or servicing power assisted GM running boards, but the exact procedure depends on the model year and step system. The guide is designed to help car owners with GM vehicles, such as Chevrolet, GMC, and Cadillac, understand the power assisted running-board removal process. The process may require basic tools, but it also involves electrical connectors, brackets, motors, and heavy moving parts. The guide provides a comprehensive explanation of each step, making it easy for car owners to follow. If the system is stuck, corroded, or unclear, a qualified mechanic or accessory installer is often the better choice. Whether you need to remove the running boards for repair or replacement, this guide will help you understand the job before deciding whether to do it yourself.
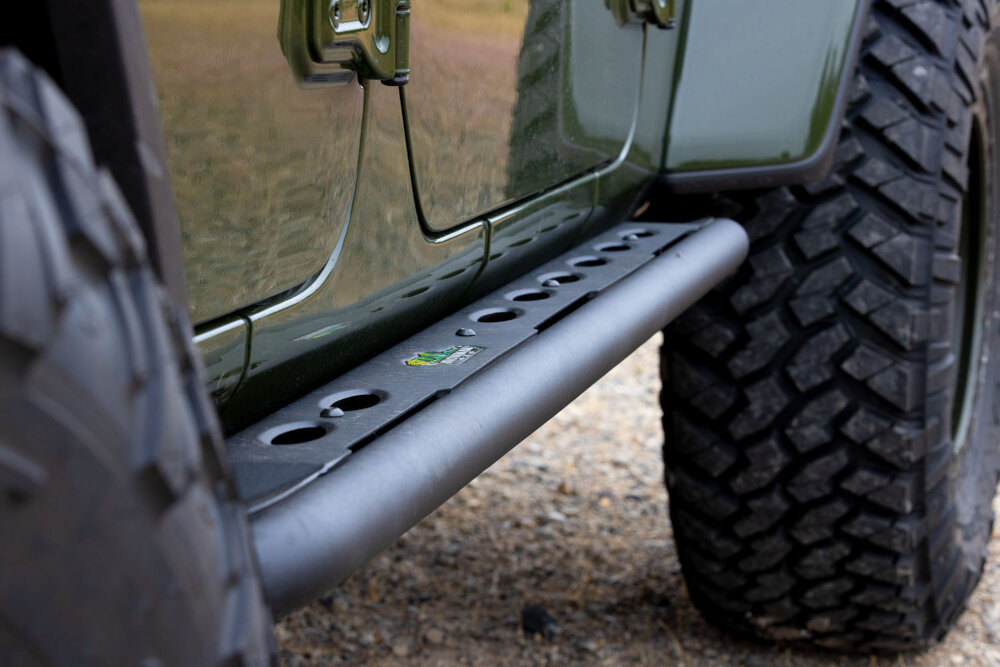
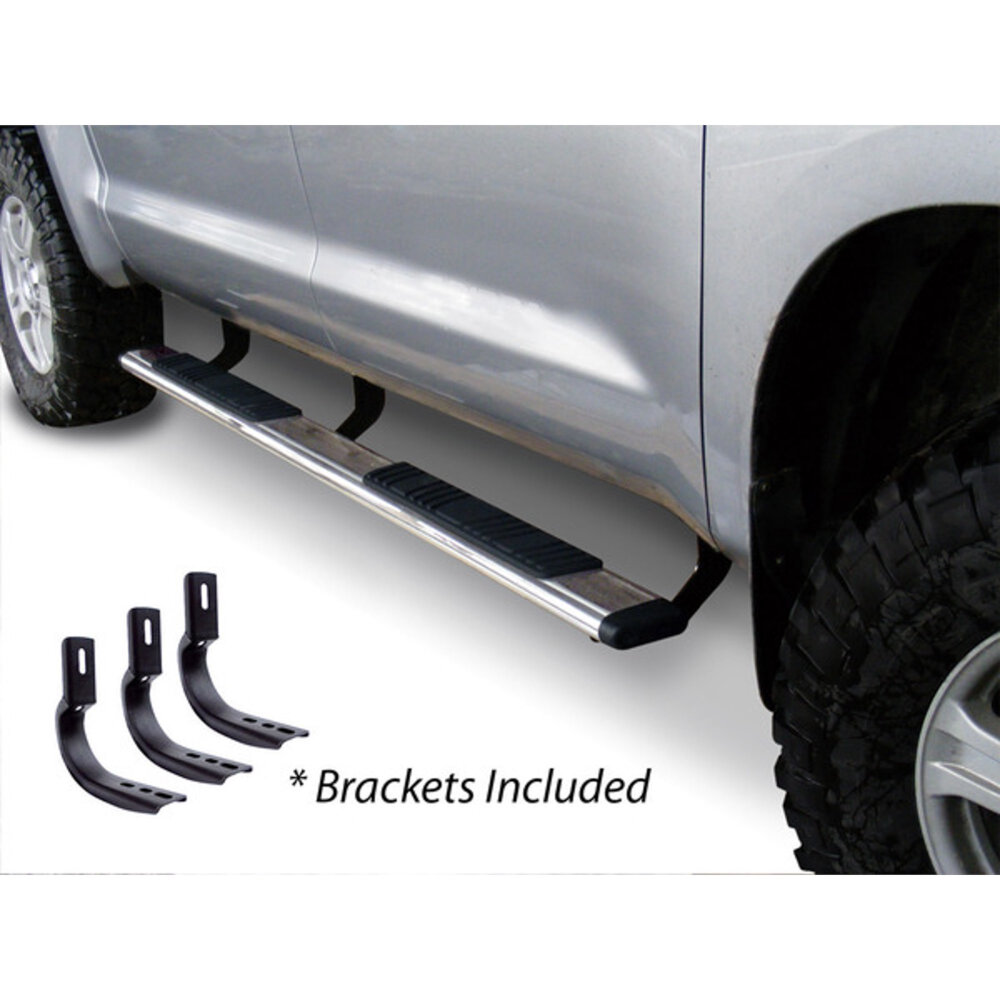
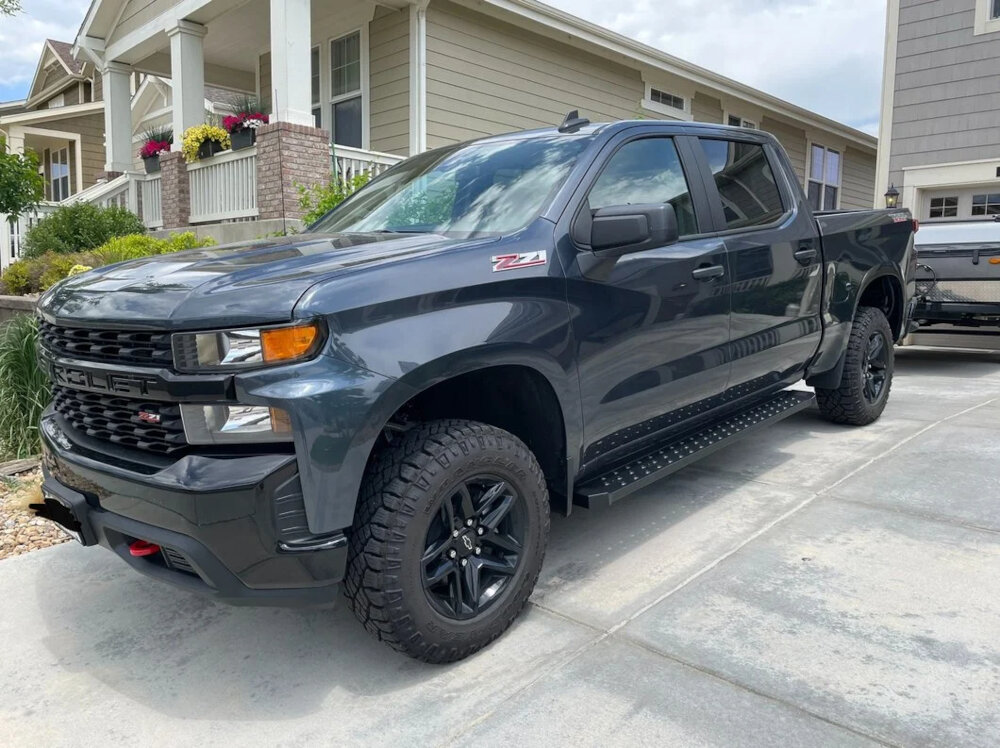
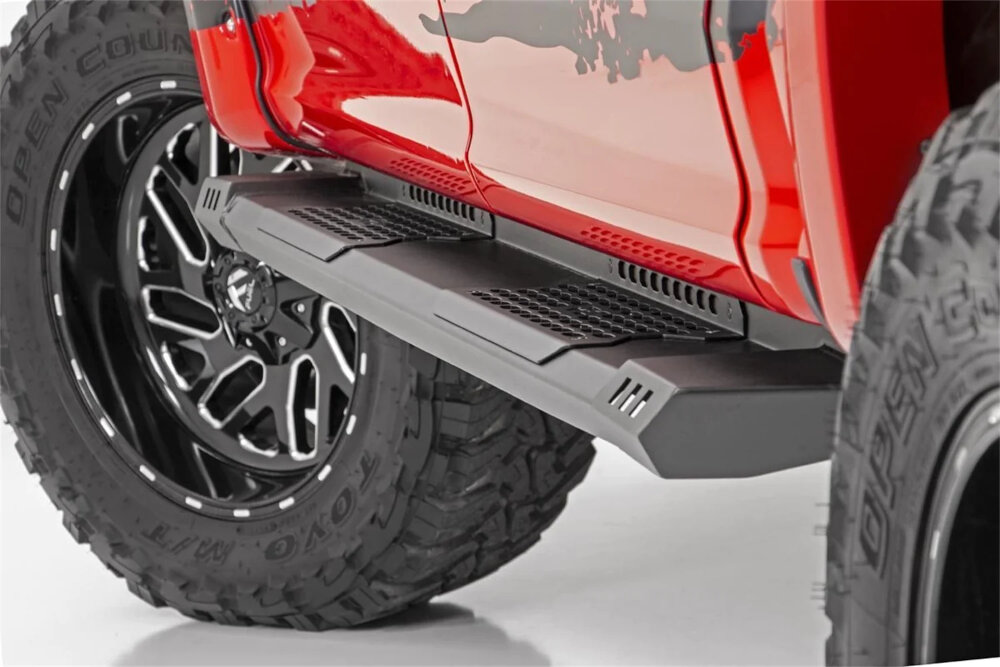
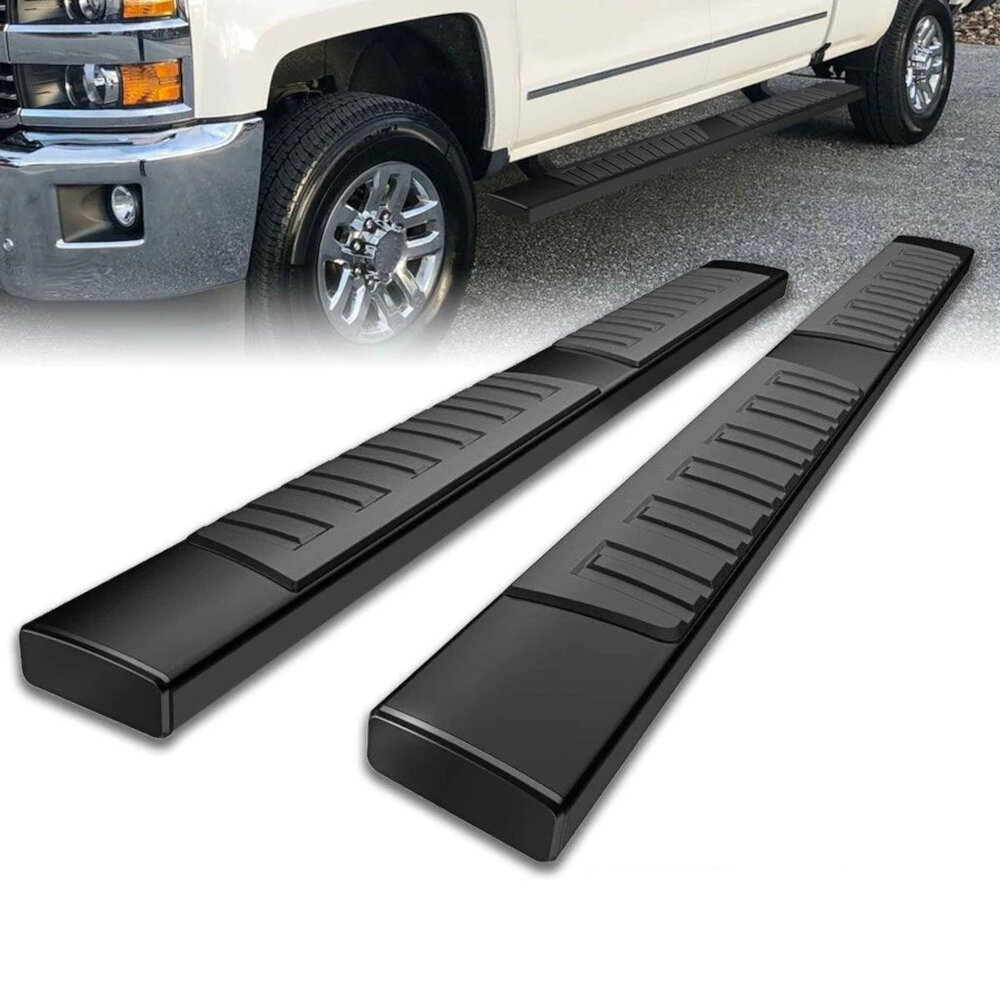
GM running boards are an essential component of a vehicle that provides a convenient step up for passengers to enter and exit the car. They are designed to enhance the overall appearance of the vehicle and offer a practical solution for drivers and passengers. These running boards are made from durable materials that ensure longevity and durability. GM running boards come in different styles and sizes, catering to the diverse needs of the customers. The power-assisted running boards are a popular choice among GM vehicle owners as they provide a hassle-free experience, making it easy to get in and out of the car. However, removing power-assisted GM running boards can be challenging, requiring a step-by-step guide to ensure it is done correctly.
Removing the running boards is only necessary if you are repairing, replacing, or intentionally deleting the power step system. These boards are responsible for providing you with an easy step up into your vehicle, but over time, they can become damaged, worn out, or simply in need of replacement. By removing them, you not only ensure that they are in good working order, but you also make it easier to access the underside of your vehicle for maintenance or repairs. Removing the boards may improve clearance, but it can also expose wiring, leave mounting holes, affect resale value, or remove a useful access step. Treat the job as a vehicle-specific service task, not a universal quick removal.
Before Removing GM Power Running Boards
Power-assisted GM running boards are tied into vehicle electronics, door signals, motors, brackets, and sometimes infotainment settings. Before unbolting anything, check whether your goal is simply to disable or extend the steps, repair a stuck mechanism, or remove the whole assembly.
| Check first | Why it matters | Safer next step |
|---|---|---|
| Owner manual/menu setting | Some GM vehicles let you enable, disable, or extend power assist steps from a vehicle menu. | Use the exact owner’s manual for the model year before pulling parts. |
| Electrical power | The step can move unexpectedly if power remains connected. | Pull the correct running-board fuse or disconnect the negative battery cable before service. |
| Step weight and support | Powered boards, motors, and brackets can be awkward and heavy. | Support the board before removing fasteners and keep hands clear of pivot points. |
| Wiring and module condition | Damaged connectors or corrosion can turn a removal job into a diagnostic job. | Label connectors, inspect harness routing, and avoid cutting wiring unless replacing the system. |
Related GarageSanctum guides: compare power running boards, review electric running-board cost and drop height, find a running-board installer, or learn how to use running boards safely.
Source Notes Used For This Refresh
- GM/Cadillac quick-reference material describes power assist steps that can lower automatically and can be disabled, enabled, or extended from the vehicle screen on equipped models.
- GM articulating running-board repair guidance commonly starts by pulling the running-board fuse or disconnecting the negative battery terminal before working on the step.
- Aftermarket power running-board installation guidance for Silverado/Sierra platforms shows that mounting points, bolt plates, control modules, wiring harnesses, and connectors vary by vehicle and kit.
Tools and Materials Required
When it comes to removing power assisted GM running boards, the right tools and support make the process safer and reduce the chance of damaging the board or harness. The first thing you will need is a set of wrenches, including a 10mm, 13mm, and 15mm wrench. These will be used to remove the bolts and screws that hold the running boards in place. Additionally, a socket set can be incredibly helpful in accessing hard-to-reach areas and removing stubborn bolts. You may also want to have a pry bar on hand to help loosen any stuck components. In addition to tools, there are a few materials that will make the job easier. First, make sure you have a safe and sturdy workspace to work in. A flat surface with good lighting will help you see what you’re doing and prevent any accidents. You may also want to have some lubricant, such as WD-40, on hand to help loosen any rusted or tight components. Finally, having a friend or family member to assist you can be incredibly helpful, especially when it comes to lifting and maneuvering the running boards once they are removed. With these tools and materials, the work is more manageable, but it still needs careful support and electrical isolation.
Before starting the process of removing power assisted GM running boards, it is essential to have the right set of tools and materials. The first and foremost requirement is the correct size of wrenches, screwdrivers, and sockets to loosen the bolts and screws that hold the running boards in place. Additionally, a pair of pliers, a pry bar, and a rubber mallet might come in handy. It is also essential to have a safe and stable working area with a level surface and enough space to move around the vehicle. Finally, it is recommended to wear protective gear such as gloves and safety glasses to prevent injuries while working on the running boards. Having all these tools and materials ready before starting the process will make the task easier and safer.
To remove power assisted GM running boards more safely, you will need a few tools and materials. Firstly, you will need a socket wrench set that includes an extension and a universal joint. This will allow you to reach all of the bolts and nuts necessary for removal. You will also need a trim panel removal tool to help you remove any clips or screws that may be holding the running boards in place. Additionally, a torque wrench will be necessary for reinstallation of the running boards. As for materials, you will need some silicone spray to help loosen any stubborn bolts or nuts, as well as some touch-up paint to cover any scratches or blemishes that may occur during the removal process. Finally, it is important to have a clean and organized workspace to ensure that you do not lose any small parts or tools during the removal and reinstallation of the running boards.
Step-by-Step Guide
If you’re looking to remove power-assisted GM running boards, you’ve come to the right place. Use this as a general sequence, then confirm the exact steps in the owner manual or service information. First, make sure your vehicle is parked on a level surface and the engine is turned off. Disconnect the negative battery cable to ensure your safety during the entire process. Next, locate the running board motor and disconnect it from the wiring harness. You can do this by simply pulling the harness clip out of the motor. Then, remove the two bolts found on the motor mount to detach it from the frame of the vehicle. Once you’ve done this, you can now remove the running board from the vehicle. Gently lift it up and slide it off the mounting brackets, taking care not to scratch the paint of your vehicle. Repeat this process on the other side of the vehicle to remove the other running board. In summary, removal can be manageable when the board is supported, power is isolated, and fasteners/connectors are accessible. Take your time and be careful during the entire process to avoid any accidents or damage to your vehicle. Work slowly, label hardware, and stop if the board binds or wiring does not release cleanly.
Removing power assisted GM running boards can be a difficult task, but a careful sequence can reduce mistakes. First, locate the power supply and disconnect it. Then, remove the plastic covers on the ends of the running board. Next, remove the bolts and nuts on the brackets that attach the running board to the vehicle’s frame. Gently slide the running board off the brackets and set it aside. Repeat the process for the other side. Finally, remove the brackets and any remaining hardware from the vehicle. With these steps, you can successfully remove the power assisted GM running boards and upgrade to a different style or leave them off completely for a more streamlined look.
If you want to remove power assisted GM running boards, it is essential to follow each step carefully and clearly. The first step is to locate the running board’s electrical connections and disconnect them. Ensure that you have the right tools and safety equipment to prevent any accidents. Secondly, remove the mounting bolts and brackets, which hold the running board in place. This step may require some effort, so be patient and avoid using excessive force. Once all the mounting bolts and brackets are removed, gently pull the running board away from the vehicle’s frame. Finally, inspect the area for any damages, clean the mounting surface, and dispose of the running board properly. Following the steps can reduce complications, but corrosion, damaged clips, heavy boards, or unclear wiring can still require professional help.
Including images or diagrams can be an extremely helpful tool for aiding understanding in tutorials or instructional guides. For this kind of repair, images and diagrams can provide a clear visual representation of the steps needed to complete the task at hand. With the addition of well-placed graphics, readers can easily follow along and visualize the instructions provided, making the process of removing the running boards much smoother and more efficient. The use of images and diagrams can also help to prevent confusion and misunderstandings, ensuring that readers can successfully complete the task with confidence.
Tips and Precautions
When it comes to removing power-assisted GM running boards, there are some essential tips and precautions that you should keep in mind to prevent any damage or injuries during the process. Firstly, always read the manufacturer’s instructions thoroughly before beginning the removal process. This will help you understand the specific tools and techniques required for the task and ensure that you do not miss any critical steps. Additionally, it is essential to wear protective gear, such as gloves and safety glasses, to prevent any harm during the process. Moreover, it is crucial to use the appropriate tools and equipment for the job. Using the wrong tools can cause damage to the running board and the vehicle, which can lead to costly repairs. Therefore, make sure to use the right size of wrench, socket, or screwdriver as specified in the manual. Furthermore, if you are not confident about the process, seek professional help or guidance to avoid any mishaps. Lastly, always double-check that all electrical connections are disconnected before removing the running board to prevent any electrical shock or short-circuit. Following these tips and precautions can make the job safer, but it should not be rushed.
Before attempting to remove power assisted GM running boards, there are several important safety precautions to take. First, ensure that the vehicle is parked on a level surface and the parking brake is engaged. Next, disconnect the battery to prevent any electrical shocks or malfunctions. It is also important to wear appropriate safety gear, such as gloves and eye protection, as well as to have a first aid kit on hand in case of any accidents. During the task, be mindful of any sharp edges or heavy parts, and work slowly and methodically to avoid any mishaps. Following these safety measures will help ensure a successful and injury-free removal of power assisted GM running boards.
Removing the power-assisted GM running boards can be a daunting task, but following some simple tips and tricks can make it easier and more efficient. Firstly, make sure to disconnect the battery before starting the process, as it will prevent any electrical mishaps. Secondly, using a penetrating oil can help loosen the bolts and make them easier to remove. Additionally, using a socket wrench with an extension bar can make reaching the bolts under the vehicle smoother. Lastly, it’s essential to have a friend or an assistant to support the weight of the running board while it’s being removed. These tips can save time, but supporting the board and isolating power are more important than speed.
Removing power assisted GM running boards can be a difficult task, but the right tools and knowledge help. Firstly, locate the motor and remove the power supply. Next, detach the brackets and bolts that hold the running boards in place. This may require some physical effort, but with the right tools, it can be handled more safely. Once the bolts are removed, gently lower the board to the ground and detach the wiring harness. Remember to keep the bolts and brackets in a safe place for reinstallation. With these steps completed, the running board is now fully removed and ready for maintenance or replacement. By following a careful sequence, you can reduce the chance of damage and decide when the job needs professional service.
In conclusion, removing power-assisted GM running boards can be a daunting task, but with the right tools and steps, it can be done carefully. It is crucial to follow the steps carefully and take safety precautions to avoid any injuries. Additionally, it is recommended to seek the help of a professional if you encounter any difficulties during the process. With patience and persistence, you can successfully remove the running boards and avoid avoidable damage. Remember to refer back to this guide whenever you need to remove or install running boards to ensure a smooth process.
Conclusion
In conclusion, removing power assisted GM running boards can be a daunting task, but with the right guidance and tools, it can be accomplished carefully. Following a careful process can reduce avoidable damage, but do not skip service information for your exact GM model. It is important to approach this task with caution and patience to ensure a successful outcome. With this knowledge and the proper tools, you can better decide whether to remove, repair, replace, or have a shop service your power assisted GM running boards.
