Install Speed Daddy Running Boards: Fitment, Brackets and Safety Checks
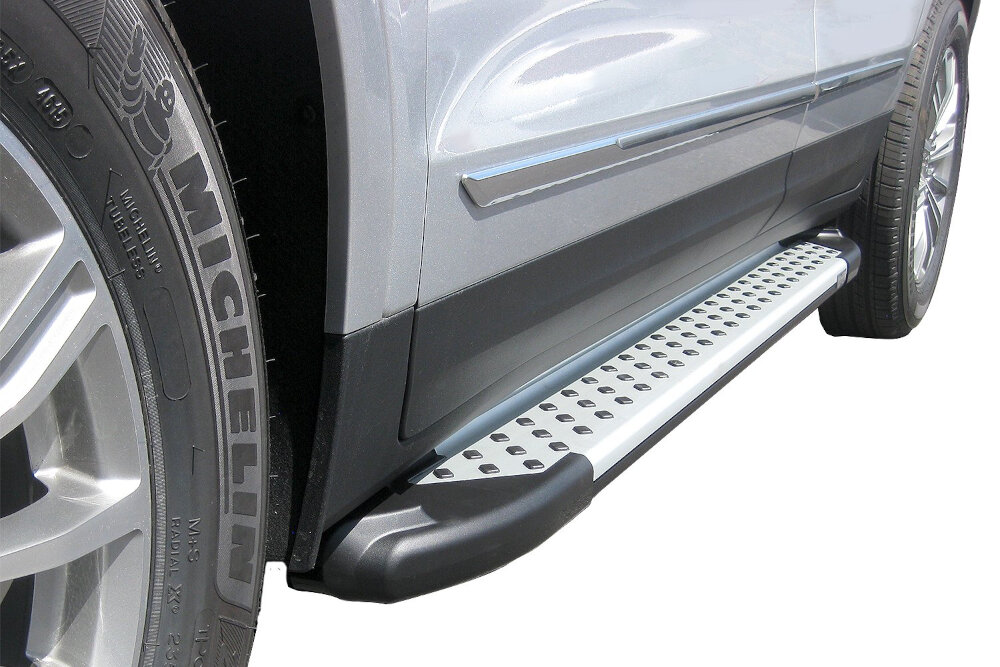
Installing running boards on your vehicle can provide a number of benefits, from enhancing the vehicle’s aesthetic appeal to making it easier to get in and out of the car. However, installing running boards can be a daunting task, especially for those who are not familiar with automotive DIY. Enter Speed Daddy Running Boards, a high-quality and easy-to-install option for those seeking to add running boards to their vehicles. With the right kit, instructions, tools, and workspace, many bolt-on running-board installs are realistic DIY projects, but some vehicles or bracket kits are better handled by a shop. Treat Speed Daddy running boards as a fitment-specific accessory: the right kit can work well, while the wrong bracket set can create alignment and safety problems. The running boards are made of high-quality materials that can withstand wear and tear, helping them hold up when installed and maintained correctly. Additionally, the running boards are designed to be both functional and stylish, adding a touch of elegance to your vehicle while also providing a practical benefit. Use the steps below as a checklist, then follow the instructions included with your exact Speed Daddy kit.
The article Install Speed Daddy Running Boards: Fitment, Brackets and Safety Checks guides readers on how to install Speed Daddy Running Boards efficiently. These running boards offer a stylish look to the vehicle and provide a comfortable step for passengers to get in and out of the car. Installing them may seem like a daunting task for some, but with the right guidance, it can be done smoothly. It is essential to know how to install running boards as they not only enhance the vehicle’s appearance but also provide safety for passengers. The goal is a stable, aligned board that does not interfere with doors, rocker panels, wiring, or body mounts.
Quick Answer: Confirm Fitment Before You Touch The Bolts
Install Speed Daddy running boards only after you confirm the kit matches your exact year, make, model, cab style, bed length, and bracket hardware. Running boards are not universal: the brackets, mounting holes, body-mount locations, and torque specs can change by vehicle.
Most bolt-on running-board installs follow the same broad pattern: identify the driver/passenger boards, loosely install the brackets, set the board on the brackets, align it with the cab, then tighten hardware to the kit or vehicle torque specification. If the kit requires drilling, body-mount bolt removal, wiring, or unclear bracket placement, treat it as a higher-risk install.
| Vehicle fitment | Wrong brackets can leave the board unstable or impossible to align. | Year, make, model, cab style, bed length, and kit part number. |
|---|---|---|
| Hardware layout | Left/right brackets and bolt plates may not be interchangeable. | Lay out all brackets, washers, nuts, and bolts before lifting the board. |
| Mounting points | Some kits use factory holes, while others use body mounts or require drilling. | Confirm whether the instructions say no-drill, body-mount, or drill installation. |
| Final tightening | Loose or over-tightened hardware can create noise, damage, or unsafe movement. | Use the torque value from the running-board kit or vehicle service information. |
4 rows
Scroll horizontally to view all columns.
Related GarageSanctum guides: start with how to choose running boards, compare current running boards, review power running boards, or compare nerf bars vs running boards.
Installation Safety Notes
- Leave brackets loose until the board is positioned and aligned, then tighten in the sequence and torque range supplied with the kit.
- Do not drill, remove body-mount bolts, or modify brackets unless the instructions for your exact kit call for it.
- After the first short drive, recheck for movement, rattles, loose hardware, door clearance, and step stability.
Install-pattern references checked for this refresh include LEER running-board installation guidance, TrailFX installation instructions, and Dee Zee running-board instructions. Always use the instructions for the exact Speed Daddy kit and vehicle.
Step-by-Step Installation Checklist
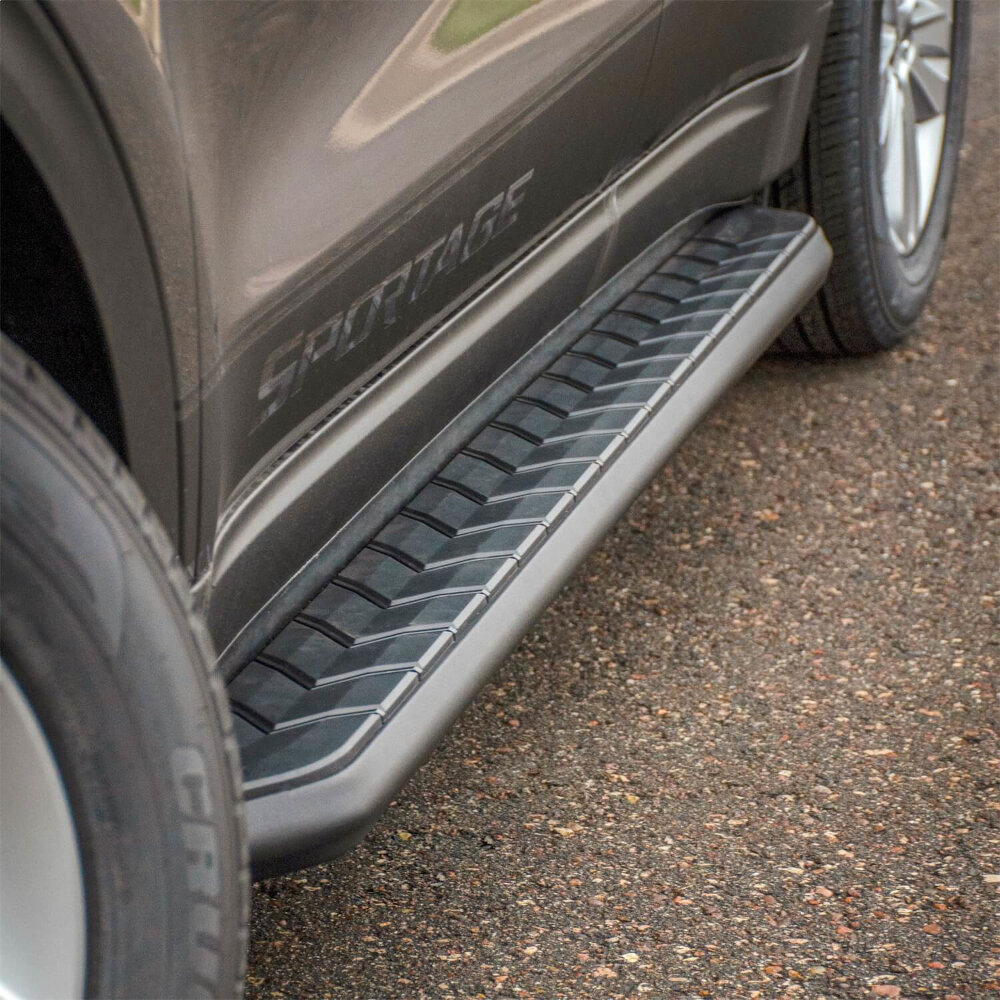
Installing running boards on your vehicle can not only enhance its appearance but also provide a practical benefit by making it easier to get in and out of your car or truck. If you have recently purchased a set of Speed Daddy running boards and are looking for a step-by-step guide to install them, you have come to the right place. With just a few simple tools and some basic knowledge, you can install many bolt-on running boards without guessing. First, you will need to gather your tools and materials. This will typically include a socket wrench, a set of sockets, a torque wrench, and some basic hand tools. You will also need the running boards themselves, as well as any mounting brackets or hardware that came with them. Once you have everything you need, you can begin the installation process by first removing any old or existing running boards from your vehicle. From there, you can mount the new brackets onto your vehicle’s frame, making sure to follow the manufacturer’s instructions carefully. Finally, you can attach the running boards to the brackets and tighten everything up to ensure a secure fit. Do not fully tighten the hardware until the brackets and board are aligned.
Before attempting to install Speed Daddy running boards, it’s important to gather all the necessary tools. These tools include a socket wrench, a torque wrench, a drill, a drill bit set, a center punch, a rubber mallet, a wire brush, and a measuring tape. It’s also recommended to wear safety goggles and gloves while performing the installation. By having all the appropriate tools on hand, the installation process will be much smoother and efficient. Without these tools, it’s possible to encounter difficulties or even cause damage to the running boards or the vehicle. Taking the time to gather the necessary tools beforehand helps reduce mistakes and keeps the work area safer.
Before installing your new Speed Daddy running boards, it’s crucial to remove the old ones (if applicable). This step may require some elbow grease, as older running boards tend to accumulate rust and debris over time. You’ll need to loosen the bolts or screws that secure the old running boards to your vehicle’s frame, carefully prying them away to avoid any damage. Once the old running boards are removed, take the time to clean and prepare the area for the new running boards. Removing old running boards gives you a cleaner mounting area and lets you inspect rust, damaged threads, and missing factory hardware.
After you have measured and marked the appropriate spots on your vehicle, the next step is to install the brackets on which the Speed Daddy running boards will be mounted. The brackets are usually included with the running boards, and they come in different sizes and shapes to fit various vehicles. It is crucial to read the instructions that come with the brackets carefully and ensure that you place them in the correct position and orientation. Once you have determined the correct location for the brackets, you can use a socket wrench to tighten the bolts and secure the brackets to the vehicle’s frame. The brackets must be secured to the specified torque after alignment so the running boards are stable.
Step 4 of the installation process for Speed Daddy Running Boards is where you attach the boards to your vehicle. This step matters because loose or misaligned boards can move under load. Assemble the brackets and bolts provided with the running boards and attach them to the vehicle’s frame using the pre-drilled holes. Then, carefully align the running boards with the brackets and secure them using the bolts provided. It is essential to ensure that the bolts are tightened securely to prevent any wobbling or movement while using the running boards. After this step, inspect clearances and recheck every fastener before using the boards.
After completing the installation process of Speed Daddy Running Boards, it’s essential to test them to ensure they’re firmly secured and functioning correctly. Step 5 involves checking if the boards are stable enough to hold weight by applying pressure on them. Testing helps catch movement, rattles, or loose hardware before normal use. If the board shifts, flexes unusually, or contacts the body, stop and correct the install.
Tips and Tricks
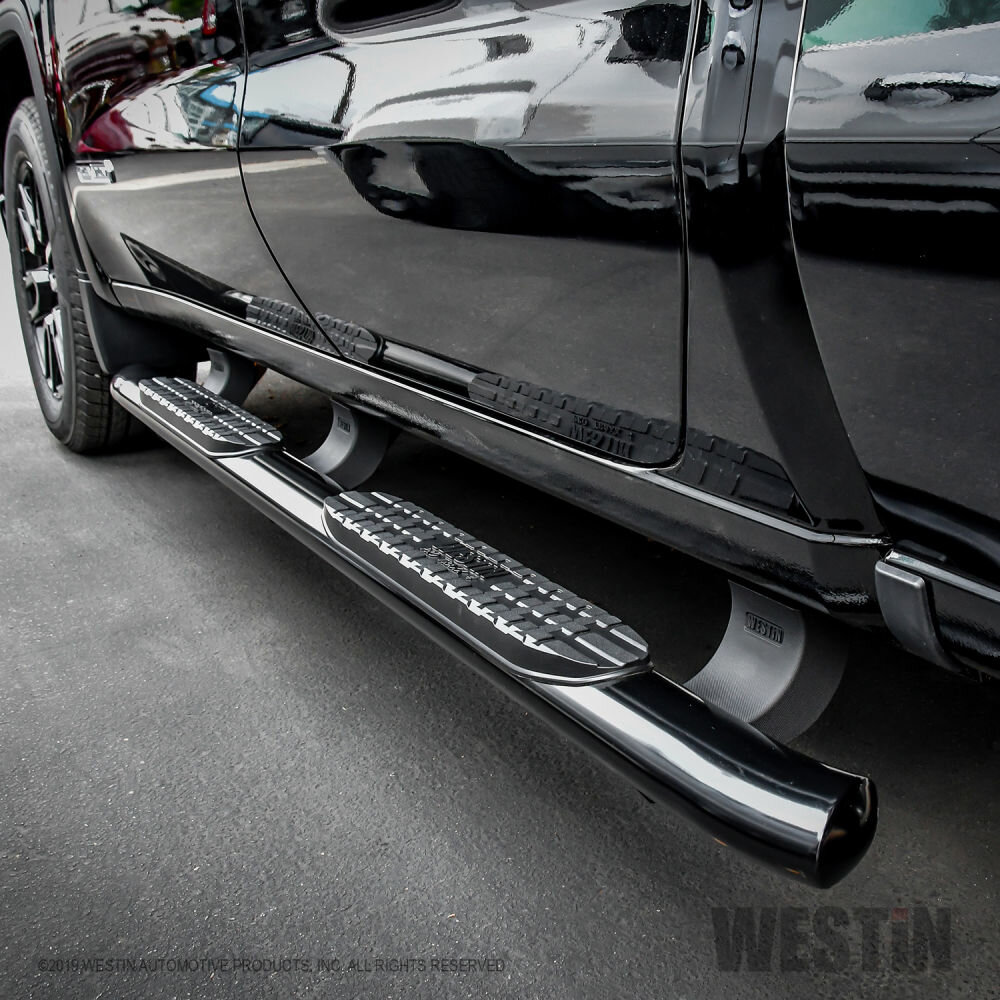
When it comes to installing new car accessories, it can be a daunting task for some people. However, with the right tips and tricks, it becomes easier to manage. One of the most important things to keep in mind is to read the instructions before starting the installation process. This will ensure that you have all the necessary tools and parts, and that you understand the steps involved. Another helpful tip is to have a friend or family member assist you with the installation. Not only can they offer an extra set of hands, but they can also provide moral support and help you stay focused. Another helpful trick is to take your time and be patient. Rushing through the installation process can lead to mistakes and frustration. It’s important to follow the instructions carefully and double-check your work as you go. If you do encounter any issues or obstacles, don’t hesitate to reach out to the manufacturer or consult online forums for advice. Finally, remember that practice makes perfect. The more you install car accessories, the easier it will become. So, don’t be afraid to tackle new projects and expand your DIY skills. These habits help with Speed Daddy running boards and other bolt-on truck accessories.
To make the installation process of Speed Daddy running boards even smoother, there are a few additional tips and tricks that you can follow. Firstly, make sure that you have all the necessary tools and hardware before beginning the installation process. Secondly, clean the area where the running boards will be installed to ensure a smooth surface. Thirdly, read the instructions carefully and double-check the alignment of the running board before tightening any bolts. Fourthly, it’s always a good idea to have a friend or family member assist you in the installation process to make it quicker and safer. Lastly, don’t rush the process, take your time to ensure that the running boards are installed correctly and securely. Follow these tips, but let the vehicle-specific instructions override generic advice.
Common Issues and How to Fix Them
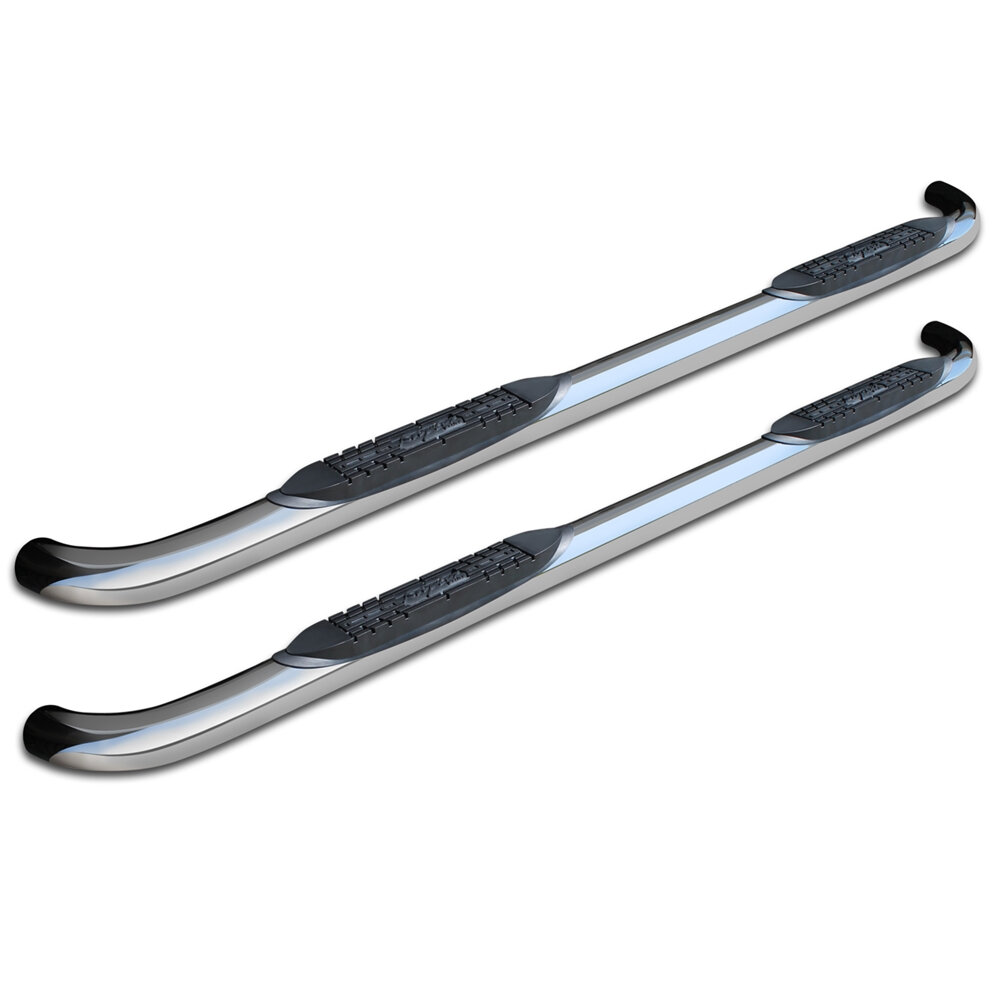
When it comes to installing running boards, it’s not uncommon to run into some issues. One of the most common problems people face is the misalignment of the brackets. This can cause the boards to sit unevenly and potentially compromise their stability. To fix this issue, you’ll need to start by double-checking the measurements and ensuring the brackets are properly aligned before tightening them. If you’ve already tightened them and noticed the misalignment, you may need to loosen them and adjust the positioning. Taking the time to ensure everything is aligned properly will save you from having to redo the installation later on. Another common issue when installing running boards is the stripping of screws or bolts. This can happen if you’re using the wrong tools or applying too much force. To avoid this, make sure you’re using the correct size and type of screw or bolt for your vehicle and the running boards. If you’re unsure, refer to the manufacturer’s instructions or seek advice from an expert. Additionally, be sure to apply gentle pressure when tightening the screws or bolts, and avoid using power tools unless they’re specifically recommended. If you do happen to strip a screw or bolt, you’ll need to remove it and replace it with a new one.
During the installation process of Speed Daddy Running Boards, people may run into some common issues. One major issue could be misalignment of the brackets or the boards themselves, causing difficulty in securing them in place. To solve this, it is important to double-check the measurements and ensure that all brackets are aligned properly before securing them. Another issue could be the lack of proper tools, which can make the process more challenging. In this case, it is recommended to gather all necessary tools beforehand and have them readily available. Additionally, if the installation instructions are not clear or easy to follow, it can lead to confusion and mistakes. It is important to read through the instructions thoroughly and seek assistance or clarification if needed. By addressing these common issues and taking the necessary precautions, the installation process is less likely to create alignment or hardware problems.
The article titled Install Speed Daddy Running Boards: Fitment, Brackets and Safety Checks provides an in-depth guide to installing running boards in your vehicle using Speed Daddy running boards as an example. The article outlines the necessary tools and materials required for the task, as well as providing a step-by-step guide for the installation process. Some installs are straightforward, while others require drilling, body-mount work, rust repair, or help from a technician. In conclusion, this article is an excellent resource for anyone who wants to install running boards in their vehicle and encourages readers to give the installation process a try themselves.
Conclusion
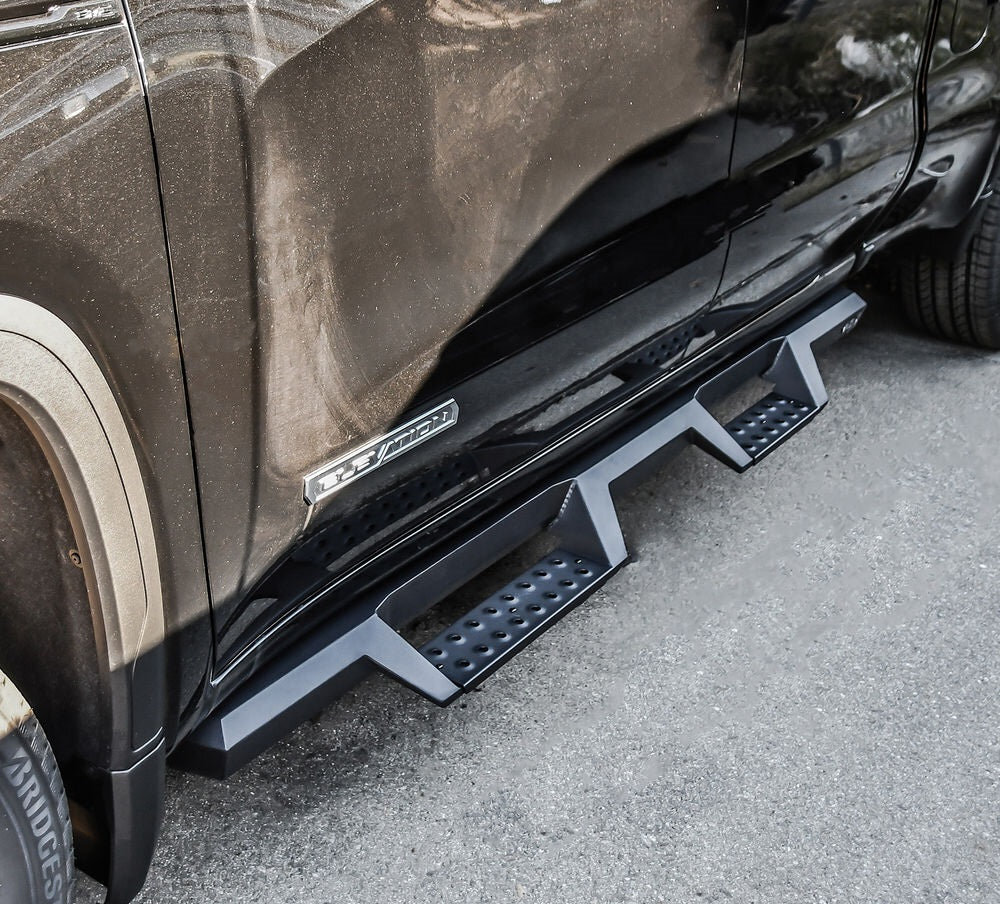
In conclusion, installing Speed Daddy running boards is mostly about fitment, bracket alignment, and final hardware checks. With the right tools and a little bit of patience, you can have your new running boards installed in no time, enhancing both the style and functionality of your vehicle. Don’t let the installation process intimidate you – take your time, follow the instructions, and enjoy the benefits of your new Speed Daddy running boards.