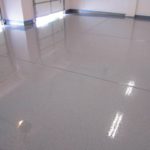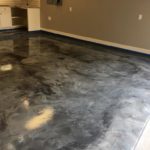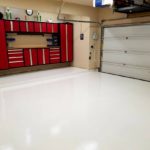
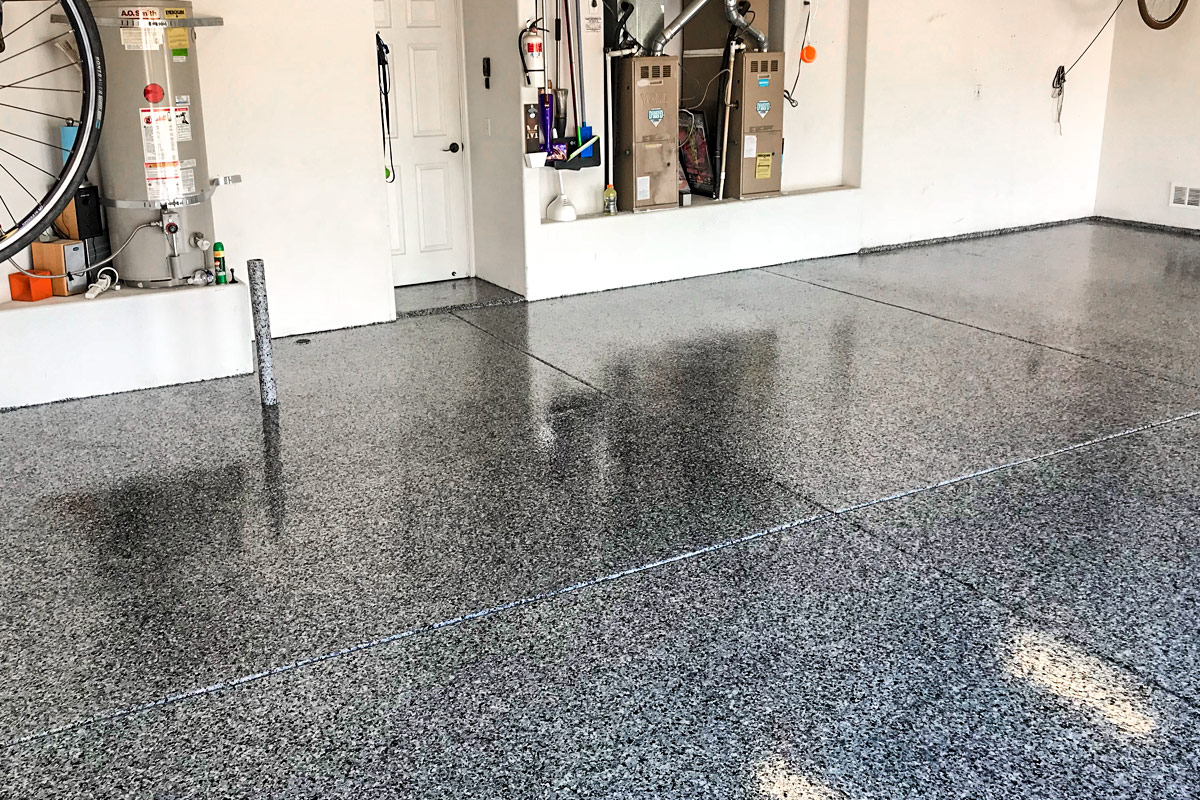
How to Coat Garage Floor?
Every one of us drives a vehicle and it becomes a part of our routine to take care of that vehicle. We all have a designated room for parking our vehicles at our homes which is the garage. Although, we take care of the whole house the garage is the place which we tend to miss.
With repeated parking and unparking of vehicles in the garage, its floor may take a rough face. This should be handled with the right surface prep, product choice, and cure time. Like the garage floor deals with all the heavy and rough activities, the coating system should match the slab condition, traffic, chemicals, and slip-resistance needs.
In this article, we will take explore the various steps and methods involved in the coating of a garage floor. Many homeowners can do this project, but coating failure is common when prep, moisture, ventilation, or cure time is rushed.
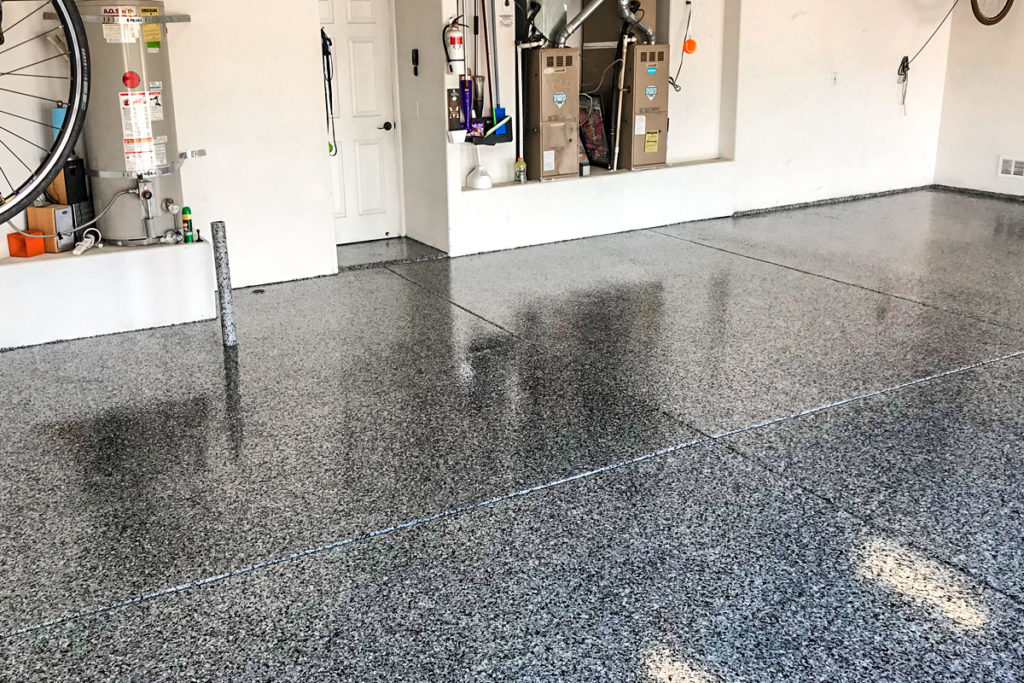
Quick Answer: The Coating Is Only as Good as the Prep
For most garage floors, the safest order is: test for old sealer, remove oil and rubber residue, repair cracks, profile the concrete, let the slab dry fully, then apply the coating within the product’s working time. Do not choose epoxy, polycuramine, paint, or clear coat until you know the concrete condition, moisture level, traffic needs, and ventilation limits.
| Step | Why it matters | Check before moving on |
|---|---|---|
| Clean and degrease | Oil, silicone, tire residue, and old coatings can stop adhesion. | Water should absorb into clean concrete instead of beading on the surface. |
| Repair and profile | Coatings need sound concrete and a surface profile they can grip. | Patch cracks, remove loose concrete, and follow the coating maker’s prep method. |
| Moisture check | Trapped moisture can blister or lift the coating. | Use the coating instructions for moisture testing and minimum dry time. |
| Apply in sections | Two-part coatings have limited pot life and recoat windows. | Mix only what you can roll in time, keep a wet edge, and respect cure time before parking. |
Related GarageSanctum guides: compare garage floor epoxy kits, review garage floor clear coat, or browse more garage flooring guides.
Steps and methods involved in Garage Floor Coating
The process of coating the garage floor includes various steps:
-
Making the floor ready for coating
This step includes various other steps to explore before applying the coating to the garage floor.
- Find out if the floor already has a coating on it: This step involves checking the garage for any pre-applied coatings. In case, you are planning on applying an epoxy coating to the floor, do check if it has a polyurethane or latex coating. If it does, you need to remove that before applying the epoxy coating as it is not suitable as a substrate.
- Check for any lubricant stains: Another thing to check before applying the coating is the stains caused due to vehicle fuel or lubricant. Check for oil and grease stains and if found any, clean them with an industrial degreaser or solvent-based cleaner. After this, use a concrete degreaser for removing any formation of grease or oil.
- Rubber residue: It is often seen that while parking and unparking the vehicle in the garage. The garage floor gets those rubber residue from the tires of the vehicle, these residues are also not good for the epoxy coating and hence need to be removed with the help of sandpaper or can also be grounded.
- Check the whole floor for some undetected coating: It is possible that there exists some coating that could not be seen by the naked eye. In order to detect such coatings on the floor, use the coating manufacturer’s recommended test or prep method; if muriatic acid is used, follow the product label, add acid to water rather than water to acid, and wear suitable protection. Spill this acid on different areas of the floor and check where the acid goes slight yellow. Wherever it does not go yellow, you need to clean those areas as they have some sort of coating on them and need to be removed.
-
Etching the floor
This step includes making the floor suitable for the epoxy to stick without any imperfections.
- Get a cleaner for etching: Etching is the process of making the floor fit for epoxy. Etching helps in achieving that by filling up the pores on the floor to prevent imperfections. For this, you need a cleaner. Use the coating manufacturer’s recommended concrete profiling method, whether that is a safer etching product, grinder, shot blaster, or approved masonry cleaner. If the floor is not etched, there will be a lot of imperfections on it after the epoxy treatment.
- Check slab moisture and product instructions: Follow the coating instructions for dampening or drying; many coatings require the slab to be dry before application.
- Scrub the whole floor with a water/acid mixture: If an acid product is used, follow its label exactly and use proper dilution, ventilation, and PPE. Now, pour this mixture uniformly on the floor which will cover almost 70-100 square feet area. Use a bristled broom of about 18 to 24 inches to scrub the floor. Note that while scrubbing, you will get a white foamy reaction. Try doing it in squares and switch to another area when done with one.
- Rinse the floor with water: After you are completely done with the scrubbing of the floor. Clean the floor thoroughly with water. Remove the extra water with the help of a broom.
- Let the floor dry up completely: This is a crucial step as after this the epoxy coating will be applied to the floor. It is very important to make sure that the floor is completely dry. If it is left wet from even a small section, it will not maintain its bond with the epoxy coating. Dry time depends on moisture, temperature, ventilation, slab condition, and the coating manufacturer’s instructions.
-
Coating the floor
- Selecting the products: This step includes selecting the products required to coat the floor. These products include epoxy resin which is supposed to be applied to the floor. The catalyst is combined with the epoxy resin to provide it a hard finish. Thirdly, you require a pigment to provide a color to the resin as it is colorless. Last but not least, you need to texture the floor to control slipping and maintain traction. Some texturing elements are sandblasting sand and PVC plastic granules.
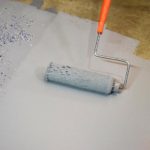
- Amount of material: This section describes the amount of material required for the particular area. For example, for the application rate of 5-6 mil, one gallon of the material combination will cover 200 square feet. Properly and slowly mix all the ingredients like epoxy, catalyst, and pigment as per guidelines provided by the manufacturer. While applying the mixture, use a roller so that it doesn’t become messy. Start from the back end of the garage and come forward while coating the floor. Try to do it relatively fast because some epoxy has a short working time of one hour.
- Dispose of the remaining material: As the epoxy cleaning solvents are dangerous and expensive, you need to dispose of the roller used for coating the entire garage.
- Allow the epoxy to settle and cure completely: Carefully study the manufacturer’s guidelines as the time required by different epoxy to cure themselves may vary.
- Observe the recoating time: If required, do the recoating of the floor in the appropriate time as it will cover up the texturing layer will also help in increasing the age of the floor coating.
Following all the above steps will definitely help you get a new garage floor coating easily. Also, you will be able to do everything yourself with ease.
Frequently Asked Questions About Garage Floor Coating
How much does it cost to epoxy the garage floor?
Before going to the garage floor coating cost & how to choose the best coating, it is vital to know there are various garage floor coating types. The prices of each type vary and it has its unique way of preparation and application which is most times indicated on the container. Moreover, if you are opting for a garage floor coating. Instead of learning how to do it yourself, it is cheaper than hiring an expert. For instance, the cost of epoxy garage floor coating per square foot ranges from $3 to $7. For a garage floor with two car spaces. The price will be between $1320 and $3080. Also, you need to know that the cost of epoxy floor coating majorly depends upon the floor condition, several layers to be covered and the type of epoxy you select.
What is the best garage floor paint?
Garage floor coating how to be, are of two types – Latex acrylic paint and Premixed 1-Part. Out of these two, the Pre-mixed 1-Part garage floor paint has always been preferred by Homeowners. This is because it makes a strong bond with concrete if properly mixed. This helps to prevent the floor from peeling and provides great resistance to mold and mildew. All the more you need to choose the right kind of garage floor coating, how to know which is the best is also imperative.
How much does it cost to pour a 24×24 slab of concrete?
If you want to buy a simple slab of concrete then it will cost you $4-$8/sq.ft. And for a 24*24 slabs of concrete, you have to pay from $3,058 to $5,944. Furthermore, the size of the slab, its thickness, and the type of concrete are factors that determine the cost of slabs.
What type of flooring is the best for a garage?
As garage floor coating how to handles the heaviest material and choosing the best flooring is very important. You need to make a perfect choice for your garage floor coating, want to know how to choose the right coating. Follow these points below:
1. Polished Concrete Flooring
Polished concrete flooring can withstand any wear and tear and even heavy pressure. If you are looking to spend less without sacrificing quality, polished concrete flooring is the best. In addition to that, this flooring type can be easily cleaned and are stain-resistant.
2. Epoxy Flooring
One good thing about this flooring is that it is very flexible. You can use this for any flooring type, it is very hard and this makes it highly durable. Epoxy garage floor coating how to choose the perfect color is quite a tough task as a number of colors are in the market. Make your garage come alive with anyone that suits your taste. However, it is vital to know that Epoxy garage floor coating systems are not suitable for floors that absorb moisture.
3. Rubber Tile Flooring
This type of flooring is very easy to install and is the best choice for the DIYers. For strength and stability, these floor tiles come in interlocking patterns. You can have the option to buy them either in the dimension of 12*12 or 24*24. Save some elbow grease as this flooring can be easily cleaned and it requires less maintenance.
How long does an epoxy garage floor last?
Well, it depends upon the quality and how well you maintain it. In general, the epoxy garage floor lasts 2 to 6 years. Furthermore, it depends upon the heavy wright it handles and foot traffic.
Is Polycuramine better than epoxy?
Comparing these two might be difficult as they both have their strengths and shortcomings. Homeowners claim that both are good and they are satisfied with the results. Both are resistant to stains and oil spills. One plus point for both is that they reflect light and can tolerate heavy mass easily. One of the shortcomings, however, is that Polycuramine has to be used on time and this requires a professional, thus, it is not suitable for garage floor coating to do it yourself. However, the epoxy color tends to change over time if exposed to severe UV.
Conclusion
As we have explored the step by step method of treating and repairing the garage floor above. It would be very easy for you to undertake the process yourself now. You need to be careful with all the steps as they are confined to strict conditions and any little mistake can have serious consequences. I hope this guide serves your purpose in the best way possible.
Safety Notes
- Acid etching and coating products can involve corrosive chemicals, fumes, slippery surfaces, and short working times. Follow the specific product label and safety data sheet, use suitable eye/skin protection, and keep the garage ventilated.
- If the slab has moisture problems, failing concrete, previous coating failure, or uncertain chemical contamination, mechanical prep or a professional coating installer is safer than guessing.