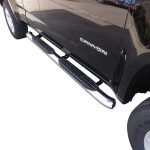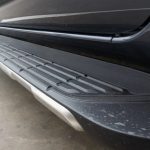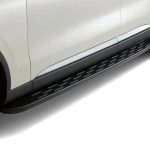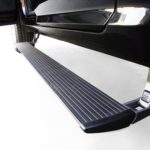
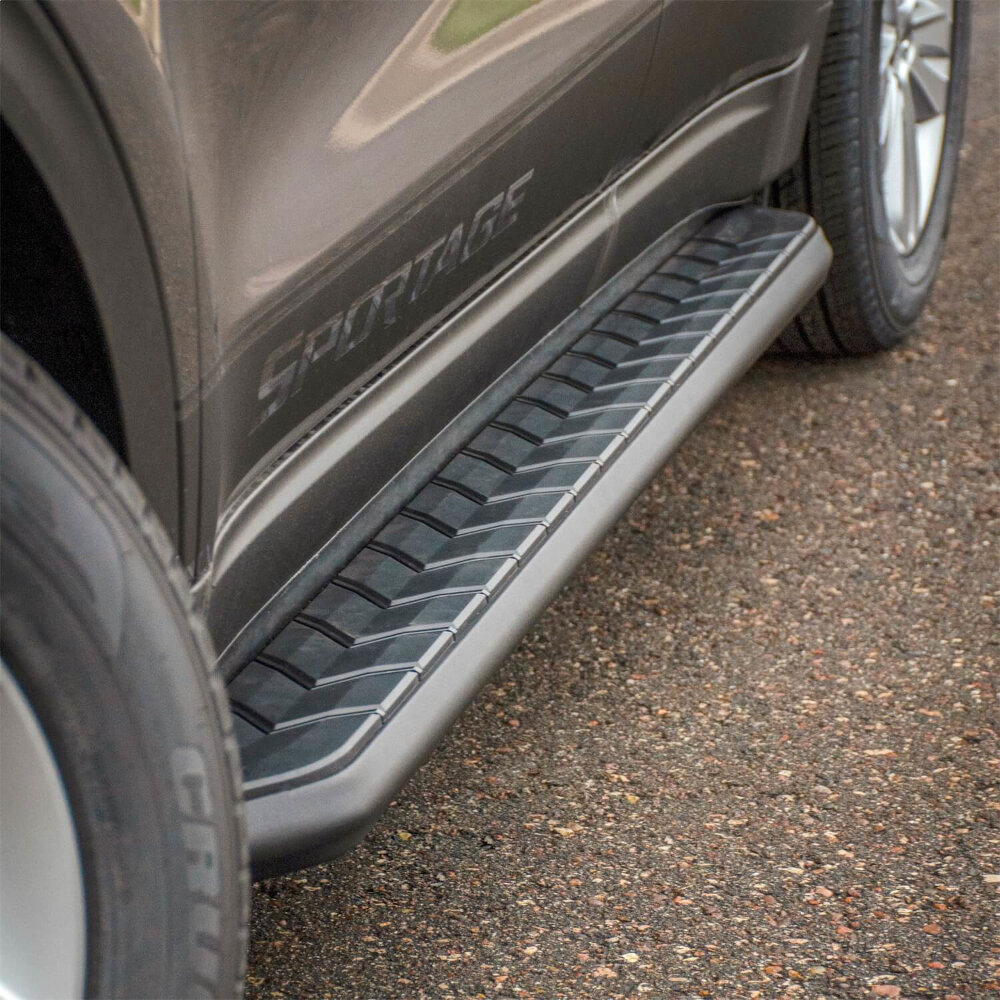
Quick answer: To identify who made an existing running board, record every logo, molded name, label, serial number, part number, patent number, controller label, and bracket stamp before searching. Confirm the vehicle’s exact year, make, model, cab, and powertrain separately. Then compare the evidence with manufacturer application guides and installation manuals. Shape alone is weak evidence because many fixed and powered boards look alike or are sold under more than one brand.
Start With Evidence, Not A Visual Guess
A long black board with two tread pads may resemble dozens of products. Replacement pads, end caps, brackets, motors, and controllers must match more than the outer appearance. The strongest identification is a readable part or serial number tied to an official catalog, invoice, installation manual, or manufacturer confirmation.
Clean only enough dirt to read markings. Photograph the entire board, both end caps, every bracket, the underside, tread pads, fasteners, and any wiring or controller. Take one photo of the board installed on the full vehicle side so cab length and door coverage are visible. Do not crawl under a vehicle supported only by a jack.
| Evidence | Strength | Why |
|---|---|---|
| Part/serial number confirmed in official catalog | Strongest | Connects the physical part to a documented application |
| Original invoice or installation record | Strong | May identify brand, kit number, seller, and installer |
| Manufacturer confirmation from photos and measurements | Strong | Lets product support compare internal records |
| Logo or molded brand name | Moderate | Useful clue, but pads and trim can be replaced or rebranded |
| Bracket and hole pattern | Moderate | Can match an instruction sheet when several details align |
| Product photo that looks similar | Weak | Many boards share shape, finish, and tread patterns |
Identify The Vehicle Separately
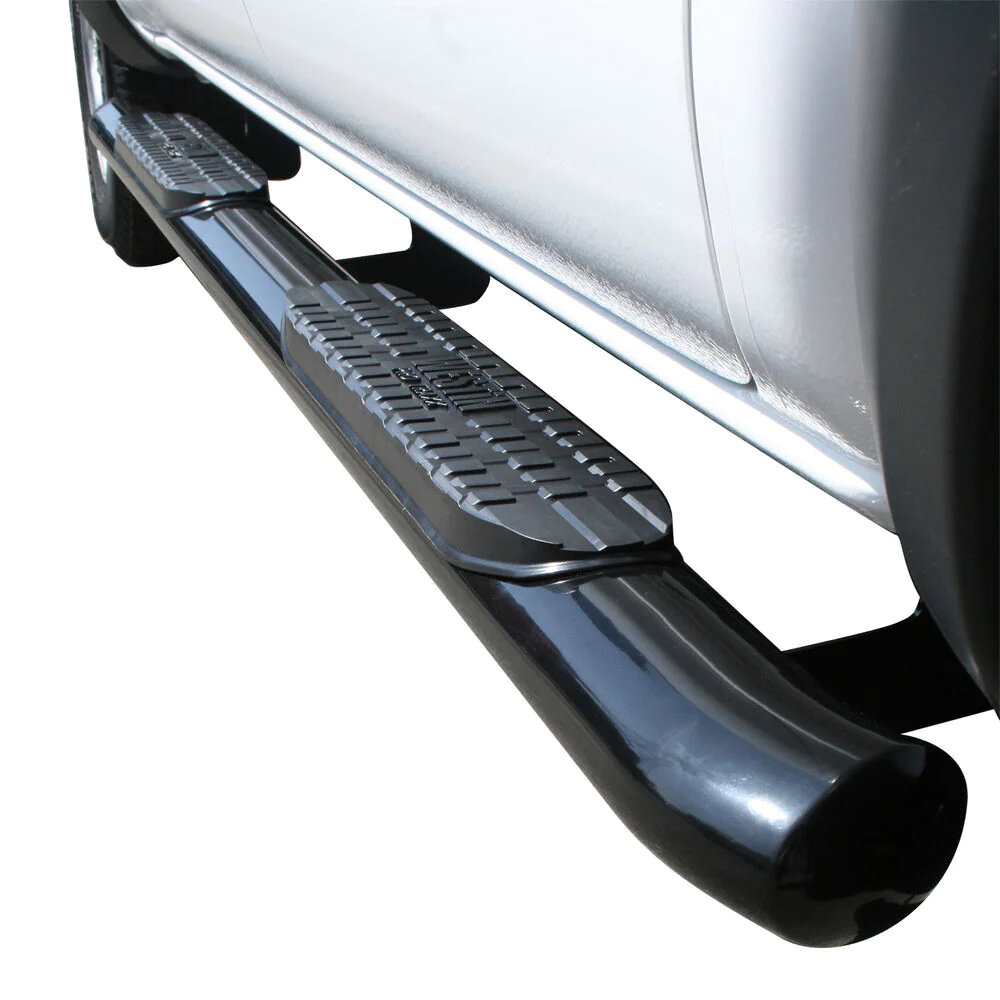
The VIN identifies the vehicle, not necessarily the accessory. Use the VIN, door-jamb label, registration, or NHTSA VIN decoder to confirm the model year, body, and other encoded vehicle information. Record cab configuration, door count, wheelbase, trim, engine or electric powertrain, and factory cladding.
Next determine whether the board appears on the original window sticker, build sheet, dealer invoice, or official accessory receipt. A factory-installed option, dealer-installed OEM accessory, dealer-sold third-party board, and later aftermarket installation can look integrated but follow different catalogs and warranties.
Where To Look For Manufacturer Marks
| Location | Possible evidence | Inspection note |
|---|---|---|
| Tread pad or step plate | Molded logo, model family, patent marking | Check every pad; one may have been replaced |
| End cap and board underside | Sticker, extrusion code, stamped or laser-marked number | Use side lighting to reveal faint characters |
| Front/center/rear brackets | Part number, L/R or position code, supplier mark | Photograph orientation before removal |
| Motor or gear housing | Motor supplier, voltage, serial, date code | A motor maker may differ from the board brand |
| Control module and harness | Brand, FCC ID, kit number, connector label | Do not disconnect unknown modules just to read them |
| Switch, diagnostic plug, or door sensor | Brand-specific control design | Record routing and connector shape |
| Invoice, glovebox, service file | Retailer SKU, installer, purchase date | Ask the prior owner or servicing dealer |
Search Numbers And Logos Methodically
Search the complete number in quotation marks, preserving dashes and leading zeros. Repeat without spaces only if the exact search fails. Add terms such as running board, step, bracket, motor, controller, or the vehicle model. A bracket number may lead to an installation PDF even when the board label is gone.
For a word mark or logo, compare official manufacturer sites and catalogs. The USPTO trademark database can help connect a name or design to an owner, but it does not prove that the specific board is genuine or still supported. Reverse-image search can generate candidates, not confirmation.
Save the PDF or catalog page used for identification. Product pages change and old applications disappear. Record the document date, kit number, board number, bracket number, and supported vehicle line before ordering replacement parts.
Use Brackets As A Fingerprint
Board profiles are often shared across many vehicles, while brackets are application-specific. Compare the number of brackets per side, front/center/rear shapes, hole spacing, bends, gussets, slots, pinch-weld braces, body-mount plates, and the way the board attaches to the bracket. Installation diagrams are more reliable than marketing photos.
A bracket match must include the vehicle application. The same board family may use a different bracket kit for regular, extended, and crew cabs or for different powertrains. Do not substitute a visually similar bracket or drill new holes until the manufacturer or a qualified fabricator confirms the load path.
Powered Running Boards Need Component-Level Identification
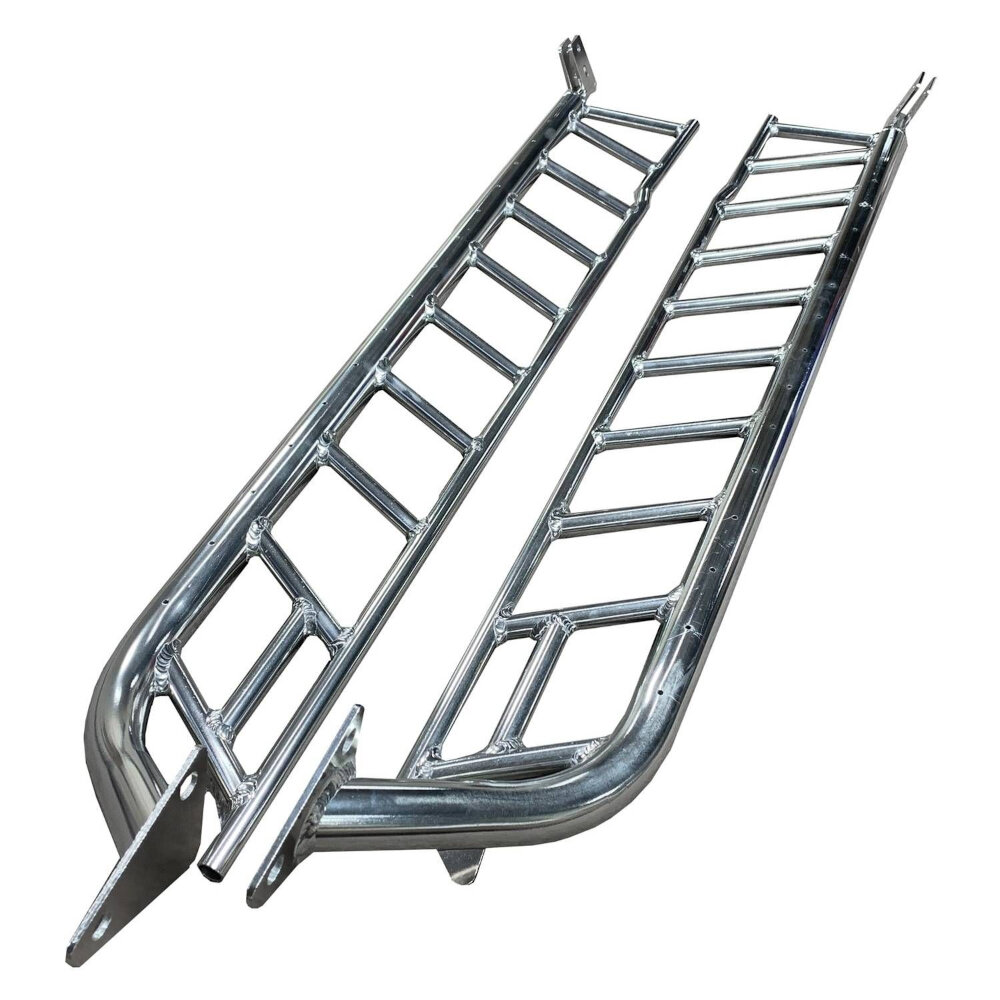
A power-board system can contain parts from several suppliers. The tread, linkage arm, motor, controller, harness, sensors, and brackets may carry different numbers. A motor label alone may identify the motor manufacturer rather than the complete running-board brand.
Record which doors trigger deployment, whether the board uses the diagnostic connector or dedicated sensors, how many motors are installed, and the connector shapes. Check both sides because one component may have been replaced. Do not apply power directly to unknown wires or bypass a controller to test movement.
| Powered component | Record | Why it matters |
|---|---|---|
| Tread/platform | Length, profile, end caps, underside number | Distinguishes board family and side |
| Linkage arms | Cast marks, pivot layout, front/rear position | Arms may differ by position and generation |
| Motor/gearbox | Manufacturer, number, connector, orientation | Prevents ordering a similar but incompatible motor |
| Controller | Label, software/revision number, connector count | Control strategy can change across generations |
| Harness and sensors | Connector photos, fuse rating, routing | Needed to identify complete kit and safe replacement |
| Brackets | Part number and vehicle attachment | Confirms the application, not just the power mechanism |
Contact The Likely Manufacturer Or Installer
Send a concise evidence package: VIN-derived vehicle description, cab and powertrain, full-side photo, underside photos, every number, bracket count and spacing, board length and width, controller and motor labels, and the suspected product family. Ask for the complete kit number, compatible replacement parts, current instructions, and whether support has been discontinued.
If the original installer is known, request the invoice or work order. Accessory shops often keep customer records and may recognize their preferred product lines. A dealer can check factory and dealer accessory history, but it may not have records for work performed elsewhere.
Measurements And Photos To Record
Measure the board end to end, usable tread width, distance between bracket centers, number of brackets per side, board-to-bracket attachment spacing, tube or extrusion dimensions, and ground-to-step height. On powered boards, record the arm spacing and whether the front and rear linkages differ. Use a ruler in close-up photos so support staff can judge scale.
Photograph numbers twice: one straight-on image for reading and one wider image showing which component carries the mark. Clean characters gently and use side lighting or chalk-free contrast; do not grind, sand, or polish away a faint stamp. Record ambiguous characters with alternatives, such as zero versus letter O, when searching.
Create a simple inventory before disassembly: left-front bracket, left-center bracket, left-rear bracket, right-side equivalents, board labels, motors, controller, harness, switches, and loose parts. Bag and label fasteners by position. This prevents identification work from turning into an installation problem.
Rebranding And Shared Components
A retailer name on the box or tread does not always identify the original designer of every component. Private-label products, shared extrusions, contract motors, and replacement pads can place several names on one assembly. Treat each mark as a lead and look for the complete kit relationship in instructions or application data.
Conversely, one manufacturer may sell the same board profile with many vehicle-specific bracket kits. Finding a matching board photo does not prove the bracket application. For replacement work, confirm which company supports the complete system today and whether the part numbers have been superseded.
Match Replacement Parts Safely
Do not order by board length alone. A replacement must match the product generation, side, bracket interface, tread or end-cap attachment, and vehicle application. On powered systems, electrical revision and connector compatibility matter. Mixing a newer controller with older arms or motors can create unreliable behavior even when plugs appear similar.
If identification remains uncertain, replace the complete vehicle-specific system rather than combining unknown high-load parts. A qualified fabricator can evaluate an older custom board, but should inspect the vehicle attachment and material condition instead of copying an undocumented bracket.
| Replacement goal | Minimum confirmation | Unsafe shortcut |
|---|---|---|
| Tread pad or end cap | Board family, length/profile, attachment pattern | Choosing by approximate outer dimensions |
| Fixed board | Board and bracket compatibility for exact vehicle | Reusing unknown brackets because holes are close |
| Bracket | Part number, position, side, application guide | Drilling to make a similar bracket fit |
| Power motor or arm | Generation, position, connector, mechanical interface | Applying direct power to test an unknown component |
| Controller/harness | Kit revision, vehicle integration, all connector labels | Assuming matching plugs mean matching logic |
| Unknown/custom system | Professional assessment of board and load path | Combining unidentified structural parts |
Check Recalls And Safety Information
Use NHTSA’s VIN tool for vehicle recalls and its year/make/model or equipment searches for broader safety information, manufacturer communications, and complaints. The absence of a result does not identify the board or prove it is safe. If a board deploys unexpectedly, binds, has a cracked bracket, or interferes with another vehicle system, stop using it until the cause is identified.
Related GarageSanctum Guides
- Identify Ionic running boards and current alternatives.
- Determine whether the board is factory, OEM accessory, or aftermarket.
- Use materials, finishes, and construction as identification clues.
- Compare the bracket and vehicle mounting path.
- Ask an installer to identify or replace an unknown system.
- Choose a documented replacement if the original cannot be identified.
Source Notes
- NHTSA VIN Decoder confirms encoded vehicle information; it identifies the vehicle, not necessarily a later accessory.
- USPTO Trademark Search can connect a visible word mark or design to trademark records and possible brand owners.
- ARIES powered running-board application guide illustrates separate kit, board, and bracket numbers by vehicle application.
- NHTSA Recalls provides VIN, vehicle, and equipment safety-recall search tools.