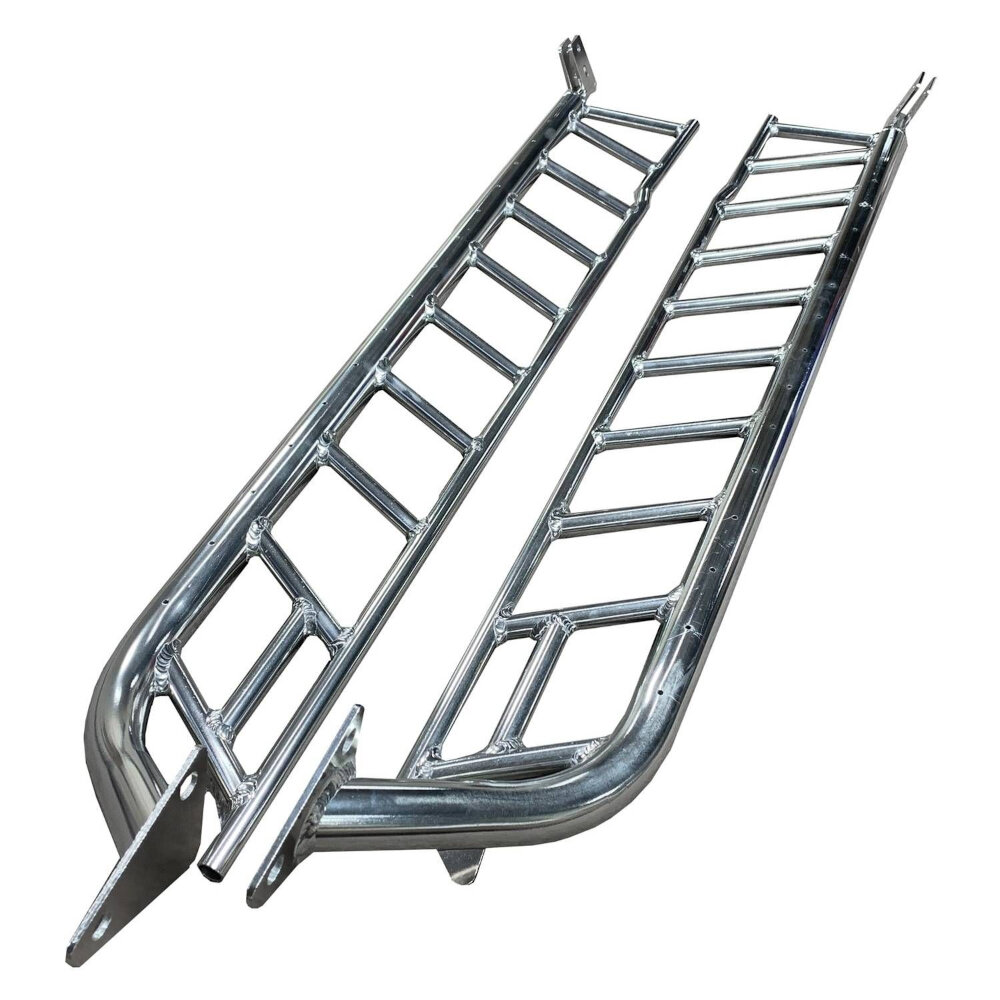
Frame-Mounted Running Boards: Fitment and Installation Guide
Quick answer: A frame-mounted running board uses brackets tied to the vehicle’s frame or another heavy structural mounting point instead of relying only on thin rocker-sheet-metal locations. But product labels are inconsistent: many kits called “frame mount” actually use factory body-mount bolts, rocker-panel studs, pinch-weld holes, or vehicle-specific bracket points. The only reliable fit check is the installation manual for the exact year, make, model, cab, and trim.
Frame Mount, Body Mount, Or Rocker Mount?
Before buying or installing a board, identify what the brackets actually attach to. A true frame attachment, a body-mount/bushing attachment, and a rocker-panel attachment are different load paths and use different hardware.
The distinction matters because the step is a lever. A passenger’s weight is applied several inches outside the body, while the brackets transfer that force into the truck. A wide board with weak or poorly spaced brackets can flex even when the board itself looks substantial. A well-designed vehicle-specific kit distributes that force across several mounting points and keeps the step stable at each door.
Do not judge the design from the marketing name alone. Some manufacturers use “frame mount” as a broad description for a strong underbody attachment, even when the bracket shares a factory body-mount bolt. Others call a kit “rocker mount” when it uses reinforced factory studs and a pinch-weld brace. The installation drawing is better evidence than the product title because it shows the actual fasteners and load path.
| Mounting style | Typical attachment point | How to recognize it | Main caution |
|---|---|---|---|
| Frame mount | Frame rail or frame-mounted outrigger | Heavy brackets reach inward to structural steel | Fuel lines, wiring, brake lines, and drilling restrictions |
| Body-mount / bushing mount | Factory body-to-frame bolts | Bracket shares large existing body-mount hardware | Vehicle-specific torque and support procedure |
| Rocker-panel mount | Factory studs, weld nuts, clip nuts, or rocker holes | Brackets stay close to the pinch weld and rocker | Corrosion, damaged threads, and thin-sheet-metal limits |
| Pinch-weld assisted | Rocker mount plus pinch-weld flange holes | Small fasteners stabilize the outer edge of the bracket | Do not enlarge or substitute holes without instructions |
| Custom fabricated | Installer-selected structural points | No vehicle-specific bracket kit exists | Requires fabrication and load-path judgment |
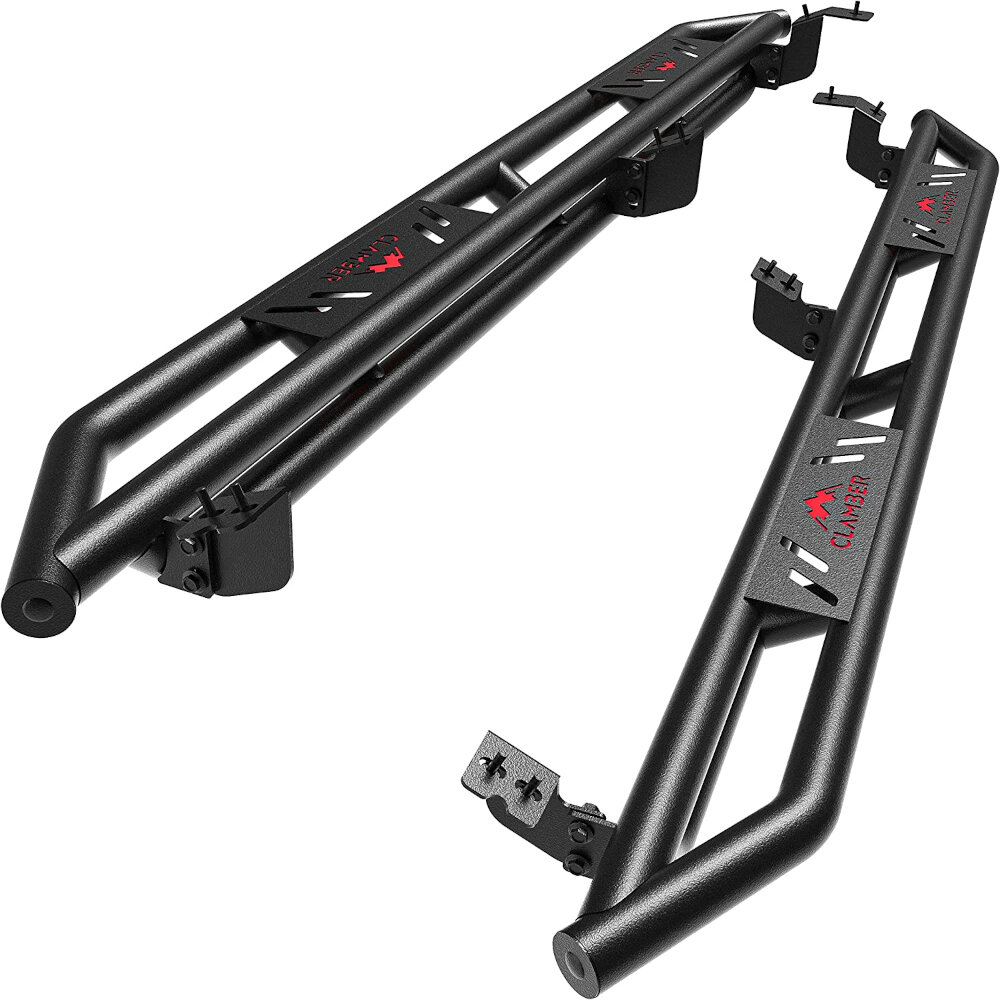
Why Vehicle-Specific Brackets Matter
Running boards are often sold by board style and finish, but the bracket kit determines whether they fit. Two trucks with similar cab lengths can have different floor structures, body mounts, fuel tanks, heat shields, battery trays, or factory threaded holes. Even within one model year, diesel and gasoline versions may require different brackets.
A correct kit should identify the supported model years, cab configuration, and important exclusions. Its parts list should distinguish front, center, and rear brackets as well as driver and passenger sides. Those labels are not cosmetic. Brackets can have different offsets to clear underbody equipment while keeping the board parallel to the rocker panel.
If a listing gives only a board length and says “universal,” expect fabrication unless the instructions clearly show an adjustable bracket system approved for the vehicle. Fabrication is not automatically unsafe, but it changes the project from ordinary accessory installation into structural layout work. The installer must choose mounting points, avoid vehicle systems, control corrosion, and confirm that the board cannot rotate under load.
How To Identify The Mounting Style On Your Vehicle
You can inspect the likely mounting path without removing body mounts or drilling. Use a light, look behind the rocker panel, and compare what you see with the product’s bracket diagram.
Park on level ground, apply the parking brake, and inspect from beside the vehicle. Do not crawl under a vehicle supported only by a jack. If access requires lifting, use rated stands at approved support points or have a shop perform the inspection. Road dirt can hide plugs and threaded studs, so clean the area gently before deciding that factory mounting points are absent.
Start at the pinch weld below the doors and look inward. Rocker-mount kits usually stay close to this area. Body-mount kits reach toward large bolts passing through rubber bushings. A true frame bracket reaches farther inward to the rail or to a structural outrigger. Photograph each location and compare bracket shapes, not just hole positions, with the manual.
| Inspection | What to look for | What it suggests |
|---|---|---|
| Look behind the pinch weld | Threaded studs, weld nuts, rubber plugs, or factory holes | Rocker-panel or pinch-weld mounting kit |
| Trace a heavy bracket inward | Bracket reaches the frame rail or a structural outrigger | Frame-mounted design |
| Find large body-mount bolts | Large bolt through a rubber bushing between body and frame | Body-mount/bushing installation |
| Check both cab sides | Fuel tank, DEF tank, wiring, heat shields, or different hole patterns | Driver/passenger brackets may not be interchangeable |
| Compare the instruction diagram | Bracket shape, hole count, and front/center/rear labels | Confirms whether the kit actually matches the truck |
Fitment Checklist Before Ordering
Use the vehicle identification number and the door-jamb label to confirm the model year and configuration. Do not rely on the registration description alone when a generation changed midyear. Measure the usable cab length only as a secondary check; it cannot confirm bracket compatibility.
Read the complete application notes. Phrases such as “excluding diesel,” “not for vehicles with factory cladding,” or “requires removal of OEM steps” are easy to miss in a marketplace title. If the seller cannot provide an installation PDF or a bracket part number, contact the manufacturer before ordering. A return is cheaper than drilling or damaging a body mount to make the wrong kit fit.
| Fitment item | Why it changes the brackets | What to verify |
|---|---|---|
| Model year range | Body and frame mounting points change across generations | Exact supported years, not a similar body style |
| Cab configuration | Regular, extended, and crew cabs need different board/bracket spacing | Cab name and door count |
| Bed length and wheelbase | Wheel-to-wheel boards and long steps may use additional supports | Board length and bracket quantity |
| Gas, diesel, hybrid, or EV | Tanks, battery packs, DEF systems, and shields occupy different space | Powertrain exclusions in the application notes |
| Factory cladding or steps | Trim and OEM hardware may need removal or reuse | Instructions for factory-equipped vehicles |
| Weight and intended use | Daily stepping and trail impact are different loads | Published rating and whether the product is a step or slider |
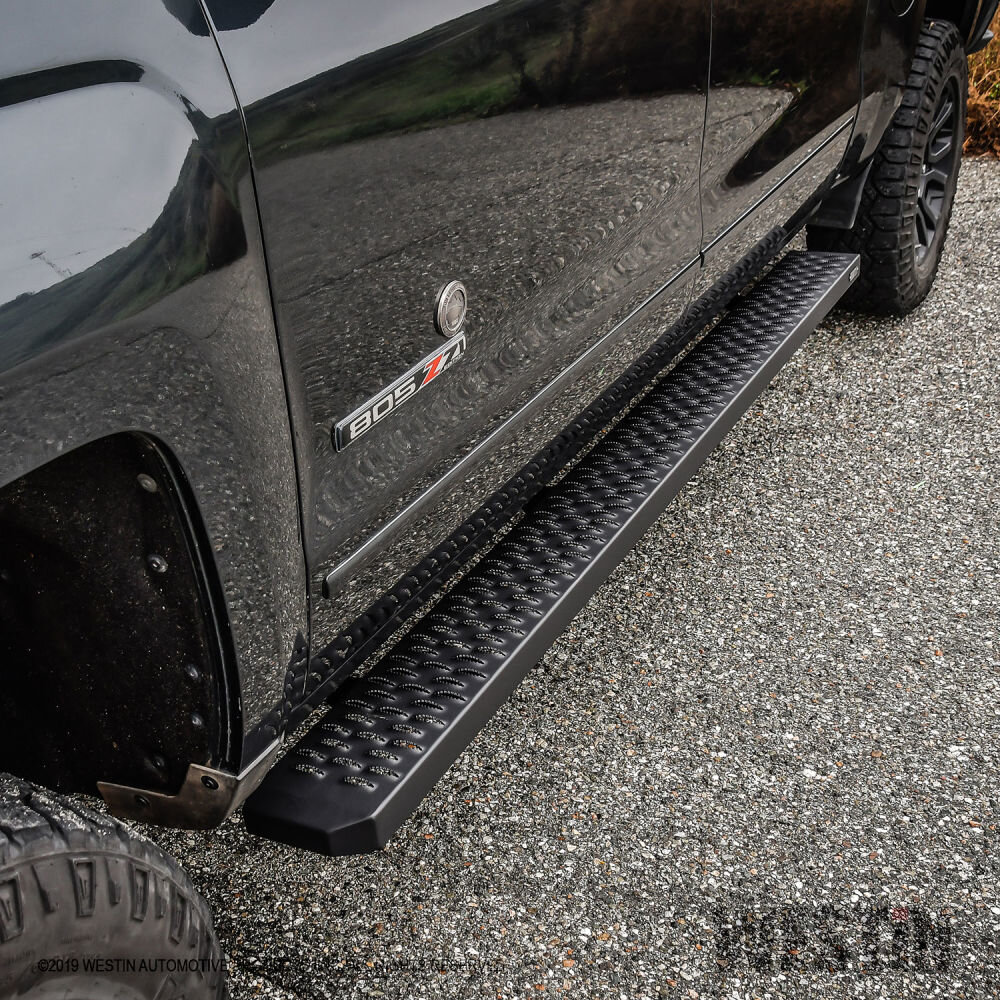
Board Position, Ground Clearance, And Step Use
Fitment is not finished when the bolts line up. The board must sit where passengers can place most of a shoe on it while entering or leaving the vehicle. A board tucked too far inward becomes slippery and awkward. A board extending too far outward can collect debris, reduce clearance, and contact obstacles.
Set the board loosely on all brackets and close every door before final tightening. Check that the step covers the intended seating positions, remains parallel to the rocker, and does not interfere with mud flaps, tires, splash shields, lift points, or the exhaust. On wheel-to-wheel boards, verify clearance near the rear tire through the expected suspension and steering movement.
A running board is not automatically a rock slider. A slider is designed to take underbody impact and may tie directly into the frame with reinforced mounts. Unless the manufacturer explicitly rates the running board for that use, do not use it as a jack point, recovery point, or obstacle-contact rail.
Safe Installation Sequence
The product instructions control the job. The sequence below is a planning checklist, not a substitute for the vehicle-specific manual.
Lay out the hardware by bracket position before working under the vehicle. Similar-looking bolts can have different grades, lengths, washers, or thread pitches. Starting the wrong fastener can damage a factory weld nut. Thread each fastener by hand for several turns and stop if resistance appears immediately.
Leave all brackets and board fasteners loose enough for alignment. Tightening the first bracket fully can pull the remaining brackets out of position and create a twisted assembly. Once the board is level and evenly spaced, follow the manual’s tightening sequence and torque values. Torque depends on fastener size, grade, coating, and the vehicle attachment point; a generic chart is not a substitute for the kit specification.
| Stage | Good practice | Stop if |
|---|---|---|
| Inventory | Match driver/passenger and front/center/rear brackets to the parts list | Hardware or bracket labels are missing |
| Dry fit | Start all fasteners loosely before tightening any location | Holes require force or brackets sit twisted |
| Clearance check | Inspect brake/fuel lines, wiring, tanks, exhaust, and jack points | A bracket pinches or rubs another system |
| Alignment | Set even door coverage, usable step depth, and tire clearance | The board blocks a lift point or hangs unusually low |
| Torque | Use the fastener-specific values in the kit instructions | Threads spin, pull out, or show corrosion damage |
| Recheck | Inspect after initial use and periodically in salt/off-road conditions | Movement, cracking, noise, or loosened hardware appears |
Drilling, Body-Mount Bolts, And Corrosion
Many modern kits use existing holes, but some vehicles or universal brackets require drilling. Before drilling, inspect both sides of the panel or frame area for fuel and brake lines, wiring harnesses, tanks, batteries, insulation, and interior trim. Use the hole size and location specified by the manufacturer. Moving a hole to make a bracket fit can weaken the intended load path or damage hidden systems.
Removing a body-mount bolt also deserves caution. The body must remain properly supported, the bushing stack must stay in the correct order, and the bolt must be tightened to the vehicle or kit specification. If a body mount shifts, a captive nut spins, or corrosion damages the threads, stop and use a qualified shop rather than forcing the bolt.
Protect exposed metal after approved drilling or cleaning. Remove chips, apply a compatible primer or corrosion coating, and keep drain paths open. In road-salt areas, rinse the brackets and inspect coating edges periodically. Stainless-looking hardware does not guarantee that the bracket, vehicle steel, and fasteners are immune to galvanic or crevice corrosion.
Post-Installation Inspection
Test the finished board with the vehicle parked. Apply weight near each door while watching for bracket movement, board rotation, contact with the body, or unusual noise. The board should feel consistent from front to rear. A small amount of flex can be normal for a long board, but a loose fastener, shifting bracket, or widening gap requires correction.
Recheck the installation after the initial driving period stated by the manufacturer and after severe winter or off-road use. Look for polished witness marks where parts are rubbing, chipped coating, elongated holes, loose end caps, and dirt trapped against the rocker. Correcting movement early helps prevent damaged threads and cracked brackets.
When To Use A Professional Installer
A straightforward no-drill kit can be suitable for an experienced DIY owner with safe lifting equipment and a torque wrench. Use a truck-accessory shop, dealer, or qualified fabricator when the kit requires structural drilling, body-mount work, welding, electrical connections for power steps, or modification around tanks and battery systems.
Give the installer the exact kit number and vehicle configuration before the appointment. Ask whether the quoted work includes corrosion protection, torque recheck, removal of factory steps, and calibration or wiring checks for powered boards. A good installer should be willing to explain the mounting points and any deviation from the supplied instructions.
Common Fitment Mistakes
- Assuming “universal” means the brackets fit without fabrication.
- Using a crew-cab kit on an extended-cab truck because the board length looks close.
- Calling any body-mount bracket a true frame mount.
- Drilling before checking both sides for wiring, lines, tanks, and corrosion.
- Using a normal running board as a rock slider, recovery point, or jack point.
- Copying torque values from another kit instead of the supplied instructions.
Related GarageSanctum Guides
- Frame mount vs rocker mount running boards
- Who installs running boards?
- Running board materials
- What running boards do
Source Notes
- ARIES rocker mount vs bushing mount guide distinguishes rocker-panel brackets from brackets that reuse factory body-mount bolts.
- Westin vehicle-specific running board instructions illustrate labeled front/rear brackets, loose assembly before alignment, and product-specific final torque.
- ARIES rocker step construction guide shows how vehicle-specific welded brackets differ from ordinary bolt-on board brackets.