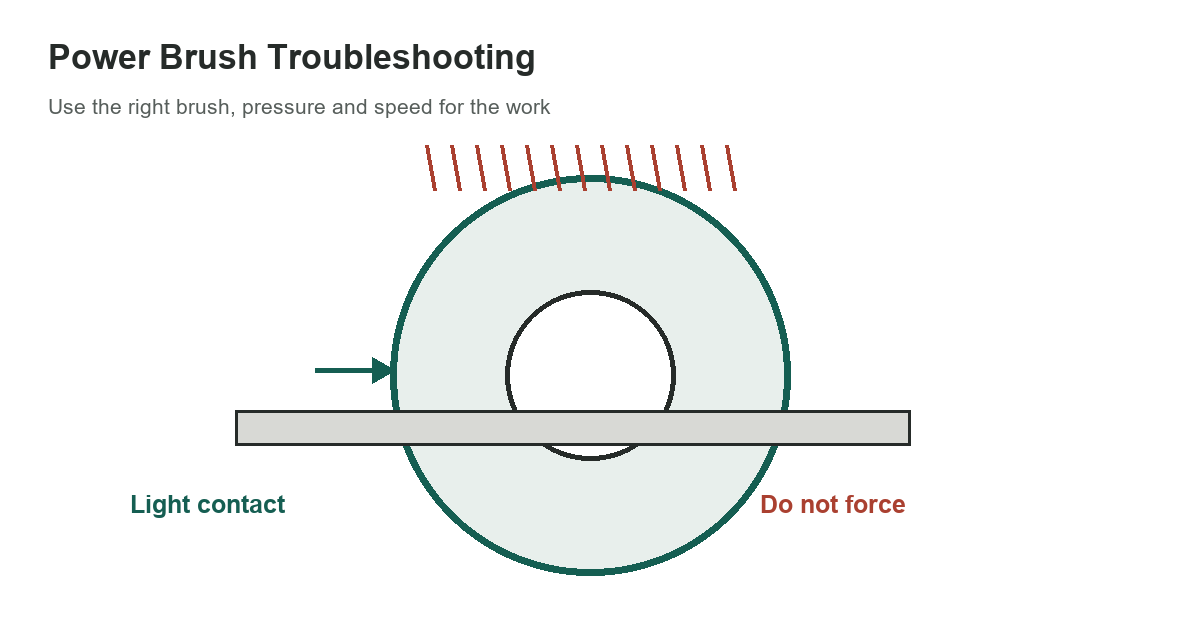
Power-brush results depend on the brush construction, the tool, the work material and the way the brush contacts the part. If cleaning is slow, the finish is rough or wires are breaking, start by identifying the symptom. Increasing pressure is rarely the first fix: forcing a brush can bend and fatigue its wires, reduce control and increase the chance of wire breakage.
Start with a controlled check
Stop the tool and inspect the brush before changing settings. Check for missing wires, a loose hub, a damaged arbor, heavy loading, contamination and uneven wear. Confirm that the brush is rated for the machine, mounted securely and used within its marked maximum speed. Use the guard and personal protective equipment specified by the brush and tool manufacturers. Do not run a brush that is damaged, incorrectly mounted or above its marked speed.
Next identify the job: rust removal, weld cleaning, deburring, coating removal or surface finishing. A wire wheel, cup brush, end brush and hand brush have different contact shapes. Wire diameter, knot style, trim length and fill affect aggression. Choose the tool for the access and material; changing speed cannot correct an unsuitable shape or wire type.
Match the adjustment to the symptom
[gs_table id=”11172″]
When a brush cuts too slowly, first confirm that the brush is designed for the task and that the tool reaches its intended operating speed under load. A finer wire can provide more working tips, while a thicker wire or tighter knot generally makes a brush more aggressive. The right choice depends on the finish and material. A larger brush can raise surface speed at the same RPM, but only use a diameter approved for the tool and guard.
If the brush is too aggressive, reduce pressure and select a finer or less aggressive construction. Keep the brush moving as the manufacturer directs. A rough finish can come from a wire that is too coarse, an incompatible compound, excessive pressure or a work angle that does not let the wire tips do the work. A smoother result may require a separate finishing step rather than a more forceful pass.
Diagnose peened burrs and inconsistent finishes
A ductile burr may bend over instead of being removed. More pressure can make this worse. Check whether the brush is appropriate for cutting the burr and whether the part material is soft or gummy. A different brush construction, a deburring tool or a compound may be more suitable. Test the change on a noncritical area and inspect the edge so you do not round a dimension that must remain sharp.
Uneven results can come from a flexible hand path, poor fixturing, a worn section of brush, changing contact angle or inconsistent feed. Secure the work and keep the brush path repeatable. For larger surfaces, use a fixture or machine motion that controls coverage. Replace a brush when wear prevents consistent work; do not compensate for worn wires by leaning harder.
Keep material and contamination in view
Use a brush compatible with the base material. Stainless steel and aluminum work may require dedicated brush materials to prevent contamination from carbon-steel wire. Keep dedicated brushes clean and separated. If the brush has picked up oil, abrasive grit or metal debris, clean or replace it according to the manufacturer’s instructions.
For brush selection and finish troubleshooting, compare the related abrasive-belt selection guide and contact-wheel guide. They cover abrasive removal methods rather than wire-brush construction. The grit-size conversion chart helps interpret abrasive grades.
When to stop and reassess
Stop if wires are shedding, the brush vibrates, the hub is loose, the workpiece heats unexpectedly or the required force is rising. Recheck the brush, attachment, guard, speed rating and product match. A brush that cannot perform the task without excessive pressure is the wrong brush or the wrong process. Follow the manufacturer’s operating instructions and do not infer a safe RPM from brush diameter alone.
Sources: Weiler wire-brush troubleshooting and Weiler brush-use guidance.