Choosing the Right Wire Size for Your LED Light Bar Installation: A Comprehensive Guide
Quick answer: Size LED light bar wire by current draw, round-trip wire length, acceptable voltage drop, and fuse size. Current is watts divided by system voltage. A 120W light bar on a 12V vehicle draws about 10A, before startup margin. For most single light bars, 14 AWG works only for short modest loads, 12 AWG is the safer middle ground, and 10 AWG or larger is better for long runs or high-output bars. Put the fuse close to the battery, use a relay or rated switch, and follow the light bar manufacturer’s harness instructions.
The Wire Size Formula
Start with amps, not the marketing size of the light bar. Use this basic formula:
Amps = watts / volts
For a 12V vehicle, a 60W light bar draws about 5A, a 120W bar draws about 10A, and a 240W bar draws about 20A. Real charging-system voltage may be higher than 12V while the engine is running, but sizing from 12V is conservative.
| Light bar power | Approx. current at 12V | Typical fuse range | Short-run wire starting point |
|---|---|---|---|
| 60W | 5A | 7.5A to 10A | 16 AWG or 14 AWG |
| 120W | 10A | 15A | 14 AWG or 12 AWG |
| 180W | 15A | 20A | 12 AWG |
| 240W | 20A | 25A to 30A | 12 AWG or 10 AWG |
| 300W | 25A | 30A to 40A | 10 AWG or larger |
Why Length Changes Everything
A wire can be safe from overheating and still be too small for good light output. Long 12V runs lose voltage. That voltage drop can make an LED light bar dimmer, stress the driver, or make a relay/harness behave poorly. Count the full circuit path: battery to light and back through ground. If the light is roof-mounted, the run is often longer than it looks.
| One-way distance from battery/relay to light | Modest bar, about 5-10A | Medium bar, about 10-20A | Large bar, about 20-30A |
|---|---|---|---|
| Under 6 ft | 16-14 AWG | 14-12 AWG | 12-10 AWG |
| 6-12 ft | 14 AWG | 12 AWG | 10 AWG |
| 12-20 ft | 14-12 AWG | 10 AWG | 8-10 AWG |
| Roof or rear bumper run | 12 AWG if in doubt | 10 AWG | Use a calculator and manufacturer harness data |
Fuse Size And Placement
The fuse protects the wire, not the light bar. Install the fuse as close to the battery or power source as practical. If the wire shorts before the fuse, the fuse cannot protect that section.
Choose wire first, then choose a fuse that protects that wire and is still large enough for the light’s normal current. Do not put a 40A fuse on a small wire just because the light sometimes surges. If the light manufacturer supplies a harness with a specific fuse, use that harness as the default unless you are redesigning the circuit properly.
Relay, Switch, And Grounding
A relay lets the dashboard switch control a high-current circuit without carrying the full light-bar current through the switch. For most light bars, a fused relay harness is cleaner than running battery current through a small switch. Use a switch, relay, terminals, and connectors rated above the light’s current draw.
Ground is half the circuit. A weak chassis ground can cause dim light, flicker, heat, or intermittent operation. Use clean bare metal, a proper ring terminal, and corrosion protection. For long or high-current runs, a dedicated ground return may perform better than relying on body panels.
| Part | What to choose | Common mistake |
|---|---|---|
| Wire | Automotive copper wire sized for amps and distance | Using thin speaker wire or mystery CCA wire |
| Fuse | Near battery, sized to protect the wire | Oversizing the fuse to avoid nuisance blows |
| Relay | Rated above circuit current, weather-protected if exposed | Running full current through a small dash switch |
| Connectors | Crimped correctly, sealed outdoors, strain-relieved | Twist-and-tape splices in engine bay or bumper area |
| Ground | Clean metal or dedicated return wire | Painted, rusty, loose, or undersized ground point |
Example: 120W Light Bar
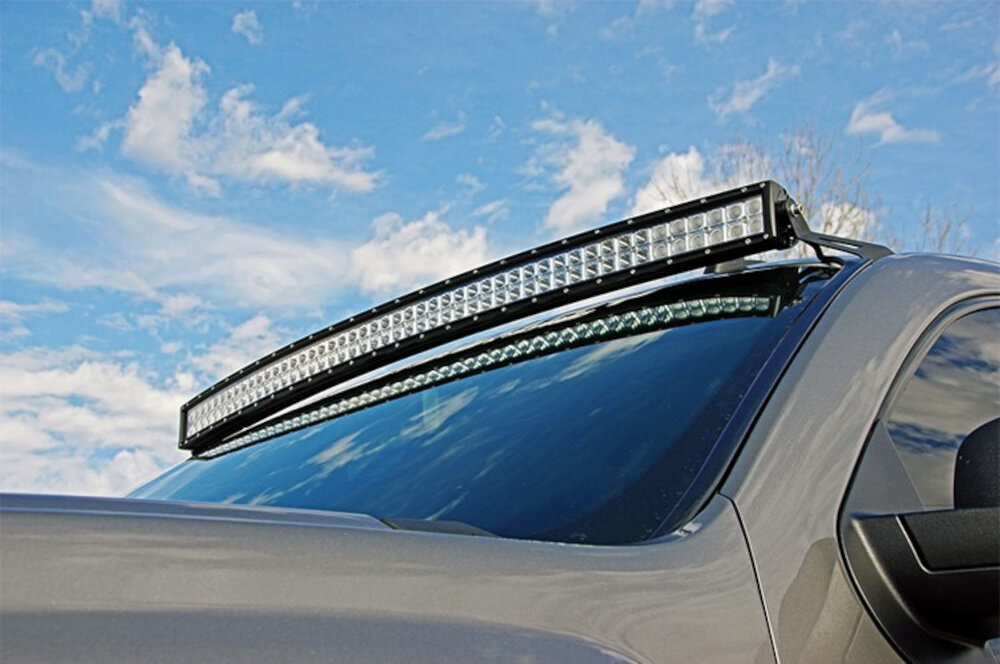
A 120W light bar on a 12V system draws about 10A. On a short bumper run, 14 AWG may work if the manufacturer harness uses it and the run is short. If the run goes across the engine bay, through the firewall, up a pillar, or to a roof rack, 12 AWG is a safer starting point. A 15A fuse is typical if the light and wire support it, but always check the harness instructions.
Example: 240W Light Bar
A 240W bar draws about 20A at 12V. This is where 12 AWG becomes a minimum starting point for short runs and 10 AWG becomes more attractive for longer runs. Use a relay harness rated for the current, protect the wire near the battery, and avoid cheap connectors that cannot handle vibration and weather.
Installation Checklist
| Step | Check | Pass condition |
|---|---|---|
| 1 | Find light wattage/current | Use product label/manual, not a guessed bar size |
| 2 | Measure wire route | Include routing around engine bay, firewall, rack, and ground path |
| 3 | Pick wire gauge | Meets current and voltage drop needs with margin |
| 4 | Choose fuse | Protects the chosen wire and matches manufacturer guidance |
| 5 | Mount relay and fuse holder | Protected from water, heat, abrasion, and moving parts |
| 6 | Test voltage at the light | Light is bright, stable, and connectors stay cool |
What Not To Do
- Do not copy a wire gauge chart without checking length and voltage drop.
- Do not install the fuse far from the battery.
- Do not oversize the fuse to compensate for undersized wire.
- Do not route wire across sharp metal, exhaust heat, hinges, belts, or fan areas.
- Do not assume a factory upfitter switch can handle the current without checking its rating.
Related GarageSanctum Guides
- LED light bar fuse size guide
- How many amps a LED light bar uses
- LED wattage explained
- LED light flickering hub
Source Notes
- Blue Sea Systems DC wire sizing guidance explains that DC wire selection depends on circuit details and points users toward detailed wire-size calculation.
- Blue Sea Systems Circuit Wizard is useful for checking voltage drop and circuit protection assumptions; it also warns that professional review may be needed.
- Flexfire LEDs voltage drop guide shows the watts-divided-by-volts current calculation used for LED loads.
- Blue Sea Systems voltage-drop case study discusses 3% and 10% voltage-drop targets for different DC circuit priorities.