HomeLink compatibility depends on both sides of the system: the vehicle’s HomeLink generation and the garage-door opener’s transmitter technology. Identify the vehicle year, make, model, HomeLink button layout, opener brand, opener model, and handheld-transmitter frequency before attempting random programming steps. The official HomeLink vehicle search and programming path should control the final procedure.
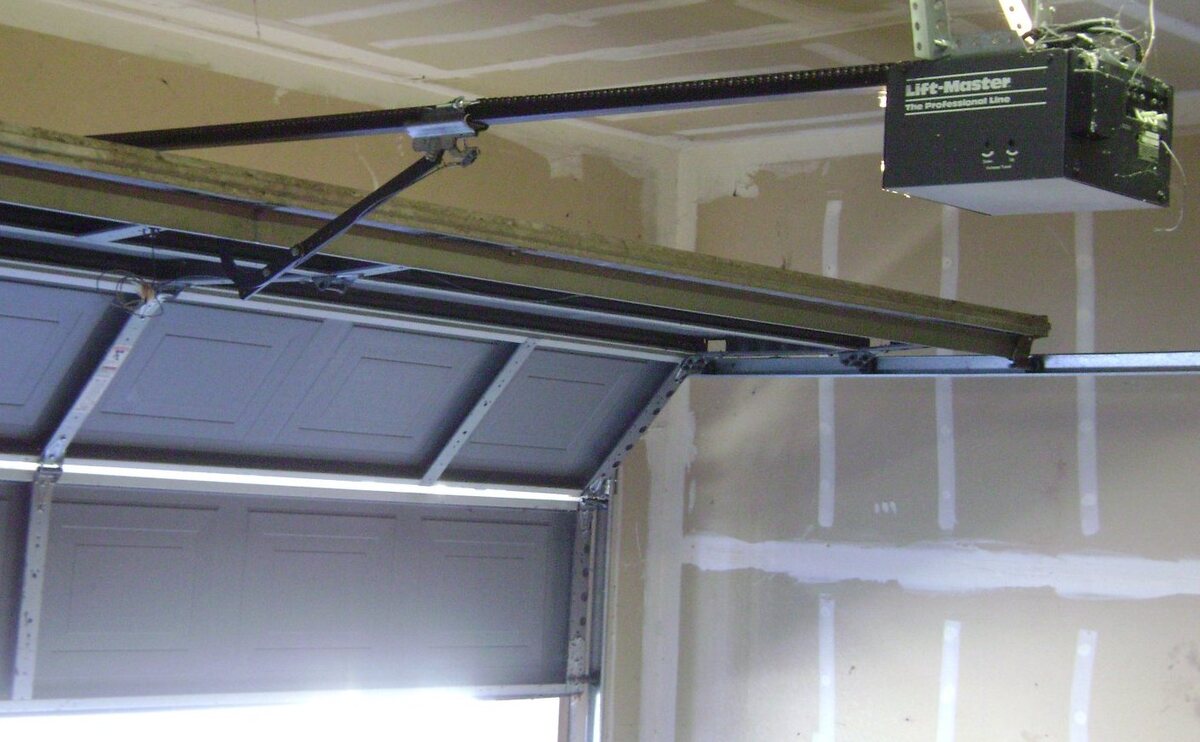
Public-domain chain-drive garage door opener photograph by Oleg Alexandrov, Wikimedia Commons; used as a general opener reference.
60-second compatibility checklist
- Identify the vehicle year, make, model, trim, and whether HomeLink is factory-installed or aftermarket.
- Count the HomeLink buttons and note the indicator-light or display behaviour.
- Identify the opener brand, model, Learn-button colour or location, and handheld transmitter.
- Read the frequency label or manual for the handheld transmitter. HomeLink states that its RF range is generally 288–433 MHz, with vehicle-specific differences.
- Check the official HomeLink vehicle programming search.
- Put a fresh battery in the handheld transmitter before training.
- Program with the door area clear, then complete the rolling-code step when the HomeLink indicator changes as described by the official instructions.
HomeLink, transmitter, and opener roles
HomeLink is an integrated RF transceiver in the vehicle. It learns the signal from the original handheld transmitter and can operate standard or rolling-code systems. The handheld remote supplies the learning signal; the opener’s receiver validates the later command. A failure at any one of these stages can look like a compatibility problem.
Separate the stages:
- If HomeLink never learns the handheld remote, start with the transmitter battery, frequency, distance, angle, and vehicle-specific programming method.
- If HomeLink learns but the door does not move, complete the rolling-code or opener-side learn step and check the opener’s receiver and safety state.
- If the door works briefly and then fails, investigate interference, LED bulbs, range, transmitter battery, vehicle memory, and opener receiver conditions.
Fixed-code versus rolling-code systems
A fixed-code system sends a repeatable code. A rolling-code system changes the code after each accepted command and requires a pairing step between the vehicle button and the opener receiver. HomeLink’s support guidance says that many openers manufactured after 1995 may use rolling-code protection.
The rolling-code step is not the same as the initial transmitter-training step. Usually, HomeLink first learns the handheld remote, then the opener’s Learn or Smart button is pressed and released, and the vehicle button is pressed within the time window in the manual. The exact button timing and indicator-light behaviour vary by vehicle and opener.
Do not hold the opener’s Learn button longer than the manual directs. HomeLink warns that pressing it too long can clear existing transmitters, including handheld remotes and exterior keypads. Press and release it as instructed, then complete the vehicle step promptly.
Diagnostic table
| Symptom | Likely stage of failure | Safe next check | Official source |
|---|---|---|---|
| HomeLink light stays in a slow blink | Vehicle has not learned the transmitter | Install a fresh remote battery and retry at different distances and angles | HomeLink support |
| HomeLink learns but door does not move | Rolling-code pairing or opener receiver stage | Complete the vehicle-specific rolling-code procedure and verify the opener is powered | HomeLink programming |
| Rolling-code step fails | Wrong Learn-button timing, unsupported combination, or missed vehicle step | Press and release Learn as directed; do not hold it long enough to erase remotes | HomeLink support |
| Works with handheld remote but not HomeLink | Vehicle-side training, compatibility, or receiver pairing | Verify frequency, battery, vehicle model instructions, and compatibility path | HomeLink support |
| Works intermittently | Weak battery, RF interference, LED bulb interference, antenna, or receiver issue | Replace remote battery, test range, and check approved opener lighting | HomeLink support |
| Used vehicle has old buttons programmed | Vehicle memory still contains previous owner’s codes | Erase HomeLink memory using the vehicle manual before programming your opener | HomeLink support |
| No handheld transmitter is available | Missing training source | Obtain the correct transmitter or supported keypad; HomeLink says a handheld transmitter or keypad is needed for programming | HomeLink support |
Vehicle-side checks
HomeLink is integrated into hundreds of vehicle models, and HomeLink states that the interface and instructions vary by make and model year. Use the vehicle search rather than copying a procedure from a different vehicle. A physical three-button panel, a mirror-mounted control, and an infotainment-screen HomeLink interface can require different steps.
Confirm that the vehicle is in the state required by its manual. Some vehicles require ignition or accessory power; others require a specific display menu. Keep the handheld transmitter close to the HomeLink buttons during training, but try different distances and angles if the indicator does not change.
If the HomeLink button never illuminates or the vehicle menu does not open, diagnose the vehicle-side system first. Check the owner’s manual, vehicle fuse information, and the manufacturer support path. Do not assume that an unlit button means the opener is incompatible.
Transmitter-side checks
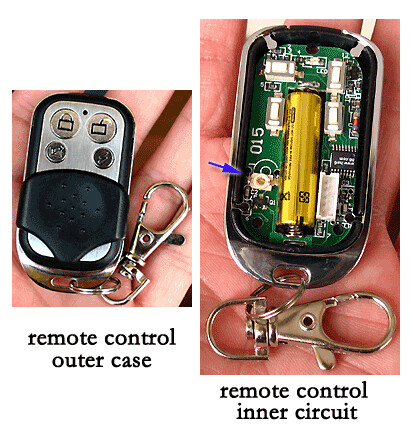
Install a new battery in the original handheld transmitter before programming. HomeLink notes that training can draw more power from the battery than normal button presses. A weak battery may still open the door from close range but fail during the learning sequence.
Hold the transmitter 1–3 inches away for an older opener when the official instructions recommend that position, then try 4–6 inches or a different angle if the signal is not learned. Keep the transmitter pointed toward the HomeLink surface and away from large metal obstructions. Do not press two transmitter buttons at once unless the vehicle-specific instructions require it.
If a second transmitter for the same opener works, compare its battery, button, and frequency. If no transmitter works, diagnose the opener or replace the transmitter with an exact compatible model before blaming HomeLink.
Opener-side checks
Confirm that the opener operates from its wall control and handheld remote. If it does not, repair the opener problem first. HomeLink cannot correct a dead receiver, an open safety circuit, a disconnected motor head, or a door that is physically locked.
Locate the Learn or Smart button using the opener manual. It may be near the hanging antenna wire or under the light cover. Record the button colour, opener model, and antenna style before starting the rolling-code procedure. The button colour is a clue, not a universal compatibility table; use the official model information.
Chamberlain, Craftsman, and LiftMaster openers with a yellow antenna wire can require special attention. HomeLink says its Compatibility Bridge is intended for certain older HomeLink variants, such as HL3, used with Chamberlain-family openers made since 2011. Do not buy a bridge unless the official compatibility result identifies that combination.
HomeLink also documents a specific path for newer Security+ 3.0 systems with a white Learn button or white antenna. The support guidance says these systems are programmed using the original handheld remote rather than directly at the motor head to enable secure encrypted communication. Follow the current HomeLink procedure for the exact vehicle and opener.
Brand examples
HomeLink’s compatibility support lists products from brands including Chamberlain, Craftsman, Genie, LiftMaster, Marantec, Sommer, Overhead Door, Wayne Dalton, Linear, and others. Brand support alone does not prove that every model works with every vehicle HomeLink generation.
For Genie, Marantec, Sommer, or another non-Chamberlain brand, start with the HomeLink vehicle programming search and the opener manual. Confirm the transmitter frequency and whether the opener uses a rolling-code sequence. Do not apply a Chamberlain Learn-button procedure to another brand unless its manual says so.
Common failure patterns
HomeLink will not learn the handheld remote
Replace the handheld battery, verify the transmitter is the correct one for the opener, and try the official distances and angles. Check whether the vehicle requires a different mode or display sequence. If the indicator remains a slow blink, HomeLink has not picked up the transmitter signal.
HomeLink learns but the door does not move
Complete the rolling-code step. If the opener’s Learn button was pressed, return to the vehicle within the documented time window. If the button was held too long and other remotes stopped working, reprogram the remotes according to the opener manual before retrying HomeLink.
Operation is intermittent
Replace the handheld battery, test from different positions, and check for RF interference. HomeLink specifically notes that some LED bulbs can interfere with garage-door remote and HomeLink signals. Use an opener-approved bulb when the manufacturer identifies one. Straighten the opener antenna wire if the manual permits and inspect for receiver or wiring problems.
A used vehicle still operates the old door
Erase the HomeLink memory when ownership changes. HomeLink recommends clearing programmed buttons when a vehicle is sold or a lease ends. Then program your own opener from the official vehicle instructions.
Security and safe programming location
Program only when the garage door area is visible and clear. Keep the vehicle outside the door’s travel path while learning the system, and do not stand under a moving door. Do not disable photo eyes, force a travel limit, or use a HomeLink button with an opener that lacks required stop-and-reverse protection.
If the opener was manufactured before 1982 or lacks modern safety reversal, HomeLink support warns against using it. Have the opener evaluated or replaced by a qualified professional. A working remote or HomeLink button does not make an unsafe opener safe.
For related GarageSanctum references, see the learn-button colour chart, myQ compatibility guide, universal remote guide, and best garage door opener guide.
Sources and method notes
Compatibility and programming claims were checked against the current HomeLink support page, HomeLink programming portal, and HomeLink’s compatibility resources. Vehicle interfaces and opener procedures vary by model and year. Use the official vehicle search and opener manual before programming, buying a bridge, or changing a receiver.