DIY Garage Door Opener Installation Steps
One of the biggest advantages of garage door openers (here) is the ability to install a unit all by yourself. There are special models on the market that come with this benefit and they are usually advertised as simple gadgets with all the things you will need. When you are planning to install a unit by yourself, you need to consult and use the steps provided in the instructions. This article doesn’t mean you should ignore the mentioned instructions but rather to get a simple overview of what to expect.
Always remember to take your time and to follow the specific guidelines provided by the manufacturer. This will ensure you install a garage door opener in the shortest period of time and to help you eliminate the risk from potential issues.
Tools you will need
In most cases, you will need basic tools that are present in your garage. For instance, you will need a drill, wrenches, screwdrivers, tape measure, a clamp, and a hacksaw. Some garage door openers require 2×4 wood piece which is essential as well. The last thing you will need is angle iron.
Always check do you have all of the aforementioned items and tools before starting to make the installation. If you don’t have one or two, get it as soon as possible simply because you won’t be able to use your garage until the installation is complete. There is no need to add that all of these tools are cheap and available in any hardware shop.
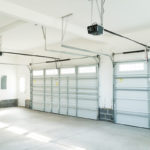
Inspecting your garage door
Once you have created the list of needed tools and you got all of them, you have to inspect your garage doors. This step simply means that you have to take a closer look at the size, type, and weight. Sectional, overhead garage doors are the most common so yes, you likely have this type but they are not the only one.
You need to take a closer look at the weight as well. Some garage doors have a weight of 300 pounds or under. They are very common and suitable for small and the most affordable garage door openers. On the other hand, we can see a much bigger and heavier garage doors. They have to be paired with a more powerful garage door opener.
The biggest mistake you can make is pairing underpowered garage door opener with heavier garage doors. This means that the electric motor will work at max capacity and the drive system won’t be able to keep up. Soon, your garage door opener will fail and you will lose the warranty. Always purchase a model that can handle the garage door you have.
Additional inspections
Yes, you should inspect the garage doors completely and test all the elements. We must add that a garage door opener won’t pull the total weight of garage doors when used. It will pull a lower amount of weight and it will have help with the torsion springs. This brings us to checking the condition of the torsion springs. They have to be strong and reliable and they must be in perfect order. They will lift the garage door when the garage door opener is used so they need to store the energy which is present when the door is closed. When torsion springs are damaged a garage door opener will have to lift the total weight all by itself, which is a huge problem.
The spring coils need to be inspected as well. They must be tight and without any spaces. If you see spaced or anything similar, it means that they are broken and they have to be replaced.
Rollers are present on some garage doors. If they are broken or damaged your garage door won’t open properly and you will have to replace the damaged component. Some of the common symptoms of failing rollers are wobbly garage door, slow opening and many other issues.
We highly recommend you to hire a professional to help you fix your garage door. Unless you are professional in this filed hiring one is much safer and a much better option. Garage doors are complicated, heavy and they come with countless elements that can fail at some point.
The main goal here is to inspect garage doors and repair it if needed before you install a garage door opener. If you install a unit on malfunctioning garage doors, it will fail soon.
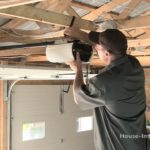
Finding the garage door opener position
Leave the garage doors in open position and measure the distance between the center at the top and the distance of the ceiling where the garage door opener will be installed. You need clamps and 8-foot ladder for this step. The mission is to find the exact location where the garage door opener will be installed. The clamp should secure the system and make it impossible to move around.
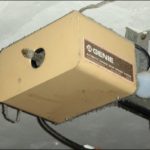
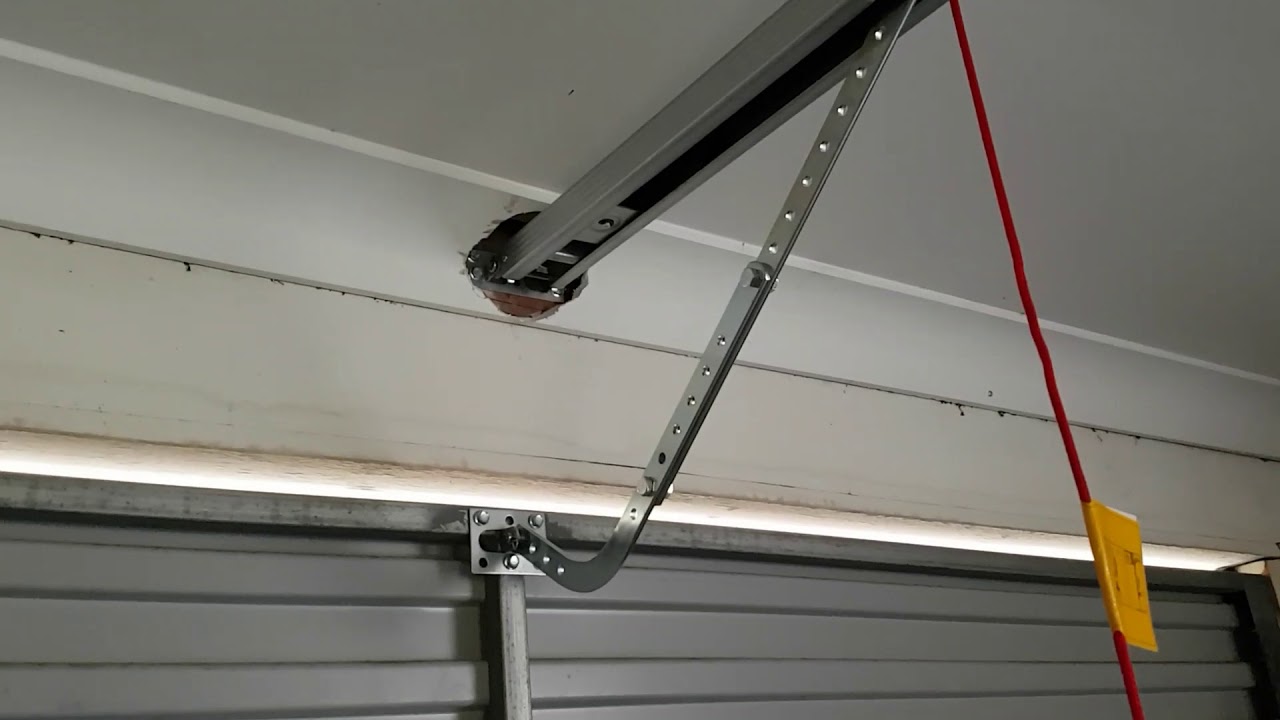
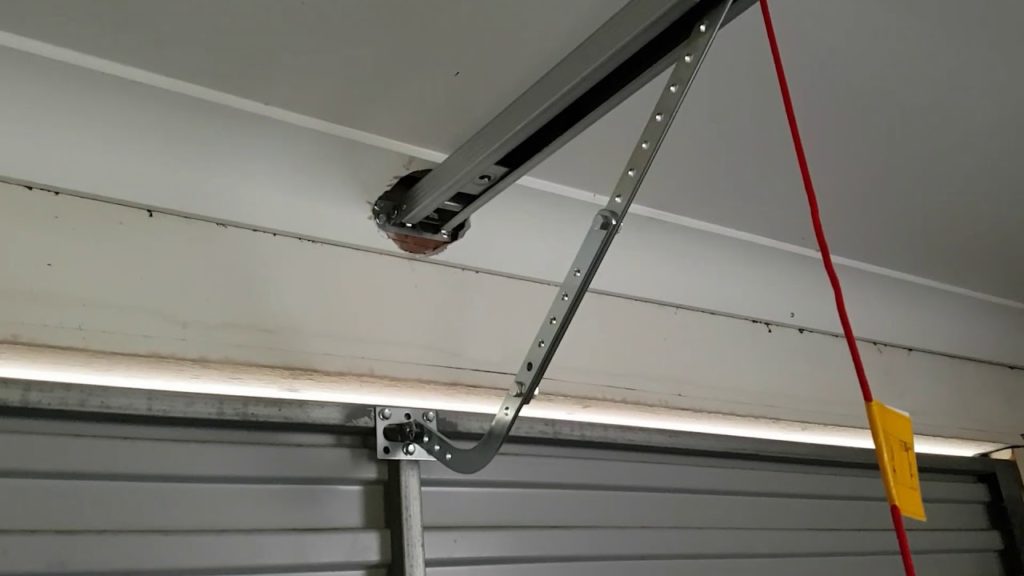
Positioning and fixing in place a garage door opener
When you know where to install it, you can do this using straps that are included in the kit. They are extremely common these days but they are not the best option. They are loose and there is a much better option. You can make brackets using iron angler and position them precisely where you want. Use aluminum or steel brackets and screw a garage door opener down and you are done. It will be a more stable unit and it will last longer.
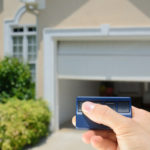
Testing the system
Now is the time to test the freshly installed garage door opener. Before you do this make sure to set the main points of the system. Follow the user manual and you won’t have problems.
Cover the eye sensor of the system and use a remote controller to open the garage door. They must not move. If it open despite the fact you covered the sensor there is a massive issue that has to be solved as soon as possible.
Testing the force sensor is mandatory as well. Put your sole on the garage door at the bottom and try to open it. Adding 5 pounds of additional force must disable the system. If garage door open you have another issue to fix.
Conclusion
Installation a garage door opener is something you can tackle and complete all by yourself. Yes you will need time and you will need basic tools but you will manage. Make sure to add this guide to your user manual and use all the steps properly.