LED Light Strip Connection Made Easy: StepbyStep Guide
In the world of interior design, LED light strips have quickly become a popular and versatile tool for creating ambiance and enhancing the overall aesthetic of a space. However, for those who are unfamiliar with electrical wiring and installation, the idea of connecting and setting up LED light strips can seem daunting. Fear not! In this step-by-step guide, we will walk you through the process of connecting LED light strips with ease and confidence. LED light strips come in a variety of colors and can be cut to fit any length, making them ideal for a range of applications, from highlighting a feature wall to adding soft, ambient lighting to a bedroom or living room. With our guide, you’ll be able to connect your LED light strips safely and efficiently, without the need for professional assistance. Whether you’re a seasoned DIY enthusiast or a novice, our step-by-step instructions will ensure that you can create the perfect lighting design for your home or office space. So, let’s get started!
LED light strips are a versatile and popular lighting solution that can be used in a variety of settings. These strips are made up of small, energy-efficient LEDs that are mounted on a flexible circuit board. They come in a range of colors and can be cut to fit any length or shape, making them highly customizable. LED light strips are commonly used in home decor, such as under cabinets or around mirrors, as well as for accent lighting in bars, restaurants, and other commercial settings. They are also used in automotive lighting, and in the film and television industry for special effects lighting. LED light strips are easy to install and can be controlled with a remote or smartphone app, allowing for easy customization of color and brightness.
The importance of proper connection for optimal performance of LED light strips cannot be overstated. A well-connected LED light strip ensures that the strip functions at its best and provides the best lighting effect. A poorly connected LED strip, on the other hand, can lead to flickering, dimming, or even complete failure of the strip. The key to proper connection is ensuring that the strip is correctly wired to an appropriate power source and that all connections are secure and stable. Additionally, using quality connectors and following the manufacturer’s instructions for installation will help to ensure that the strip operates at its optimal level, providing the desired lighting effect and lifespan.
Understanding LED Light Strip Connections
LED light strips have become increasingly popular due to their energy efficiency, versatility, and ease of use. However, connecting LED light strips can be intimidating for those who are new to the technology. To understand LED light strip connections, it is important to first understand the components of the strip. Each LED light strip consists of a series of individual LED lights that are connected by a circuit board. The circuit board is powered by a power supply, which is connected to the strip through a connector or a set of wires. The power supply provides the necessary voltage and current to light up the LEDs. There are different types of connectors that can be used to connect LED light strips. The most common type is the solderless connector, which allows the strip to be connected to the power supply without the need for soldering. Solderless connectors are easy to use and can be connected quickly and securely. Another type of connector is the soldered connector, which requires soldering the wires to the strip. Soldered connectors are more secure than solderless connectors, but they require more skill and time to install. It is important to choose the right connector for the job and to follow the manufacturer’s instructions carefully to ensure a safe and reliable connection.
LED light strips come in different types with varying features, allowing users to choose the one that best suits their needs. The most common types of LED light strips include RGB, single color, and dual white. RGB LED light strips provide a wide range of colors and are ideal for creating vibrant and colorful lighting effects. Single color LED light strips are available in different hues, such as warm white, cool white, and daylight white, and are perfect for creating a specific mood or ambiance. Dual white LED light strips offer warm and cool white tones for a more natural lighting effect. To connect these LED light strips, there are various connectors such as snap connectors, solderless connectors, and adhesive connectors. Snap connectors are quick and easy to install, while solderless connectors offer a more secure connection. Adhesive connectors use 3M adhesive tape to attach the strip to a surface, making them ideal for flexible installations.
When setting up LED light strips, common connection issues can arise that may hinder proper function. The first issue is often related to loose connections. This can be remedied by ensuring all connections are secure and tight. Another issue that may arise is incorrect wiring, which can be fixed by double-checking wiring diagrams and ensuring polarity is correct. Additionally, power supply issues may occur, and in this case, it is best to troubleshoot the power supply and replace it if necessary. Lastly, faulty LED strips can also be a problem, and it is important to test each strip before installation. By addressing these common connection issues, the process of setting up LED light strips can be made easy and successful.
Preparing for Connection
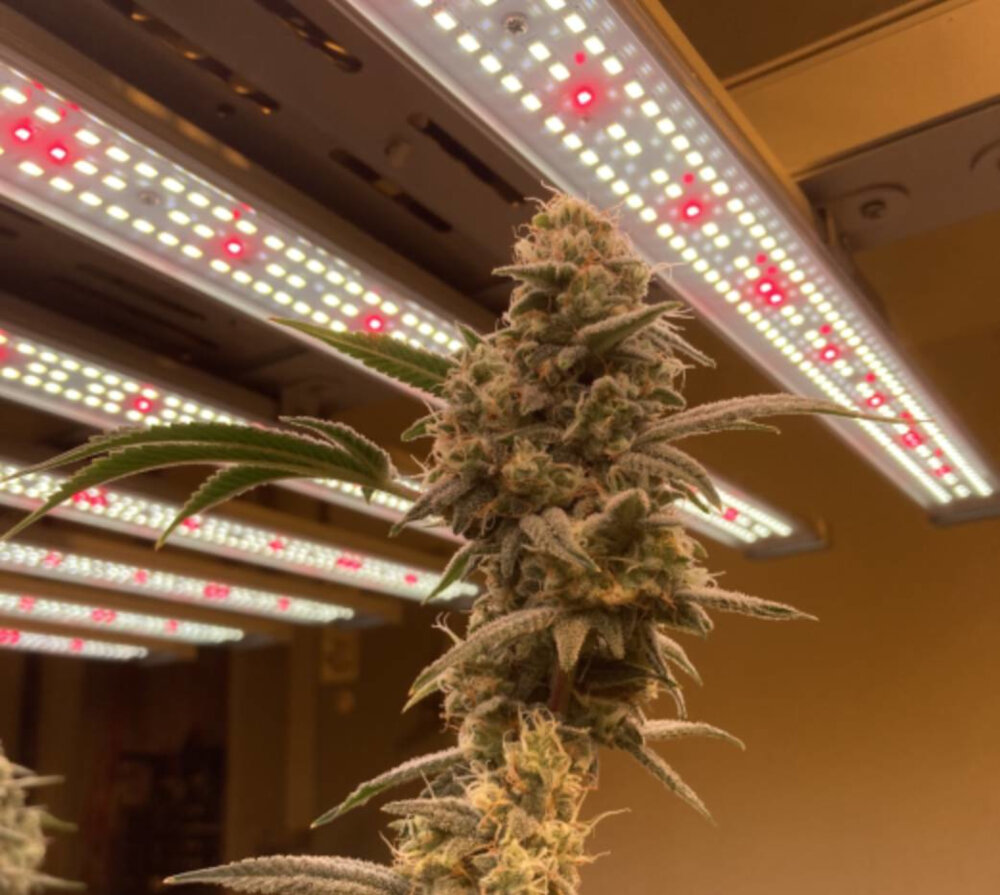
Before connecting your LED light strips, it’s essential to prepare for the installation process. First, ensure that you have all the necessary tools and materials, including a power supply, a controller, and connectors. You may also need adhesive tape, scissors or wire cutters, and a soldering iron. Check the instructions that come with your LED light strip kit to make sure you have everything you need. It’s always a good idea to have some extra connectors and wires on hand in case you need them. Next, plan the layout of your LED light strips. Consider where you want to place them and how you want to connect them. You may need to measure the length of the area where you want to install the light strips and cut them to size. Also, think about how you want to control the lights. Do you want to use a remote control, a smartphone app, or a switch? Once you have a clear plan in mind, you can begin the installation process with confidence.
Before starting the LED light strip connection process, it is important to gather all the necessary materials to ensure a smooth and successful installation. The key materials needed include the LED light strip itself, a power supply or transformer, a connector or soldering iron, wire cutters and strippers, and a remote control (if desired). It is also important to have a clean and safe work area, as well as any necessary adhesive or mounting materials for securing the LED light strip in place. By having all the necessary materials on hand, DIY enthusiasts and professionals alike can easily and efficiently connect LED light strips to create stunning visual displays and lighting effects for any space.
Working with LED light strips requires proper safety precautions to be taken in order to avoid accidents and injuries. Firstly, ensure that the power source is switched off before starting the installation process. Wear gloves to protect your hands from potential cuts or scratches when handling the strip, and avoid touching the exposed wires. It is also important to work in a well-ventilated area to prevent inhalation of toxic fumes that may be produced during the installation process. Lastly, make sure to read the manufacturer’s instructions carefully and follow the recommended steps to ensure a safe and successful installation. Taking these safety precautions will not only protect you from harm but also ensure that the LED light strip is installed correctly and functions properly.
StepbyStep Guide to Connecting LED Light Strips
Connecting LED light strips can seem daunting, but with the right tools and knowledge, it can be a simple and rewarding process. The first step is to gather all the necessary materials, including the LED light strips, a power supply, a soldering iron, solder, and wire cutters. Once you have everything on hand, carefully read the manufacturer’s instructions for your specific LED light strip to ensure you are properly connecting the strips. Next, start by cutting the LED light strips to the correct length using the wire cutters. Then, strip the ends of the wires and solder them together to connect the strips. It is important to make sure that the positive and negative wires are connected correctly to avoid any damage to the lights or power supply. Once the strips are connected, test them to ensure they are working properly before installing them in their final location. By following these simple steps, you can easily connect LED light strips and brighten up any space in your home or office. Overall, connecting LED light strips may seem intimidating at first, but with the right tools and a step-by-step guide, it can be a fun and rewarding DIY project. Remember to always follow the manufacturer’s instructions and double-check your connections to ensure a safe and successful installation. With LED light strips, you can add a unique and customizable touch to any room in your home, and create a cozy and inviting atmosphere.
The first and foremost step in connecting an LED light strip is to cut it to the desired size. This will ultimately depend on the size and shape of the area where the LED strip will be installed. It is essential to measure the area accurately and mark the strip with a pen or pencil before cutting it. In order to cut the strip, one can use a sharp pair of scissors or a utility knife. It is important to cut the strip along the marked line, ensuring that the cut is straight and precise. One should also be cautious not to damage the electrical connections on the strip while cutting. Once the strip has been trimmed to the desired length, it is ready for the next step in the process of connecting an LED light strip.
In Step 2 of our LED light strip connection guide, it’s time to prepare the connectors. This involves stripping the wires on both the LED strip and the connector, ensuring they are clean and free from any debris or oxidation. It’s important to use the correct wire strippers and to be careful not to damage the wires themselves. Once the wires are exposed, they can be twisted together and secured with electrical tape or soldered for a stronger connection. It’s crucial to make sure the polarity of the wires is correct, as this will determine the direction of the current and ensure the LEDs light up properly. Taking the time to properly prepare the connectors will ensure a safe and efficient connection for your LED light strip.
Step 3 of the LED light strip connection process is all about making the connection. This is where you will be connecting the power supply to the LED strip, ensuring that the current flows properly and the lights turn on. It’s important to make sure you have the right connectors and that you are connecting the wires in the proper sequence. Once the connection is made, you can test the lights to make sure everything is working as it should. This step requires a certain level of precision and attention to detail, but with the right tools and a bit of patience, you’ll be able to successfully connect your LED light strips and enjoy their vibrant glow.
Once you have connected all the wires, it is important to test the connection for proper function. This step is crucial as it ensures that your LED light strip works efficiently and effectively. To test the connection, plug in the power supply and turn on the switch. Check each LED light to ensure that it is lit and that there are no flickers or dimming. If you notice any issues, double-check the wiring and connections to make sure they are secure. It is also recommended to use a multimeter to test the voltage and current flowing through the circuit. By testing the connection, you can identify any errors or defects and fix them before enjoying the full benefits of your new LED light strip.
Advanced Connection Tips
When it comes to connecting LED light strips, there are some advanced tips that can make the process even easier. One of these tips is to use a soldering iron to create a permanent connection between the LED strip and the power source. This is especially useful if you are looking for a long-term, reliable connection that will not come loose over time. To do this, you will need to strip the wires of both the LED strip and the power source, twist them together, and then use the soldering iron to melt a small amount of solder onto the wires. This will create a strong, permanent bond between the two wires. Another advanced connection tip is to use a connector or adapter to connect multiple LED light strips together. This is especially useful if you need to cover a larger area with LED lighting, but do not want to have multiple power sources or controllers. A connector or adapter will allow you to easily link multiple strips together while still maintaining a consistent level of brightness and color. Just be sure to choose the right connector or adapter for your specific LED light strip model and power source, as they can vary depending on the brand and model. With these advanced connection tips, connecting LED light strips can be a breeze, no matter what your project requires.
Connecting multiple LED light strips is a simple and straightforward process that can enhance the ambiance of any room or space. To begin, ensure that all the LED strips are of the same voltage and have the same connector type. Next, connect the strips using either soldering or connectors, depending on personal preference and skill level. It is important to make sure that the connections are secure and that the polarity is correct to avoid any damage to the LED strips. Additionally, a power supply with sufficient wattage should be used to ensure that all the strips receive adequate power. With these steps in mind, connecting multiple LED light strips can be an enjoyable and rewarding DIY project.
Connecting an LED light strip to a power source can seem daunting at first, but with the right tools and knowledge, it can be a simple process. The first step is to determine the type of power source needed for your specific LED lights. This may include a power adapter or a battery pack. Once you have the appropriate power source, ensure that it is compatible with your LED light strip and that the voltage matches. Next, connect the power source to the LED light strip by either soldering or using a connector. It is important to follow the manufacturer’s instructions and handle all electrical components carefully. Once connected, test the lights to ensure they are functioning properly. By following these steps, you can successfully connect your LED light strip to a power source and enjoy the benefits of your new lighting.
Custom connections are an essential component of LED light strip installation, as they allow for a more personalized and efficient setup. First, select the appropriate connector type based on the LED strip’s specifications and layout. Next, measure and cut the wire to the desired length, ensuring that the exposed ends are stripped and tinned. The wire can then be inserted into the connector and secured with a screw or clamp. Finally, test the connection to ensure that it is properly functioning. By creating custom connections, LED light strip installations can be tailored to fit a variety of unique configurations, making them a versatile and convenient lighting option for any space.
In conclusion, connecting LED light strips is an easy process that can be done with just a few simple steps. The first step is to ensure that the power source is compatible with the LED strip being used. Next, the proper connections must be made between the power source and the LED strip. It is important to keep in mind the polarity of the wires to avoid any potential damage. Finally, it is recommended to use a soldering iron to secure all connections and ensure a stable and long-lasting connection. Overall, with the right tools and knowledge, anyone can successfully connect LED light strips to enhance the ambiance of any space.
In conclusion, LED light strip connections are an incredibly versatile and easy way to add ambiance and lighting to any space. With the step-by-step guide provided, connecting LED light strips can be done by anyone with minimal effort and technical knowledge. From choosing the appropriate power source to determining the correct polarity and wiring, this guide covers everything necessary to ensure a successful LED light strip connection. Whether for home decoration, commercial displays, or automotive use, LED light strips offer endless possibilities for creativity and innovation. With a little bit of patience and attention to detail, anyone can transform their space with the use of LED light strips.
If you’re feeling intimidated by the prospect of connecting LED light strips on your own, don’t be! Making connections can seem daunting at first, but with some guidance and a bit of confidence, you can easily create your own customized lighting designs. It’s a great way to express your creativity and add a personal touch to your living space. Plus, the satisfaction of seeing your hard work come to life is unbeatable. So take a deep breath, follow this step-by-step guide, and let your imagination run wild. You’ll be surprised at what you can accomplish!
Conclusion
In conclusion, connecting LED light strips to power sources doesn’t have to be a daunting task. With the step-by-step guide outlined in this article, anyone can easily connect their LED light strips and enjoy the beautiful lighting effects they provide. Whether you’re a DIY enthusiast or just looking to spruce up your home lighting, this guide provides a straightforward approach that anyone can follow. So, whether you’re looking to create a cozy ambiance in your living room or add some flair to your car interior, rest assured that with this guide, you’ll be able to connect your LED light strips with ease.


