LED Light Remote Connection Made Easy: StepbyStep Guide

In today’s technological era, we all crave the convenience that comes with remote access. The ability to control our devices from a distance is no longer a luxury, but a necessity. One of the most significant advantages of having remote access is the ability to control our lighting systems. With LED light remote connection, controlling your lighting from your smartphone or tablet has never been easier. By following a few simple steps, you can have complete control over your LED lights without ever leaving your seat. If you are new to the world of LED lighting, the process of connecting your LED lights to a remote system may seem daunting. However, with a step-by-step guide, it is easy to get started. In this article, we will provide you with a comprehensive guide to connecting your LED lights to a remote system. From setting up your remote system to pairing your LED lights, we will take you through each step of the process, ensuring that you have complete control over your lighting system. So, whether you are looking to add a little convenience to your life or want to control your lighting system from afar, read on to learn more about LED light remote connection.
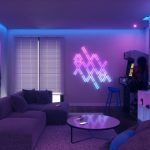
LED lights are a type of energy-efficient lighting that has become increasingly popular in recent years. LED stands for \light-emitting diode,\ and these lights use semiconductor technology to produce light. Unlike traditional incandescent bulbs, which produce light by heating a filament, LED lights produce light through a process called electroluminescence. This means that they use far less energy than traditional bulbs, last much longer, and produce far less heat. LED lights are also highly customizable, with a wide range of colors and brightness levels available. All of these factors have contributed to the popularity of LED lighting, both in homes and in commercial settings.
Remote connection and control has become an essential aspect of modern life, particularly in the age of technology. It allows users to access and manage devices, machines, and systems from remote locations, thus enabling them to work more effectively and efficiently. One of the primary benefits of remote connection and control is convenience, as it eliminates the need for physical presence, making it ideal for people who are on the go or working from home. In the context of LED lighting, remote connection and control offer a wide range of benefits, including energy efficiency, ease of use, and customization options. By being able to control their LED lights remotely, users can easily adjust the brightness, color, and timing of the lights, creating a personalized lighting experience that suits their needs and preferences.
Choosing the Right Remote
When it comes to choosing the right remote for your LED lights, there are a few things to consider. First and foremost, make sure the remote is compatible with your specific LED light system. It’s important to do your research and check the manufacturer’s specifications to ensure that the remote you choose will work with your lights. Another important factor to consider is the range of the remote. Make sure the remote has a range that is suitable for your needs, whether you are using it in a small room or a large outdoor space. Additionally, consider the number of buttons on the remote and whether they are easy to use and understand. A remote with too many buttons or confusing controls can be frustrating to use, so make sure you choose one that is user-friendly. Lastly, consider the battery life of the remote and whether it is easy to replace the batteries when needed. Once you have chosen the right remote for your LED lights, it’s important to follow the manufacturer’s instructions for connecting the remote to your lights. This may involve syncing the remote with your lights using a specific code or button sequence. It’s important to follow these instructions carefully to ensure that your remote and lights work together seamlessly. Additionally, make sure you test the remote and lights together before using them in a real-world setting. This can help you identify any issues or problems before you are relying on the remote and lights for an event or activity. With the right remote and proper setup, controlling your LED lights can be easy and enjoyable.
When it comes to LED light remote connection, there are different types of remotes available in the market. The most common type is the infrared remote, which uses infrared signals to control the lights. Another type is the radio frequency remote, which uses radio waves to control the lights and is more reliable than the infrared remote. There are also Wi-Fi-enabled remotes, which can be controlled through a smartphone app or voice commands. Some remotes come with a touch screen display for easy navigation, while others have simple button controls. The range of the remote is also an important factor to consider as it determines how far away you can be from the lights while still controlling them. With so many options available, it’s important to choose the right type of remote that meets your specific needs for LED light control.
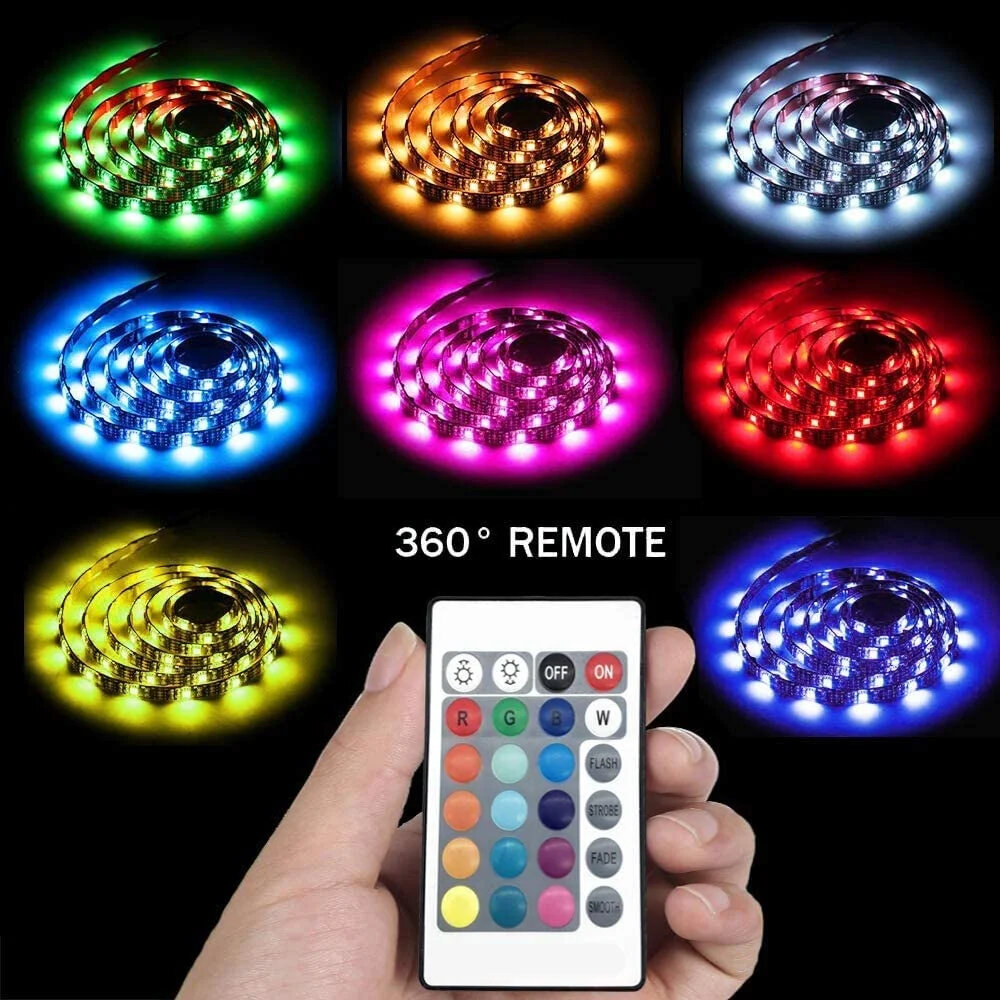
Choosing the right remote for your LED lights is crucial to ensure a hassle-free and convenient lighting experience. First, determine the type of LED lights you have, as different remotes work with different types of lights. For instance, RGB LED lights require remotes with color-changing capabilities, while single-color LED lights only need a basic on/off remote. Next, consider the range of the remote and make sure it can cover the distance between the remote and the lights. Additionally, check the battery life and make sure the remote comes with a battery or that replacement batteries are readily available. Lastly, look at the features the remote offers, such as dimming options and pre-set modes, to ensure it fits your specific lighting needs. By following these steps, you can choose the right remote for your LED lights and have a seamless lighting experience.
Preparing Your LED Lights for Remote Control
When it comes to setting up LED lights for remote control, it’s important to make sure they are properly prepared. This involves a few key steps that will help ensure smooth and easy operation once the remote control is in use. First, it’s important to make sure the LED lights are installed and wired correctly. This means following the manufacturer’s instructions carefully and making sure all wiring connections are secure and properly insulated. Once the lights are installed and wired, it’s time to prepare them for remote control. This typically involves pairing the lights with the remote control device and programming any desired settings or modes. One key aspect of preparing LED lights for remote control is choosing the right type of remote control device. There are many different options available, including simple handheld remotes, wireless wall switches, and even smartphone apps. It’s important to choose a device that is compatible with your LED lights and offers the functionality you need. For example, some devices may only offer basic on/off controls, while others may allow you to adjust brightness, color temperature, and other settings. Once you have chosen the right remote control device, you can begin the process of pairing it with your LED lights and configuring any desired settings. With some careful preparation and attention to detail, you can enjoy the convenience and flexibility of remote-controlled LED lights in your home or business.
Preparing your LED lights for remote control is a relatively simple process that can be done in just a few steps. First, ensure that your LED lights are compatible with a remote control. Next, locate the receiver on the LED light strip, which is typically a small box attached to the end of the strip. Connect the receiver to the power supply and test that the lights are working properly. Once you have confirmed that the lights are functioning, it’s time to pair the remote control. This typically involves pressing a button on the receiver and then pressing a button on the remote control. Once the pairing process is complete, the LED lights should be controllable via the remote control. Overall, preparing your LED lights for remote control is a quick and easy process that can add convenience and flexibility to your lighting setup.
To successfully connect an LED light remote, you will need a few essential tools to make the process easier and efficient. Firstly, a screwdriver will be necessary to open and access the LED light’s control box. Secondly, a wire stripper and cutter will be required to prepare the wires for connection. A voltage tester is also necessary to ensure that the wires have no current running through them before you begin working with them. A power drill with a drill bit will be required to drill holes in the walls for mounting the LED lights. Additionally, you will need a set of pliers to clamp wires together and a heat gun to shrink the heat shrink tubing around the wires. Finally, a remote control for the LED lights is crucial for testing the connection’s success. With these tools, you can easily follow the step-by-step guide to connect your LED light remote control.
Connecting Your Remote to Your LED Lights

Connecting your remote to your LED lights can seem like a daunting task, but with the right step-by-step guide, it can be done easily and quickly. First, ensure that your remote and LED lights are compatible. Check the packaging or manual for both items to make sure they are from the same brand or that they use the same frequency. Next, ensure that the batteries in the remote are fresh and have enough power. Once you have verified compatibility and power, it’s time to start the connection process. To begin, turn on your LED lights and ensure they are in the correct mode. Next, locate the control box for your LED lights. This is usually a small box that is connected to the power source, and it should have a small button on it. Press and hold this button until the lights on the LED strip start flashing. Then, hold the remote close to the control box and press the button that corresponds to the mode or color you want on the LED lights. The flashing lights on the LED strip should stop, and the lights should now be in the mode or color you selected. Congratulations, you have now successfully connected your remote to your LED lights!
Connecting your remote to your LED lights is a straightforward process that requires a few essential steps. First, make sure that your LED lights are correctly installed and powered on. Next, locate the receiver box that came with your LED lights and make sure it is plugged in and functioning correctly. Then, press and hold the power button on your remote control until the LED lights begin to flash. Once the LED lights start flashing, release the power button and press the button on your remote that corresponds to the function you want to control. This simple process will allow you to connect your remote to your LED lights and start enjoying the convenience of remote control operation.
When it comes to connecting LED lights with a remote control, there may be some potential troubleshooting issues that arise. One common issue is that the LED lights may not turn on or respond to the remote control. This can be caused by a few different factors, such as a weak battery in the remote, a loose connection between the power supply and the LED lights, or a faulty LED strip. To solve this issue, first, ensure that the battery in the remote is fresh and properly inserted. Then, check that all connections between the power supply and LED lights are secure and tight. If the problem persists, it may be necessary to replace the LED strip altogether. Another issue that may arise is that the colors on the LED lights are not displaying correctly. This can be caused by a faulty controller or wiring issues. To solve this, check all wiring connections to ensure they are correct and secure. If the problem persists, it may be necessary to replace the controller. By following these troubleshooting steps, connecting LED lights with a remote control can be made easy and stress-free.
Testing Your LED Light Remote Connection

Testing your LED light remote connection is an essential step to ensure that your lighting system is working correctly. Before you start using the remote, you need to make sure that the connection between the LED lights and the remote is established correctly. This can be done by turning on the LED lights and pressing the buttons on the remote. If the LED lights respond to the remote, then the connection is working correctly. However, if they do not respond, you need to troubleshoot the connection to find the problem. One of the most common reasons for a faulty LED light remote connection is a weak battery. If the battery in the remote is not fully charged or is low on power, it can cause the connection to fail. You can test the battery by replacing it with a new one and trying to connect the LED lights again. Another reason for a faulty connection could be that the LED lights are not receiving power. In this case, you need to check the power source and make sure that it is working correctly. By testing your LED light remote connection, you can identify any problems early on and fix them before they become more significant issues.
Testing your LED light remote connection is a crucial step in ensuring that your lighting system is functioning correctly. To do this, you will need to follow a few simple steps. First, make sure that the batteries in your remote control are fully charged. Next, turn on the LED lights and point the remote towards the receiver. If your connection is successful, the lights should respond to your remote commands. If not, you may need to troubleshoot the connection by checking the wiring or resetting the receiver. It’s also essential to make sure that there are no obstructions between the remote and receiver that can interfere with the signal. By following these steps, you can ensure that your LED light remote connection is working correctly, and your lighting system is operating efficiently.
When it comes to optimizing your LED light remote connection, there are a few tips to keep in mind. Firstly, ensure that your remote has fresh batteries and that it is pointing towards the receiver. Additionally, make sure that the receiver is within range and not obstructed by any objects. If you’re experiencing connectivity issues, try resetting both the remote and receiver. Another helpful tip is to keep the remote and receiver away from any other electronic devices that may interfere with the connection. Lastly, consider upgrading to a higher-quality remote or receiver if you continue to experience connectivity problems. By following these tips, you can ensure that your LED light remote connection is reliable and easy to control.
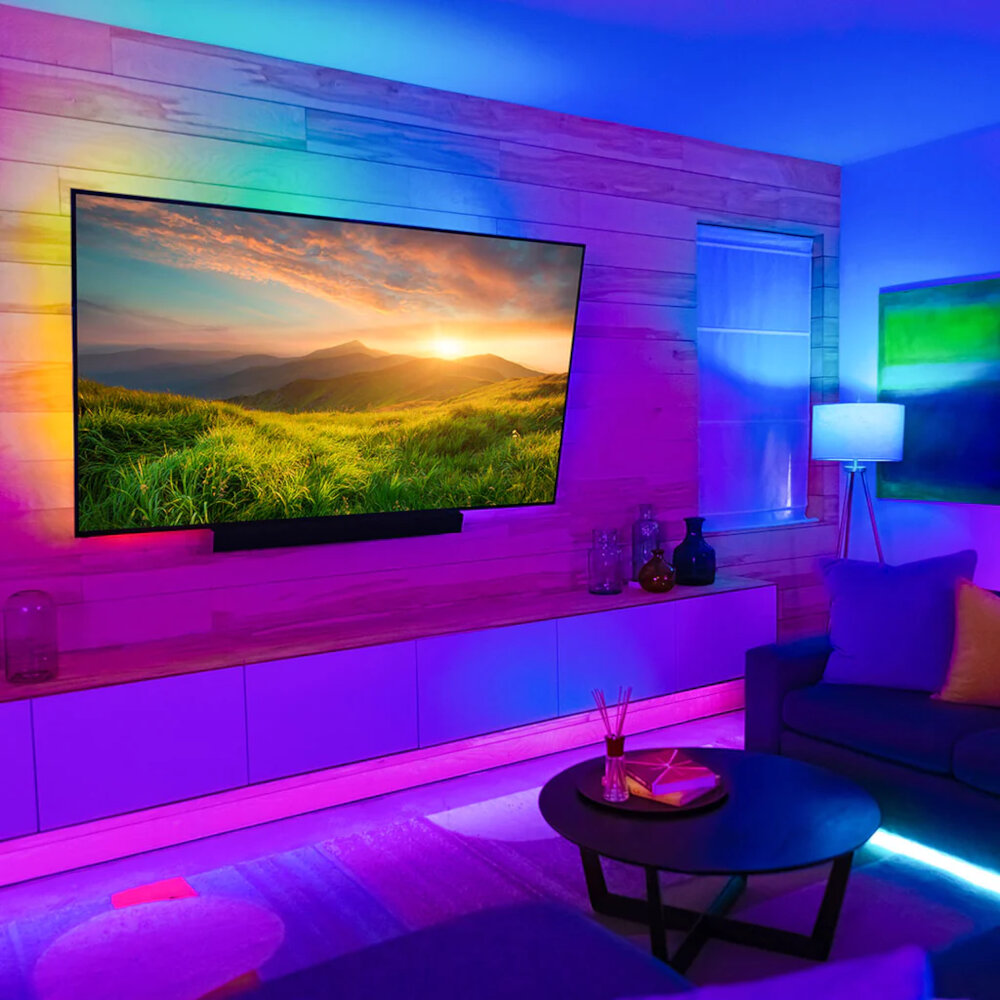
Remote connection for LED lights is a vital aspect of efficient and convenient lighting control. It allows users to manage their lighting systems from a distance, which is especially useful in large commercial, industrial, and residential spaces. With remote connection, users can turn on and off the lights, adjust brightness levels, and even change colors without physically accessing the light fixtures. This feature not only enhances convenience but also helps to save energy by enabling users to control the lights according to their needs. Moreover, remote connection makes it easier to automate lighting schedules, which can further reduce energy consumption and enhance security. Overall, remote connection is an essential feature that has revolutionized the way we control and manage LED lighting systems.
In conclusion, the LED light remote control brings a whole new level of ease and convenience to our home lighting systems. With just a touch of a button, we can change the color, brightness, and even the mode of our LED lights. The step-by-step guide provided in this article has made it incredibly easy for anyone to connect their LED lights to a remote control, even those who are not tech-savvy. It’s amazing to think how much time and effort we can save by using a remote control instead of manually adjusting each light. Overall, the LED light remote control is a game-changer in the world of home lighting and is definitely worth considering for anyone looking to upgrade their lighting system.
Conclusion
In conclusion, connecting an LED light remote has been made much easier with this step-by-step guide. By following the instructions provided, even a novice can successfully connect their LED light remote without any issues. The process is simple, straightforward and does not require any special skills or knowledge. With the use of the remote, users can easily control their LED lights to create the desired ambiance in any room. This guide is an invaluable resource for anyone looking to add LED lighting to their home or office. By implementing the steps outlined, users can enjoy the convenience and functionality that LED lighting provides. Overall, this guide is a must-read for anyone looking to enhance their home or office lighting with LED technology.