RV Awning LED Light Strip Replacement: A StepbyStep Guide
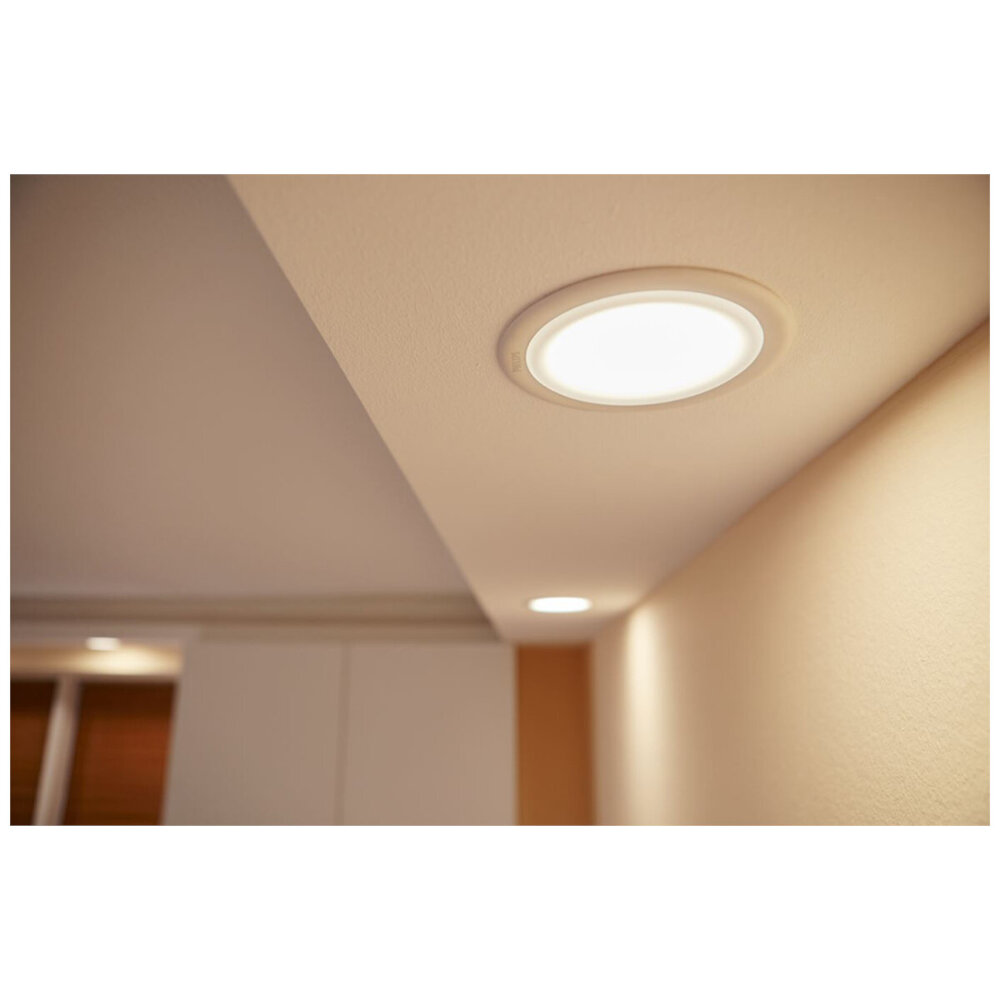
Recreational vehicles (RVs) have become a popular mode of travel, offering a comfortable and convenient way to explore the great outdoors. One of the essential features of an RV is the awning, which provides shade and protection from the elements. However, over time, the awning’s LED light strip may need replacement due to wear and tear, leaving RV enthusiasts with a dimly lit outdoor living space. This is where our step-by-step guide comes in handy, providing you with all the information you need to replace your RV awning LED light strip. Our guide is designed to walk you through the process of replacing your RV awning LED light strip. Whether you’re an experienced RV owner or new to the scene, our easy-to-follow instructions will help you get your RV back to its fully illuminated state in no time. From selecting the right LED light strip to removing the old one and installing the new one, we’ve got you covered. So, let’s dive in and get your RV’s awning shining bright once again!
RV awning LED light strip replacement refers to the process of replacing the LED lights on the awning of a recreational vehicle (RV). The LED lights on the awning provide illumination and enhance the aesthetics of the RV. However, over time, these lights may become damaged or stop functioning, necessitating their replacement. The replacement process involves removing the old LED lights and installing new ones. It is a relatively simple process that can be completed with basic tools and minimal technical knowledge. This guide provides a step-by-step explanation of how to replace RV awning LED light strips, making the process easy and straightforward for anyone who wishes to undertake this task.
Replacing a faulty LED light strip in your RV awning can have significant benefits. Firstly, it ensures that the awning is properly illuminated, providing ample light for outdoor activities and enhancing the aesthetic appeal of the RV. Secondly, replacing a faulty LED light strip can prevent further damage to the electrical system of the RV. Faulty wiring in the LED light strip can cause short circuits, which can lead to more significant electrical problems. Thirdly, a replacement can save you money in the long run. Faulty LED light strips consume more energy and can cause higher electricity bills. Replacing them with new and efficient ones can save you money and reduce your carbon footprint. Therefore, replacing a faulty LED light strip is a crucial step in maintaining your RV’s functionality and longevity.
Tools and Materials Required
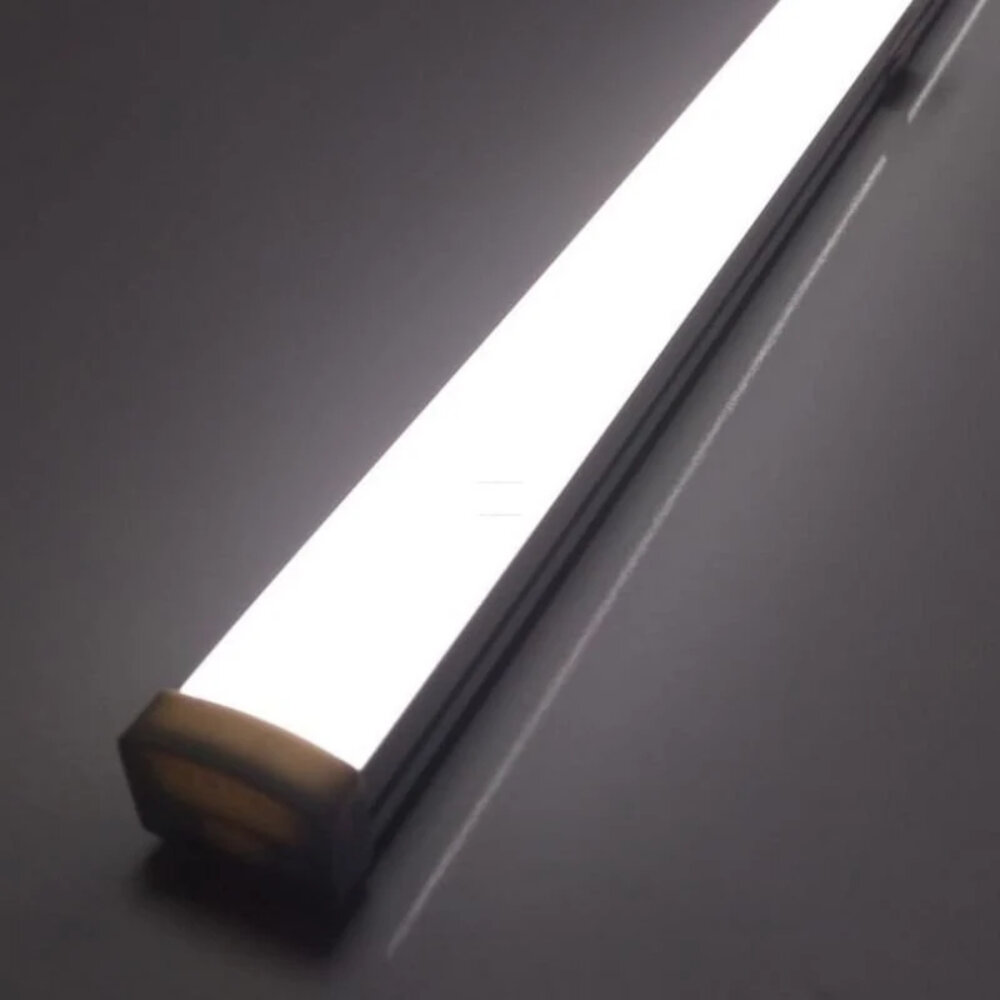
When it comes to replacing the RV awning LED light strip, you need to have the right tools and materials to make the job easier and more efficient. The first thing you need is a ladder that can safely reach the awning. This is important to ensure that you can work on the awning without risking any injuries due to falls. Additionally, you will need a screwdriver to remove the old LED light strip and install the new one. A cordless drill can also come in handy in case there are screws that are difficult to remove. Other tools that you may need include wire cutters, wire strippers, and crimping pliers. These tools are important in ensuring that you can make the necessary electrical connections without damaging the wires. You will also need a replacement LED light strip that is compatible with your RV’s awning. Make sure that the length of the LED light strip matches the length of the awning. You may also need a silicone sealant to seal any gaps or holes in the awning to prevent water from getting in. Having all these tools and materials ready before starting the project will save you time and ensure that the replacement process goes smoothly.
Replacing the LED light strip on your RV awning requires a few essential tools and materials. To start, you will need a ladder to reach the awning safely. A cordless drill, drill bits, and a screwdriver set will help you remove the old light strip and attach the replacement. You will also need a wire stripper and wire connectors to connect the new LED light strip to the power source. A silicone adhesive or a double-sided tape will secure the new strip to the awning fabric. Finally, make sure to have a clean work area and gloves to protect your hands during the process. Having these tools and materials on hand will make the replacement process smoother and ensure that your new LED light strip is securely installed on your RV awning.
In the context of replacing RV awning LED light strips, there are several tools and materials necessary for a successful project. Firstly, a ladder or step stool is essential for accessing the awning and the light strip. A screwdriver, pliers, and wire cutters are also necessary for removing the old light strip and installing the new one. Additionally, wire connectors and electrical tape are needed to connect the new light strip to the power source. Finally, the new LED light strip itself is the most crucial material required for the replacement. It is important to select a high-quality, waterproof strip that fits the length of the awning. By having all of these tools and materials on hand, the replacement process can be completed efficiently and effectively.
Steps to Replace RV Awning LED Light Strip
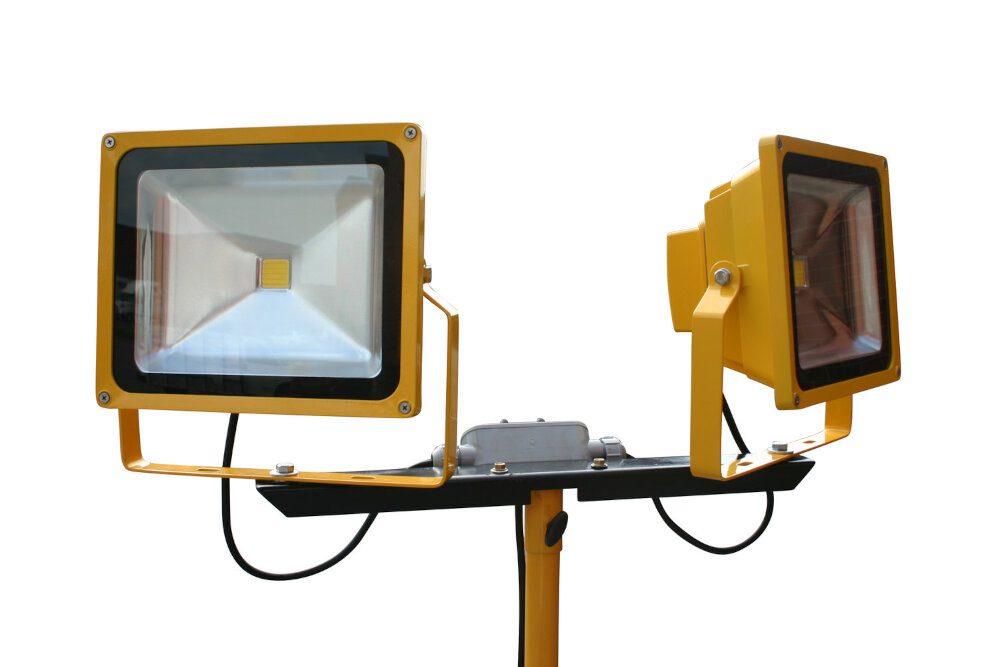
Replacing an RV awning LED light strip may seem like a daunting task, but with the right tools and a step-by-step guide, it can be done easily. The first step is to determine the length of the LED light strip that needs to be replaced. This can be done by measuring the length of the awning, or by checking the manufacturer’s manual for the length of the original light strip. Once the length has been determined, the new LED light strip can be purchased. It is important to purchase a strip that is the same length as the one being replaced, and that is compatible with the RV’s electrical system. The next step is to remove the old LED light strip. This can be done by gently pulling the strip away from the awning, starting at one end and working your way along the length of the awning. It may be necessary to use a flat tool, such as a putty knife or screwdriver, to help loosen the adhesive holding the strip in place. Once the old strip has been removed, the new strip can be installed. Begin by cleaning the area where the old strip was removed with rubbing alcohol, and allowing it to dry completely. Then, starting at one end of the awning, peel the backing off the new LED light strip and carefully press it into place, making sure to follow any curves or angles in the awning. Finally, connect the new strip to the RV’s electrical system and test it to ensure that it is working properly.
The initial step in replacing the RV awning LED light strip is to remove the old one. To do this, you will need to gently peel off the adhesive tape that is attaching the old strip to the awning. However, you need to be cautious while peeling off the tape to avoid causing any damage to the awning. Once you have completely removed the old strip, make sure to clean the area to remove any remaining adhesive residue. This step is crucial as the new LED strip will not stick properly if there is any residue left. After cleaning, you can proceed to the next step of installing the new LED light strip.
Cleaning the awning surface is an essential step in the process of replacing the LED light strip of an RV awning. It is necessary to remove any dirt, grime, or debris accumulated on the surface of the awning to ensure the proper adhesion of the new LED strip. The cleaning process can be done using a mild soap solution, a soft brush, and water. It is important to avoid using harsh chemicals or abrasive materials that could damage the awning fabric. Once the surface is thoroughly cleaned and dried, you can proceed to the next step of the replacement process. By taking the time to clean the awning surface, you are ensuring that the new LED light strip will adhere properly and last longer, providing you with a well-lit and enjoyable outdoor experience.
Step 3 of the RV Awning LED light strip replacement guide involves measuring and cutting the new LED light strip. This critical step is essential to ensure that the light strip fits precisely and uniformly on your RV’s awning. Accurate measuring is necessary to avoid any potential wastage of the light strip material. A sharp cutting tool is required to make straight and precise cuts, which will allow you to create a seamless joint between the strips once they are installed. The right tools and techniques can make this step straightforward and stress-free, so take your time and measure twice before making any cuts to achieve a perfect fit for your new LED light strip.
Now that you have prepared the awning surface and the new LED light strip, it’s time to attach them together. This step requires patience and precision to ensure that the strip is properly secured and aligned. Start by carefully peeling off the adhesive backing of the LED light strip and aligning it with the awning surface. Gently press down on the strip to ensure that it sticks firmly to the awning surface. It’s crucial to work slowly and steadily, ensuring that each section of the strip is properly secured before moving on to the next. Once the entire strip is attached, take a step back and admire your handiwork. The new LED light strip should be firmly attached and evenly aligned, providing an eye-catching and practical addition to your RV awning.
After completing the previous steps of removing the old awning LED light strip and installing the new one, it’s time to connect the new LED light strip to the power source. To do this, you need to locate the power source on your RV and ensure that it’s turned off before connecting the wires. Carefully connect the wires of the new LED light strip to the power source and test it to ensure that it’s working properly. Once you are satisfied that everything is working as it should, you can turn the power back on and enjoy the new and improved lighting on your RV awning.
After completing the installation process, it’s essential to test the new LED light strip before packing up your tools. Turn on the power source and check if the lights are functioning correctly. If any of the lights are not working, inspect the connections and make sure that they are secure. It’s also a good idea to check if the lights are evenly distributed across the awning’s length. Take note of any discrepancies and make adjustments as needed. Once you’ve confirmed that the LED light strip is working correctly, you can sit back and enjoy the ambiance of your newly installed lights.
Tips and Precautions

When replacing your RV awning LED light strip, there are a few tips and precautions that you should keep in mind. Firstly, always make sure that the power supply to the LED strip is turned off before beginning any work. This helps to prevent any electrical shocks or damage to the LED lights. Additionally, it is important to use the correct tools and equipment when replacing the LED light strip. This includes a ladder, screwdriver, wire strippers, and a replacement LED light strip. Another important tip is to take your time when replacing the LED light strip. Rushing the process can lead to mistakes and potentially damage the new LED lights. It is also important to ensure that the new LED strip is the correct size and type for your RV awning. This helps to ensure that the LED lights will work correctly and last for a long time. Lastly, it is always a good idea to have a friend or family member assist you when replacing the LED light strip. This can help to make the process easier and safer for everyone involved. When working on your RV awning LED light strip replacement, there are a few precautions that you should keep in mind. Firstly, always wear protective gloves and eyewear to prevent injury. Additionally, be careful when working with electrical wiring and avoid touching any exposed wires. It is important to make sure that all wiring is properly insulated and protected to prevent any electrical hazards. Lastly, always follow the manufacturer’s instructions and any safety guidelines that are provided. This helps to ensure that the replacement process is completed safely and correctly.
When it comes to replacing your RV awning LED light strip, there are a few tips to keep in mind to ensure a successful process. Firstly, make sure to purchase a replacement strip that is the correct length for your awning. Secondly, gather all the necessary tools beforehand, such as a ladder, wire stripper, and electrical tape. Thirdly, take your time and carefully remove the old light strip, making note of any areas that may require extra attention during installation. Finally, test the new light strip before fully installing it to ensure it is functioning properly. Following these tips will help ensure a smooth and successful replacement process.
When replacing RV awning LED light strips, there are a number of precautions you should take to avoid accidents and damages. First and foremost, ensure that the power source is turned off before attempting to remove any wiring or components. Additionally, be sure to wear appropriate safety gear such as gloves and protective eyewear to prevent injury. When working at heights, use a secure and stable ladder or scaffolding to avoid falls or slips. Finally, carefully follow the manufacturer’s instructions and any applicable building codes to ensure that the installation is completed safely and correctly. By taking these precautions, you can minimize the risk of accidents and damage to your RV and its components.
The article titled \RV Awning LED Light Strip Replacement: A Step-by-Step Guide\ provides a comprehensive and detailed guide on how to replace the LED light strip on an RV awning. The guide outlines the necessary tools and materials required for the replacement process and provides step-by-step instructions on how to remove the old LED strip and install the new one. The article also provides useful tips and precautions to take during the replacement process to ensure safety and efficiency. By following the instructions in this guide, RV owners can successfully replace their awning LED light strips and enjoy a well-lit outdoor space on their RV.
Replacing a faulty LED light strip on your RV awning is crucial to ensure the safety and functionality of your outdoor lighting. Faulty LED light strips can lead to a variety of problems such as flickering, dimming, or even complete failure of the lights. This can not only be frustrating but can also pose a safety hazard, especially if you are camping in a remote location. Therefore, it is essential to replace any faulty LED light strips as soon as possible to ensure that your RV awning lighting is working correctly and providing adequate visibility during the night time. By following this step-by-step guide, you can quickly and easily replace your RV awning LED light strip, giving you peace of mind and a well-lit outdoor area for your camping adventure.
In conclusion, replacing your RV awning LED light strip may seem like a daunting task, but it can be done with a bit of patience and effort. It’s important to prioritize safety by disconnecting power sources and taking precautions when working with electrical components. Additionally, choosing a high-quality replacement LED strip can ensure that your new lights will be durable and long-lasting. Following the step-by-step guide outlined in this article will help you successfully replace your RV awning LED light strip and add a beautiful and functional touch to your outdoor living space. We recommend consulting with a professional if you encounter any difficulties or have any questions during the process. Happy camping!
Conclusion

In conclusion, replacing RV awning LED light strips is a simple and straightforward process that can be done with a few basic tools and some careful attention to detail. By following the step-by-step guide outlined in this article, RV owners can quickly and easily brighten up their outdoor living space and enhance their camping experience. Whether you’re a seasoned RV enthusiast or a first-time camper, taking the time to replace your awning lights can make a world of difference in the comfort and enjoyment of your outdoor adventures. So don’t hesitate to give it a try, and see for yourself how a little bit of DIY ingenuity can go a long way in improving your RV lifestyle.


