StepbyStep Guide: Installing LED Light Strip Made Easy
LED light strips are a popular choice for many homeowners who want to add a unique touch to their home’s lighting. These strips are versatile, energy-efficient, and come in a wide range of colors and sizes, making them ideal for any room in the house. However, many people are intimidated by the idea of installing LED light strips themselves. The good news is that it’s easier than you think! With the right tools and a step-by-step guide, anyone can install LED light strips in their home. In this guide, we’ll take you through the step-by-step process of installing LED light strips. We’ll cover everything from choosing the right type of light strip to preparing the surface and attaching the strip. Whether you’re looking to add some ambiance to your living room or want to create a dazzling display in your bedroom, this guide will give you all the information you need to get started. So grab your tools and let’s get started!
Understanding LED Light Strips
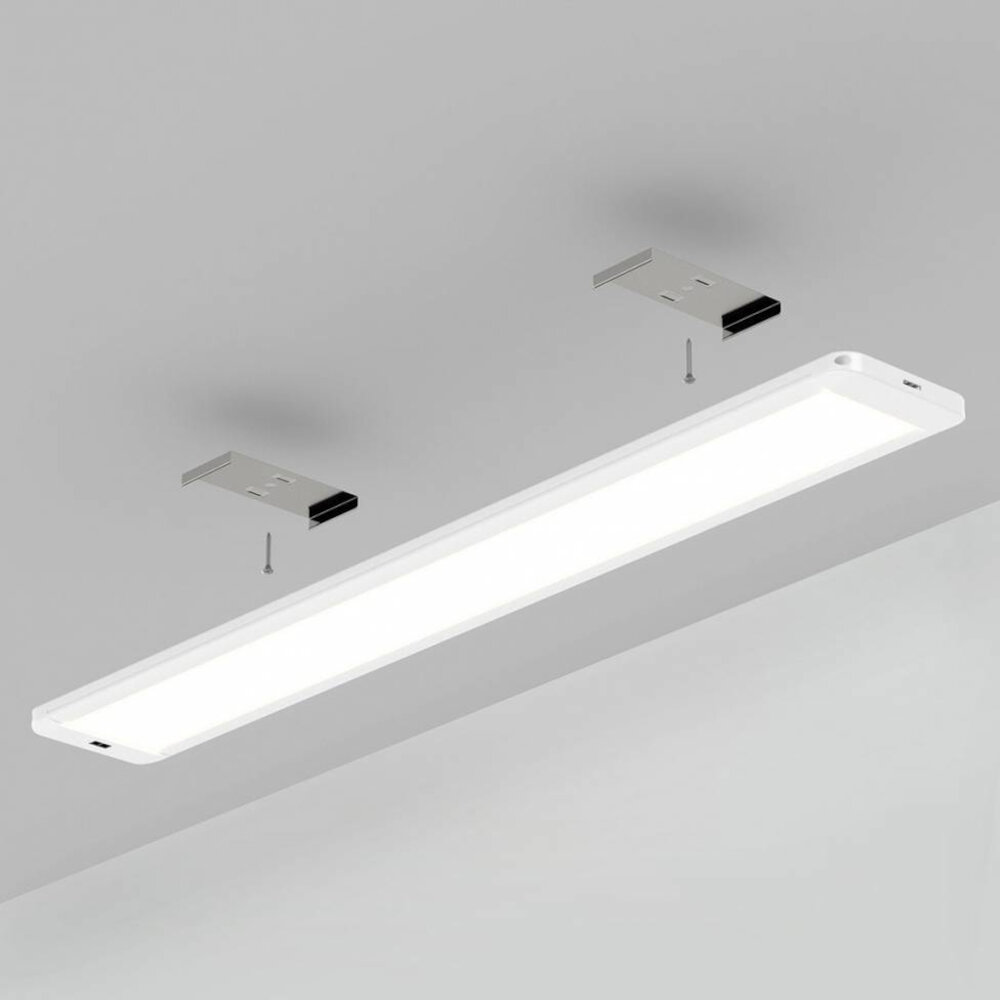
LED light strips are a popular and versatile lighting option that can be used for a variety of purposes, from accent lighting to task lighting. These strips are made up of small, energy-efficient LED lights that are mounted onto a flexible circuit board. LED light strips are available in a range of colors, including warm white, cool white, and RGB (red, green, blue), which can be mixed together to create a wide range of colors. They are also available in different lengths and widths, making it easy to find a strip that will fit your specific needs. Understanding LED light strips is important when it comes to installing them properly. The first thing to consider is the type of strip you need. There are two main types of LED light strips: flexible and rigid. Flexible strips are easy to bend and can be used for a variety of applications, while rigid strips are more durable and are better suited for applications where the strip will be exposed to the elements, such as outdoor lighting. Additionally, it is important to consider the voltage and wattage of the strip, as well as the type of power supply that is needed to operate it. Taking the time to understand the different options available will ensure that you choose the right LED light strip for your project and that it is installed correctly.
LED light strips, also known as LED tape or ribbon lights, are a type of flexible lighting solution that can be easily installed in a variety of settings. These strips consist of small LED lights that are mounted on a thin, flexible circuit board. They are typically sold in reels or spools, and can be cut to length to fit any space. LED light strips come in a wide range of colors and brightness levels, making them ideal for both decorative and functional lighting applications. They are also energy efficient and long-lasting, making them a popular choice for homeowners looking to upgrade their lighting systems. With their flexibility and versatility, LED light strips can be used to create a variety of lighting effects, from subtle accent lighting to bold, statement-making displays.
LED light strips come in various types, each with its unique features and benefits. One type is the non-waterproof LED light strip, suitable for indoor applications and perfect for adding ambiance to any room. Another type is the waterproof LED light strip, designed to withstand exposure to water, making it an excellent option for outdoor lighting, kitchens, and bathrooms. RGB LED light strips are ideal for adding a touch of color to your space, allowing you to choose from a range of different hues. Meanwhile, addressable LED light strips are perfect for those who want to take their lighting game to the next level, as each individual LED can be controlled separately, giving you more customization options. Lastly, you have high-density LED light strips, which come with more LEDs per meter than the standard light strips, making them brighter and perfect for task lighting or illuminating cabinets and shelves.
LED light strips have become extremely popular in recent years due to their numerous benefits. One of the most significant advantages of LED light strips is their energy efficiency. These lights consume very little electricity, making them an excellent choice for those looking to save money on their energy bills. Another benefit is their longevity. LED lights last much longer than traditional bulbs, which means you won’t have to replace them as often. Additionally, LED light strips come in a wide variety of colors and can be easily customized to fit any space. They’re also very easy to install, making them a great DIY project for anyone looking to add some extra lighting to their home or office. Overall, LED light strips are an excellent investment that can enhance the ambiance of any space while providing long-lasting, energy-efficient lighting.
Preparing for Installation
Preparing for installation is a crucial step when planning to install LED light strips. It is important to take the time to gather all the necessary materials and tools needed for the installation process. Firstly, you should measure the space where you intend to install the LED light strip to determine the length of the strip required. Ensure that you have enough length to cover the space intended. In addition, it is important to decide on the placement of the LED light strip to ensure it will work best for your needs. It is also important to ensure that the surface where the LED light strip will be installed is clean and free of debris, dust, or other materials that may interfere with the adhesive backing. Secondly, ensure that you have all the necessary equipment needed for installation, including scissors, wire cutters, and a power supply. If the LED light strip requires a power supply, ensure that it is compatible with the LED light strip and that it has enough power to supply the LED light strip. It is also important to read the manufacturer’s instructions on how to connect the LED light strip to the power supply to avoid any electrical hazards. Finally, it is important to have a clear plan of how you will install the LED light strip, including where you will start and how you will secure the strip in place. By following these steps, you will be well-prepared for a successful LED light strip installation.
When it comes to choosing the right LED light strip, there are a few key factors to consider. First and foremost, you’ll want to think about the color temperature you’re looking for. Do you want warm, cozy lighting or bright, cool lighting? Additionally, you’ll want to consider the length of the LED strip and whether it can be cut or extended to fit your specific needs. Another important consideration is the brightness of the LEDs, as well as any additional features like dimming or color-changing capabilities. Finally, make sure to choose a high-quality LED strip that will provide reliable and long-lasting performance. By taking the time to carefully evaluate your options, you can ensure that you choose an LED light strip that meets your needs and enhances the ambiance of your space.
Before beginning the installation process, it’s essential to gather all the necessary tools and materials required. Firstly, you’ll need to purchase LED light strips, a power supply, and a controller. Make sure you have enough light strips to cover the desired area, and the power supply is compatible with the strips. You’ll also need a pair of scissors or wire cutters to trim the strips to the correct length. Additionally, you’ll need a measuring tape, a pencil, and a level to ensure accurate placement of the strips. Finally, don’t forget about adhesive tape or mounting clips to secure the strips in place. By gathering all the necessary tools and materials beforehand, you’ll be able to complete the installation process smoothly and efficiently.
Measuring the area for installation is a crucial step in the process of installing LED light strips. Before purchasing the strips, it’s important to determine the length and width of the surface where you want to install the light. Use a measuring tape or ruler to get accurate measurements, and consider any corners or curves in the surface that may require additional strips or connectors. It’s also important to ensure that the surface is clean, dry, and free of any debris or dust. Taking the time to measure and prepare the area will ensure that the installation process goes smoothly and the LED light strips are properly installed for optimal lighting effects.
Installing the LED Light Strip

Before installing your LED light strip, it’s essential to ensure that the installation area is clean and free of any debris or dust. A dirty surface can prevent the adhesive backing from sticking to the surface, leading to a less secure installation. Start by wiping down the surface with a dry cloth to remove any loose dirt or debris. Then, use a damp cloth with mild soap to clean the area thoroughly. Allow the surface to dry completely before proceeding with the installation. Taking the time to clean the installation area properly will help to ensure a successful and long-lasting installation of your LED light strip.
Connecting the LED light strip to the power source is a vital step in the installation process. Firstly, ensure that the power source you are using is compatible with the LED light strip’s voltage requirement. It’s recommended to use a power supply with a voltage output that matches the LED light strip’s voltage. Secondly, identify the positive and negative terminals of both the power source and the LED light strip. Connect the positive terminals and negative terminals using a wire connector or soldering. Ensure that the connection is secure and stable. Finally, plug in the power source and check if the LED light strip is working correctly. If it’s not, check the connection or voltage output of the power source.
Installing an LED light strip on a surface is a relatively simple task that can breathe new life into any space. To begin, ensure the surface is clean and dry, and measure the length of the area where you want to install the strip. Cut the LED light strip to the appropriate length, and carefully remove the adhesive backing. Align the strip with the surface and press firmly to ensure a strong bond. Finally, connect the power source to the strip and turn on the lights to admire your work. With just a few steps, you can transform the ambiance of any room with the vibrant and energy-efficient LED light strip.
Troubleshooting
Troubleshooting is an essential step in installing LED light strip that should not be neglected. After completing the installation process, you should check the light strip and ensure that it is working correctly. If there are any issues with the LED light strip, it is important to identify the problem and troubleshoot it. One common issue is that the LED light strip may not turn on. This may be due to a faulty power source, a loose connection or a damaged LED strip. Check the power source and ensure it is supplying the required voltage, inspect the connections and make sure they are secure, and examine the LED strip for any visible damage. Another common issue is that the LED light strip may not be producing the desired color or brightness. This may be due to incorrect wiring, a faulty controller or a problem with the LED lights themselves. Check the wiring and ensure that it is connected correctly, inspect the controller and ensure it is functioning properly, and examine the LED lights to see if any are malfunctioning. Troubleshooting these issues will help you ensure that your LED light strip is working correctly and producing the desired results. By taking the time to troubleshoot any issues, you can avoid potential safety hazards and extend the life of your LED light strip.
If your LED light strip is not turning on, there are a few things you can check before giving up on the installation altogether. First, make sure the power adapter is properly plugged in and that the outlet is functioning correctly. Check the connection between the power adapter and the LED strip, ensuring that it is secure and free from damage. If these basic troubleshooting steps don’t work, you may need to check the wiring for any issues or consult the manufacturer’s instructions for further guidance. Don’t get discouraged, as there are many resources available to help you troubleshoot and resolve any issues you may encounter during the installation process.
One of the most common issues encountered during the installation of LED light strips is the difficulty of sticking them onto a surface. This may be due to various reasons such as the surface being uneven, dusty, or oily. To ensure proper adhesion, it is essential to clean the surface thoroughly with rubbing alcohol or soapy water and dry it completely before sticking the LED light strip. Additionally, choosing a high-quality adhesive backing on the LED light strip can make a significant difference in ensuring it sticks firmly to the surface. If the problem persists, using a strong adhesive tape or attaching clips to hold the strip in place can be an effective solution.
If you find that your LED light strip is not changing colors, there could be a few different reasons why this is happening. Firstly, check that all of the connections are secure and that the power source is working correctly. It’s also important to ensure that the remote control is functioning correctly and that the batteries are not low. Another possibility is that there is an issue with the LED strip itself, such as a damaged component or a faulty circuit. If you’ve checked all of these things and you’re still having issues, it may be best to consult with a professional to help identify the problem and provide a solution.
The installation process of LED light strips can be done easily by following a step-by-step guide. The first step is to measure the length of the area where the light strip will be installed and cutting the strip to the appropriate length. Next, clean the surface where the strip will be installed thoroughly to ensure proper adhesion. Then, remove the protective backing from the adhesive tape and attach the light strip to the surface. The LED light strip is then connected to a power source, which can be done using a plug-in adapter or hardwiring it to a switch. Finally, test the light strip to ensure it is working correctly. With these simple steps, installing LED light strips can be done quickly and efficiently.
Maintaining LED light strips is crucial for their longevity and optimal performance. To keep your LED light strips in good condition, avoid exposing them to extreme temperatures or humidity. Clean them regularly with a soft cloth to remove dust or debris that might affect their brightness or color. In addition, make sure to use the right power supply and avoid overloading the circuit. It’s also recommended to check the wiring connections periodically to avoid any loose or damaged wires. By following these simple tips, you can ensure that your LED light strips will last for years and provide you with the perfect ambiance for any occasion.
In conclusion, the benefits of LED light strips are numerous and undeniable. From providing energy-efficient lighting solutions to being easy to install and customize, LED light strips have revolutionized the way we light up our homes and workspaces. They offer a wide range of color options, brightness levels, and are affordable to operate, making them an ideal choice for anyone looking to add some ambiance to their environment. Whether you’re looking to create a cozy atmosphere in your bedroom or illuminate your kitchen countertop, LED light strips are a versatile and practical lighting solution that you won’t regret investing in. So go ahead, get creative, and brighten up your space with LED light strips today!
Conclusion
In conclusion, installing LED light strips can seem daunting at first, but with the right tools and guidance, it’s a straightforward process that anyone can do. By following this step-by-step guide, you can easily transform your living space with stunning and energy-efficient lighting. Remember to take your time, measure twice, and always prioritize safety when working with electricity. With a little patience and creativity, you can create a beautiful and inviting atmosphere in your home that’s sure to impress. So why wait? Get started on your LED light strip installation today and discover the endless possibilities of this innovative lighting technology.


