Upgrade Your Lighting: A StepbyStep Guide on How to Replace a Fluorescent Light Fixture with LED
Lighting is an essential part of any home or office, and it is crucial to ensure that it is energy-efficient, long-lasting, and provides adequate illumination. Fluorescent light fixtures have been a popular choice for many years, but they are now becoming outdated and being replaced by LED lighting. Upgrading to LED lighting can save you money on energy bills and maintenance costs, while also providing better lighting quality. In this guide, we will take you through the step-by-step process of replacing a fluorescent light fixture with LED, so you can enjoy the benefits of modern lighting in your home or workplace. The replacement process may seem intimidating, but it is actually quite simple and can be done by anyone with basic electrical knowledge. We will provide you with all the essential information you need, including the tools and materials required, safety precautions to take, and a detailed guide on how to remove the old fluorescent fixture and install the new LED fixture. By following this guide, you can upgrade your lighting efficiently and affordably, while also contributing to a more sustainable and eco-friendly environment. So let’s get started on the journey to better lighting!
LED lighting offers numerous benefits over traditional lighting options such as fluorescent bulbs. LED lights are energy-efficient, consuming up to 75% less energy than incandescent bulbs, saving money on electricity bills. They also last longer, with a lifespan of up to 50,000 hours, reducing maintenance costs. LED lights are also more environmentally friendly, as they do not contain harmful chemicals like mercury found in fluorescent bulbs. They emit less heat, making them safer to use, and can be dimmed to create ambiance and save even more energy. With their high-quality light output and long-lasting durability, it’s no wonder that LED lighting is becoming the preferred choice for homeowners and businesses alike.
Upgrading your lighting to LED offers a multitude of benefits that make it a smart choice for any business or homeowner. First and foremost, LED lights use significantly less energy than fluorescent bulbs, resulting in lower energy bills and a reduced carbon footprint. Additionally, LED lights have a longer lifespan, which means less maintenance and replacement costs over time. LED lights also emit less heat, making them safer and more comfortable to operate. Plus, LED lights offer a broader range of color temperatures and dimming options, allowing you to customize your lighting to fit your specific needs and preferences. Overall, replacing fluorescent light fixtures with LED is a wise investment that can save you money, reduce your environmental impact, and improve the quality of your lighting.
Step 1: Gather Your Tools and Materials
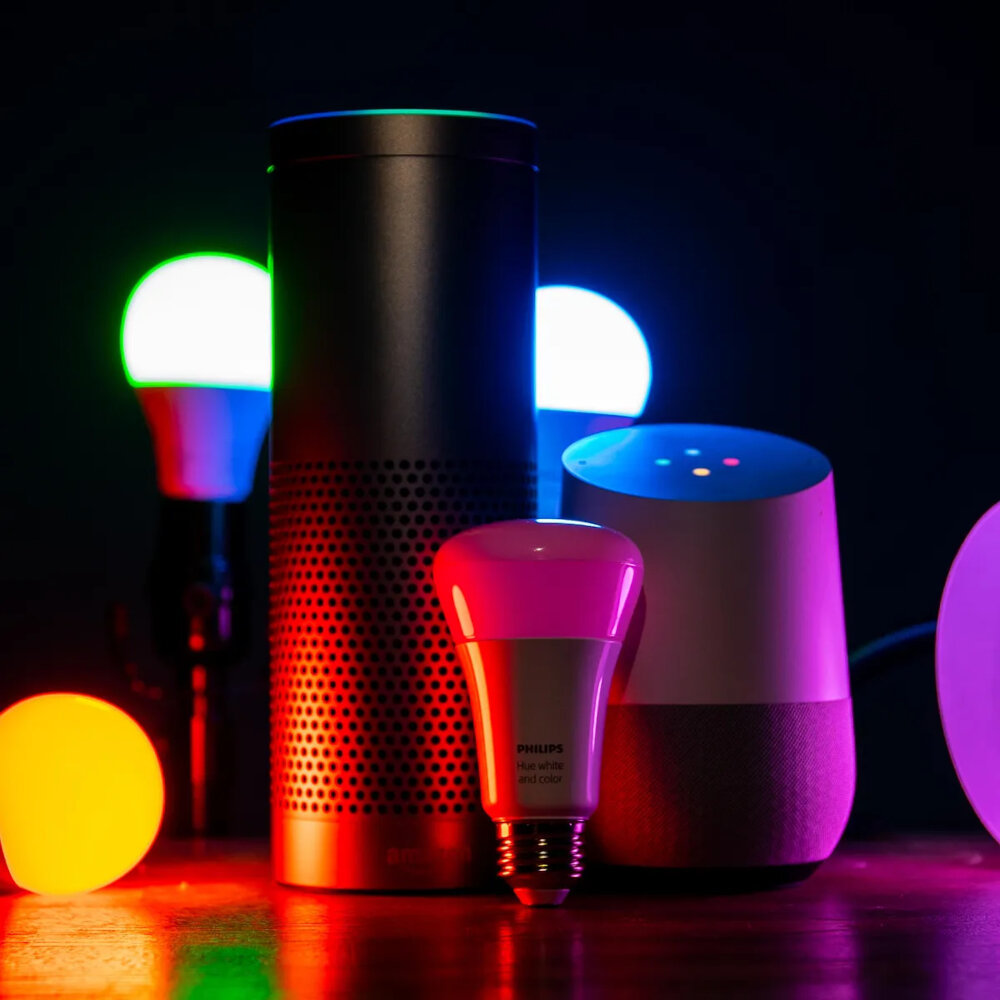
The first step in upgrading your lighting from a fluorescent fixture to an LED one is to gather all the necessary tools and materials. To make the process as smooth and efficient as possible, you’ll need a few essential items. First and foremost, you’ll need a new LED fixture that’s compatible with the existing electrical setup. Make sure to choose an appropriate size and style that fits your needs and preferences. You’ll also need a set of screwdrivers, wire cutters, wire strippers, and pliers to remove the old fixture and install the new one. Additionally, it’s crucial to have safety equipment such as gloves and safety glasses to protect yourself from any potential hazards. When gathering materials, it’s important to consider the quality and durability of the products. Opting for high-quality tools and an LED fixture with a long lifespan can save you time and money in the long run. It’s also a good idea to read the instructions and specifications of the LED fixture carefully to ensure that it’s compatible with your existing wiring and electrical configuration. By taking the time to gather the right tools and materials, you can ensure that the installation process will be smooth and successful, allowing you to enjoy your new LED lighting for years to come.
In order to upgrade your lighting by replacing a fluorescent light fixture with LED, you will need a variety of tools and materials. First and foremost, you will need the new LED light fixture itself, along with any necessary mounting hardware. You will also need a screwdriver, wire stripper, electrical tape, and wire nuts to properly connect the wires. A voltage tester is essential to ensure that the power is off before you begin any work. Additionally, a ladder or step stool may be necessary to reach the light fixture. It is important to gather all of the necessary tools and materials before beginning the project to ensure a smooth and successful installation.
Each tool and material used in the process of replacing a fluorescent light fixture with an LED is necessary for a smooth and successful upgrade. The wire strippers and wire nuts are essential for safely connecting the wires and ensuring the new fixture functions properly. The drill and screws are needed to secure the mounting bracket to the ceiling and hang the new fixture. The voltage tester is crucial for verifying that the power is off before beginning work and preventing electrical accidents. The LED light fixture and bulbs are the main components of the upgrade, providing improved energy efficiency and brighter illumination. Overall, each tool and material plays a vital role in the process and contributes to a safer and more efficient lighting system.
Step 2: Turn Off the Power

Turning off the power is a crucial step in replacing a fluorescent light fixture with LED. It is important to ensure that the power is completely turned off to avoid any electrical shock or injury during the process. This step involves identifying the circuit breaker that controls the power supply to the fixture and switching it off. You can also use a voltage tester to confirm that there is no power flowing to the fixture before proceeding with the replacement process. Safety should always be a top priority when working with electrical fixtures, and turning off the power is the first step towards ensuring a safe working environment. Once the power is turned off, it is important to double-check that the fixture is completely disconnected from the power source. You can do this by using a voltage tester to confirm that there is no electrical current running through the wires. It is also important to ensure that the wires are not touching each other or any other metal parts, as this can cause a short circuit. Taking the necessary precautions to ensure that the power is off and the wires are safely disconnected will make the process of replacing the fluorescent light fixture with LED much easier and safer. By following these steps, you can upgrade your lighting fixtures without putting yourself or anyone else at risk.
Turning off the power is of utmost importance when replacing a fluorescent light fixture with an LED one. This step ensures safety and prevents electrical accidents. Neglecting to turn off the power can result in electrocution or fire hazards, which can be fatal. Furthermore, working with live wires can damage the new LED fixture, rendering it useless. Therefore, it is essential to switch off the power supply of the circuit breaker or the electrical panel before starting the replacement process. It is also recommended to use a voltage tester to confirm that the power is off before proceeding with the replacement. By turning off the power, you can ensure a smooth and secure changeover from a fluorescent light fixture to an LED one, without any accidents or damage.
Before starting any electrical work, always turn off the power to the circuit you’re working on. To turn off the power, locate the breaker box or fuse box in your home. Once you’ve found it, open the panel door and locate the circuit breaker switch or fuse that controls the circuit you’ll be working on. Flip the switch to the \Off\ position or remove the fuse to cut the power to that circuit. To be extra safe, use a voltage tester to double-check that there’s no electricity running through the wires before proceeding with any electrical work. Remember, safety always comes first when dealing with electricity.
Step 3: Remove the Fluorescent Light Fixture
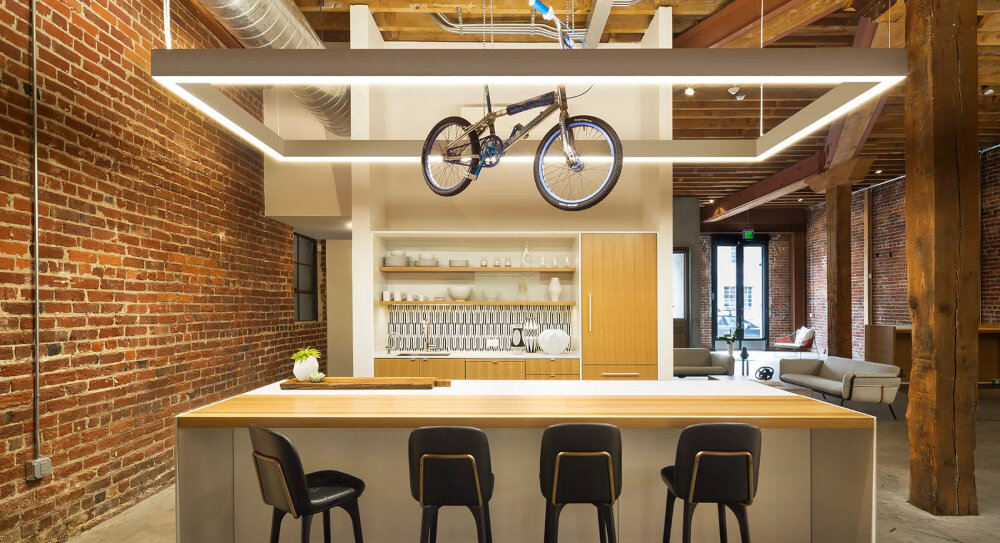
Step 3 of upgrading your lighting involves removing the fluorescent light fixture. This can be a bit challenging, but with the right tools and techniques, it can be done quickly and easily. The first thing to do is to turn off the power supply to the fixture. This is important to avoid any electrical shock or damage. Once the power supply is off, remove the fluorescent tube from the fixture. This can be done by twisting the tube gently and pulling it out of the fixture. Be careful not to break the tube as it contains hazardous chemicals. Next, locate the screws that hold the fixture to the ceiling or wall. These screws may be covered by a plastic cover, so remove it carefully. Then, unscrew the nuts from the screws and gently pull the fixture away from the wall or ceiling. If the fixture is stuck, wiggle it gently until it comes loose. Once the fixture is removed, you can now prepare the area for the installation of the new LED fixture. Clean the area thoroughly and make sure the wiring is in good condition. This step is crucial as it ensures that the new fixture will be installed safely and correctly.
Removing a fluorescent light fixture to upgrade it with LED is a task that requires careful attention to detail. Start by turning off the power switch to the fluorescent light fixture. Use a voltage tester to confirm that the power is off before proceeding. Once the power is off, remove the fluorescent bulbs from the fixture. Next, remove the fixture cover by unscrewing the screws that hold it in place. Carefully disconnect the wires that connect the fixture to the electrical box, taking note of which wires are connected to which. Finally, remove the screws that hold the fixture to the ceiling and carefully lower it down. With these steps, the fluorescent fixture will be removed, making way for the installation of an LED fixture.
There are a few potential complications that may arise when replacing a fluorescent light fixture with an LED one. Firstly, the wiring may be different, and it’s important to make sure that the new fixture is compatible with the existing electrical system. Secondly, the size and shape of the new fixture may not match the old one, which could lead to issues with mounting or covering the old fixture’s opening. Finally, LED fixtures require a different type of ballast than fluorescent fixtures, so it’s important to make sure that the ballast is compatible with the new fixture. The best way to overcome these issues is by carefully researching the replacement fixture and consulting with a licensed electrician if necessary. It’s also important to follow manufacturer instructions and safety guidelines when installing the new fixture.
Step 4: Install the LED Light Fixture
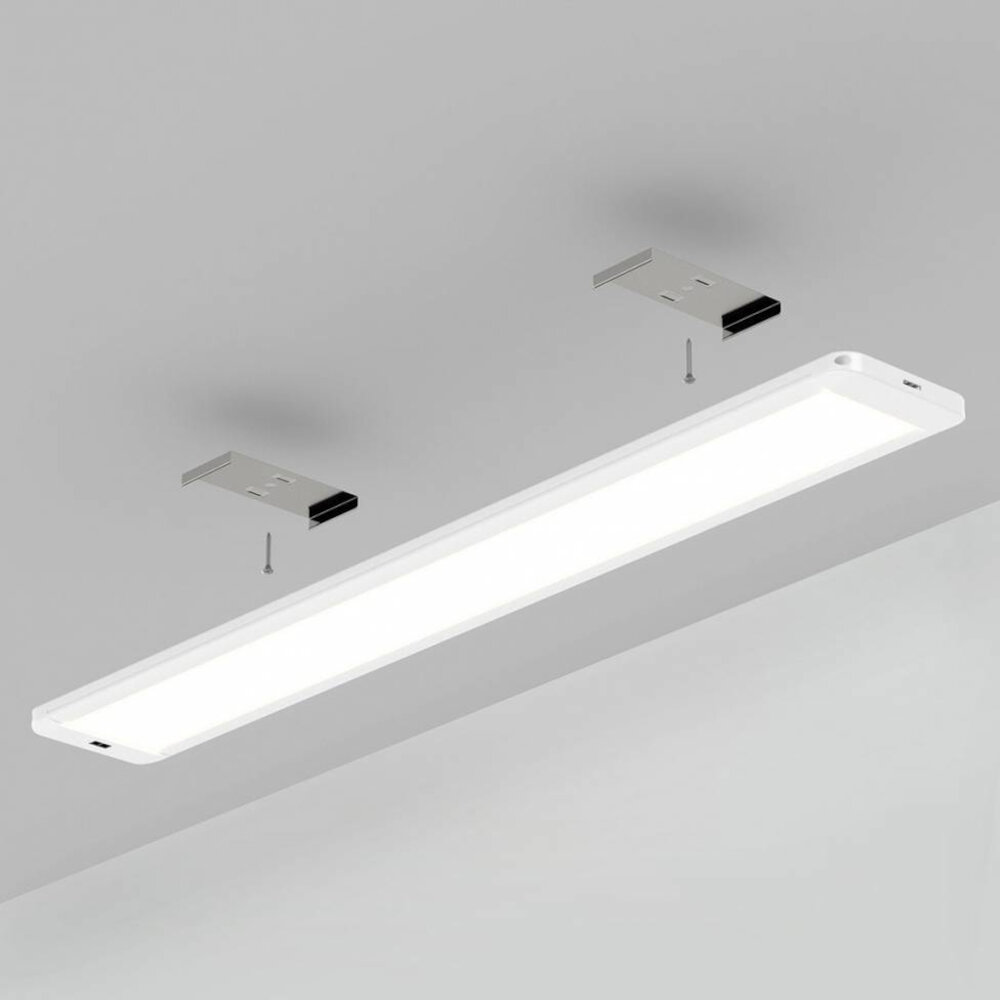
Step 4 of the guide on how to replace a fluorescent light fixture with LED is to install the LED light fixture. This step is crucial as it determines how well your new lighting system will work. First, you need to attach the LED fixture to the mounting bracket. Make sure it is securely fastened to avoid any accidents or mishaps. Then, connect the wires from the LED fixture to the wiring in the ceiling box. Ensure that the wires are correctly matched and connected to avoid any electrical problems. Once the wiring is done, attach the LED fixture cover to the fixture. This cover helps to diffuse the light and protect the LED bulbs from damage. Check all connections before turning on the power to avoid any mishaps. When installing your LED light fixture, it is essential to choose the right location. You want to ensure that the fixture is in a central location, providing adequate lighting for the room. It is also crucial to consider the color temperature of the LED bulbs. LED bulbs come in different color temperatures ranging from warm to cool. Warm bulbs have a yellowish hue, while cool bulbs have a bluish tint. Consider the mood you want to create in the room to decide which color temperature to choose. Additionally, it is essential to consider the lumens of the LED bulbs. Lumens refer to the brightness of the bulb, and this will depend on the size of the room and the intensity of light you desire. By selecting the right location, color temperature, and lumens, you can create the perfect lighting ambiance in your room.
Installing a new LED fixture to replace an old fluorescent light may seem daunting, but it’s a relatively straightforward process. First, turn off the power to the fixture at the circuit breaker. Next, remove the old fixture, taking care not to damage any wiring. Install the LED mounting bracket by screwing it into the ceiling or wall in the same location as the old fixture. Connect the LED driver to the wiring, and attach the LED fixture to the mounting bracket. Finally, turn the power back on and test the new fixture to ensure it’s functioning properly. With just a few simple steps, you can upgrade your lighting and enjoy all the benefits of LED technology, including energy efficiency, lower maintenance costs, and longer lifespan.
Upgrading your lighting system from fluorescent to LED can yield significant benefits including increased energy efficiency, improved lighting quality and reduced maintenance costs. However, there are some potential complications to be aware of during the transition process. Firstly, compatibility issues may arise between the LED bulbs and the existing ballast in the fluorescent fixture. To overcome this, it is recommended to bypass the ballast and connect the LED bulbs directly to the electrical circuit. Secondly, the wiring of the fluorescent fixture may not be compatible with the wiring of the new LED fixture, which may require some rewiring. To avoid this complication, it is recommended to purchase a LED fixture that can fit into the existing space of the fluorescent fixture. Lastly, it is important to note that the initial cost of purchasing LED bulbs and fixtures may be more expensive than fluorescent bulbs and fixtures, but the long-term savings and benefits make it a worthwhile investment.
Step 5: Connect the Wiring
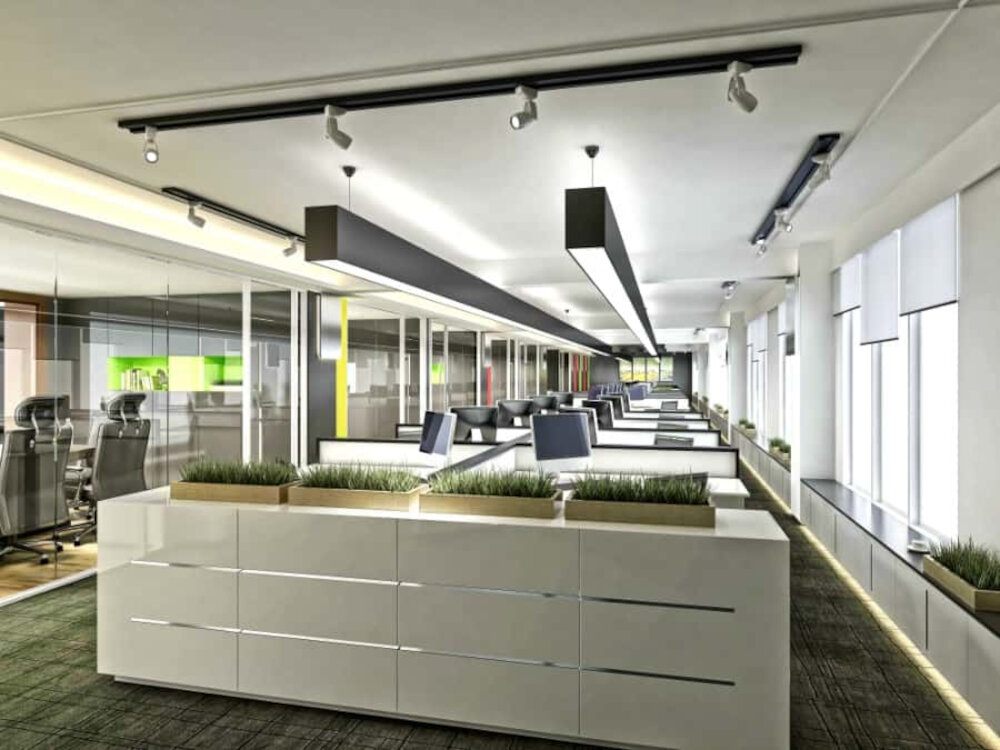
Step 5 of upgrading your lighting involves connecting the wiring. Before proceeding with this step, it is important to ensure that the power is turned off at the circuit breaker or fuse box. Carefully remove the wire connectors from the old fixture, taking note of which wires were connected to which. Then, connect the wires from the LED fixture to the corresponding wires from the ceiling. This may involve twisting the wires together and securing them with wire nuts, or connecting them to a terminal block. Make sure to follow the manufacturer’s instructions carefully to ensure a safe and secure connection. It is important to be cautious when working with electrical wiring. If you are unsure about any aspect of the wiring process, it is best to consult a licensed electrician. Additionally, it is important to ensure that the wiring is neatly organized and secured in place, to prevent any damage or safety hazards. Once the wiring is connected, turn the power back on at the circuit breaker or fuse box and test the fixture to ensure that it is working properly. With the wiring complete, you are one step closer to enjoying the benefits of your new LED lighting!
Connecting the wiring is a crucial step when replacing a fluorescent light fixture with LED. First, turn off the power supply to the fixture at the circuit breaker box. Then, remove the cover plate and disconnect the wires from the old fixture. Next, connect the wires from the new LED fixture to the corresponding wires in the electrical box, making sure to match the colors. Twist the wires together and secure them with wire nuts. Finally, attach the cover plate and turn on the power to the fixture to test the connection. It’s important to follow these instructions carefully to ensure a safe and successful installation.
One potential complication when replacing a fluorescent light fixture with LED is the issue of compatibility. Not all LED bulbs are compatible with all fluorescent fixtures, and using incompatible bulbs can lead to flickering, buzzing, and reduced lifespan. To overcome this complication, it is important to do research and ensure that the LED bulbs you choose are compatible with your fixture. Additionally, it may be necessary to replace the ballast, which is the component that regulates the current to the fixture. Upgrading to an electronic ballast can improve compatibility and ensure that your LED bulbs function properly. With careful planning and attention to compatibility, you can successfully upgrade your lighting to LED and enjoy the benefits of improved energy efficiency and longevity.
Step 6: Test the Light Fixture
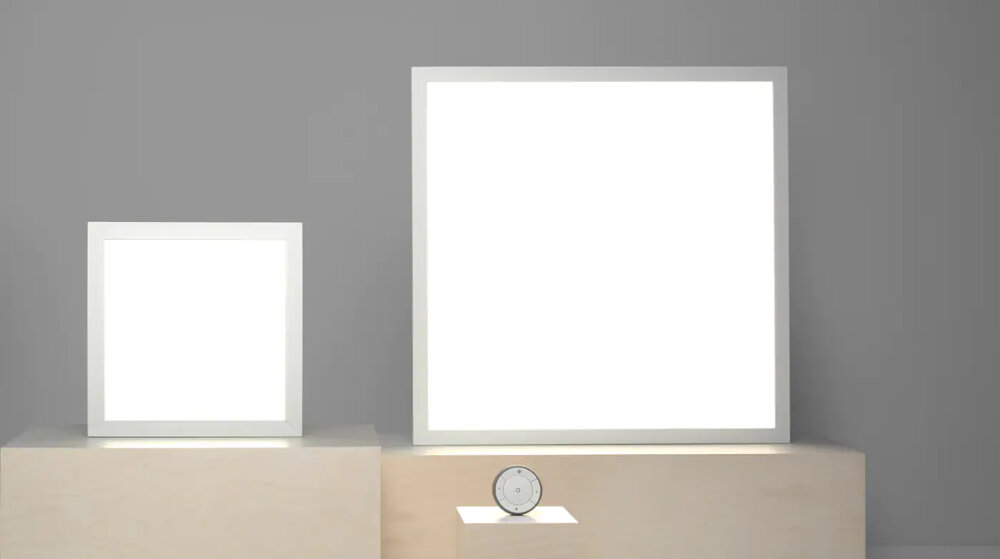
Step 6: Test the Light Fixture is the critical stage of replacing a fluorescent light fixture with LED. During this stage, you need to ensure that the LED is working correctly and all the connections are secure. Before turning on the power, you should double-check all the wiring connections and ensure they are correctly tightened. You can then turn the power back on and test the light fixture. If the LED light does not turn on or flickers, turn off the power immediately and check the wiring connections. You may need to tighten the connections or replace any damaged wiring to ensure the light fixture works correctly. It is essential to test the light fixture after replacing it with an LED because it will ensure that the LED is functioning correctly, and you have correctly installed it. Testing the light fixture will allow you to identify any issues or problems that may have arisen during the installation process. You can then address these issues and ensure that the light fixture works correctly. If the LED light fixture does not work correctly, you may need to troubleshoot the problem by checking the wiring connections, replacing the LED bulb or the driver, or contacting a professional electrician. By testing the light fixture, you can identify and resolve any issues, ensuring that your new LED light fixture works correctly and provides energy-efficient lighting for your home or office.
Once you have successfully installed the new LED fixture, it is crucial to test it thoroughly to ensure it is functioning correctly. First, turn on the power and observe if the light turns on instantly or if there is a delay. Check if the light is flickering, which could be a sign of a faulty installation or compatibility issues. Additionally, assess if the light output is consistent and if the color temperature is what you expected. It is also essential to ensure that the light covers the entire room uniformly, and there are no dark spots or shadows. If you notice any issues, double-check the installation and refer to the manufacturer’s instructions for troubleshooting. Overall, testing the new fixture is crucial to ensure that it meets your lighting requirements and functions efficiently.
When considering upgrading your lighting from fluorescent to LED, there are several factors to consider. First and foremost, you’ll need to ensure that your new LED fixture is compatible with your existing wiring, as well as any dimmer switches or other controls you may have in place. Additionally, you’ll want to consider the color temperature of your new lights, as well as the lumen output, to ensure that you’re getting the right amount of light for your space. Finally, it’s important to consider the overall aesthetics of your new fixture, including its size, shape, and style, to ensure that it fits seamlessly into your existing decor. By taking these factors into account, you can ensure that your upgrade goes smoothly and that you end up with a lighting system that meets all of your needs and preferences.
Upgrading to LED lighting comes with a multitude of benefits. Firstly, LED lights are incredibly energy-efficient, using up to 75% less energy than traditional incandescent bulbs. This not only saves you money on your electricity bills, but it also helps to reduce your carbon footprint. LED lights are also incredibly durable, lasting up to 25 times longer than traditional incandescent bulbs. This means that you won’t have to replace your light bulbs as frequently, saving you time and money. Additionally, LED lights emit very little heat, making them much safer than traditional bulbs. Finally, LED lights come in a range of colours and styles, allowing you to create the perfect ambience for your space.
In conclusion, upgrading your lighting from fluorescent to LED is a smart and cost-effective move that can significantly improve the ambiance and energy efficiency of your space. Remember to take safety precautions, turn off power, and follow the step-by-step guide carefully. Also, consider the color temperature, lumens, and wattage of your new LED bulbs to create the desired lighting effect. Finally, be patient and take your time during the installation process to ensure that everything is correctly in place. With these tips, you can successfully upgrade your lighting and enjoy the benefits of LED technology for years to come.
Conclusion
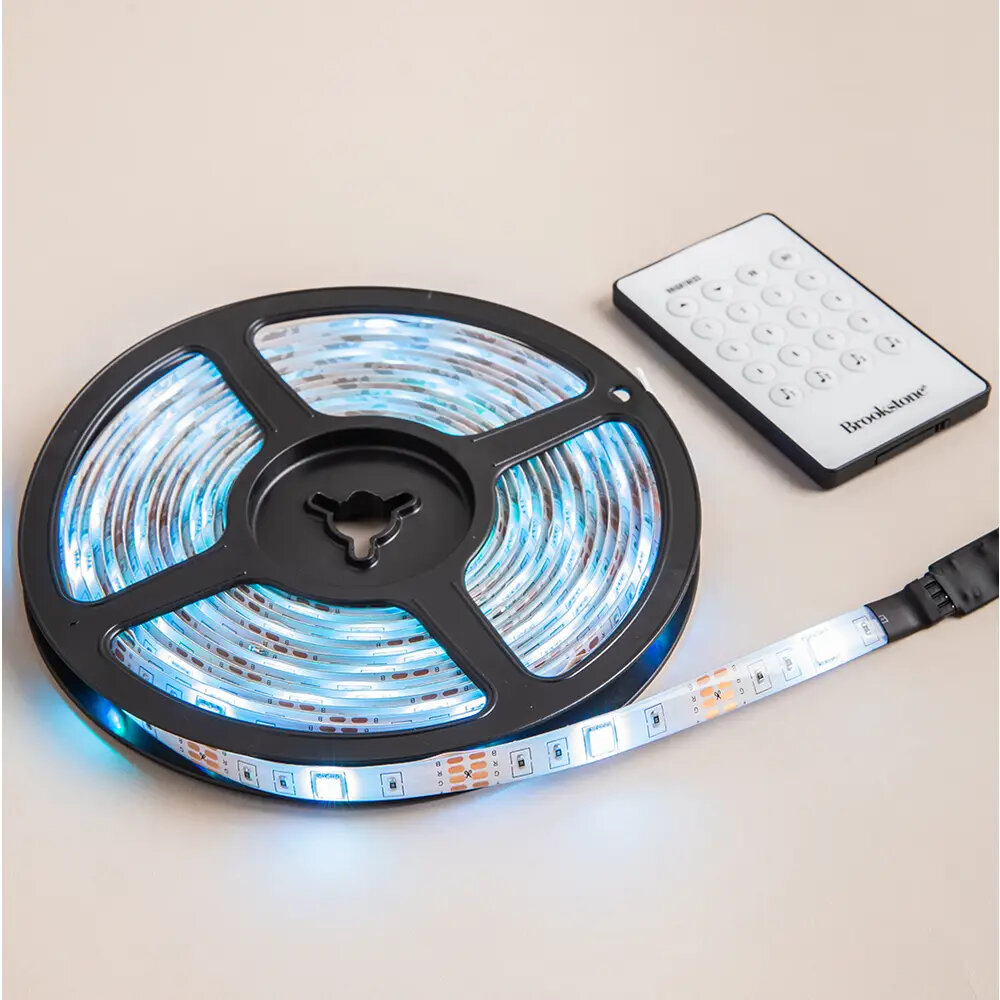
In conclusion, upgrading to LED lighting technology is a wise decision in terms of energy efficiency, cost-effectiveness, and longevity. Replacing a fluorescent light fixture with LED may seem daunting, but it is a simple process that can be done in just a few easy steps. By following our step-by-step guide, you can enjoy the benefits of LED lighting in your home or office. LED lighting not only saves you money on your electric bill but also reduces your carbon footprint. So, what are you waiting for? Upgrade your lighting today and start enjoying the many benefits of LED technology!

