Bend it like a Pro: A StepbyStep Guide on How to Bend LED Light Strips

Bending LED light strips can be a daunting task, especially if you’re new to the world of electronics. However, with the right guidance and a little bit of patience, anyone can learn how to bend LED light strips like a pro. Whether you’re looking to create a unique lighting fixture, add some flair to your home decor or build your own LED project, this step-by-step guide will guide you through the process of bending LED light strips. In this comprehensive guide, we’ll cover everything you need to know about how to bend LED light strips. We’ll begin by explaining the different types of LED light strips available and the tools required for bending them. From there, we’ll walk you through the process of measuring, cutting, and soldering the LED strips to create your desired shape. We’ll also provide tips on how to avoid common mistakes and ensure your LED light strip bends are smooth and seamless. Whether you’re a beginner or an experienced DIYer, this guide will help you achieve professional-looking results every time.
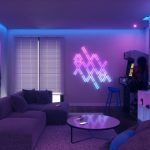
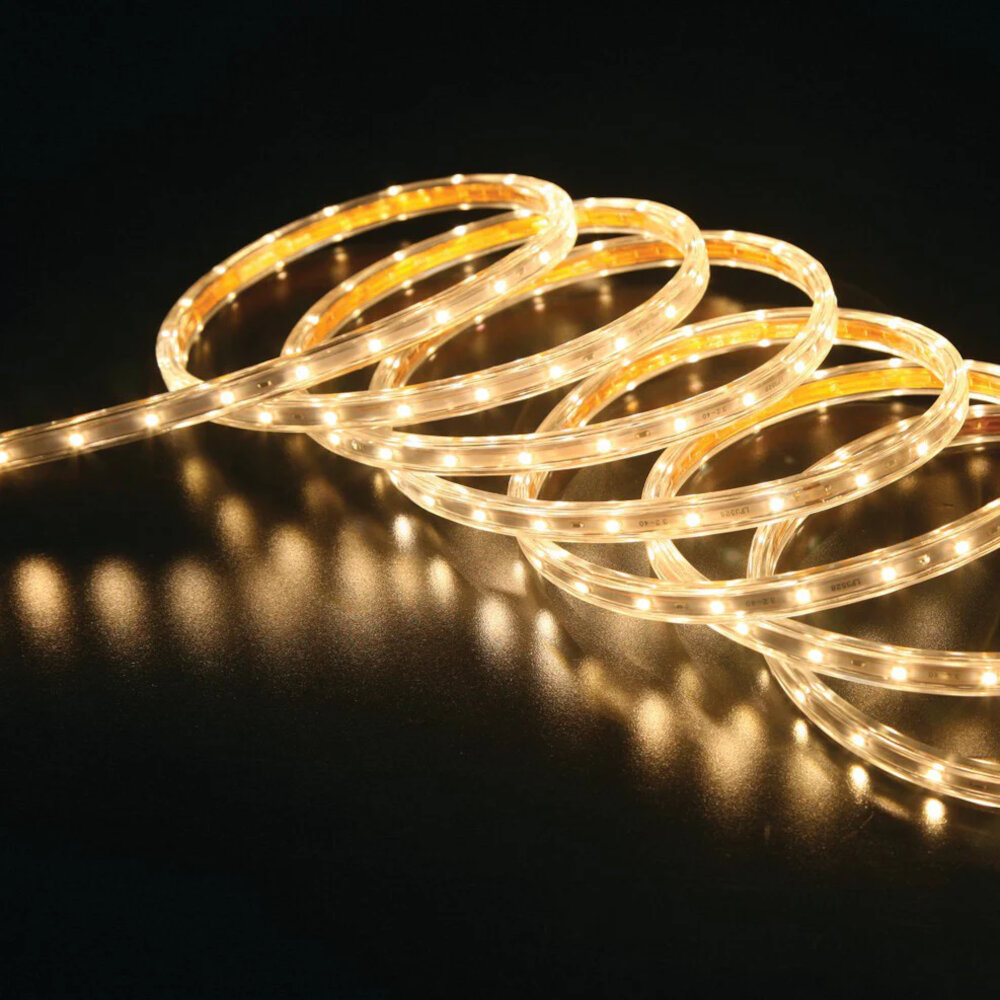
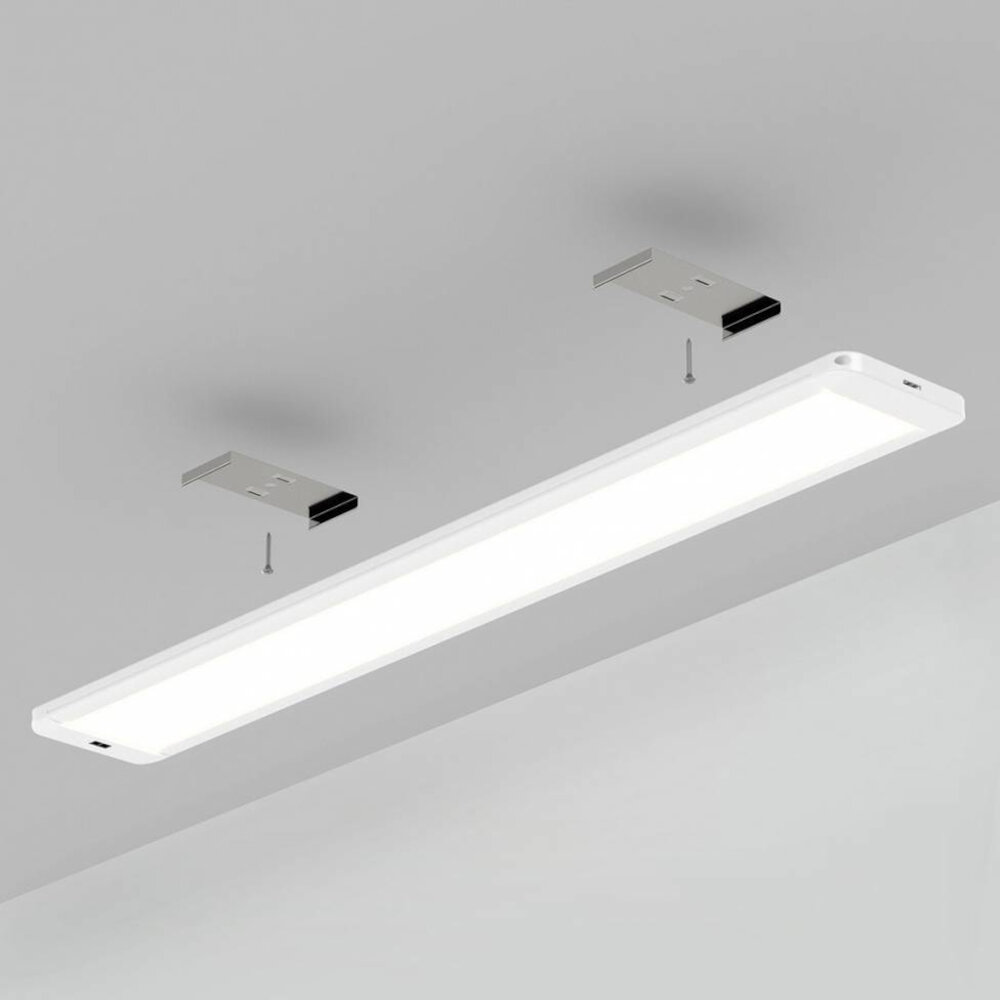
LED light strips are flexible circuit boards with light-emitting diodes (LEDs) attached to them. They are often used for decorative purposes, such as accent lighting in homes, businesses, and cars. LED light strips can also be used for functional lighting, such as under-cabinet lighting in kitchens or as outdoor pathway lighting. They are energy-efficient, long-lasting, and can be cut to fit any length or shape. With the ability to bend and shape the strips, they can be used in a variety of creative ways to add unique lighting effects to any space. The flexibility and versatility of LED light strips make them a popular choice for DIY projects and professional installations alike.
Bending LED light strips is an important aspect of their installation process. It allows for a greater degree of flexibility and versatility when it comes to designing lighting arrangements. By being able to bend the strips, they can be placed in a variety of different locations and orientations, providing customized lighting solutions for any space or application. Additionally, bending the strips can also help to increase the overall lifespan of the LEDs by reducing stress on the circuitry. This is particularly important when considering the long-term maintenance and operation costs of LED lighting systems. Overall, being able to bend LED light strips is a crucial skill for any lighting professional or DIY enthusiast looking to create unique and effective lighting designs.
Understanding the LED light strip

LED light strips are becoming increasingly popular in the world of home decor and lighting. These strips consist of small LED lights that are connected together and can be cut to the desired length for a specific project. They are flexible, versatile, and energy-efficient, making them an excellent choice for a wide range of applications. LED light strips come in a variety of colors, including white, red, green, blue, and more. They are also available in different levels of brightness, so you can choose the perfect option for your needs. When it comes to LED light strips, it’s essential to understand the basics. These strips typically come with adhesive backing, which makes them easy to install on any surface. They can also be cut to the desired length, allowing you to customize your lighting project to fit your space perfectly. Some LED light strips come with a remote control, making it easy to adjust the brightness and color of the lights with just the touch of a button. Additionally, LED light strips are incredibly energy-efficient, so you can enjoy beautiful, bright lighting without worrying about your energy bill. Understanding the LED light strip is key to creating a successful lighting project that fits your needs and style.
LED light strips work by utilizing a series of light-emitting diodes (LEDs) that are mounted onto a flexible circuit board. When electricity passes through the circuit, the LEDs emit bright, colorful light. The strips are typically powered by a low-voltage direct current (DC) power source, such as a battery or power supply, and can be cut to fit specific lengths. LED light strips are incredibly versatile and can be used for a variety of applications, including accent lighting, backlighting, and task lighting. Their flexibility also makes them easy to bend and shape, allowing for unique and creative lighting designs. With the right tools and techniques, anyone can bend LED light strips like a pro.
LED light strips are a popular choice for adding ambiance and illumination to any space. There are several types of LED light strips available in the market today, each with different features and functionalities. The most common types include the standard single-color LED strips, which emit a single color of light, and RGB LED strips, which can emit multiple colors and can be controlled to change colors. There are also addressable LED strips, which allow users to control individual LEDs and create intricate patterns and designs. Additionally, there are waterproof LED strips, which are ideal for outdoor use or in areas where moisture is present. When choosing an LED light strip, it is important to consider the intended use and desired features to ensure the best fit for the project.
When choosing LED light strips, there are several factors to consider. First, you should consider the brightness of the strip, which is measured in lumens. The higher the lumens, the brighter the strip will be. Additionally, you should consider the color temperature of the strip, as this will affect the mood and ambiance of the room. Color rendering index (CRI) is also important, as this measures how accurately the light will display colors. Another important factor is the flexibility of the strip, as this will affect how easy it is to bend and shape the strip. Lastly, you should consider the length of the strip, as this will determine how much area it can cover. By taking all of these factors into consideration, you can choose the perfect LED light strip for your needs.
Preparing to bend the LED light strips
Preparing to bend LED light strips is a crucial step in the process of creating customized lighting solutions. Before beginning the bending process, it is important to gather all the necessary tools and materials. This includes the LED light strips, a heat gun, scissors, a ruler, and a pencil. It is also important to work in a clean and dry environment to prevent any damage to the LED light strips. Once all the tools and materials are prepared, it is important to measure the area where the LED light strips will be bent to ensure that they fit properly. This can be done by using a ruler and a pencil to mark the desired length and angle of the bend. It is also important to make sure that the LED light strips are not stretched or compressed during the bending process to prevent any damage to the circuitry. After preparing the necessary tools and materials, the next step is to heat the LED light strips using a heat gun. It is important to start with a low heat setting and gradually increase the heat as needed. The heat should be applied evenly to the area where the LED light strips will be bent to ensure that they bend smoothly and without any damage to the circuitry. Once the LED light strips have been heated, they can be carefully bent to the desired shape using scissors or a ruler to guide the bend. It is important to make sure that the LED light strips are not bent too tightly or too sharply, as this can cause damage to the circuitry. With proper preparation and care, bending LED light strips can be a simple and effective way to create customized lighting solutions for any space.
When it comes to bending LED light strips, having the right tools and materials is crucial. Firstly, you will need a pair of scissors or wire cutters to trim the LED strip to the desired length. Next, you will need a heat gun or hair dryer to soften the adhesive backing of the LED strip, making it easier to bend without damaging the circuit board. In addition, a ruler or measuring tape can help you accurately mark where you want to bend the strip. It’s also helpful to have a surface to work on, such as a table or workbench, and some adhesive tape or glue to secure the strip in place once it’s bent. With these necessary tools and materials, you’ll be able to bend your LED light strips like a pro.
When it comes to bending LED light strips, safety should be a top priority. Before beginning the process, ensure that the power source is switched off and unplugged to prevent electrocution. It is also advisable to wear protective gear such as gloves and safety glasses to avoid any injury. Be cautious while bending the strips as excessive force can damage the circuitry and cause the lights to malfunction. Moreover, be mindful of the temperature as overheating can cause the adhesive to melt and damage the LED lights. By taking these safety precautions, you can ensure a smooth and hassle-free process of bending LED light strips like a pro.
When handling LED light strips, it is important to keep a few tips in mind to avoid damaging them. Firstly, always handle them with care and avoid bending them too sharply as this can cause the strip to break. Secondly, make sure to use proper connectors and power supplies to avoid overloading the strips. Additionally, it is important to keep the strips away from water and moisture to prevent damage. When installing the strips, take your time to ensure they are placed correctly and avoid using excessive force. Following these tips will help you to handle LED light strips like a pro and ensure they last for a long time.
Bending the LED light strips
LED light strips are a popular lighting solution that is versatile, energy-efficient, and easy to install. One of the best things about LED light strips is that they can be bent to fit any shape or space, making them ideal for a wide range of applications. To bend LED light strips like a pro, there are a few key steps to follow. First, it’s important to choose the right type of LED light strip. There are two main types of LED light strips: rigid and flexible. Rigid LED light strips are not designed to be bent, so if you need a bendable strip, you’ll want to choose a flexible option. Flexible LED light strips are typically made from a soft, silicone material that can be bent and shaped without breaking. Once you have your flexible LED light strip, you’ll need to decide where you want to bend it. It’s important to note that LED light strips can only be bent in one direction, so you’ll need to plan ahead to ensure that the strip is bent in the right direction for your project. When it comes to actually bending the LED light strip, there are a few different methods you can use. One of the most common methods is to use a heat gun. To do this, you’ll need to heat up the section of the light strip that you want to bend using a heat gun or hair dryer. Once the strip is warmed up, you can gently bend it into the desired shape. Another option is to use a bending tool specifically designed for LED light strips. These tools are typically made from metal and allow you to create precise bends without damaging the strip. Finally, you can also use a technique called \cold bending\ to bend the LED light strip. To do this, you’ll need to score the back of the strip with a sharp blade, being careful not to cut all the way through. This will weaken the strip in the desired location, allowing you to bend it without applying heat. Whether you’re using a heat gun, bending tool, or cold bending technique, it’s important to be gentle and not apply too much pressure to the strip. With a bit of patience and practice, you can bend LED light strips like a pro and create stunning lighting designs for your home or business.
If you’re looking to add some creative flare to your lighting setup, bending LED light strips may be just the solution you need! First, choose the right type of LED strip with a flexible PCB material that can withstand bending. Then, plan out your design and measure the length of the strip you’ll need. Next, use a pair of scissors to cut the strip to the desired length, making sure to only cut where designated cut marks are present. To bend the strip, gently flex it along the cut line and make sure to avoid bending it too sharply, which could damage the LEDs. Finally, secure the strip in place with adhesive or mounting brackets and enjoy your custom, uniquely bent LED light strip!
When bending LED light strips, there are several common mistakes that should be avoided. One of the most common mistakes is to bend the strip too sharply, which can cause the circuit board inside to break or crack. Another mistake is to cut the strip in the wrong place, as this can also damage the circuit board and make the strip unusable. It’s also important to avoid bending the strip in the opposite direction of the intended curve or trying to bend it back and forth repeatedly, as this can also damage the circuit board. To avoid these mistakes, it’s important to follow the instructions carefully and use the correct tools for the job.
When bending LED light strips, it’s essential to troubleshoot any issues that may arise. One common problem is that the strip won’t light up at all. In this case, check the wiring connections to ensure they are secure and properly soldered. Another issue is that the strip may light up unevenly, with some sections appearing brighter than others. This can be caused by a lack of power or current flow to certain parts of the strip. To fix this, make sure the power source is adequate for the length of the strip and that the power supply is properly connected. With these troubleshooting tips, you can ensure that your LED light strip bending project is successful and looks professional.
Additional tips and tricks
When it comes to bending LED light strips, there are a few additional tips and tricks that can come in handy. Firstly, it’s important to use a heat gun or hairdryer to warm up the strip before bending it. This will make it more pliable and easier to manipulate without causing any damage. Additionally, it’s a good idea to use a heat-resistant tape to secure the strip while it cools down. This will prevent it from snapping back into its original shape and ensure that it stays in the desired position. Another useful tip is to use a cutting tool such as a pair of scissors or a knife to make small incisions in the strip before bending it. This will allow it to bend more easily and prevent any splitting or cracking. It’s also important to keep in mind that the strip should only be bent in one direction, as bending it back and forth can cause damage to the circuit board. With these additional tips and tricks, you’ll be able to bend LED light strips like a pro and achieve the perfect look for your project.
Cutting LED light strips may seem daunting, but it’s actually a simple process. First, measure the length of the strip you need and mark it with a pencil. Next, use sharp scissors or a utility knife to cut along the marked line. Make sure to cut only on the designated cut lines, as cutting in the wrong spot can damage the lights. After cutting, use a soldering iron to reattach the wires to the cut ends, or use connectors to join the cut sections. With a little care and precision, cutting LED light strips can be a quick and easy way to customize your lighting setup.
Bent LED light strips can be used in a variety of creative ways to add an extra flair to any space. One popular use is creating a unique lighting fixture by bending the strips into intricate shapes and patterns. Another option is to highlight specific areas of a room, such as shelves or artwork, by placing the strips underneath or behind them. For a more dramatic effect, the strips can be bent to create a curved or circular design on a wall or ceiling. Additionally, outdoor spaces can be enhanced by using bent LED light strips to illuminate walkways, patios, or even pool areas. With endless possibilities, experimenting with bent LED light strips can add a personalized touch to any space.
Proper maintenance and care of your LED light strips is crucial to ensure their longevity and optimal performance. Regularly inspect the strips for any signs of damage, such as cracks or broken connections, and replace any defective parts as needed. To clean the strips, use a soft, damp cloth and avoid using harsh chemicals or abrasive materials that could damage the surface. Additionally, be sure to store the LED light strips in a cool, dry place when not in use to prevent moisture and dust buildup. By following these simple steps, you can ensure that your LED light strips continue to provide bright and beautiful illumination for years to come.
Bending LED light strips is an essential technique for obtaining the desired shape and direction of lighting in any project. It allows for a wide range of creative designs that can be used in various applications, including home decor, commercial lighting, and automotive lighting. The flexibility of LED light strips also enables them to be used in curved and irregularly shaped surfaces, providing uniform illumination and enhancing the aesthetic appeal of the area. Proper bending techniques ensure that the LED lights function efficiently and maintain their lifespan, making it crucial to follow a step-by-step guide to bend LED light strips like a pro.
In conclusion, bending LED light strips may seem like a daunting task, but with the right tools and techniques, it can be done successfully. It is important to take the time to plan out the placement of the strip and decide on the desired shape before attempting to bend it. Using a heat gun and protective equipment, such as gloves and safety glasses, is crucial to avoid damaging the strip or injuring yourself. Additionally, using a mounting channel or adhesive tape can ensure the strip stays in place and creates a professional-looking finish. With these tips and tricks, anyone can bend LED light strips like a pro and create stunning lighting designs for any space.
Are you ready to take your DIY lighting game to the next level? Look no further than bending your own LED light strips! With this step-by-step guide, you’ll be able to create custom lighting designs that perfectly fit any space. Don’t settle for standard straight light strips when you can create unique shapes and angles that add dimension and interest to your home or office. So, what are you waiting for? Grab your LED light strips and start bending like a pro today!
Conclusion
In conclusion, bending LED light strips may seem like a daunting task, but with the right tools and techniques, anyone can achieve professional-looking results. By following the step-by-step guide provided, you can ensure that your LED light strips are bent to your desired shape and function properly. Remember to use caution when working with electrical components, and always seek professional assistance if you are unsure. With a little patience and persistence, you can bend it like a pro and create stunning lighting designs for your home or business.