Effortlessly Remove LED Lights: A StepbyStep Guide

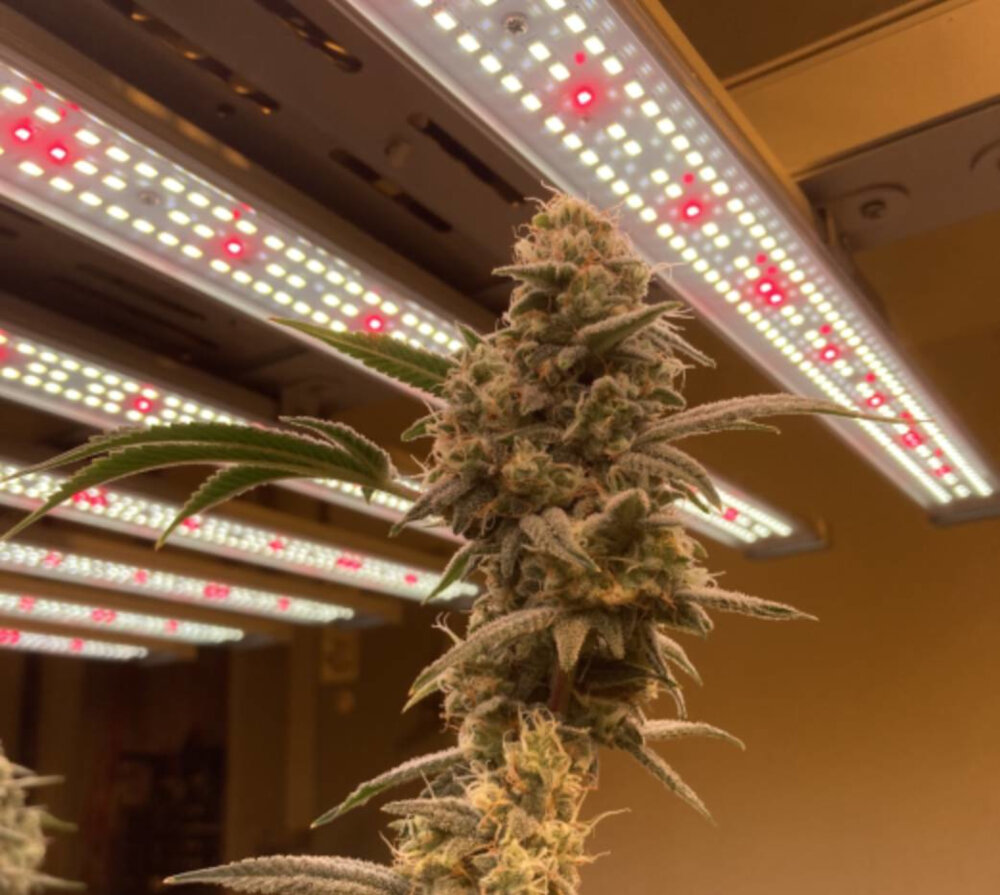
LED lights have become increasingly popular in recent years, thanks to their energy efficiency and long lifespan. However, there may come a time when you need to remove them, whether it’s because they’ve burnt out or you’re simply looking to upgrade. But removing LED lights can be tricky, especially if you don’t have the right tools or know-how. In this step-by-step guide, we’ll show you how to effortlessly remove LED lights, so you can get the job done quickly and safely. Firstly, it’s important to note that there are two types of LED lights: those that are integrated into a fixture, and those that are standalone bulbs. Removing integrated LED lights can be more challenging, as you’ll need to disassemble the fixture to access the bulbs. Standalone bulbs are typically easier to remove, as they can simply be unscrewed from their socket. Regardless of the type of LED light you’re dealing with, this guide will walk you through the process, so you can remove them with ease. So grab your tools and let’s get started!
Removing LED lights may be necessary for a variety of reasons. Sometimes, the lights may simply need to be replaced due to wear and tear, or they may no longer be functioning properly. In other cases, the lights may need to be removed in order to access other components of a fixture or device. Additionally, some people may choose to remove LED lights in order to upgrade to a different type of lighting or to change the overall aesthetic of a room or space. Whatever the reason for removal, it is important to do so carefully in order to avoid damaging the fixture or device, and to ensure that the process is as safe and easy as possible.
The step-by-step guide for removing LED lights is an easy-to-follow process that will help you accomplish this task effortlessly. The guide provides a detailed explanation of each step, from turning off the power to removing the light fixture. It also includes tips on how to handle the fixture safely and efficiently. The guide is designed to be user-friendly and easy to understand, making it accessible to both DIY enthusiasts and beginners. By following the steps outlined in this guide, you can remove LED lights from your home without any hassle or stress.
Tools Required

In order to effortlessly remove LED lights, there are a few essential tools that you will need. Firstly, you will require a ladder or step stool to reach the lights. Depending on the height of the ceiling, you may need a taller ladder or stool to ensure you can reach the lights without straining yourself. It is important to ensure that the ladder or stool is stable and secure before climbing it to avoid any accidents or injuries. Additionally, you may want to consider wearing slip-resistant shoes to prevent any slips or falls while on the ladder or stool. Secondly, you will need safety gloves to protect your hands from any sharp edges or electrical components while removing the LED lights. Even if the lights are not plugged in, there may still be some electrical charge left in the wires, which can be hazardous to touch with bare hands. Wearing safety gloves will protect your hands from any potential harm. Lastly, you may require a screwdriver or pliers to remove any screws or bolts that are holding the LED lights in place. It is important to ensure that you have the appropriate size and type of screwdriver or pliers to avoid damaging the fixtures or the screws. By having these essential tools, you can easily remove LED lights without any hassle or risk of injury. In conclusion, having the right tools is crucial when it comes to removing LED lights. A ladder or step stool, safety gloves, and screwdriver or pliers are the necessary tools that will make the process of removing LED lights effortless and safe. It is essential to take the necessary precautions to avoid any injuries or accidents while removing the lights. By having these tools and following the step-by-step guide, you can easily remove LED lights and replace them with new ones.
Removing LED lights can be a tricky task, but having the right tools can make it effortless. First and foremost, safety gear such as gloves and safety glasses should be worn to protect yourself from electrical shocks and broken glass. A ladder or step stool is also necessary for reaching the lights, especially if they are installed in high areas. A screwdriver or drill with a screwdriver bit will be needed to remove any screws or brackets holding the lights in place. A voltage tester can be used to ensure that the power is off before starting the removal process. Finally, a wire stripper or pliers can be used to disconnect any wires connected to the lights. With these tools on hand, removing LED lights can be done quickly and safely.
In the article titled \Effortlessly Remove LED Lights A Step-by-Step Guide,\ there are several tools mentioned that can help make the process of removing LED lights easier. The first tool mentioned is a pair of pliers, which can be used to grip the LED light and twist it out of its socket. Another tool mentioned is a flathead screwdriver, which can be used to pry the LED light out of its socket. A third tool mentioned is a suction cup, which can be used to grip the LED light and pull it out of the socket. Each of these tools serves a specific purpose and can be used to remove LED lights quickly and easily without damaging the light or the socket.
StepbyStep Guide
If you’re looking for a step-by-step guide on how to remove LED lights, look no further! Removing LED lights can seem like a daunting task, but with the right tools and techniques, it can be done effortlessly. The first step in removing LED lights is to turn off the power source. This is important for your safety as well as the safety of your light fixture. You can turn off the power source by flipping the circuit breaker or unplugging the light fixture from the outlet. Once the power source is turned off, you can begin to remove the LED lights. The next step is to remove the cover or lens of the light fixture. This can typically be done by unscrewing the screws or gently prying the cover off with a flathead screwdriver. Once the cover is removed, you’ll have access to the LED lights themselves. Use a pair of pliers to gently twist the LED lights counterclockwise to remove them from the fixture. Be sure to handle the LED lights with care as they can be delicate and easily damaged. And with that, you’ve successfully removed your LED lights!
To safely remove LED lights, the first step is to turn off the power supply. This is crucial to avoid any electrical hazards and prevent any accidental injuries. It is important to locate the switch or circuit breaker that controls the power supply to the LED lights and switch it off. This step is critical to ensure that there is no electrical current flowing to the lights, making it safe to proceed with the removal process. Once the power has been turned off, it is essential to wait for a few minutes to allow the lights to cool down before proceeding with the removal steps. Taking this initial step will help to ensure a smooth and safe removal of the LED lights.
Step 2 of removing LED lights involves taking off the cover or lens, which can be a bit tricky for some fixtures. Depending on the design of the light, the cover may be attached with screws, clips, or simply snapped into place. Careful attention should be paid to any screws or clips, which may be hidden or difficult to access. Once the cover is removed, the LED bulb should be visible and easy to remove. It’s important to handle the bulb gently and avoid touching the LED chips, as this can damage the light and reduce its lifespan. With a bit of patience and some careful maneuvering, removing the cover or lens of an LED light can be done quickly and easily.
In the third step of removing LED lights, it is essential to loosen the screws holding the LED light module. These screws can be found on the edges of the light module, and using the appropriate screwdriver, they should be turned counterclockwise to loosen them. It is essential to be careful while doing this step to avoid damaging the LED light module. Loosening the screws will make it easier to remove the module from the fixture without causing any damage. This step is crucial in the process of removing LED lights as it ensures that the module can be removed without any difficulty.
Step 4 entails the crucial process of disconnecting the wiring from the LED light module. This is a crucial stage that requires careful attention to avoid damaging the wiring or the module itself. It is advisable to switch off the electrical supply before proceeding to disconnect the wiring to ensure your safety. You may need to use a screwdriver, pliers, or any other suitable tool to remove the wiring connectors. It is essential to be patient and gentle while executing this step to avoid breaking the connectors or causing any damages to the LED light module. Once you have disconnected the wiring, you can proceed to remove the LED light module effortlessly.
In Step 5, you will need to carefully remove the LED light module. This is a crucial step to ensure that the LED light is removed without causing any damage to the fixture or the bulb. You will need to gently pull the module out of the fixture, making sure not to twist or turn it in any way. It is important to handle the module with care as it could be fragile and easily breakable. Once the module is removed, you can safely dispose of it or replace it with a new one. With this step completed, you can now move on to installing your new LED light module or reassembling your fixture.
Step 6 of removing LED lights involves replacing the cover or lens. This step is crucial as it helps in ensuring that the light is protected from dust and moisture. To replace the cover, you need to align it with the base of the light and gently press it down until you hear a click sound. If you are replacing the lens, make sure it is clean and free from any smudges or fingerprints. You can use a microfiber cloth or lens cleaning solution to clean the lens. Once the lens is clean, align it with the base and press it down gently until it clicks into place. By following this step-by-step guide, you can effortlessly remove and replace LED lights without any hassle.
Tips and Precautions
When it comes to removing LED lights, there are a few tips and precautions that you should keep in mind to make the process as smooth and safe as possible. First and foremost, make sure that the lights are turned off and unplugged before you begin. This will prevent any accidental shocks or electrical issues while you are working. Additionally, it is important to wear gloves and protective eyewear to avoid any injuries or damage to your eyes. Another important tip is to use a ladder or step stool to reach the lights safely. Avoid standing on chairs or other unstable surfaces that could cause you to fall and injure yourself. If you are removing lights that are high up or in difficult-to-reach spots, consider enlisting the help of a friend or family member to hold the ladder steady and assist you with the removal process. Lastly, be sure to dispose of the old LED lights properly and in accordance with your local regulations. This may involve recycling them or taking them to a designated collection point. By following these tips and precautions, you can easily remove LED lights without any issues or complications. In conclusion, removing LED lights can be a simple and straightforward task if you take the necessary precautions and follow the proper steps. Always prioritize safety and take the time to prepare yourself and your workspace before getting started. With the right tools and approach, you can easily remove and replace your LED lights as needed. Remember to dispose of the old lights responsibly and enjoy the benefits of your newly installed lighting fixtures!
Removing LED lights from your home may seem like a daunting task, but with the right tools and techniques, it can be done easily and safely. Here are some tips to make the process a breeze: Firstly, ensure that the power source is turned off and the circuit is not live. Secondly, use a sturdy ladder or stool to reach the light fixture and wear protective gear such as gloves and goggles to avoid any mishaps. Thirdly, use a screwdriver or pliers to remove any screws or clips holding the LED light in place. Lastly, gently wiggle the LED light to loosen it from its socket and carefully remove it. Follow these tips to effortlessly remove LED lights and avoid any potential hazards.
When removing LED lights, it’s important to take precautions to avoid damaging the lights or injuring yourself. Firstly, turn off the power supply to the lights to prevent electric shock. Wear gloves to prevent any cuts or scratches while handling the lights. Use a ladder or step stool to reach the lights, making sure it’s stable and secure. Avoid using excessive force while removing the lights as it can damage the wires or cause the lights to break. Also, handle the lights gently to avoid breaking the fragile components inside. Lastly, dispose of the lights properly by recycling them or disposing of them in the trash according to your local regulations. By taking these precautions, you can remove LED lights safely and efficiently.
In summary, removing LED lights can be a breeze with the right tools and techniques. Start by ensuring that the area is safe and clear of any potential hazards. Then, turn off the electricity supply to the LED lights and carefully remove the cover plate. Next, unscrew the light bulb and gently wiggle the LED light fixture to loosen it from the ceiling or wall. If necessary, use a screwdriver to pry it loose. Finally, disconnect the wires and remove the fixture from the wall or ceiling. By following these simple steps, you can effortlessly remove LED lights and enjoy a brighter, more energy-efficient lighting solution in your home or workplace.
In conclusion, removing LED lights can be a straightforward task if you follow the necessary steps and precautions. Always make sure the power source is turned off and disconnected before starting the removal process. Use a ladder or step stool to reach the lights safely and have a helper hold the ladder steady. If you encounter any resistance, use a lubricant or gently wiggle the light to loosen it. And finally, dispose of the old LED lights properly, following local regulations. By following these tips, you can effortlessly remove your LED lights without any accidents or damage to your property.
Conclusion
In conclusion, removing LED lights may seem like a daunting task, but with the right tools and approach, it can be done effortlessly. By following the step-by-step guide provided, you can safely and efficiently remove LED lights from any location. Always remember to disconnect the power source, use appropriate tools such as a ladder and pliers, and handle the LED lights with care to avoid any damage. With these tips in mind, removing LED lights will be a breeze, and you’ll be able to upgrade or replace your lighting fixtures with ease.