StepbyStep Guide: Installing LED Light Strips in Your Car Like a Pro

Are you looking to add some flashy style to your car’s interior? LED light strips are a popular and easy way to do just that. Not only do they add a cool aesthetic, but they also provide practical lighting for nighttime driving. Installing LED light strips is a fun and straightforward DIY project that anyone can do, even if you’re not particularly handy. In this step-by-step guide, we’ll show you how to install LED light strips in your car like a pro. Before you get started, it’s important to choose the right type of LED light strips for your car. There are countless options available on the market, ranging from single-color to multi-color strips with varying degrees of brightness. Consider your personal style and the purpose of the lighting before making your choice. Additionally, you’ll need some basic tools and supplies, such as a screwdriver, wire cutters, and electrical tape. Once you have everything you need, you’ll be ready to get started on your LED light strip installation journey.
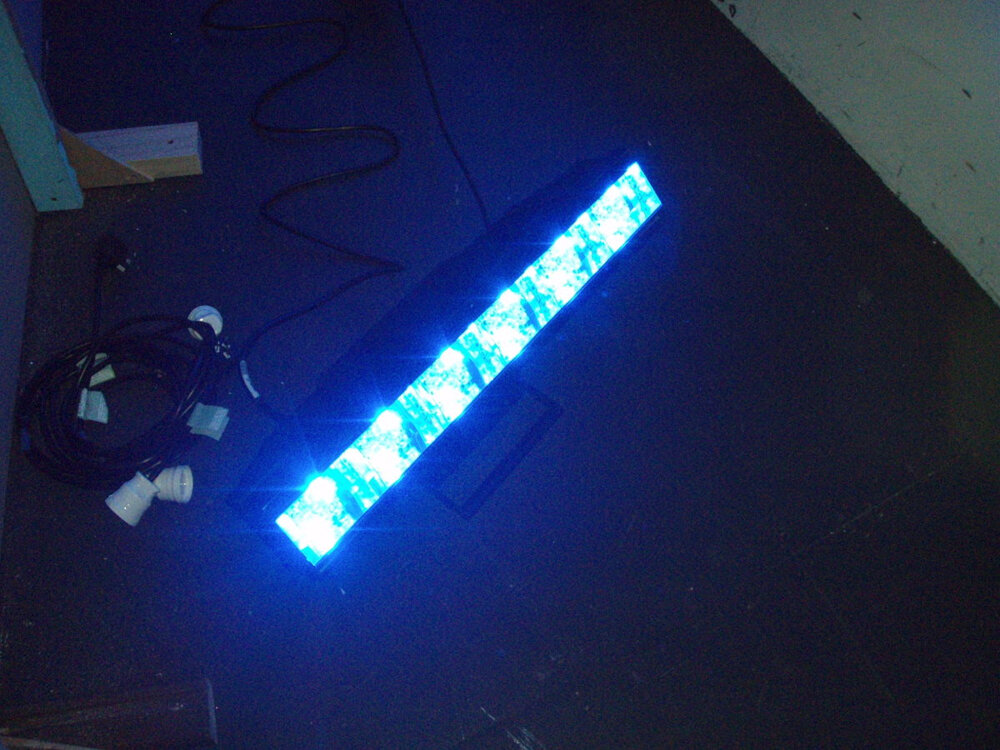
LED light strips are flexible circuit boards that contain small LED lights in a row. They are easy to install and can be cut to fit any length, making them a versatile lighting solution for a range of applications. LED light strips are energy-efficient, producing bright and long-lasting light while consuming less power than traditional lighting methods. They are available in a variety of colors and styles, including RGB strips that allow for customizable color options. LED light strips are also durable and long-lasting, making them an excellent choice for automotive lighting applications. With their many benefits, LED light strips are a popular choice for adding stylish and functional lighting to any vehicle.
Proper installation of LED light strips in your car is crucial to ensure the lights work effectively and safely. A poorly installed LED light strip can cause electrical issues, short circuits or even a fire hazard, posing a threat to the driver and passengers. Additionally, a messy or unprofessional installation can detract from the overall aesthetic of the vehicle. By taking the time to properly install the LED light strips, you can ensure they function correctly and look great, elevating the ambiance of your car. Whether you’re adding LED light strips for practical purposes or just for fun, investing in proper installation will pay off in the long run.
Gather Materials

Before you begin installing LED light strips in your car, it’s important to gather all the necessary materials. The first item you’ll need is the LED light strip itself. There are many different colors and lengths available, so choose one that best fits your style and needs. Make sure to measure the area where you want to install the light strip, so you know exactly how much you’ll need. You’ll also need a power source for the lights, such as a 12-volt car battery. Additionally, you’ll need a soldering iron, wire cutters, and electrical tape to connect the power source to the light strip. It’s also a good idea to have a heat gun or hair dryer on hand to help with the installation process. This will help soften the adhesive on the back of the light strip and make it easier to stick to your car. A plastic trim removal tool can also come in handy if you need to remove any panels or trim to access the area where you want to install the lights. Finally, make sure to have a clean, dry workspace and a set of gloves to protect your hands while working with the soldering iron and other tools. By gathering all the necessary materials beforehand, you can ensure a smooth and successful installation of your LED light strips.
Before starting the installation process of LED light strips in your car, it’s important to have all the necessary materials at hand. These materials include LED light strips, a power supply, a remote control, a soldering iron, electrical tape, wire strippers, a heat gun, and zip ties. The LED light strips come in different lengths, colors, and types, so make sure to choose the ones that fit your car’s interior and your personal preferences. The power supply is used to provide electricity to the LED light strips, while the remote control allows you to control the color and brightness of the lights. The soldering iron is used to connect the wires, while the electrical tape is used to secure them. The wire strippers are used to strip the wires, and the heat gun is used to shrink the heat shrink tubing. The zip ties are used to secure the wires and prevent them from dangling. Having all these materials ready will make the installation process smoother and more efficient.
When choosing LED light strips for your car, there are several factors to consider. First and foremost, you must determine the size and length of the LED strips that you need. It is also crucial to decide on the color and brightness of the LED lights that will complement your car’s interior or exterior. Look for high-quality LED light strips that are waterproof and durable to withstand the rigors of daily use. Additionally, if you plan to install the LED lights yourself, consider purchasing a kit that includes all the necessary components, such as power adapters, controllers, and connectors, to simplify the installation process. Finally, be sure to read reviews and compare prices to ensure that you are getting the best value for your money.
Prepare Your Car

One important step before installing LED light strips in your car is to prepare your vehicle. A well-prepared car will make the installation process smoother and prevent any damage to your car. First, make sure to clean the area where you will be installing the LED light strips. Use a microfiber cloth and a cleaning solution to remove any dirt or debris. This will ensure that the adhesive on the back of the LED light strips sticks properly to your car’s surface. Next, disconnect the negative battery cable from your car’s battery. This will prevent any electrical mishaps while installing the LED light strips. Also, make sure to read the instruction manual that comes with your LED light strips to understand the specific installation steps and any precautions you need to take. By preparing your car beforehand, you can avoid any potential damage to your car’s exterior or electrical system during the installation process. In summary, preparing your car is a crucial step before installing LED light strips. Cleaning the installation area and disconnecting the negative battery cable are simple yet effective ways to ensure a smooth installation process. Additionally, taking the time to read the instruction manual will provide you with the necessary knowledge to install the LED light strips correctly and avoid any potential damage to your car.
Before installing LED light strips in your car, it is essential to prepare your vehicle appropriately to ensure a smooth installation process. Firstly, clean the surfaces where you plan to install the LED light strips thoroughly. Use a microfiber cloth and rubbing alcohol to remove any dirt, dust, or oils that may hinder the adhesion of the strips. Secondly, plan the placement of the LED light strips carefully. Measure and mark the areas where you want to install them, ensuring that they align perfectly with the contours of your car. Additionally, ensure that you have all the necessary tools and equipment required for the installation, such as scissors, wire cutters, and electrical tape. Finally, make sure that your car’s battery is disconnected to prevent any electrical accidents during the installation process. By following these steps, you can prepare your car for LED light strip installation like a pro.
To ensure a professional-looking and long-lasting installation of LED light strips in your car, it’s crucial to prepare the surface properly. Before installing the light strips, make sure the surface is clean and dry. You can use a mild cleaner or rubbing alcohol to remove any dirt, dust, or debris from the surface. After cleaning, dry the surface thoroughly using a clean, lint-free cloth to remove any moisture. A clean and dry surface will help the adhesive on the light strips to adhere better, preventing them from peeling off or falling down over time. Taking the extra time to prepare the surface will ensure a flawless and durable installation of your LED light strips, adding a stylish and personal touch to your car.
Install the LED Light Strips
Installing LED light strips in your car is a great way to add a touch of style and personality to your vehicle. LED light strips are easy to install and can be customized to match your desired color scheme. They are also energy-efficient and long-lasting, making them a cost-effective and eco-friendly option. By following a few simple steps, you can install LED light strips in your car like a pro. The first step in installing LED light strips in your car is to choose the right location. The most common location for LED light strips is under the dashboard or seats. This area provides a great source of light and allows you to easily control the lights with a switch. Once you have chosen the location, you will need to clean the area to ensure that the adhesive on the LED light strips sticks properly. Then, you can begin to attach the LED light strips to the desired location and connect them to the power source. With a little bit of creativity and patience, you can easily install LED light strips in your car and enjoy the benefits of a stylish and functional lighting system.
Installing LED light strips in your car can be a fun and exciting upgrade that will make your ride stand out. To get started, gather all the necessary tools and materials such as the LED light strips, power supply, remote control, and adhesive tape. Next, clean the surface where you plan to install the strips and make sure it’s dry. Then, measure the length of the strip and cut it to fit the desired area. Peel off the adhesive backing and carefully place the strip onto the surface. Connect the power supply and remote control, and test the lights to ensure they’re working properly. Finally, tidy up any loose wires and enjoy your new LED light strips like a pro.
When installing LED light strips in your car, it’s important to keep some tips in mind to avoid common mistakes. Firstly, make sure you have all the necessary tools and equipment before starting the installation process. Secondly, plan out the placement of the LED strips before sticking them on, as this will prevent unnecessary repositioning and damage to your car’s interior. Additionally, ensure that you have a reliable power source and have properly wired the LED lights to avoid electrical malfunctions. Lastly, take your time and be patient during the installation process, as rushing can lead to mistakes and a less than satisfactory outcome. By following these tips, you can ensure a successful and professional-looking installation of LED light strips in your car.
When installing LED light strips in your car, it’s important to be prepared for potential issues that may arise during the process. One of the most common problems is the lights not turning on or flickering. This could be due to a loose connection or a faulty power source. To troubleshoot this issue, double-check all connections to ensure they are secure and try using a different power source. Another issue that may occur is uneven lighting or dark spots. This could be caused by improper placement or a defective strip. To fix this, adjust the placement of the strip and consider using a different brand or model. Overall, being patient and methodical in your approach to troubleshooting can help ensure a successful installation of your LED light strips.
Wiring and Power

Wiring and power are essential aspects of installing LED light strips in your car. To begin with, make sure you have all the necessary tools and materials, including wire strippers, crimpers, electrical tape, and a voltage meter. Start by identifying the power source for your LED light strips. This can be done by locating the fuse box in your car and checking the fuse rating. You can then use a wire tap or fuse adapter to connect the LED light strips to the power source. Be sure to use the appropriate gauge wire for your LED light strips and avoid overloading the circuit. Once you have identified the power source and connected the wiring, test the LED light strips to ensure they are working correctly. Use a voltage meter to check the voltage and make sure it matches the voltage rating of your LED light strips. If the voltage is too high or too low, you may need to install a voltage regulator to ensure the LED light strips operate correctly. Lastly, protect the wiring and connections by wrapping them in electrical tape or using wire loom to prevent damage from vibrations or other hazards while driving. By following these steps, you can install LED light strips in your car like a pro while ensuring a safe and reliable electrical connection.
Connecting LED light strips to power is a crucial step in the installation process. First, it is important to determine the power source for the lights. This could be the car battery or a separate power supply. Once the power source is identified, the next step is to connect the positive and negative wires from the light strip to the corresponding terminals on the power source. It is important to ensure that the connections are secure and that the polarity is correct to avoid damaging the lights. A fuse should also be added to the circuit to protect against overloading. Once the connections are made, the lights can be tested to ensure that they are functioning properly. With a little bit of care and attention, connecting LED light strips to power can be a straightforward and successful process.
When installing LED light strips in your car, it’s important to follow some tips to avoid electrical issues. Firstly, make sure to turn off the power before starting any wiring work. Secondly, use appropriate wire connectors that are compatible with the gauge of your wires. Thirdly, use a multimeter to test the voltage and continuity of the wires to ensure they are properly connected. Fourthly, avoid overloading the circuit by calculating the total wattage of all the LED strips and ensuring it does not exceed the maximum capacity of the circuit. Lastly, ground the wires properly to prevent any electrical shock or damage to your car’s electrical system. By following these tips, you can ensure a safe and successful installation of LED light strips in your car.
In conclusion, installing LED light strips in your car can be a fun and exciting project that will add a unique touch to your vehicle. The key points to keep in mind when installing LED light strips include selecting the right type of LED lights, planning the installation process, preparing the surface properly, and making sure to connect the wires correctly. Additionally, it is important to consider safety when working with electrical components and to follow the manufacturer’s instructions carefully. With these tips and a little bit of patience, you can install LED light strips in your car like a pro and enjoy the benefits of a customized and illuminated interior.
To ensure a professional-looking installation of LED light strips in your car, there are a few final tips to keep in mind. First, take the time to carefully plan out the placement of the strips before beginning the installation process. This will help to ensure that the strips are evenly spaced and properly aligned. Additionally, use high-quality adhesive tape or mounting brackets to securely attach the strips to your car’s interior surfaces. Finally, be sure to neatly tuck any excess wiring out of sight and test the lights thoroughly before completing the installation process. By following these tips, you can achieve a sleek and stylish look for your car’s interior with your new LED light strips.
Congratulations on installing LED light strips in your car! You’ve taken the first step towards transforming your driving experience. Now, it’s time to sit back and enjoy the benefits of your new addition. With LED light strips, not only will you have better visibility on the road, but you’ll also be able to set the mood and ambiance in your car with a variety of colors and effects. Whether you’re driving alone or with friends, LED light strips will undoubtedly enhance your overall driving experience. So, turn up the music, pick your favorite color, and get ready to cruise in style!
Conclusion

In conclusion, installing LED light strips in your car is a fun and rewarding project that can give your vehicle a unique and personalized look. By following this step-by-step guide, you can complete the installation process like a pro, even if you have no prior experience. From choosing the right tools and materials to wiring the lights and testing the results, every step is crucial to ensure the safety and functionality of the LED light strips. Whether you want to enhance the visibility of your car, create a mood or ambiance, or simply impress your friends, LED light strips can add a touch of style and creativity to any car. So, don’t hesitate to try it out and enjoy the stunning results of your DIY project.