DIY Guide: How to Easily Connect LED Light Strips Together for a Brighter and Vibrant Home Décor
Brighten up your home decor with LED light strips! LED light strips are a fantastic addition to any home, providing a vibrant and colorful atmosphere to any space. Whether you want to spice up your living room, bedroom, or kitchen, LED light strips are an easy and affordable way to transform your home. However, connecting them can be a daunting task, especially if you’re not familiar with electrical wiring. This DIY guide will provide you with all the information you need to connect your LED light strips together and create a bright and vibrant atmosphere in your home. LED light strips are versatile and can be used in many different ways. You can use them to highlight certain areas of your home or create a unique ambiance that suits your style. With LED light strips, you can customize the lighting in your home to match your mood or the occasion. Whether you want a warm and cozy atmosphere or a bright and energetic one, LED light strips can help you achieve your desired effect. So, if you’re ready to take your home décor to the next level, let’s dive into this DIY guide and learn how to easily connect LED light strips together.
LED light strips are a popular choice for home décor due to their numerous benefits. Firstly, they are energy-efficient, consuming less electricity than traditional lighting sources, resulting in lower electricity bills. Secondly, they are long-lasting, with an average lifespan of up to 50,000 hours, reducing the need for frequent replacements. Thirdly, they emit less heat, making them safe to use and ideal for areas where heat can be a problem. Additionally, they are versatile and come in various colors, making them perfect for creating different moods and ambiances in any room. Lastly, they are easy to install, allowing homeowners to create their desired lighting design without the need for professional help.
LED light strips are a popular and versatile lighting solution that can be used to enhance the ambiance of any space. However, connecting multiple LED light strips together can be a daunting task for those who are new to DIY projects. This guide aims to provide a comprehensive and easy-to-follow tutorial on how to connect LED light strips together for a brighter and more vibrant home decor. From choosing the right type of LED light strips to soldering techniques and installation tips, this guide covers everything you need to know to create a stunning lighting display in your home. With the help of this guide, even those with no prior experience in DIY projects can confidently connect LED light strips together and transform their home into a cozy and inviting space.
Materials Needed
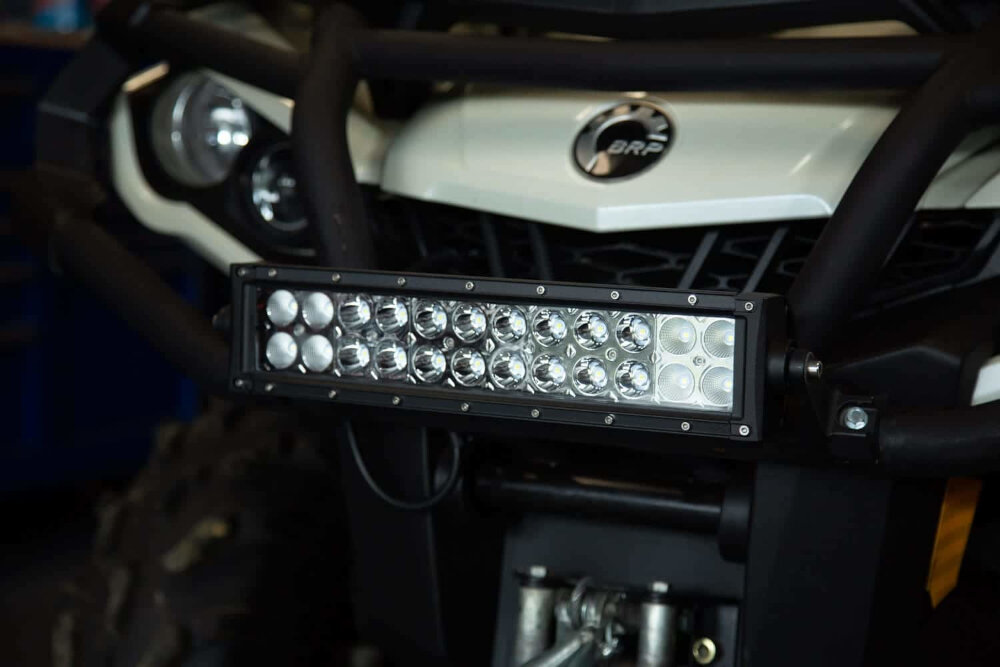
When it comes to connecting LED light strips, there are a few essential materials that you will need to have on hand. Firstly, you will need the LED light strips themselves, which can be purchased from most home improvement stores or online retailers. Make sure to choose a length that will fit your specific needs and ensure that the strips have an adhesive backing to make installation easier. Additionally, you may want to consider purchasing a remote control for your LED light strips, which will allow you to change the lighting color, dimness, and other settings from a distance. This can add an extra layer of convenience and customization to your DIY lighting project. In addition to the LED light strips and remote control, you will also need a few other materials to properly connect the strips together. One of the most important items is a connector, which will be used to link the different strips together. There are several types of connectors available, including solderless connectors, which are easy to use and require no special tools. You may also want to invest in a pair of wire cutters and strippers, which will help you to trim the LED light strips to the correct length and strip the wires for easy connection. Finally, make sure to have a power supply on hand, which will provide the necessary electricity to light up your LED strips. With these essential materials, you can easily connect your LED light strips and create a beautiful and vibrant home décor.
To successfully connect LED light strips, one must have a few essential tools and materials on hand. First and foremost, an LED light strip with a power source is necessary. Additionally, one will need a pair of wire cutters and strippers to cut and remove the protective coating from the wires. A soldering iron and solder are also required to join the wires together. To protect the connection, heat shrink tubing can be used to cover the soldered area. Finally, a heat gun or lighter is needed to shrink the tubing and solidify the connection. By having these tools and materials available, one can easily connect LED light strips and create a vibrant and illuminated home decor.
LED light strips are a versatile and energy-efficient way to add a touch of vibrancy and brightness to any room in your home. Whether you want to create a cozy ambiance in your bedroom or a more lively atmosphere in your living room, LED light strips are an excellent choice. Their flexibility allows you to install them in any shape or form you desire, ensuring that you get the perfect lighting effect for your space. Moreover, they are easy to install, and you can connect multiple LED strips together to cover more significant areas without compromising the lighting quality. Whether you’re a DIY enthusiast or a novice, you’ll find that connecting LED light strips together is a simple and fun process that can enhance the look and feel of your home.
StepbyStep Instructions
The first step in connecting LED light strips together is measuring and cutting the strips to the desired length. It is important to accurately measure the length of the area where the LED light strips will be installed to avoid wasting any strips. Once the measurements are taken, carefully cut the strips using a pair of scissors or a sharp utility knife. It is crucial to cut the LED light strips at the designated cut lines to ensure that they function properly. Taking the time to measure and cut the LED light strips accurately will ultimately lead to a successful installation and a brighter and more vibrant home décor.
In Step 2 of the DIY guide on how to connect LED light strips together, the connectors are prepared for installation. This critical step involves assessing the type of connectors needed for the LED strips being used and ensuring that they match. Once the connectors have been identified, the next step is to strip the wires and prepare them for soldering or clamping. It is essential to ensure that the wires are cut to the correct length and that they are stripped to the correct depth. The connectors must be clean and free from dust or debris, and it is recommended to use a wire stripper or cutter to ensure a clean and precise cut. Taking the time to prepare the connectors correctly is crucial to ensure that the LED light strips operate effectively and that there are no issues with the connections.
Step 3 of the DIY guide on how to easily connect LED light strips together is all about the process of connecting the strips to the power source. Once the LED strips have been cut and prepared, it is time to connect them to the power source. This is typically done by using a soldering iron and some soldering wire. It is important to ensure that the positive and negative connections are correctly aligned, as this will determine the direction of the flow of electricity through the LED strips. Once the connections have been made, it is important to test the LED strips to make sure that they are working properly. With the LED light strips connected and working properly, it’s time to move on to the next step in creating a brighter and more vibrant home décor!
After completing the previous steps of connecting the LED light strips together, Step 4 is all about testing the connection to ensure that everything is working correctly. This step is crucial in identifying any issues in the connection and fixing them before mounting the LED strips. To test the connection, plug in the power supply and switch on the power. The LED strips should light up, indicating that the connection is successful. If any of the lights fail to turn on, double-check the wiring connections, making sure that all the wires are correctly aligned and connected. Additionally, ensure that the power supply can handle the load of the LED strips, as this could cause the lights to malfunction or not light up at all. Once you are confident that everything is working as expected, you can mount the LED light strips and enjoy a brighter and more vibrant home decor.
Tips and Troubleshooting
When it comes to connecting LED light strips, there are some tips and troubleshooting steps that can make the process easier and ensure that everything works properly. First, it is important to measure the length of the LED light strip and the area where it will be installed. This will help determine how many strips will be needed and how to connect them. It is also important to choose the right power supply for the LED light strips, as using the wrong one can cause damage to the lights or even start a fire. Another important tip is to make sure that the connections between the LED light strips are secure and properly connected. Loose connections can cause flickering or dimming lights, and can even cause the lights to stop working altogether. Troubleshooting steps include checking the connections, replacing any damaged or broken parts, and making sure that the power supply is functioning properly. With these tips and troubleshooting steps, connecting LED light strips can be an easy and enjoyable DIY project that can add a bright and vibrant touch to any home décor.
When it comes to connecting LED light strips, there are a few common mistakes that DIY enthusiasts should avoid. Firstly, it is important to choose the correct voltage and current for your LED light strip, as using an incorrect power source can cause damage to the lights. Additionally, it is important to properly secure the connections between each strip to avoid any loose or unstable connections. Another mistake to avoid is not properly measuring the length of the area you wish to cover with the LED light strips, as this can result in gaps or overlaps in the lighting. Lastly, it is important to follow the manufacturer’s instructions carefully to ensure that you are connecting the LED light strips correctly and safely. By avoiding these common mistakes, you can ensure a successful and vibrant home décor project with your LED light strips.
While connecting LED light strips can be a great way to add some life to your home décor, it’s not always a smooth process. One of the most common issues you might run into is that the strips don’t light up at all, even when they’re connected properly. This could be because of a loose connection, so make sure all the wires are securely connected. If that doesn’t work, try checking the power source, as it might not be providing enough power to light up all the strips. Another issue you might face is that the lights flicker or blink, which could be due to a faulty power supply or an incompatible controller. Make sure you have the right components and check for any damage or defects before connecting the strips.
Safety Precautions
When it comes to connecting LED light strips, safety should always be a top priority. Before starting any DIY project, it’s important to take the necessary safety precautions to protect yourself and your home. First and foremost, make sure to turn off the power source to the area where you will be working. This will prevent any accidental shocks or electrical fires while you work on connecting the LED light strips. Additionally, wear appropriate safety gear such as gloves and eye protection to prevent any injuries while handling the LED light strips and tools. Furthermore, ensure that the LED light strips you are using are suitable for indoor use and are not exposed to water or moisture. If you are planning to install the LED light strips in a damp area such as a bathroom or kitchen, use waterproof LED light strips to prevent any electrical hazards. Also, avoid overloading the power source by connecting too many LED light strips together. This can cause the circuit to overload and result in electrical fires or other hazards. By taking these simple safety precautions, you can enjoy a brighter and vibrant home décor without compromising your safety or the safety of your family.
Before attempting to connect LED light strips, it is important to understand the potential hazards involved in the process. One of the most significant risks is electrical shock, which can occur if the wires are not properly connected or insulated. Additionally, improper handling of the LED strips can cause damage to the delicate components, resulting in a fire hazard. It is also important to note that some LED strips contain hazardous materials, such as lead, which can be harmful if ingested or inhaled. Therefore, it is crucial to carefully follow the instructions and safety guidelines provided by the manufacturer to ensure a safe and successful installation.
When working with LED light strips, it’s crucial to take safety precautions to prevent accidents and injuries. Firstly, ensure that the power source is turned off before connecting or disconnecting any wires. Secondly, wear protective gear such as gloves and safety goggles to protect your hands and eyes from any potential hazards. Thirdly, carefully read and follow the manufacturer’s instructions to avoid any misuse or mishandling of the LED light strips. Finally, it’s essential to work in a well-ventilated area to prevent any accumulation of toxic fumes or gases. By taking these safety precautions, you can enjoy a brighter and vibrant home décor without compromising your safety.
This DIY guide provides step-by-step instructions on how to connect LED light strips together to create a brighter and more vibrant home decor. The guide begins by explaining the different types of LED light strips available, and also covers the necessary tools and materials required for the job. It then goes on to explain the process of connecting LED light strips together, including how to measure and cut the strips to the desired length, and how to solder the connections between the strips. The guide also provides helpful tips and tricks for ensuring a successful installation, such as using a heat gun to seal the connections and using mounting clips to secure the strips in place. Overall, this guide is a valuable resource for anyone looking to add a touch of brightness and personality to their home decor with LED light strips.
Are you tired of boring and dull home decor? Why not try a DIY project that will not only brighten up your space but also give it a vibrant and lively touch! Connecting LED light strips is a simple and easy way to bring a pop of color and light to any room in your house. With just a few basic tools and a little bit of creativity, you can effortlessly create a unique and personalized ambiance that reflects your style and personality. So, don’t hesitate to give it a try! You’ll be surprised at how simple and rewarding this DIY project can be.
Conclusion

In conclusion, connecting LED light strips is an easy and cost-effective way to enhance the ambiance of your living space. By following the DIY guide provided, you can transform your home into a brighter and more vibrant place, full of color and life. Whether you want to create a warm atmosphere in your living room, highlight your favorite artwork, or add a touch of glamour to your bedroom, LED light strips offer endless possibilities for home décor. With their energy-efficient and long-lasting qualities, they are not only a stylish choice but also an environmentally friendly one. So why not take the plunge and connect LED light strips together today? Your home will thank you for it!


