Effortlessly Remove LED Light Strips: A StepbyStep Guide
Lighting plays a crucial role in any interior design. LED light strips are becoming increasingly popular because of their energy efficiency, versatility, and ease of installation. However, removing LED light strips can be a bit tricky, especially if they have been glued to a surface for a long time. Whether you’re moving to a new home or want to replace your old LED light strips with new ones, learning how to remove them without damaging the surface is essential. In this step-by-step guide, we will walk you through the process of removing LED light strips without any hassle. We will provide you with tips and tricks to make the task effortless and straightforward. By following our guide, you can avoid frustration and prevent any damage to the surface. So, whether you’re an interior designer, a DIY enthusiast, or a homeowner, read on to learn how to remove LED light strips safely and efficiently.
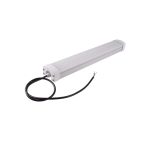
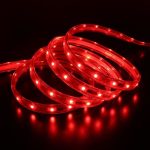
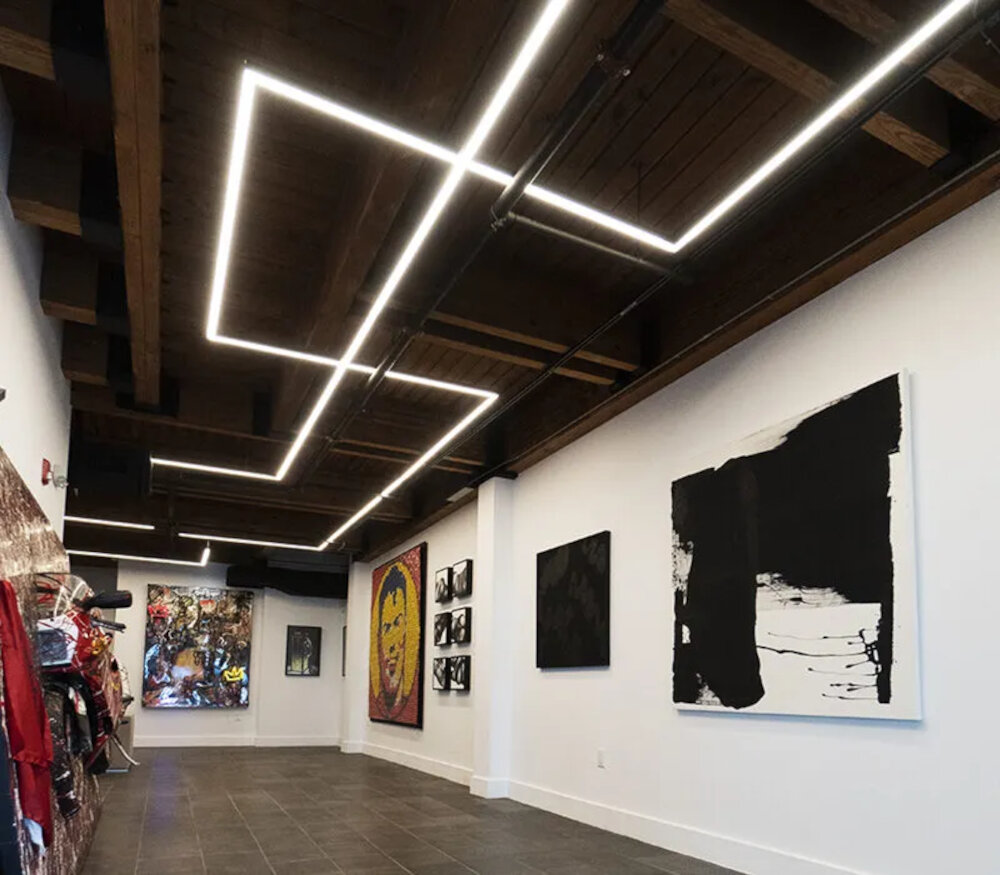
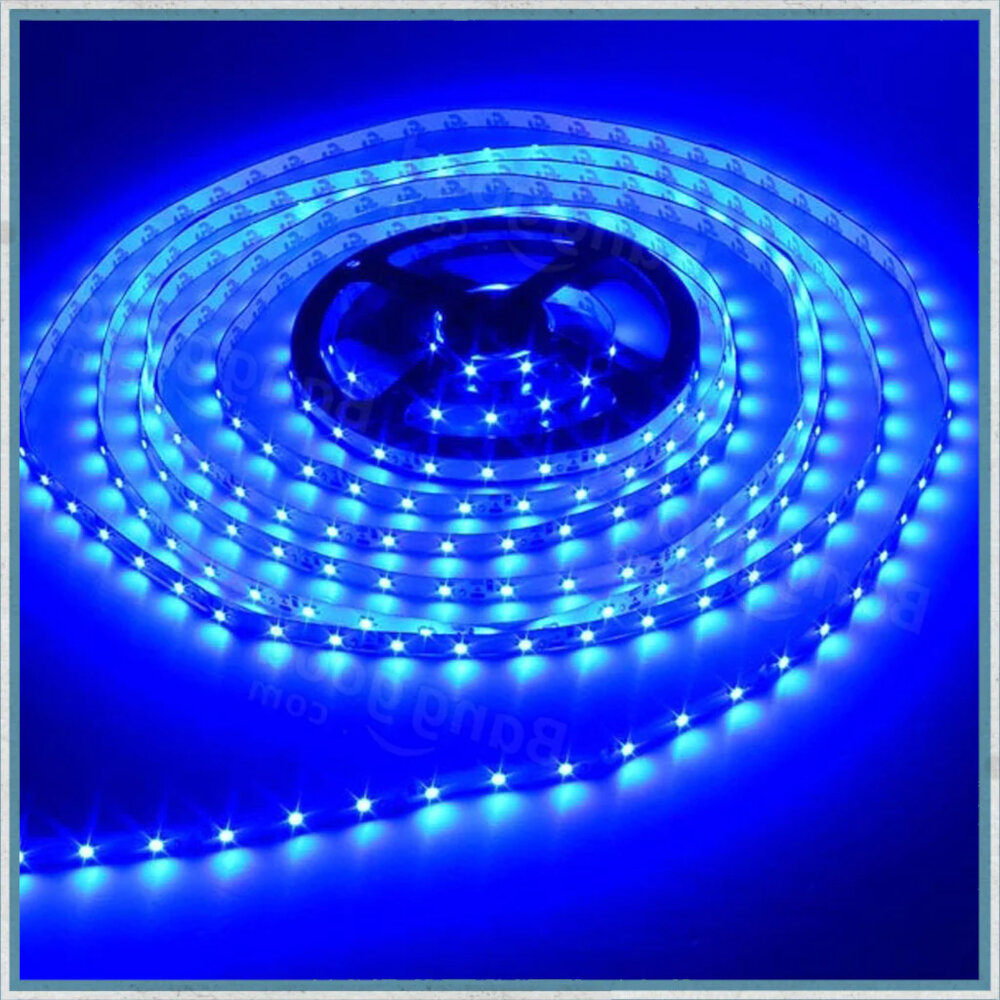
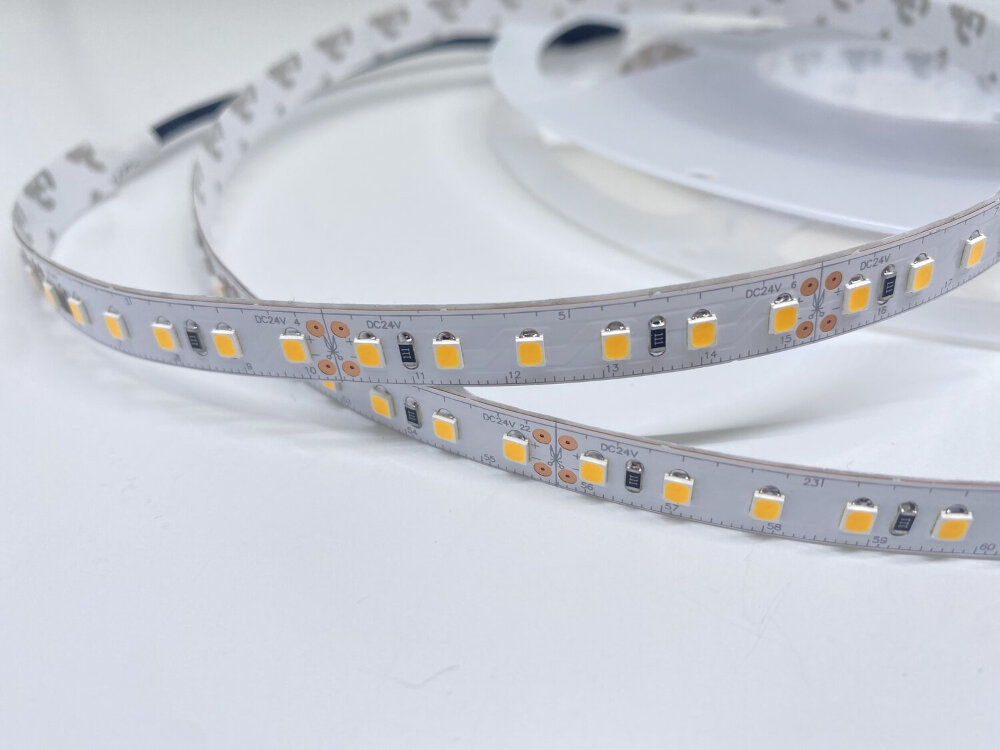
LED light strips are a type of lighting solution that consists of a flexible circuit board with small LED lights attached to it. They are available in a wide range of colors, and they can be cut to fit any length or shape. LED light strips are energy-efficient, long-lasting, and easy to install, making them a popular choice for home and commercial lighting applications. They are perfect for adding a decorative touch to any space, and they can be used for accent lighting, backlighting, or task lighting. With their versatility and convenience, LED light strips are a great way to enhance the ambiance of any room.
There are several reasons why you might need to remove LED light strips from a particular location. Perhaps you’re moving to a new home and want to take your LED strips along with you. Alternatively, you might want to replace your old LED strips with newer and more energy-efficient models. In some cases, you might need to remove the LED light strips to perform maintenance or repairs on the area where they are installed. Regardless of the reason, removing LED light strips can be a simple and hassle-free process if you follow the right steps. With the right tools and a few basic instructions, you can easily remove LED light strips from any surface without causing damage or leaving any unsightly residue behind.
Following a step-by-step guide is crucial when it comes to removing LED light strips. It ensures that you do not miss any essential steps and prevents any damage or harm that may occur during the process. A guide provides clear and concise instructions that simplify the task at hand, making it easier for you to accomplish it without any hassle. Moreover, it saves you time and effort that may have been wasted trying to figure out what to do next. Hence, if you want to remove LED light strips effortlessly, it is essential to follow a step-by-step guide that will help you complete the task smoothly and efficiently.
Materials Needed
When it comes to removing LED light strips, there are a few essential materials that you will need to have on hand. The first and most important item is a pair of pliers or wire cutters. These tools will allow you to safely disconnect the wires that are attached to the LED strip without damaging the wiring or the lights themselves. Additionally, you will need a flathead screwdriver or similar tool to help pry the LED strip away from its mounting surface. This will ensure that you can remove the strip without causing any damage to the surface that it is attached to. In addition to these tools, you may also want to have a heat gun or hairdryer on hand. This can be used to soften any adhesive that is holding the LED strip in place, making it easier to remove. You may also want to have a small container or bag to hold any screws or other small pieces that you remove during the process. This will help you keep track of everything and ensure that you can easily reassemble the strip later on if needed. By having these materials on hand, you can make the process of removing LED light strips as effortless and stress-free as possible.
Before starting the process of removing LED light strips, it is essential to make sure you have all the necessary tools and materials. Firstly, you will need a screwdriver to remove any screws holding the light strip in place. Additionally, a pair of pliers may also be required to remove any clips or connectors. It is also advisable to have a heat gun or hairdryer to soften the adhesive tape holding the light strip. Furthermore, a putty knife or credit card can be used to gently pry the strip away from the surface. Finally, it is vital to have a cleaning solution, such as rubbing alcohol or vinegar, to remove any leftover adhesive residue. By having these tools and materials, the process of removing LED light strips will be effortless and efficient, ensuring a successful outcome.
LED light strips are a popular lighting solution for many households, but sometimes, they need to be removed or replaced. To make this process easier, there are a few tools that can be used. A screwdriver is the primary tool needed to remove the screws or clips that hold the LED light strip in place. Wire cutters or pliers may also be necessary to disconnect wires, connectors, or clips. A heat gun or hairdryer can be used to soften the adhesive that holds the LED strip in place, making it easier to remove. Finally, a pry tool or putty knife can be used to gently lift the LED strip without damaging the surface it is mounted on. With these tools in hand, removing LED light strips can be a breeze.
Preparation
Preparing for the removal of LED light strips is essential for a hassle-free process. First, ensure that you have all the necessary tools for the job. You will need a screwdriver, pliers, wire cutters, and a scraper. These tools are readily available in most hardware stores, or you can purchase them online. Additionally, make sure that you have a safe working surface and that you are wearing appropriate protective gear, such as gloves and safety glasses. Before you begin the removal process, it is crucial to turn off the power supply to the LED light strips. This ensures that you are not working with live wires, which can be dangerous. Once you have turned off the power, carefully remove any covers or casings that may be covering the LED light strips. You can use a scraper to gently pry them off. If the covers are screwed in place, you will need to use a screwdriver to remove them. Once the covers are off, use a pair of pliers to disconnect the wires that are connecting the LED light strips to the power supply. Be sure to mark the wires so that you can reconnect them correctly later.
To turn off power to your LED light strips, there are a few simple steps you can follow. First, locate the power source for your LED light strips. This may be a wall outlet or a power supply connected to a controller. Once you have located the power source, simply unplug it or turn it off using the switch. If your LED light strips are connected to a controller, you may need to turn off the controller first before turning off the power source. It is always important to follow proper safety precautions when working with electricity, so make sure to turn off power before attempting to remove or adjust your LED light strips. By following these simple steps, you can effortlessly turn off power to your LED light strips and safely remove them as needed.
To access LED light strips, it is often necessary to remove any covers or housing that may be hiding them. This can be a delicate process that requires patience and a steady hand. It is important to take the time to carefully study the housing and identify any screws or clips that may be holding it in place. Once these are located, gently remove them and set them aside. Then, slowly and carefully remove the cover or housing, taking care not to damage any of the delicate components inside. With a little bit of practice and attention to detail, accessing LED light strips can be a breeze.
Before attempting to remove LED light strips, it is important to prepare the area you will be working in. This involves gathering all necessary tools such as a screwdriver, pliers, and wire cutters, as well as ensuring that the power source to the LED light strip has been turned off. Clearing the area of any obstacles or clutter will also make the process easier and safer. Additionally, it may be helpful to have a workspace where you can lay out the tools and materials needed for the task at hand. By taking the time to prepare the area, you can minimize the risk of accidents and ensure that the removal process goes smoothly.
Removing the LED Light Strips
Removing LED light strips from a surface seems like a simple task, but it can be tricky if not done properly. To avoid damaging the surface or the strips themselves, it is important to follow a step-by-step guide. First, turn off the power source for the LED strips to prevent any electrical accidents. Then, remove any adhesive or clips holding the strips in place. Gently pull the strip away from the surface, being careful not to apply too much pressure or force that can damage the strip or the surface. Repeat the process until all strips are removed. It is important to note that the removal process may vary depending on the type of adhesive used, the surface the strips are attached to, and the removal tools available. It may be necessary to use a heat gun or a solvent to soften the adhesive and make the removal process easier. If the strips are attached to a delicate surface, such as wallpaper or painted walls, extra care must be taken to avoid damaging the surface. With a little patience and careful attention, removing LED light strips can be done effortlessly and without causing any damage to the surface or the strips themselves.
Removing LED light strips can seem like a daunting task, but with these easy step-by-step instructions, it can be done effortlessly. Begin by turning off the power source and unplugging any adapters connected to the strip. Next, gently peel back the adhesive strip from one corner, pulling it slowly and evenly until the entire strip is removed. If the adhesive is stubborn, use a hairdryer to warm it up and loosen its grip. Once the strip is removed, clean any leftover adhesive with rubbing alcohol or a cleaning solution. With these simple steps, you can remove LED light strips without frustration or damage to your surface.
When removing LED light strips, it is important to take precautions to avoid damaging the strips or the surrounding area. Firstly, make sure to turn off the power source before beginning the removal process. This will prevent any electrical hazards and ensure a safe removal. Next, use a plastic card or putty knife to gently pry the strip from the surface. Avoid using sharp tools that could scratch or damage the strip or the surface it is attached to. If the strip is not coming off easily, use a hairdryer to warm up the adhesive and make it easier to remove. Finally, be patient and avoid rushing the removal process to prevent any unnecessary damage to the strip or surrounding area.
Clean Up
Clean up is an important step when it comes to removing LED light strips. After removing the adhesive strip, there may be some residue left behind on the surface. To ensure that the surface is clean and ready for the next use, it is important to clean up the residue. One way to do this is to use a cleaning solution that is specifically designed for removing adhesive residue. Apply the solution to a clean cloth and gently rub the surface until the residue is removed. It is important to avoid using harsh chemicals or abrasive materials that can damage the surface. A gentle touch and the right cleaning solution can ensure that the surface is clean and ready for the next use. Another important aspect of clean up is disposing of the LED light strip properly. LED light strips contain electronic components that can be harmful to the environment if not disposed of properly. It is important to check with local regulations to ensure that the LED light strip is disposed of in a responsible manner. Many communities have recycling programs for electronic waste, and it is important to take advantage of these programs to reduce the impact on the environment. Clean up is an essential step in the process of removing LED light strips, and by following these steps, you can ensure that the surface is clean and ready for the next use, and that the LED light strip is disposed of in an environmentally responsible manner.
After successfully removing LED light strips, the next step is to properly discard them. It is important to dispose of them in an environmentally responsible manner. The best way to do this is to take them to a recycling center that accepts electronic waste. LED light strips contain valuable metals and components that can be reused, so recycling them is not only good for the environment but also helps to conserve natural resources. If a recycling center is not available in your area, check with your local government to see if they offer electronic waste disposal services. Whatever you do, avoid throwing them in the trash as this can harm the environment and pose a threat to wildlife.
Cleaning any debris or residue left behind is an essential step in removing LED light strips effortlessly. After detaching the strip from its surface, it is crucial to inspect the area for any adhesive residue, dust, or debris. Using a soft and dry cloth or a microfiber towel, wipe the surface gently to remove any leftover debris. If there is any sticky residue or adhesive, a mild adhesive remover or rubbing alcohol can be used to dissolve it. However, it is essential to check the manufacturer’s instructions to ensure compatibility with the surface. By cleaning the surface thoroughly, you can ensure that the LED light strip will adhere correctly the next time it is installed.
Following a step-by-step guide is crucial when it comes to removing LED light strips without causing any damage to the surface or the lights themselves. Not only does it ensure that you don’t miss any important steps, but it also helps you to stay organized and focused throughout the process. By following a guide, you can save time and effort, avoid costly mistakes, and achieve the desired outcome with ease. Moreover, it allows you to understand the process and the tools required to carry out the task efficiently, making it a valuable learning experience that can be applied in other areas of life. Therefore, following a step-by-step guide is an essential aspect of any DIY project and can play a significant role in achieving success in your endeavors.
It cannot be emphasized enough that removing LED light strips is a task that requires care and patience. However, with the right tools and approach, it can be a breeze. It is crucial to note that a properly installed LED light strip can be easily removed without causing any damage to the surface it is attached to. This includes walls, cabinets, mirrors, and any other surface that can hold the strip. By taking the time to follow the steps outlined in this guide, you will be able to remove your LED light strips effortlessly and without any stress. Remember, proper removal ensures that you can enjoy your LED light strips for years to come.
Conclusion
In conclusion, removing LED light strips may seem daunting at first, but with the right tools and approach, it can be a simple and effortless task. By following the step-by-step guide outlined above, you can safely and easily remove your LED light strips without damaging your walls or the light strips themselves. Remember to take your time and be patient, and always wear protective gear when handling electrical components. With these tips in mind, you can confidently remove your LED light strips whenever you need to, whether you’re redecorating, moving, or simply looking to switch up your lighting scheme.