Connect LED Light Strips Like a Pro: A StepbyStep Guide
Looking to add a touch of ambiance to your home or office? LED light strips are the perfect solution. Not only do they provide a warm and inviting glow, but they’re also easy to install and customize to your liking. However, if you’re new to the world of LED light strips, the installation process can seem intimidating. That’s why we’ve created this step-by-step guide to help you connect your LED light strips like a pro. Whether you’re looking to add a pop of color to your kitchen, create a cozy atmosphere in your bedroom, or enhance your workspace, this guide will give you the knowledge and confidence you need to get started. From choosing the right type of LED light strip to connecting the wiring and mounting the strips, we’ll cover everything you need to know to create a professional-looking installation that will impress your friends and family. So let’s get started and transform your space with beautiful LED lighting.
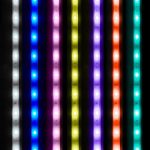
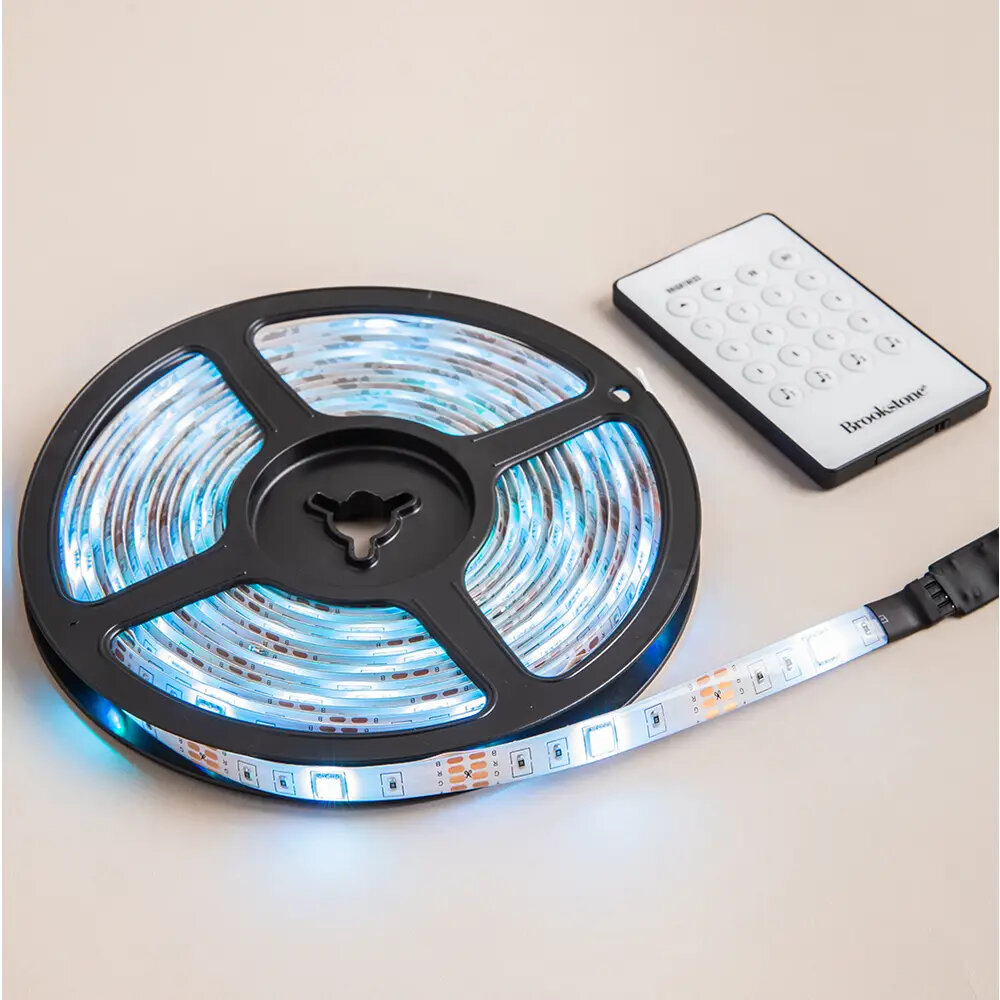
LED light strips are a versatile lighting solution that has gained popularity in recent years. These strips consist of small LED bulbs that are mounted onto a flexible circuit board, allowing them to be easily installed in a variety of locations. LED light strips are available in a range of colors, brightness levels, and lengths, making them suitable for a wide range of applications. They are commonly used for accent lighting, under-cabinet lighting, and as a decorative feature in homes, businesses, and entertainment venues. The popularity of LED light strips can be attributed to their energy efficiency, long lifespan, and ease of installation. Additionally, the ability to control the color and brightness of LED light strips through wireless technology has made them a popular choice for creating unique and dynamic lighting effects.
The proper installation of LED light strips is crucial for both optimal performance and safety. A poorly installed LED light strip may not only fail to function at its full capacity but also pose a risk of electrical fire or shock. Therefore, it is essential to follow the step-by-step guide carefully and ensure that the power source, wires, and connectors are all securely fastened and insulated. Additionally, proper installation can also prolong the lifespan of LED light strips, as they are sensitive to heat and humidity. By taking the time to install LED light strips correctly, you can enjoy their full potential while also ensuring the safety of your home or workspace.
Gather Supplies

To connect LED light strips like a pro, gather supplies is the first and most important step. You will need a few tools and materials to get started. First, you will need a pair of wire strippers to remove the insulation from the wires. Additionally, you will need a soldering iron and solder to connect the wires together. A heat shrink tubing is also recommended to protect the wires from damage and prevent electrical shorts. Finally, you will need LED light strips, a power adapter, and a connector to join the strips together. It is important to choose the right supplies for your LED light strip project. When selecting LED light strips, consider the length and color of the strips, as well as the type of connector required. Make sure to choose the appropriate power adapter for your project to ensure the strips receive the correct voltage. When selecting a connector, consider the type of connection required, such as a pin connector or a solderless connector. By gathering the right supplies, you can ensure a successful and professional-looking LED light strip installation.
When it comes to installing LED light strips like a pro, it’s important to have the right tools and materials on hand. First and foremost, you’ll need the LED light strips themselves, as well as a power source and controller. Depending on the type of installation, you may also need mounting clips, screws, or adhesive tape to secure the strips in place. A pair of wire cutters and strippers will be necessary to prepare the wires for connection, and a soldering iron or electrical tape will be needed to join the wires together. Additionally, a voltage tester is crucial to ensure that the electrical connections are sound and safe. By having these tools and materials readily available, you’ll be well-equipped to tackle any LED light strip installation project with confidence and ease.
When it comes to purchasing supplies for your LED light strip project, there are several options to consider. One of the most convenient options is to purchase online from a reputable retailer such as Amazon or Best Buy. These retailers offer a wide selection of LED light strips, connectors, power supplies, and other accessories. Another option is to visit a local electronics store, such as RadioShack or Fry’s, where you can find a variety of LED light strip components. Home improvement stores like Home Depot and Lowe’s may also carry LED light strips and accessories. Additionally, specialty lighting stores may offer a more diverse selection of LED light strip options and knowledgeable staff to assist with your project. No matter where you choose to purchase your supplies, it’s important to do your research and read reviews to ensure that you are getting quality products that will work for your specific project.
Prepare Surface
Before connecting LED light strips, it is essential to prepare the surface where you will be attaching them. Proper surface preparation ensures that the light strips adhere correctly and do not fall off. The first step is to clean the surface thoroughly to remove any dust, dirt, or grease. You can use a lint-free cloth and a cleaning solution to wipe the surface clean. Allow the surface to dry completely before proceeding to the next step. If the surface is not clean and dry, the adhesive on the LED light strips will not stick correctly, and they will fall off. After cleaning the surface, you can further prepare it by applying an adhesive promoter. An adhesive promoter is a liquid that helps improve the adhesion of the LED light strips. You can apply it using a brush or a spray bottle. Allow the adhesive promoter to dry before attaching the LED light strips. This step is particularly important if you are attaching the LED light strips to a surface that is not smooth, such as wood or textured walls. By preparing the surface properly, you can ensure that the LED light strips stick securely and provide a beautiful and functional lighting effect.
Before installing LED light strips, it is essential to select and prepare the surface properly. Firstly, the surface should be clean, dry, and smooth without any bumps or cracks. Cleaning the surface with soap and water or rubbing alcohol can help remove any dust, debris, or grease that may affect the adhesive’s grip. Secondly, consider the surface’s material, whether it is porous or non-porous, to determine the type of adhesive required. For instance, a non-porous surface requires a stronger adhesive like 3M VHB tape, while a porous surface may require a weaker adhesive like foam tape. Lastly, consider the environmental factors like humidity and temperature that can affect the adhesive’s strength and longevity. By following these guidelines, you can install LED light strips securely and ensure they last for a long time.
Before connecting LED light strips, it is crucial to ensure that the surface where they will be placed is clean and dry. Any dust, dirt, or debris can hinder the adhesive backing’s ability to stick to the surface, resulting in the light strips falling off or not adhering properly. Start by wiping the surface with a damp cloth to remove any visible dirt or debris. Then, use a dry cloth to ensure the surface is completely dry, as even a small amount of moisture can compromise the adhesive’s effectiveness. If the surface is particularly dirty, consider using a mild detergent solution to clean it thoroughly before drying. By taking these steps, you can ensure that your LED light strips will adhere well and stay in place for a long time.
Connect LED Light Strips
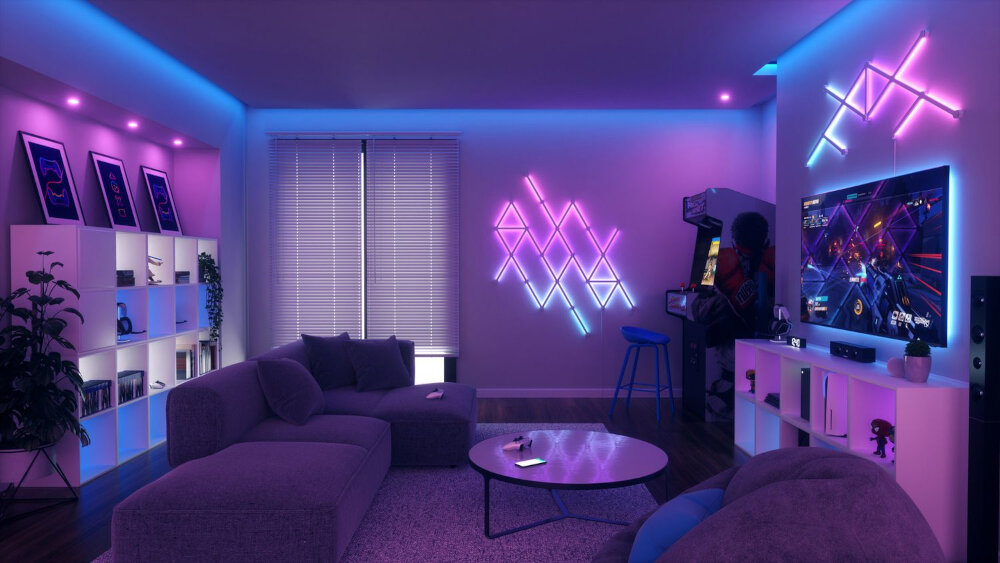
LED light strips are an excellent way to add some ambiance and flair to any room in your house. These strips come in a variety of colors and can be easily installed almost anywhere. However, connecting LED light strips can be a bit tricky if you’re not familiar with the process. In this step-by-step guide, we’ll show you how to connect LED light strips like a pro. The first step in connecting LED light strips is to determine the length of the strips you’ll need. Measure the area where you want to install the strips, and then purchase enough LED light strips to cover that area. Once you have your strips, you’ll need to connect them to a power source. This can be done in a few different ways, but the most common method is to use a power adapter. Simply plug the power adapter into an electrical outlet and then connect the LED light strips to the adapter. If you have multiple strips, you may need to use a splitter to connect them all to the adapter. Once your strips are connected to the power source, you can attach them to your desired location using adhesive or clips. With these simple steps, you’ll be able to connect LED light strips like a pro in no time.
Connecting LED light strips can be a daunting task, especially for those who are new to the process. However, with the right tools and guidance, you can connect LED light strips like a pro. The first step is to determine the length of LED light strips and cut them accordingly using a pair of scissors. Next, you need to connect the LED light strips to a power source by soldering wires onto the strips. Then, you need to connect a controller to the strips to manage their brightness and color. Finally, adhere the LED light strips to the desired location, and you’re all set to enjoy a beautifully lit space. With these step-by-step instructions, you can easily connect LED light strips to liven up any space in your home.
When it comes to connecting LED light strips, proper alignment and spacing is crucial to achieving a professional and polished look. To ensure that your LED light strips are aligned and spaced correctly, there are a few tips that you can follow. Firstly, use a ruler or measuring tape to mark out where each LED strip should be placed. This will help you to achieve a consistent and even spacing between each strip. Additionally, be sure to use adhesive that is strong enough to hold the LED strips in place, but not so strong that it will damage the surface that you are attaching them to. Finally, take your time when installing the LED light strips, as rushing can lead to mistakes and uneven spacing. By following these tips, you can ensure that your LED light strips are aligned and spaced perfectly, resulting in a professional and polished finish.
Power Up and Test
After connecting LED light strips, the next step is to power up and test them. This is a crucial step in the installation process as it ensures that the installation was done correctly and the LED light strips are functioning properly. To power up the LED light strips, connect the power supply to the controller and plug it into a power source. Make sure to check the voltage requirements of the LED light strips and the power supply to ensure they match. If the voltage doesn’t match, it can cause damage to the LED light strips or the power supply. Once the LED light strips are powered up, it’s time to test them. Turn on the controller and use the remote to change the colors and patterns of the LED light strips. Check to see if all the LED lights are working and if they are displaying the correct colors. If any LED lights are not working or displaying the incorrect color, check the connections again to ensure they are properly connected. If everything is working correctly, then congratulations, you have successfully connected and tested your LED light strips.
Before powering up the LED light strips, it is essential to ensure that the power supply matches the voltage requirements of the light strip. Connect the power supply to the controller, making sure to match the positive and negative connections. Next, connect the LED light strip to the controller’s output. Turn on the power supply, and if connected correctly, the LED light strip should light up. To test the strip’s functionality, use the controller to change the color or pattern of the lights. If the LED light strip fails to light up or function correctly, double-check the connections and voltage requirements. With these simple steps, powering and testing LED light strips can be done like a pro.
When connecting LED light strips, there are common issues that can arise during the installation process. The first tip for troubleshooting is to make sure that the power source is connected correctly and that the voltage matches the LED strip. Another common issue is incorrect wiring, so it’s important to double-check that the wires are connected properly. If the LED lights are not turning on, it could be due to a faulty power supply or a damaged LED strip. In this case, it’s best to test the power supply and replace any damaged components. Additionally, if the LED lights are flickering or not displaying the correct colors, it could be due to a faulty controller or incorrect settings. Checking the controller and adjusting the settings can help resolve this issue. By following these troubleshooting tips, you can connect LED light strips like a pro and enjoy a well-lit and visually appealing space.
Proper installation is crucial when it comes to LED light strips. Not only does it ensure that the lights function optimally, but it also ensures safety and durability. A poorly installed LED light strip can become a fire hazard, causing damage to property and endangering lives. It can also result in premature failure of the lights, which can be costly to replace. On the other hand, a properly installed LED light strip provides excellent lighting, enhances the aesthetics of a space, and can last for years without any issues. Therefore, it is essential to follow the manufacturer’s instructions carefully and use the right tools to install LED light strips like a pro.
To ensure you achieve the best results with LED light strips, there are a few final tips to keep in mind. Firstly, make sure you measure the length of the area where you want to install the strips and cut them accordingly. Secondly, always clean the surface where you’ll be sticking the strips to remove any dirt or dust. This will help the adhesive stick better and prevent the strips from falling off. Thirdly, avoid bending or twisting the strips too much as this can damage them. Lastly, use a connector or amplifier if you’re planning to connect multiple strips to avoid voltage drop and ensure a consistent brightness level. By following these simple tips, you’ll be able to install and enjoy your LED light strips like a pro!
Conclusion
In conclusion, connecting LED light strips may seem like a daunting task, but with the right tools and knowledge, anyone can do it like a pro. By following the step-by-step guide provided, you can easily create a beautiful lighting atmosphere in your home or office. Additionally, exploring different color options, dimming features, and other customization options can help you create a unique and personalized ambiance. So go ahead and get creative with your LED light strips – the possibilities are endless!