Quick Guide: Resetting Your LED Light Remote in a Few Easy Steps
In today’s world, remote-controlled LED lights have become an essential part of our lives. They make our homes more comfortable and convenient, allowing us to control the lighting with ease from a distance. However, like any other electronic gadget, LED light remotes can sometimes malfunction or lose their connection with the lights. In such cases, resetting the remote is the most straightforward solution to get everything back to normal. In this quick guide, we will walk you through the process of resetting your LED light remote in a few easy steps. Resetting your LED light remote is a simple and straightforward process that can save you time and money. Instead of calling a technician or buying a new remote, you can reset your current one and get it working like new. Whether you are experiencing connectivity issues or your remote is not responding, resetting it is the first step in troubleshooting the problem. With this guide, you will be able to reset your LED light remote in a few simple steps, and have your lights back up and running in no time.
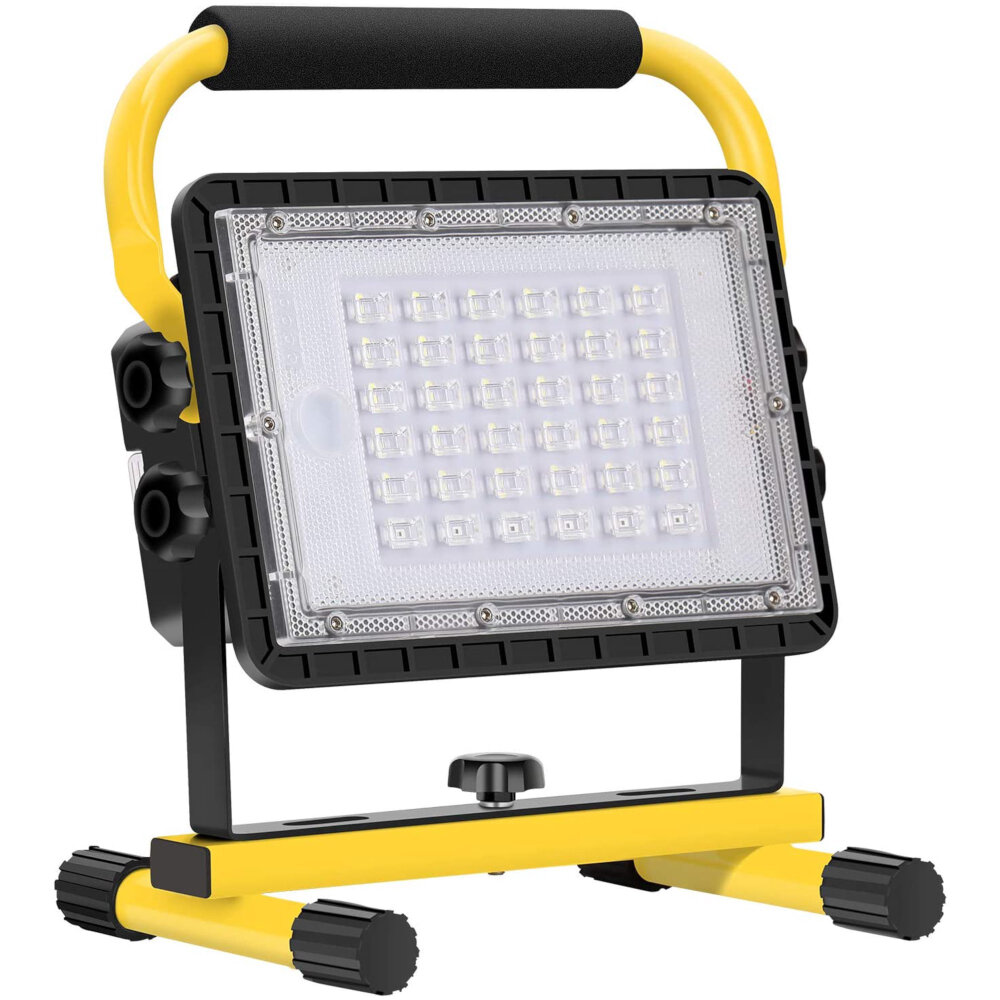
LED light remotes are handheld devices that allow users to control the brightness, color, and on/off functions of their LED lights. They operate using radio frequency signals, which can sometimes become disrupted due to a variety of factors such as low battery or interference from other electronic devices. When this happens, the remote may need to be reset to restore its functionality. Resetting the remote involves clearing its memory and reprogramming it to communicate with the LED lights. This process can be completed in just a few easy steps, making it a simple and effective solution for those experiencing issues with their LED light remote.
Determine the Type of Remote You Have
If you’re wondering how to reset your LED light remote, the first step is to determine the type of remote you have. There are several different types of remotes, each with their own unique features and functions. Some remotes are designed specifically for LED lights, while others are more versatile and can be used with a variety of different devices. To determine the type of remote you have, start by looking for any identifying markings or labels. This might include a brand name, model number, or other identifying information. You can also try searching online for information about your remote, which may help you identify its type and features. Once you know what type of remote you have, you can start exploring your options for resetting it and getting it working properly again. Whether you’re dealing with a simple issue like a dead battery, or a more complex problem like a malfunctioning button, taking the time to properly identify your remote can help you get back on track quickly and easily.
LED light remotes come in two types: Infrared (IR) and Radio Frequency (RF). Infrared remotes require a direct line of sight between the remote and the receiver on the LED lights. The signal is sent using infrared light waves, similar to the way TV remotes work. On the other hand, RF remotes use radio waves to send signals to the lights, which don’t require a direct line of sight. RF remotes often have a longer range and can work through walls and ceilings, making them more versatile. Knowing which type of remote you have is important when troubleshooting and resetting your LED light remote.
Identifying the type of remote you have for your LED light is a crucial step in resetting it. The first and foremost step is to look for the brand name or model number on the remote. This information can be found on the back of the remote or on the battery compartment. If the remote has no brand name or model number, then try to identify any specific markings or symbols that could help in determining the type of remote. Another way to identify the remote is to check its frequency. Most LED light remotes operate at 2.4 GHz or 5 GHz frequencies, which can be easily checked with a frequency detector. By following these steps, you can quickly identify the type of remote you have and proceed with resetting it without any hassle.
Resetting an Infrared Remote
If you’re having trouble controlling your LED light with its infrared remote, it may be time to reset it. Resetting an infrared remote is a quick and easy process that can be done in just a few simple steps. First, locate the reset button on the remote. This button is usually located on the back or bottom of the remote and may be labeled \reset\ or \re-sync.\ Once you’ve found the button, press and hold it for a few seconds until the LED light on the remote starts flashing. This indicates that the remote is in reset mode. Next, unplug the LED light from the socket and wait for a few seconds. Then, plug it back in and point the remote at the light. Press any button on the remote to re-sync it with the light. The LED light should respond to your commands immediately. If the light still doesn’t respond, repeat the process a few times to ensure that the remote is properly reset. With just a few simple steps, you can quickly reset your infrared remote and get back to controlling your LED light with ease.
Resetting an Infrared remote is a simple process that can be accomplished in just a few easy steps. To begin, locate the reset button on the remote, which is typically found on the back or bottom of the device. Once you have located the button, press and hold it for several seconds until the LED light on the remote begins to flash. Release the button and wait for the LED light to stop flashing, indicating that the remote has been successfully reset. It is important to note that resetting the remote will erase all programmed codes and settings, so you will need to reprogram the remote to work with your devices. By following these step-by-step instructions, you can quickly reset your Infrared remote and get back to using your devices with ease.
If you are having trouble with your LED light remote, there are a few possible troubleshooting tips that you can try before resetting it completely. Firstly, check that the batteries in the remote are working and properly inserted. Next, ensure that the LED light fixture is properly connected to the power source and turned on. Additionally, make sure that the remote is within range of the LED light fixture and that there are no obstructions blocking the signal. If none of these steps work, then resetting the remote may be necessary.
Resetting an RF Remote
Resetting an RF Remote is a crucial task to ensure that it’s functioning correctly. An RF Remote uses Radio Frequency to communicate with the device it’s controlling. Sometimes, due to interference, the remote might not work properly, leading to frustration. However, resetting the remote can solve this issue. The process of resetting the remote might vary depending on the manufacturer, but it’s usually a simple task. To reset the RF Remote, you need to remove the batteries from the remote and wait for a few seconds. Then, reinsert the batteries and press any button on the remote. The device should now receive signals from the remote, and the issue should be resolved. Resetting an RF Remote is a simple process that can save you a lot of frustration. If you’re having trouble with your remote, don’t hesitate to try resetting it. The process usually takes no more than a few seconds, and it can solve many issues. If you’re still having trouble after resetting the remote, you might need to contact the manufacturer for further assistance. However, in most cases, resetting the remote should solve the problem, and you can continue to enjoy the convenience of controlling your device from a distance.
If your RF remote is not working properly or you need to pair it with a new device, resetting it is a quick and easy solution. The first step is to remove the batteries from the remote and press any button on it for 20 seconds to discharge any remaining power. After that, replace the batteries and press and hold the reset button on the receiver for 5 seconds or until the LED light starts flashing. Then, press any button on the remote to pair it with the receiver. If the pairing is successful, the LED light on the receiver will stop flashing. Finally, test the remote to ensure it is working properly. By following these simple steps, you can reset your RF remote and get back to controlling your devices without any issues.
If you’re having issues with your LED light remote, there are a few troubleshooting tips you can try before resetting it. First, make sure the remote has fresh batteries and is pointed directly at the light source. If that doesn’t work, try resetting the light source itself by turning it off and on again. You can also try resetting the remote by removing the batteries, pressing all the buttons, and then reinserting the batteries. If none of these tips work, it may be time to reset the remote entirely.
Tips for Preventing the Need to Reset Your Remote
When it comes to using remote controls, it can be frustrating when they stop working or need to be reset. However, there are some tips you can follow to prevent the need to reset your remote. Firstly, keep your remote in a safe and secure place, where it won’t get damaged or lost. Make sure to always put it back in the same place after use, so you can easily find it the next time you need it. Additionally, avoid exposing your remote to extreme temperatures or humidity, as this can cause damage to the internal components and lead to malfunctioning. Another tip for preventing the need to reset your remote is to replace the batteries regularly. Low battery levels can cause the remote to work improperly or not work at all. It’s a good idea to keep spare batteries on hand so you can easily replace them when needed. Additionally, avoid using batteries of different brands or types, as this can cause the remote to malfunction. By following these simple tips, you can reduce the need to reset your remote and ensure it works properly when you need it.
To avoid the need to reset your LED light remote, there are a few things you can do. Firstly, always ensure that the remote is within a reasonable distance from the light source and has a clear line of sight. Secondly, avoid using other electronic devices that may interfere with the remote’s signal. Thirdly, make sure that the batteries in the remote are fresh and have enough power. Finally, try to avoid dropping or mishandling the remote as this can cause internal damage and affect its functionality. By following these simple suggestions, you can prolong the life of your LED light remote and avoid the hassle of having to reset it frequently.
Working remotely has become a common practice in today’s world, and it’s important to establish good practices to ensure success. Some examples of good remote use practices include setting up a designated workspace, establishing a routine, and maintaining communication with colleagues. It’s important to have a quiet and comfortable workspace that allows for concentration and productivity. Additionally, establishing a routine can help create a sense of structure and stability in a remote work environment. Lastly, maintaining communication with colleagues is key to ensuring that everyone is on the same page and working towards the same goals. By following these practices, remote workers can increase their productivity and success in their work.
Resetting your LED light remote is an essential task that helps ensure the proper functioning of your LED lights. Often, LED lights can become unresponsive or fail to respond to remote control commands due to various reasons, such as power outages, battery replacement, or interference from other electronic devices. Resetting your LED light remote helps eliminate any existing problems and restores the remote’s functionality to its default settings. This quick guide provides easy-to-follow steps to help you reset your LED light remote and get your lights back to their optimal performance. By resetting your LED light remote, you can avoid unnecessary frustration and enjoy the convenience and comfort of having properly functioning LED lights at your fingertips.
Resetting a remote can be a simple process, but it’s important to follow the correct steps to avoid any complications. Before starting, ensure that you have fresh batteries installed in the remote. Begin by locating the reset button on the remote and holding it down for 5-10 seconds. Once released, the remote should flash to indicate that it has been reset. It’s also important to ensure that the remote is positioned close to the LED light, as this can affect its ability to connect. Finally, if the remote still isn’t working after resetting, double-check that the LED light is properly connected and that the remote is compatible with the specific model of the light. By following these tips and advice, resetting your LED light remote can be a hassle-free experience.
Conclusion

In conclusion, resetting your LED light remote is a simple process that can be achieved in just a few easy steps. Whether you’re experiencing issues with the remote’s functionality or simply need to reprogram it for a new LED light installation, following these steps will ensure that your remote is reset and working properly. Remember to always consult your user manual for specific instructions and troubleshooting tips, and don’t hesitate to reach out to customer support if you’re unable to resolve the issue on your own. With a little bit of patience and persistence, you’ll have your LED lights up and running in no time!