LED Light Remote Not Working? Follow These Easy Steps to Fix It!
If you have been struggling with a malfunctioning LED light remote, you know how frustrating it can be. You press the button, but nothing happens, or the light flickers on and off sporadically. Fortunately, there are some simple steps you can take to troubleshoot the issue and get your remote working properly again. By following these easy steps, you can save yourself time and money, and avoid the hassle of having to replace your remote or your LED lights. One of the most common causes of a malfunctioning LED light remote is a dead battery. If you have been using your remote for a while, it is possible that the battery has simply run out of juice. To check if this is the case, simply replace the battery with a fresh one and see if the remote starts working again. If the battery was the problem, you should notice an immediate improvement in the functioning of your remote. If the problem persists, however, there may be other issues at play, such as a faulty remote or a problem with the LED lights themselves.
One of the most common problems with LED light remotes is the remote not working. This can happen due to a variety of reasons, including dead batteries, a blocked signal, or a malfunctioning remote. Dead batteries are the easiest problem to fix, as simply replacing them can often solve the issue. A blocked signal can be caused by interference from other electronic devices, or by the remote being too far away from the light fixture. A malfunctioning remote may require more extensive troubleshooting, such as resetting the device or replacing it altogether. By identifying the root cause of the problem, LED light owners can take the necessary steps to fix their remote and restore its functionality.
Check the Batteries
Ensuring that the batteries in your LED light remote are in good condition is the first step in fixing a remote that is not working. The remote control is powerless without the batteries, so it is essential to check them regularly. First, open the back of the remote control and remove the batteries. Check the terminals for any corrosion or rust, and clean them with a dry cloth if necessary. Make sure the batteries are inserted correctly, and that they are not dead or low on power. If the batteries are dead, replace them with new ones, and test the remote control again. It is important to note that not all batteries are created equal, and the type of battery used in the remote control can affect its performance. It is recommended to use alkaline batteries, as they provide more power and have a longer lifespan than other types of batteries. Also, avoid using rechargeable batteries as they can cause damage to the remote control, and the power they provide may not be enough to operate it. Checking the batteries in your LED light remote is a simple and easy step that can save you time and frustration in the long run.
If you are experiencing issues with your LED light remote, one of the first things you should check is the batteries. To do this, remove the battery cover from the back of the remote and take out the batteries. Inspect the batteries to make sure they are not leaking or corroded. If they are, dispose of them properly and replace them with fresh batteries. If the batteries look fine, use a battery tester to check their charge. If the batteries are dead or low on charge, replace them with new ones. Remember to always use high-quality batteries to ensure your remote works properly. Checking the batteries is a quick and easy step that can often solve the problem of a non-functioning LED light remote.
Replacing batteries is a simple and quick fix for remote control issues. First, locate the battery compartment on the remote and remove the old batteries. Check to make sure there is no corrosion or debris in the compartment that could hinder the connection. Next, insert the new batteries, paying attention to their polarity. If the remote still doesn’t work, try resetting it by removing the batteries and holding down any button for 5-10 seconds before reinserting the batteries. If the issue persists, it may be time to replace the remote altogether. Remember to dispose of old batteries properly and consider using rechargeable batteries for a more eco-friendly option.
Check the Connection

One of the common issues with LED light remotes is that they often fail to work. If you are experiencing this problem, the first thing you should do is to check the connection. Ensure that the remote is properly connected to the LED light fixture. If it is not, you may need to reconnect it to solve the problem. You can also check the batteries to ensure that they are properly inserted and functioning. If the batteries are dead or low, replace them with new ones. Another thing you should consider when checking the connection is to verify that there are no obstacles that may be blocking the signal. Ensure that the remote and the LED light fixture are in the same line of sight. If there are obstacles such as walls or furniture that are blocking the signal, try moving the remote closer to the fixture or positioning it differently. You can also try adjusting the antenna on the remote to improve the signal. In most cases, checking the connection is the first step in fixing an LED light remote that is not working. Once you have checked the connection and the problem persists, you can move on to other troubleshooting steps.
If your LED light remote is not working, the first step is to check the connection between the remote and the light. Start by pointing the remote directly at the light and pressing the buttons. If the light responds, it means that the remote and the light are connected. However, if the light does not respond, you should check the battery. If the battery is low, replace it with a fresh one and try again. If the battery is not the issue, check the alignment between the remote and the light. Make sure that there are no obstructions between the two and that they are within range of each other. If the problem persists, try resetting the light and remote by turning off the power supply and turning it back on after a few seconds.
Having trouble with your LED light remote? Don’t worry, there are a few easy steps you can take to fix it. The first thing to check is the batteries – make sure they are fully charged and inserted correctly. If the batteries are fine, try resetting the remote by removing the batteries and holding down any button for 5-10 seconds before replacing the batteries. Another tip is to ensure that there are no obstructions between the remote and the LED lights, as this can interfere with the signal. Finally, if all else fails, try replacing the remote or contacting the manufacturer for assistance. By following these steps, you can ensure a proper connection and get your LED lights working again in no time.
Reset the Remote
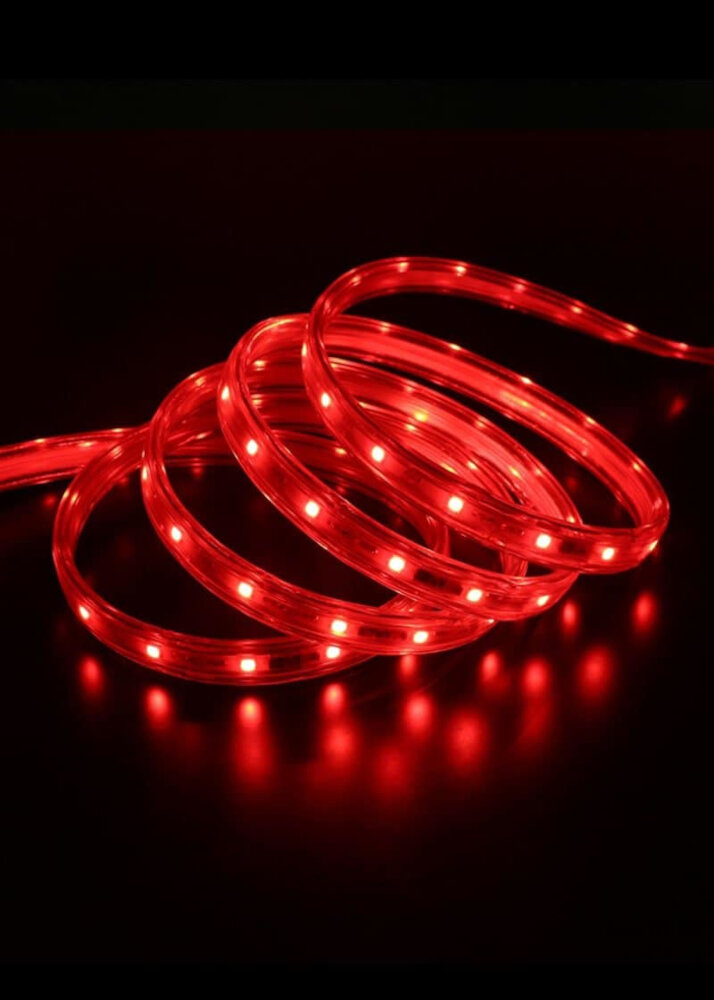
If your LED light remote is not working, the first thing you should try is resetting it. Resetting the remote is a simple process that can solve many issues with the remote. To reset the remote, you need to unplug the LED light from the power source, remove the battery from the remote, and then press and hold the power button on the remote for 30 seconds. After 30 seconds, release the power button, replace the battery, and plug the LED light back into the power source. This should reset the remote and allow it to work properly. Resetting the remote is a quick and easy fix that can save you time and frustration. If resetting the remote does not solve the problem, there may be a more significant issue with the remote or the LED light itself. In this case, you may need to contact the manufacturer of the LED light or the remote to get further assistance. However, before you do this, it is always a good idea to try resetting the remote first, as it can often solve the problem without the need for further assistance.
If you’re experiencing issues with your LED light remote, one solution may be to reset it to its factory settings. To do this, locate the reset button on the remote – this is often a small, recessed button that requires a pointed object to press. Hold the button down for several seconds until the LED light on the remote starts flashing. Then, release the button and wait for the light to stop flashing, indicating that the reset is complete. This should restore the remote to its original settings and resolve any issues you were experiencing. Just be sure to reprogram any custom settings or preferences you had previously saved.
If your LED light remote is not working, resetting it can be a quick and easy fix. To reset the remote properly, start by removing the batteries and pressing all the buttons on the remote at least once. Then, reinsert the batteries and press the power button. If the remote still isn’t working, try replacing the batteries with new ones. Additionally, make sure there are no obstructions blocking the signal between the remote and the LED lights. If these tips don’t work, consult the user manual or contact the manufacturer for further assistance. By following these steps, you should be able to reset your LED light remote and get back to enjoying your lighting system in no time.
Contact the Manufacturer

If you have tried all the troubleshooting steps to fix your LED light remote, but it still isn’t working, it might be time to contact the manufacturer. The manufacturer is the best place to turn to when you have exhausted all other options because they have the technical knowledge and experience to diagnose and fix the problem. You can usually find the manufacturer’s contact information on the product packaging or on their website. Before you contact them, make sure you have your product information and purchase details handy. This will help them identify your product and provide you with the best possible assistance. When you reach out to the manufacturer, be clear and concise about the problem you are experiencing. Provide as much detail as possible, including any troubleshooting steps you have already taken. This will help the manufacturer understand the issue and provide you with a solution more quickly. They may also ask you to provide photos or videos of the problem, so be prepared to do so if necessary. Remember to be patient and courteous, as the representative you are speaking with is there to help you. By contacting the manufacturer, you can ensure that your LED light remote is fixed correctly and quickly, so you can get back to enjoying your lighting system.
If you have followed all the troubleshooting steps mentioned in the article and your LED light remote is still not working, it may be necessary to contact the manufacturer for assistance. This could be because your remote is faulty or perhaps there is an issue with the LED light itself. They may be able to provide you with further guidance on how to fix the issue, or they may advise you to return the product for a replacement. It is always best to contact the manufacturer before attempting any repairs yourself, as this could potentially void your warranty or cause further damage.
If you are facing issues with your LED light remote and need to contact the manufacturer for help, finding their contact information may seem like a daunting task. However, there are a few tips that can help you locate their contact details easily. Firstly, check the packaging or user manual that came with the product. The manufacturer’s contact information is usually listed on these documents. You can also search for the manufacturer online, using keywords such as the product name, model number, or manufacturer name. Another option is to look for the manufacturer’s website, which will typically have their contact information listed on the \Contact Us\ page. If all else fails, try contacting the retailer where you purchased the product, as they may have a record of the manufacturer’s contact information.
If your LED light remote is not working, you can follow these easy steps to fix it. First, make sure the batteries are properly inserted and have enough power. Next, check if the remote is paired with the light. If not, pair them by following the instructions in the user manual. If the remote still doesn’t work, reset it by removing the batteries and holding down any button for 5-10 seconds. Finally, try replacing the batteries or using a universal remote compatible with your LED light. By following these steps, you should be able to fix a nonworking LED light remote without much hassle.
Maintaining a properly functioning remote is vital to ensure uninterrupted entertainment services. Firstly, it is essential to keep the remote clean and dry to avoid any physical damage. Secondly, replace old batteries with new ones frequently to avoid any power failure. Thirdly, ensure that the remote is pointed towards the device as sometimes the signal may weaken due to the distance or any obstruction. Fourthly, avoid exposing the remote to extreme temperatures as it may damage the internal circuitry. Lastly, update the remote’s firmware regularly to prevent any compatibility issues. Follow these tips to maintain a properly functioning remote, and you will enjoy uninterrupted entertainment without any inconvenience.
Conclusion
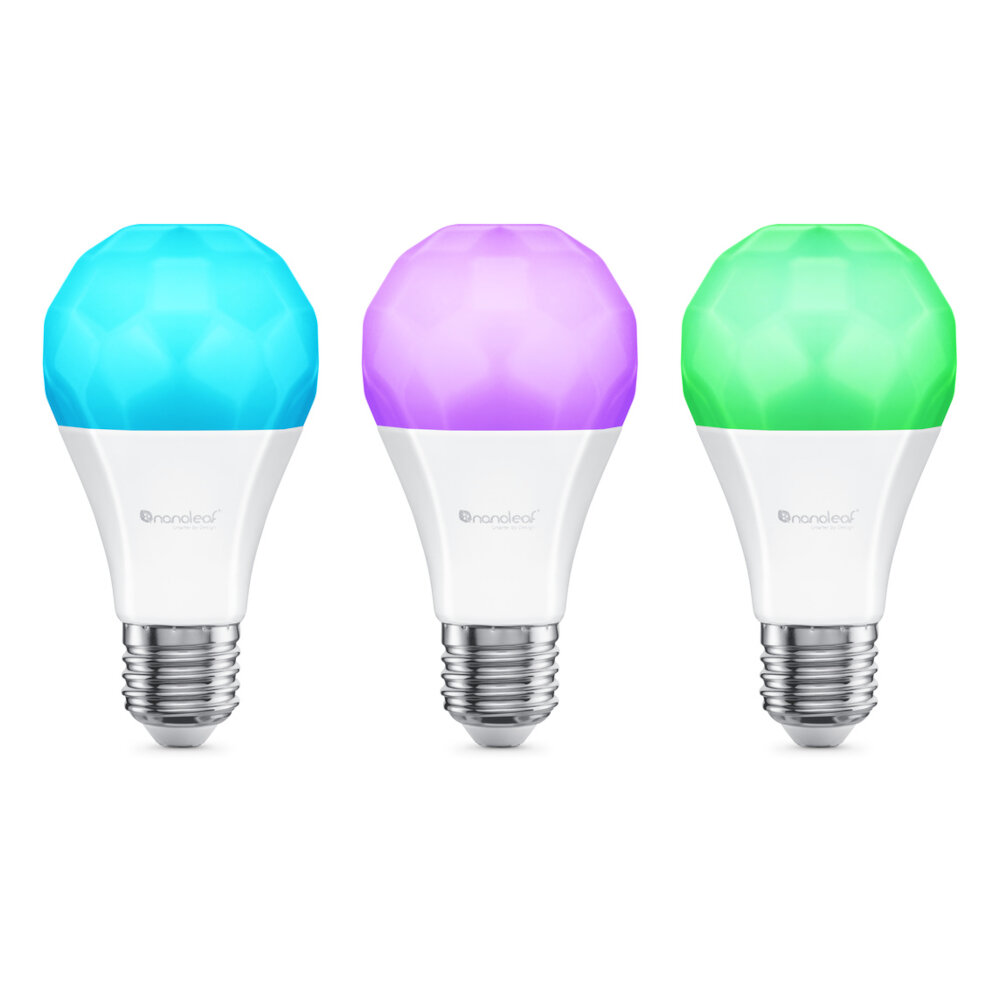
In conclusion, a malfunctioning LED light remote can be frustrating and inconvenient, but it doesn’t have to be a permanent issue. By following the easy steps outlined in this guide, you can troubleshoot and fix the problem yourself without the need for expensive repairs or replacements. Whether it’s a simple battery replacement, resetting the remote, or reprogramming it to work with your LED lights, taking the time to diagnose and solve the issue can save you time and money in the long run. So don’t let a faulty remote dim your mood – with a little effort and know-how, you can have your LED lights shining brightly again in no time!

