Quick Guide: Changing a 2 Pin LED Light Bulb in 5 Easy Steps

Lighting is an essential element in every home, as it makes the interior look cozy and pleasant. While LED lights have become a popular choice, changing a 2 pin LED light bulb may seem daunting for those unfamiliar with the process. However, with the right tools and knowledge, it can be done easily in just 5 steps. In this quick guide, we will take you through the process of changing a 2 pin LED light bulb, step by step. Whether you’re a seasoned DIY enthusiast or a beginner, this guide will help you replace your LED bulb in no time. From identifying the type of bulb to use, to removing the old bulb and fitting the new one, we’ve got you covered. So, let’s dive in and learn how to change a 2 pin LED light bulb in just 5 easy steps.
LED light bulbs are a modern lighting technology that has become increasingly popular in recent years. Unlike traditional incandescent bulbs, LED bulbs use semiconductors to convert electrical energy into light, making them much more energy-efficient and longer-lasting. They produce a bright, clear light that is suitable for a wide range of applications, from home lighting to commercial and industrial use. LED bulbs are available in a variety of shapes and sizes, and can be used to replace traditional bulbs in most fixtures. With their low heat output, low energy consumption, and long lifespan, LED bulbs are a smart choice for anyone looking to upgrade their lighting.
Changing light bulbs when they burn out is crucial for a number of reasons. Firstly, a burnt-out light bulb can be a safety hazard, especially if it is in a high traffic area or a place where people are likely to trip or fall. Secondly, a burnt-out bulb can be a source of frustration and inconvenience, as it can make it difficult to perform tasks or see clearly in a room. Finally, replacing a burnt-out bulb can also help to save energy and reduce electricity bills, as newer bulbs are often more efficient and use less energy than older, outdated models. Overall, taking the time to replace a burnt-out light bulb is a small but important step towards maintaining a safe, functional, and energy-efficient home.
A 2 pin LED light bulb is a type of light bulb that requires two pins to connect to the socket. It is a more energy-efficient and eco-friendly option compared to traditional incandescent bulbs. The LED technology used in these bulbs produces less heat and consumes less electricity, resulting in a longer lifespan and lower energy bills. Additionally, they are available in a variety of colors and brightness levels, making them suitable for various lighting needs. Changing a 2 pin LED light bulb is a simple process that can be done in five easy steps, making it a convenient choice for those looking to upgrade their lighting system.
Step 1: Turn off the Power
When it comes to changing a 2 Pin LED light bulb, safety should always be the top priority. The first step that you should take before replacing the bulb is to turn off the power. This is crucial to prevent any electrical accidents or shocks. Turning off the power can be done in different ways depending on the type of fixture you have. For instance, if you have a lamp, you can simply unplug it from the wall socket. On the other hand, if you’re dealing with a ceiling fixture, you’ll need to turn off the switch on the circuit breaker box. It’s important to confirm that the power is indeed off by testing the light switch or using a voltage tester. Remember, handling electrical components can be dangerous, so make sure to take this step seriously.
Turning off the power is crucial when changing a 2 Pin LED light bulb in 5 easy steps. This is because it eliminates the risk of electrical shock or damage to the wiring system. Failure to switch off the power supply can result in electric shock, which can cause severe injuries or even death. Furthermore, it can cause damage to the electrical system, leading to costly repairs or replacements. Therefore, it is essential to always switch off the power supply and ensure that the area around the bulb is safe before attempting to change the bulb. Taking this precautionary measure will ensure a safe and smooth process when changing a 2 Pin LED light bulb.
Before changing a 2 Pin LED light bulb, it is important to turn off the power to avoid any electrical hazards. The first step is to locate the light switch that controls the bulb and turn it off. Then, ensure that the power supply to the light bulb is completely disconnected by turning off the circuit breaker or removing the fuse that controls the circuit. It is important to double-check the power is off by testing the light switch with another bulb or using a voltage tester. Always exercise caution and safety when handling electrical equipment to avoid any injuries.
Step 2: Remove the Old Bulb
The second step in changing a 2 pin LED light bulb is to remove the old bulb. This may seem like a simple task, but it’s important to do it correctly to avoid damaging the fixture or the bulb itself. First, turn off the power to the fixture by flipping the switch or shutting off the circuit breaker. This will ensure that there is no electricity flowing to the fixture, reducing the risk of injury. Next, carefully remove the bulb by gently pulling it straight out of the socket. If the bulb is stuck, try wiggling it back and forth while pulling to loosen it from the socket. Be careful not to twist or force the bulb as this can cause it to break or damage the socket. It’s important to properly dispose of the old bulb once it has been removed. LED bulbs contain small amounts of mercury and other hazardous materials that can be harmful to the environment if not disposed of properly. Check with your local waste management service to find out how to safely dispose of the bulb. Some areas offer recycling programs specifically for light bulbs, while others may require you to dispose of them in a hazardous waste facility. By taking the time to properly dispose of your old bulb, you can help protect the environment and ensure that the hazardous materials are safely contained.
To remove an old 2 pin LED light bulb, the first step is to switch off the power supply to the bulb. Next, gently rotate the bulb in an anti-clockwise direction until it loosens from the socket. If the bulb is stuck or difficult to turn, try using a cloth or rubber gloves for a better grip. Once the bulb is removed, dispose of it properly according to local regulations. It’s important to note that some LED bulbs may contain hazardous materials, so it’s important to follow proper disposal procedures. Finally, check the socket for any signs of damage or wear and ensure it’s clean before installing the new bulb.
When it comes to handling an old bulb, safety should always be a top priority. The first step is to turn off the power supply to the light fixture and allow the bulb to cool down completely. Then, use gloves or a cloth to carefully remove the bulb from the socket, being sure not to twist or force it out. Dispose of the old bulb properly by placing it in a sealed container or wrapping it in newspaper before placing it in the trash. It’s important to avoid touching the glass or any broken parts, which can cause injury or exposure to harmful chemicals. By taking these precautions, you can safely handle and dispose of the old bulb while preparing to install a new LED bulb with ease.
Once you have successfully replaced your old 2 pin LED light bulb, you may be left wondering what to do with the old one. It is essential to dispose of the old bulb properly to avoid any potential hazards. Firstly, make sure that the bulb is completely cooled down before handling it. Next, wrap the old bulb in a sheet of newspaper or any other suitable material to prevent it from breaking. Finally, dispose of it in a designated recycling bin or take it to a recycling center. It is important to remember that light bulbs contain small amounts of mercury, which can be harmful to the environment and human health if not disposed of correctly.
Step 3: Choose the Correct Replacement Bulb
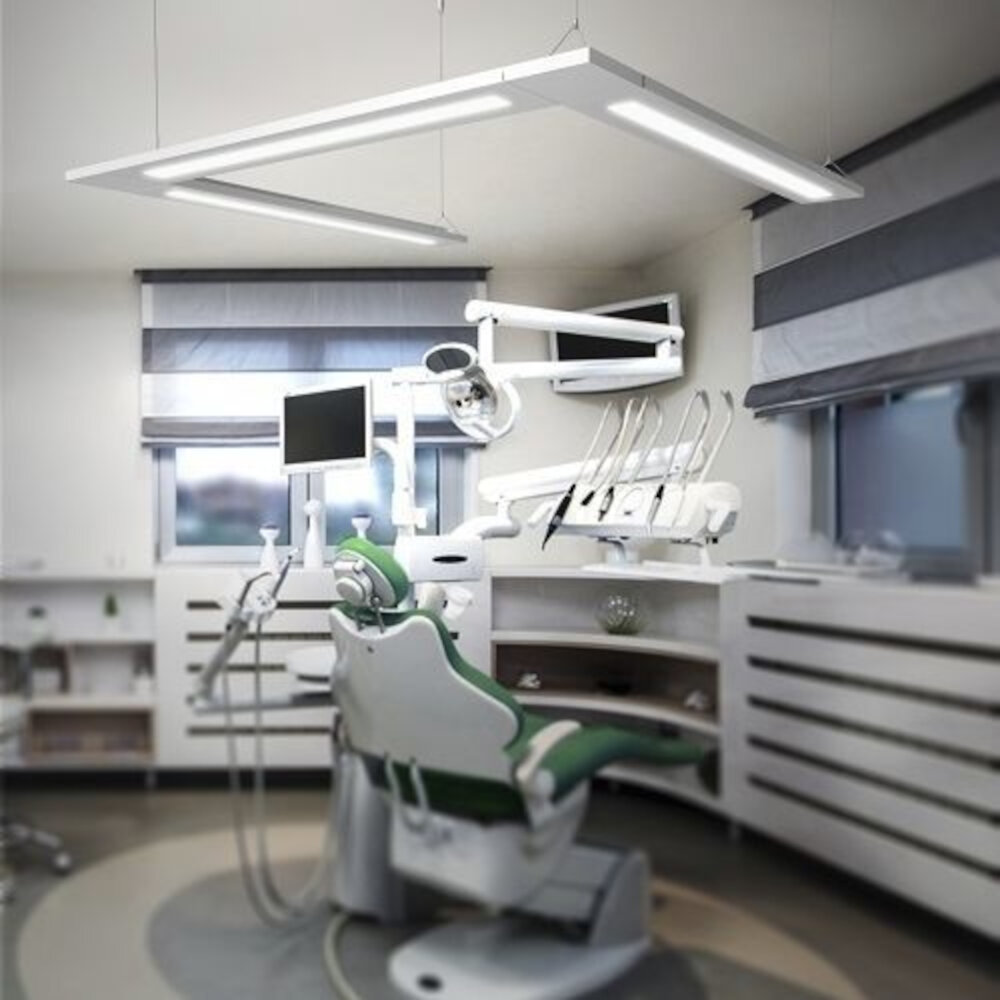
When it comes to selecting the correct replacement bulb, there are a few key factors to consider. First and foremost, you will want to ensure that the new bulb is compatible with your existing light fixture. This means checking the voltage, wattage, and base type of your current bulb and purchasing a replacement that matches these specifications. It’s also important to consider the color temperature and brightness of the new bulb to ensure that it provides the same level of illumination as the old one. Another important consideration when choosing a replacement bulb is energy efficiency. LED bulbs are known for their energy efficiency, which can help you save money on your energy bills over time. When selecting a replacement bulb, look for one that has a high lumens-per-watt rating, which indicates that it produces a lot of light for a relatively low amount of energy. Additionally, you may want to consider the bulb’s lifespan, as LED bulbs typically last much longer than traditional incandescent bulbs. By taking these factors into account, you can choose a replacement bulb that not only fits your fixture but also provides long-lasting, energy-efficient illumination.
When it comes to replacing a 2 pin LED light bulb, choosing the correct replacement bulb is crucial. Firstly, check the wattage and voltage of the existing bulb, as well as the fitting type. These details can usually be found on the base of the bulb. It is also important to consider the color temperature and brightness level, as this can affect the ambiance of the room. If in doubt, consult the manufacturer’s specifications or seek advice from a professional. Choosing the correct replacement bulb will ensure the longevity and efficiency of your lighting system.
Before changing a 2 pin LED light bulb, it’s important to determine the wattage needed to ensure you are selecting the appropriate replacement bulb. To determine the wattage, start by checking the current wattage of the existing bulb, which can usually be found on the bulb itself or in the fixture’s manual. If the wattage is not listed, you can use the formula of watts = volts x amps to calculate it. It’s also important to consider the brightness or lumens of the bulb you need, as this can vary based on the size and type of room the fixture is in. Additionally, consider the color temperature of the bulb to ensure it matches the ambiance of the room. By taking these factors into consideration, you can select a replacement bulb that will provide the appropriate amount of light without using too much energy or causing electrical issues.
Before changing a 2 pin LED light bulb, it is important to determine the correct size and shape of the bulb. The first step is to check the existing bulb to determine the pin configuration and wattage. Then, measure the length and diameter of the bulb to ensure that the replacement bulb will fit properly. It is also important to consider the shape of the bulb, as some fixtures may require a specific shape to direct the light in a certain direction. If unsure, consult the manufacturer’s specifications or seek advice from a professional to avoid damaging the fixture or choosing an incompatible bulb.
Step 4: Install the New Bulb
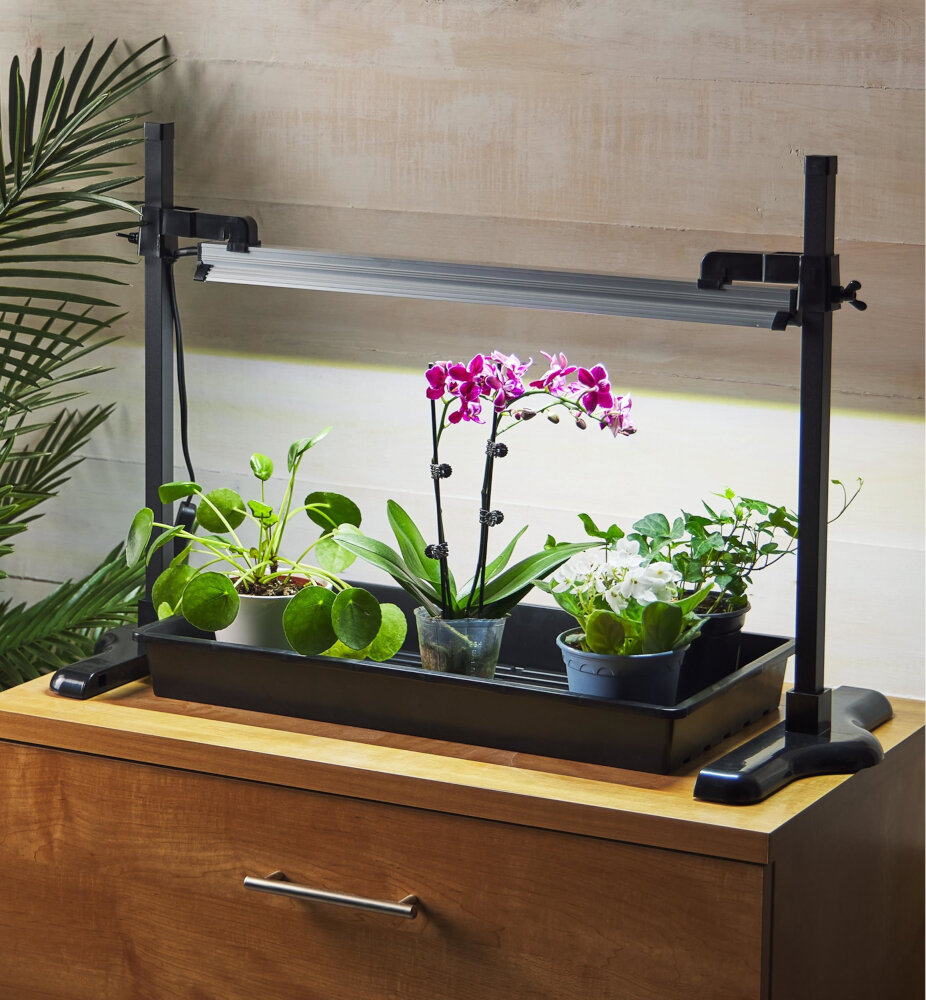
Congratulations! You have successfully removed the old bulb without breaking it. Now it’s time to install the new bulb. Before handling the new bulb, make sure to wash your hands to avoid any oil or dirt from transferring onto the bulb. Carefully unwrap the new bulb from its packaging and hold it gently by the base. Align the pins of the bulb with the slots of the socket and gently push it in. You should feel a slight click when the bulb is in place. Don’t force the bulb into the socket as this may damage the pins. Once the bulb is securely in place, give it a little twist to make sure it’s properly seated. It’s always a good idea to test the bulb before putting everything back together. Turn on the power to the light fixture and see if the bulb lights up. If it doesn’t, try twisting the bulb a little more to make sure it’s properly seated. If it still doesn’t work, double-check that the power is on and that the circuit breaker hasn’t tripped. If everything seems to be in order and the bulb still won’t light up, you may need to try a different bulb or seek the advice of a professional electrician. Once you’ve confirmed that the new bulb is working properly, you can put the cover back on the fixture and enjoy your newly lit space!
Installing a new bulb is a simple process that can be accomplished in just a few easy steps. First, ensure that the power is switched off and the bulb has cooled down. Next, gently twist the old bulb to remove it from its socket. Take the new 2 pin LED bulb and insert it into the socket, firmly twisting until it is secure. Turn the power back on to test the new bulb, and make sure it is working correctly. Remember to dispose of the old bulb in the appropriate manner, such as recycling or disposing of it in the trash. With just a few simple steps, you can have a bright and efficient new bulb installed in no time.
When replacing a 2 pin LED light bulb, it is important to take certain safety precautions to avoid accidents or injuries. First and foremost, make sure that the power supply is turned off and the bulb is completely cool before handling it. Wear protective gloves or use a cloth to handle the bulb, as the oils from your skin can damage the bulb and reduce its lifespan. Do not touch the metal parts of the bulb, as this can cause electric shock. Finally, dispose of the old bulb properly and carefully insert the new bulb into the socket, making sure it is secure and properly aligned. By following these safety precautions, you can safely and easily replace your 2 pin LED light bulb.
Proper disposal of packaging is crucial to keeping the environment clean and healthy. First, check the packaging for any recycling symbols or instructions. If it is recyclable, rinse and flatten it before placing it in the appropriate recycling bin. For non-recyclable materials, such as Styrofoam or plastic wrap, check with your local waste management facility for proper disposal instructions. In some cases, these materials may need to be taken to a specific facility for specialized recycling or disposal. It is important to never burn packaging materials as this can release harmful toxins into the air. By properly disposing of packaging, we can reduce waste and protect our planet.
Step 5: Turn on the Power

Step 5: Turn on the Power is the final and most crucial step in changing a 2 Pin LED Light Bulb. After successfully inserting the new bulb into the socket, it is essential to ensure that the power supply is turned on. This will help in checking the functionality of the new LED bulb and ensure that it is working correctly. Turning on the power will also verify that the electrical system is functioning correctly without any faults or issues that may cause potential hazards. Moreover, by turning on the power, you can assess the brightness and color temperature of the new LED bulb. This step allows you to make sure that the new bulb matches the desired ambiance and lighting requirements of the room. Also, it will allow you to identify any flickering or dimming issues, which may indicate a problem with the electrical system or the bulb itself. Overall, turning on the power is a crucial step in the process of changing a 2 Pin LED Light Bulb, ensuring the proper functioning of the electrical system and the new bulb.
Before changing the 2-pin LED light bulb, it is essential to turn off the power to the fixture. This can be achieved by locating the circuit breaker or switch that controls the power to the fixture and flipping it to the \off\ position. It is important to ensure that the power is completely off before proceeding with the bulb replacement. Once the bulb has been safely replaced, the power can be turned back on by reversing the steps used to turn it off. This simple precautionary step will reduce the risk of electrical shock or damage to the bulb during the replacement process.
After successfully changing the 2 Pin LED light bulb, testing the new bulb is crucial to ensure it is functioning correctly. To test the new bulb, switch on the light and observe the brightness and color of the light emitted. Check if it matches the previous bulb’s brightness and color. If the brightness and color are different, it may indicate a problem with the bulb or the fixture, and further investigation is necessary. Additionally, check if the bulb is securely fitted into the socket and if any loose connections or wires need addressing. Overall, testing the new bulb is a quick and easy process that ensures the longevity and effectiveness of your lighting system.
If you’ve changed your 2 pin LED light bulb and it’s still not working, there are a few troubleshooting steps you can take. Firstly, make sure that the bulb is properly seated and secured in the socket. If it is, check the wiring and make sure there are no loose or damaged connections. You can also try testing the socket with a different bulb to see if it’s the bulb or the socket that’s the problem. If none of these steps work, it may be an issue with your electrical circuit or switch, and you may need to consult a professional electrician to diagnose and fix the problem. Remember, safety should always be a top priority when working with electricity, so turn off the power before attempting any troubleshooting or repairs.
Changing a 2 pin LED light bulb is a simple task that can be done in just 5 easy steps. Firstly, turn off the power supply to avoid any electrical hazards. Next, locate the 2 pin LED light bulb and gently remove it from its socket by twisting it counterclockwise. Thirdly, insert the new 2 pin LED light bulb into the socket and twist it clockwise until it snaps into place. Fourthly, turn the power supply back on and test the light to ensure it is working properly. Lastly, dispose of the old 2 pin LED light bulb properly and enjoy your newly replaced light. By following these 5 easy steps, you can easily change a 2 pin LED light bulb without any hassle.
When it comes to handling light bulbs, safety should always be a top priority. Whether you’re changing a 2 pin LED light bulb or any other type of bulb, there are a few key things to keep in mind. First and foremost, always make sure that the power to the light fixture is turned off before you begin. This will help to prevent any electrical shocks or other hazards. Additionally, be sure to handle the bulb carefully, using a clean, dry cloth to avoid damaging the bulb or getting any oils or other substances on it. Finally, if you’re not comfortable with changing the bulb yourself or if you encounter any problems during the process, don’t hesitate to call in a professional. By taking these precautions and being mindful of your safety at all times, you can ensure that your light bulb replacement goes smoothly and without incident.
Taking care of your LED light bulbs is crucial for optimal performance and longevity. Simple steps such as ensuring that the bulbs are not exposed to extreme temperatures, avoiding excessive vibration, and cleaning them regularly can significantly enhance their performance. Additionally, it is essential to use the correct wattage and voltage for the bulbs to prevent damage and improve efficiency. By taking care of your LED light bulbs, not only will you save money on replacements, but you will also enjoy better lighting quality and energy efficiency. So, take the time to care for your LED light bulbs, and you’ll reap the benefits in the long run.
Conclusion

In conclusion, changing a 2-pin LED light bulb is a simple and straightforward process that can be accomplished in just a few easy steps. By following the five steps outlined in this guide, anyone can successfully replace a burnt-out light bulb with a new one. Remember to first make sure the power is turned off and to handle the bulb carefully to avoid damaging it. With a little bit of know-how and patience, you can brighten up your space with a new LED bulb in no time. Don’t be intimidated by the process, as it is a task that can be accomplished by anyone with a desire to learn. So go ahead and give it a try, and enjoy the benefits of a well-lit space!


