Easy Steps to Replace Your Outdoor LED Light Bulb: A Comprehensive Guide
Are you tired of your outdoor LED light bulb flickering or not working at all? Replacing it might seem like a challenging task, but it’s actually quite simple. With just a few basic tools and some easy-to-follow steps, you can have your outdoor space illuminated once again in no time. This comprehensive guide will walk you through the process of replacing your outdoor LED light bulb, providing you with all the information you need to get the job done quickly and efficiently. LED bulbs are known for their energy efficiency and long lifespan, making them a popular choice for outdoor lighting. However, like all light bulbs, they eventually need to be replaced. Whether you’re looking to replace a burnt-out bulb or upgrade to a brighter, more energy-efficient option, this guide will provide you with the knowledge and tools you need to complete the task. From selecting the right replacement bulb to safely removing and disposing of the old one, we’ll cover all the steps involved in replacing your outdoor LED light bulb. So, grab your tools and let’s get started!
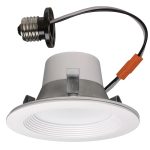
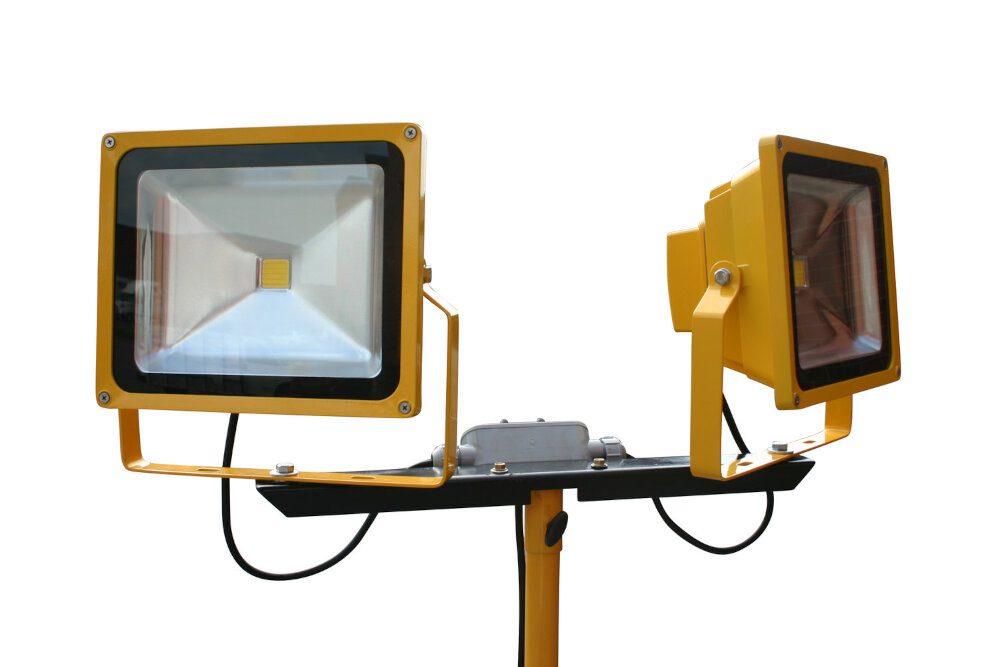
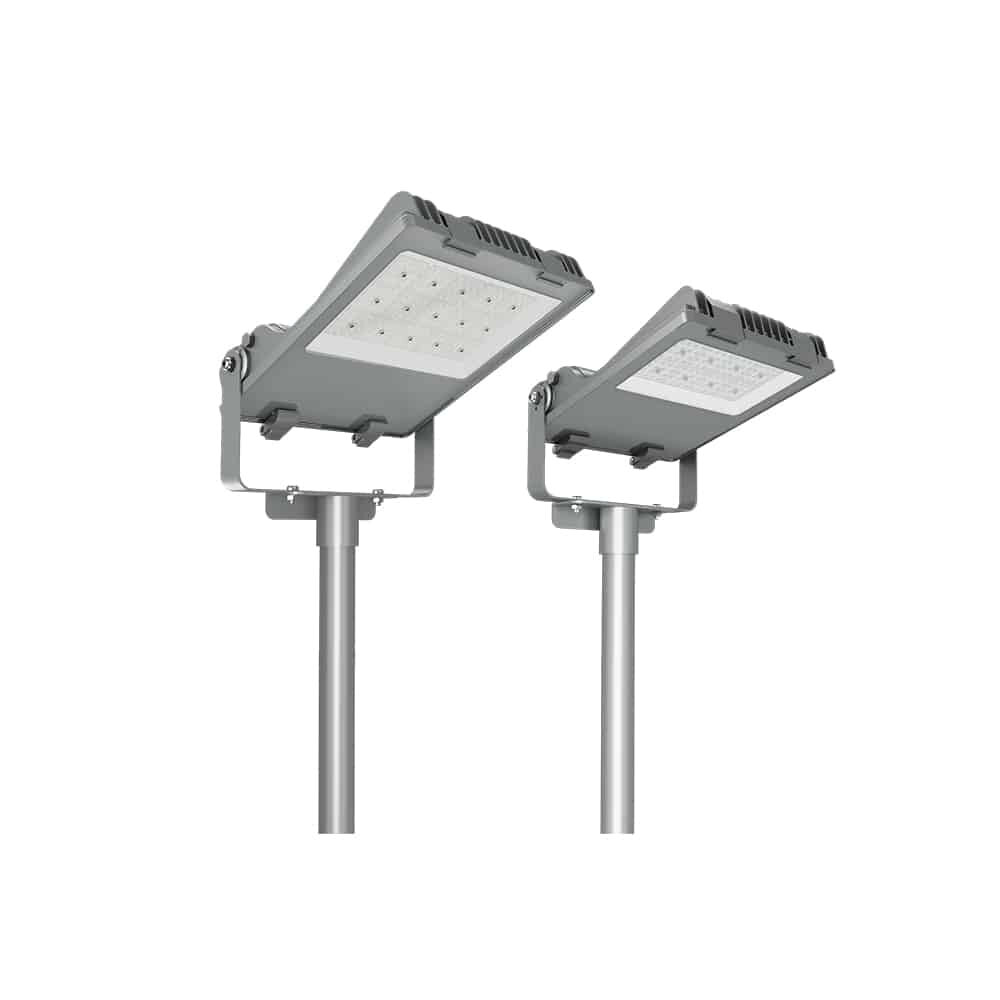
Outdoor LED light bulbs are an essential component of any well-lit outdoor space. They provide a bright and energy-efficient source of light that can help to increase safety and security around your property. LED bulbs are also incredibly long-lasting, which means that you won’t have to replace them as often as traditional bulbs. Additionally, outdoor LED bulbs are available in a wide range of styles and colors, allowing you to customize your lighting to suit your individual needs and preferences. Whether you are looking to improve the curb appeal of your home, create a welcoming atmosphere for guests, or increase the safety of your outdoor space, outdoor LED light bulbs are an excellent choice.
Over time, outdoor LED light bulbs may need to be replaced due to a variety of reasons. One common reason is that the bulb has simply burned out, which can happen after many hours of use. Another reason may be that the bulb has become damaged or broken, perhaps due to extreme weather conditions or accidental impact. In some cases, outdoor LED light bulbs may also begin to flicker or emit a dimmer light, indicating that they are reaching the end of their lifespan. Whatever the reason may be, replacing your outdoor LED light bulb is a simple process that can help ensure your home is well-lit and safe.
Tools Needed
When replacing your outdoor LED light bulb, it is essential to have the right tools to ensure a smooth and successful process. First and foremost, you will need a ladder to access the light fixture. It is crucial to use a sturdy ladder that can support your weight and reach the height of the fixture safely. Additionally, you may need a screwdriver or pliers to remove the bulb from the socket. Make sure to use the correct size and type of screwdriver or pliers to avoid damaging the fixture. It is also recommended to wear gloves to protect your hands from any broken glass or sharp edges. Once you have the necessary tools, you can proceed with replacing the bulb. In addition to the basic tools, there are some additional items that can be helpful during the replacement process. A non-contact voltage tester can be used to ensure that the power to the fixture has been turned off before beginning the replacement. This tool detects the presence of electrical current without the need for physical contact, making it a safe and convenient option. A flashlight or headlamp can also be useful in providing additional light while working on the fixture. Finally, it is a good idea to have a replacement bulb on hand before beginning the process. This way, you can ensure that you have the correct size and type of bulb and avoid having to make an additional trip to the store. With the right tools and preparation, replacing your outdoor LED light bulb can be a simple and straightforward process.
Before replacing your outdoor LED light bulb, you must make sure that you have all the necessary tools to carry out the task. Some of the essential tools include a ladder, a pair of gloves, a screwdriver, a wire stripper, a voltage tester, and of course, the replacement LED light bulb. A ladder will help you reach the light fixture, while a pair of gloves will protect you from any electric shock or injury. A screwdriver is necessary for removing the old bulb and installing the new one. A wire stripper will help you strip the wires, while a voltage tester will ensure that the power is switched off before you start the replacement process. With these tools at your disposal, you can replace your outdoor LED light bulb with ease and confidence.
Each tool mentioned in this guide plays a crucial role in replacing your outdoor LED light bulb. The screwdriver is essential for loosening and tightening screws while the ladder helps you reach the light fixture. The gloves protect your hands from cuts and bruises and the safety glasses shield your eyes from debris that may fall during the process. The voltage tester ensures that the electricity supply is turned off before you start working on the fixture, which is crucial for your safety. The replacement LED light bulb is the star of the show, providing bright and energy-efficient lighting for your outdoor space. Without these tools, the process of replacing your outdoor LED light bulb can be dangerous and inefficient.
Turning Off Power
When it comes to replacing your outdoor LED light bulb, one important step is to turn off the power. This step is crucial to ensure your safety while working with electricity. To turn off the power, you need to locate your circuit breaker panel and find the switch that controls the power to your outdoor light fixture. Once you have located the correct switch, you should turn it off to cut off the power supply to your outdoor light fixture. It is important to note that turning off the switch may not completely cut off the power to your outdoor light fixture, as some circuits may still hold residual electricity. As such, it is recommended that you use a voltage tester to confirm that the power supply to your outdoor light fixture has been completely shut off before you begin to replace your LED light bulb. This precautionary measure will ensure that you are not accidentally exposed to electrical shock while working on your outdoor light fixture.
Before replacing your outdoor LED light bulb, it is essential to turn off the power source to avoid any electrical hazard. Firstly, identify the circuit breaker that controls the power to the light fixture, and switch it off. For added safety, use a voltage tester to ensure that the power is entirely cut off. Next, remove the light bulb and check the wiring connections to ensure that there is no current running through them. Finally, once you have replaced the bulb, turn the power source back on and test the light to ensure that it is working correctly. Following these simple steps will ensure that you can replace your outdoor LED light bulb safely and efficiently.
When dealing with electrical connections, it is crucial to take necessary precautions to avoid any mishaps or accidents. Firstly, always turn off the power supply to the area where you will be working. This can be done either by turning off the circuit breaker or unplugging the device. Secondly, wear rubber gloves and shoes to avoid any electrical shocks. Keep a fire extinguisher nearby in case of any electrical fires. It is also important to ensure that the wires are connected correctly and securely. Furthermore, use insulated tools while working with electrical connections. By taking these precautions, you can ensure your safety while replacing your outdoor LED light bulb.
Removing Old Bulb
When it comes to replacing your outdoor LED light bulb, one of the first steps is to remove the old bulb. This may seem like a straightforward process, but it’s important to take the proper precautions to ensure your safety. The first step is to turn off the power to the light fixture. This can be done by flipping the switch on the circuit breaker or by turning off the light switch. It’s important to double-check that the power is off before proceeding. Once the power is off, it’s time to remove the old bulb. Depending on the type of fixture you have, this may involve unscrewing the bulb or pushing it in and turning it counterclockwise. If the bulb is stuck, be gentle and try wiggling it back and forth to loosen it. If it still won’t budge, you may need to use a pair of gloves or pliers to grip the base of the bulb and twist it out. Once the bulb is removed, dispose of it properly and make sure to clean up any broken glass if it was broken during the removal process.
Before installing a new LED light bulb, it is essential to remove the old one. First, switch off the power supply from the main fuse box to avoid any electrical shock. Next, wait for the bulb to cool down before attempting to remove it. If the bulb is screwed in, gently turn it anti-clockwise until it comes loose. If it is a bayonet fitting, gently push the bulb inwards and twist it anti-clockwise to release it from the socket. Carefully remove the bulb from the socket and dispose of it safely. It is crucial to handle the old bulb with care as it can be fragile and may shatter if mishandled. Once the old bulb is removed, you can proceed with installing the new LED light bulb.
When it comes to replacing an old bulb, there are several precautions to take to ensure safety. Firstly, turn off the power supply before handling the bulb to avoid electric shock. Secondly, wait for the bulb to cool down before attempting to remove it as it may still retain heat. Thirdly, wear protective gloves as the bulb may shatter when being unscrewed. Fourthly, dispose of the old bulb carefully, as it may contain harmful substances such as mercury. Lastly, make sure to select the correct replacement bulb to avoid any future issues. By taking these precautions, you can successfully replace your outdoor LED light bulb without any hiccups.
Installing New Bulb

Installing a new bulb is an essential step in replacing your outdoor LED light. Before you begin, ensure that you have the right bulb size and type that matches your light fixture. Always switch off the power supply from the electrical panel to avoid any accidents while changing the bulb. If you have a ladder, use it to reach your light fixture comfortably. If not, stand on a stable platform, ensuring that it is on level ground. Next, remove the glass cover or any protection casing from your light fixture. Check the condition of the bulb holder and clean it if necessary. If your light fixture has a screw-on base, unscrew it and gently remove the old bulb. If it has a push-in base, hold the bulb and turn it anti-clockwise to release it from the socket. Now, take your new bulb and insert it into the socket, turning it clockwise until it clicks into place. If the bulb has a screw-on base, screw it in place, but be cautious not to overtighten it. Finally, put back the glass cover or any protection casing, switch on the power supply, and test your new bulb.
Replacing your outdoor LED light bulb is a simple task that can be done with a few easy steps. Firstly, start by turning off the power supply to the light fixture to avoid any electrical hazards or shocks. Next, remove the old bulb by gently twisting it counterclockwise and pulling it out. If the bulb is stubborn, use a pair of gloves or a cloth to grip it and turn it. Now, take the new bulb and insert it into the socket, ensuring it is firmly in place. Finally, turn on the power supply and test the new bulb to ensure it is working correctly. With these easy steps, you can have your outdoor LED light bulb replaced in no time, providing a well-lit and safe outdoor environment.
When handling a new outdoor LED light bulb, there are certain precautions that need to be taken to ensure safety and prevent damage to the bulb. First and foremost, it is important to turn off the power supply to the light fixture to avoid any electrical accidents. Additionally, it is advisable to wear gloves to prevent any oil or dirt from your fingers from getting onto the bulb, which could cause it to overheat and fail prematurely. It is also important to avoid touching the glass part of the bulb as the oils from your skin can cause it to crack or shatter. Finally, make sure that the new bulb is compatible with your fixture before attempting to install it, to avoid any potential damage or malfunctions. By following these precautions, you can safely and easily replace your outdoor LED light bulb and enjoy bright, energy-efficient lighting for years to come.
Outdoor LED light bulbs are an essential component of any well-lit outdoor space, providing not only illumination but also safety and security. The use of LED technology offers numerous benefits, such as energy efficiency, longer lifespan, and decreased maintenance costs. Additionally, LED light bulbs emit less heat, making them a safer option for outdoor use. They are also available in a range of colors and brightness levels, allowing for customization to suit any outdoor lighting needs. With their durability and reliability, outdoor LED light bulbs are an investment in the long-term maintenance and enjoyment of your outdoor space.
Replacing an outdoor LED light bulb can be a simple task if you follow the right steps. Start by turning off the power supply to the light fixture, either by switching off the circuit breaker or unscrewing the bulb from the socket. Next, remove the old bulb by gently twisting it counterclockwise and pulling it out. Check the wattage and base type of the old bulb to ensure you purchase a compatible replacement. Carefully insert the new bulb, ensuring it is securely in place before turning the power supply back on. Finally, turn the light switch on to test the new bulb and enjoy the bright, energy-efficient illumination it provides. With these easy steps, you can replace your outdoor LED light bulb in no time.
In conclusion, keeping up with outdoor LED lighting maintenance is crucial to ensure the longevity and effectiveness of your light fixtures. Regularly cleaning the fixtures and replacing any damaged or burnt out bulbs can go a long way in keeping your outdoor space well-lit and safe. It’s also important to consider the wattage and color temperature of the bulbs you choose, as well as their compatibility with your existing fixtures. Investing in high-quality LED bulbs and fixtures may initially cost more, but can save you money in the long run with their energy efficiency and durability. Overall, with these easy steps and recommendations, maintaining your outdoor LED lighting can be a simple and worthwhile task.
Conclusion

In conclusion, replacing your outdoor LED light bulb is a simple and straightforward process that requires only a few easy steps. By following the comprehensive guide provided, you can ensure that your outdoor lighting remains bright and functional for years to come. Remember to turn off the power, select the appropriate replacement bulb, and handle the bulb with care to avoid damage. With these tips in mind, you can confidently replace your outdoor LED light bulb and enjoy the many benefits of efficient and reliable lighting for your home or business.