Quick Fixes: How to Troubleshoot and Repair Your LED Light in Minutes
LED lights have become an essential component of the modern world, from cars to homes, offices, and even streetlights. They are more energy-efficient, brighter, and have a longer lifespan compared to traditional incandescent bulbs. However, just like any other electrical appliance, they can malfunction or stop working altogether. It can be frustrating when your LED light starts flickering, dimming, or not turning on at all, especially when you need it the most. Fortunately, troubleshooting and repairing LED lights is relatively easy, and you don’t have to be an expert to do it. In this guide, we will explore some quick fixes to help you troubleshoot and repair your LED light in minutes. From identifying the problem to replacing the faulty component, we will take you through every step of the repair process. Whether you’re dealing with a faulty driver, a broken bulb, or a loose connection, we’ve got you covered. By the end of this guide, you’ll be able to diagnose and fix most LED light problems on your own, saving you time and money on expensive repairs or replacements. So, let’s dive in and learn how to troubleshoot and repair your LED light quickly and easily.
LED lights have become increasingly popular in recent years due to their energy efficiency, longevity, and versatility. They are used in a wide range of applications, from lighting up homes and offices to illuminating streets and highways. However, like any other electronic device, LED lights are not immune to issues. Some of the common problems that users may encounter include flickering, dimming, and complete failure. These issues can be caused by a variety of factors, such as overheating, voltage fluctuations, or faulty wiring. It is important to troubleshoot and repair these issues promptly to ensure that your LED lights continue to function properly and provide the desired level of illumination.
Understanding LED Lights
LED lights, or light-emitting diodes, are a revolutionary source of lighting that have become increasingly popular over the years. Unlike traditional incandescent bulbs that rely on a wire filament to produce light, LED lights generate light by passing an electric current through a semiconductor material. This process is highly efficient, as LED lights consume less power and last longer than regular bulbs. Understanding how LED lights work can help you troubleshoot and repair any issues that may arise with your LED lighting system. One of the most common problems with LED lights is flickering or dimming. This can be caused by a number of factors, including a faulty power supply, loose wiring, or a damaged LED bulb. To troubleshoot this issue, start by checking the power supply and wiring connections to ensure that everything is properly connected. If the problem persists, try replacing the LED bulb with a new one to see if that fixes the issue. If none of these solutions work, you may need to consult a professional electrician to diagnose and repair the problem.
LED lights, or Light Emitting Diodes, are a type of lighting technology that uses a semiconductor to convert electricity into light. Unlike traditional incandescent bulbs, LEDs don’t use a filament that heats up to produce light. Instead, they use a small chip made of semiconducting material that emits light when an electrical current is applied. This makes LEDs much more energy-efficient and longer-lasting than traditional light bulbs. Additionally, LEDs can produce a wide range of colors and can be dimmed or controlled to create different lighting effects. However, like any electronic device, LED lights can sometimes experience problems or failures, but with the right troubleshooting techniques, these issues can be quickly resolved.
The benefits of LED lights over traditional lighting are numerous. Firstly, LED lights are more energy-efficient, consuming up to 80% less power than traditional lighting. This translates to significant savings in energy costs over time. Additionally, LED lights have a longer lifespan, lasting up to 25 times longer than traditional lighting. This means less frequent replacements and less waste. LED lights are also more environmentally friendly, as they do not contain harmful chemicals like mercury, which can be found in traditional lighting. Furthermore, LED lights are more durable and resistant to shocks and vibrations, making them suitable for use in outdoor and industrial settings. Overall, LED lights offer a more cost-effective, energy-efficient, and environmentally friendly lighting solution compared to traditional lighting.
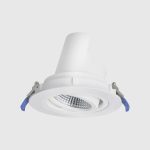
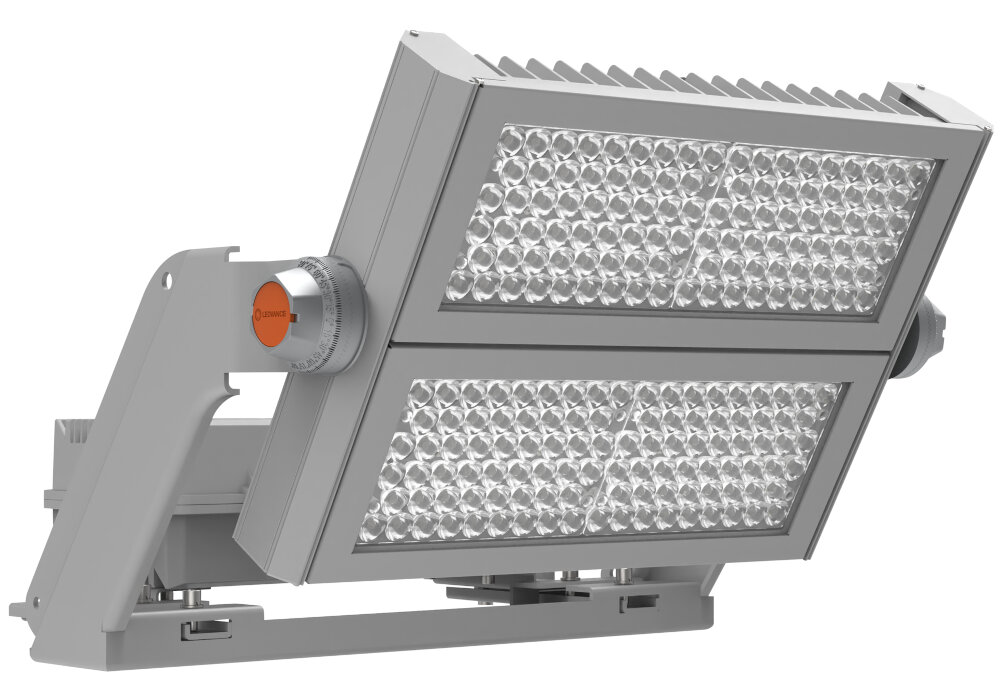
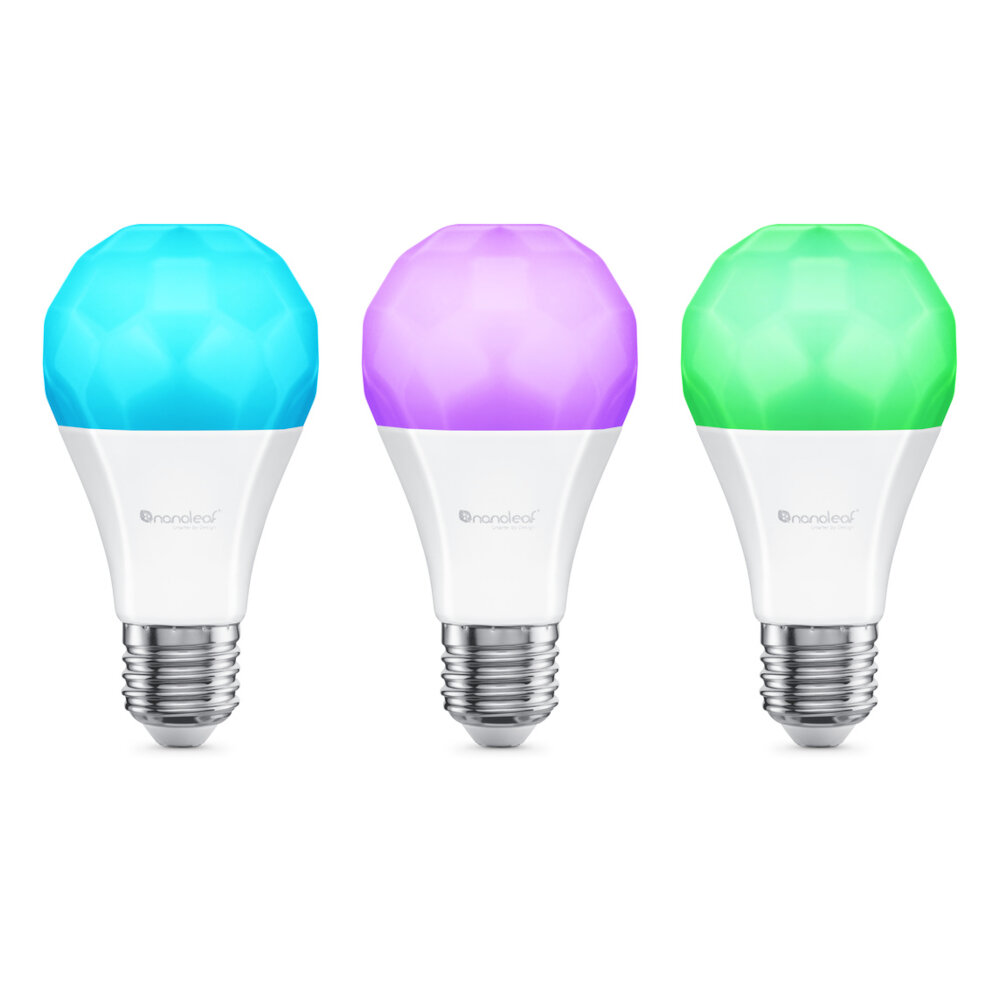
LED lights have become increasingly popular due to their energy efficiency, durability, and versatility. There are several types of LED lights available in the market, each with their unique features and benefits. The most common types of LED lights include A-shaped bulbs, which resemble traditional incandescent bulbs and are ideal for general lighting purposes. Floodlights are used for outdoor lighting and security purposes, while strip lights are flexible and can be used to create decorative lighting effects. Additionally, there are also smart LED lights that can be controlled using a smartphone app or voice commands. Whatever your lighting needs may be, there is an LED light type that can meet them.
Troubleshooting Common LED Light Issues
LED lights have become increasingly popular in recent years due to their energy efficiency, long lifespan, and low maintenance. However, like any other electronic device, LED lights can experience issues that require troubleshooting and repair. One of the most common issues with LED lights is flickering or flashing. This can be caused by a variety of factors such as loose connections, incompatible dimmer switches, or voltage fluctuations. To troubleshoot this issue, first, check all the connections and make sure they are tight and secure. If the problem persists, try replacing the dimmer switch or using a compatible one. Additionally, consider installing a voltage stabilizer to regulate the voltage and prevent fluctuations. Another common issue with LED lights is a sudden failure or dimming. This can be caused by a faulty driver or power supply, damaged LED chips, or overheating. To troubleshoot this issue, first, check the power source and make sure it is providing the correct voltage and current. If the power supply is not the issue, inspect the LED chips for damage or signs of wear and tear. If necessary, replace the damaged chips. Additionally, make sure the LED lights are not overheating by ensuring proper ventilation and avoiding placing them in enclosed fixtures. By troubleshooting these common LED light issues, you can quickly and easily repair your lights and enjoy their benefits for years to come.
When it comes to LED lights, there are a few common issues that can arise, including flickering, dimming, and total light failure. Flickering can be caused by a variety of factors, including loose wiring or a faulty LED driver. Dimming can also be caused by a faulty driver, or it could be due to a lack of power reaching the LED. Total light failure, on the other hand, could be due to a blown fuse, a damaged LED, or a faulty driver. Identifying the root cause of these issues is essential to troubleshooting and repairing your LED light in just a few minutes. By taking a systematic approach and checking each component of your LED system, you can quickly diagnose and fix any issues that arise, ensuring that your lights stay bright and functional for years to come.
When it comes to troubleshooting LED light issues, there are several steps you can take to quickly identify and repair the problem. First and foremost, check the power source and make sure it’s properly connected and providing sufficient voltage. If the power source is not the issue, examine the LED bulb and ensure it’s securely fitted in the socket and not damaged. Additionally, check the wiring and connections to ensure they’re not frayed or loose. If all of these basic checks don’t solve the problem, you may need to replace the LED driver or seek professional help. By following these simple steps, you can quickly troubleshoot and repair your LED light in just a few minutes.
To ensure your LED lights have a long lifespan and prevent any future issues, it is important to maintain them properly. Start by cleaning the bulbs regularly with a soft cloth and avoiding any abrasive or harsh cleaning agents that can damage the surface. Additionally, check the wiring and connections frequently to ensure they are secure and free from any corrosion or damage. If you notice any flickering or dimming of the lights, it could be a sign of a faulty driver or transformer, which should be replaced immediately to prevent further damage. Lastly, avoid exposing the lights to extreme temperatures or humidity, as this can also cause damage over time. By following these simple tips, you can keep your LED lights shining bright for years to come.
Quick Fixes for LED Light Repair
LED lights have become increasingly popular due to their energy efficiency and long lifespan. However, like any other electronic device, LED lights can experience problems and require repairs. If you are experiencing issues with your LED lights, there are some quick fixes you can try before calling in a professional. One common problem with LED lights is flickering. This can be caused by a variety of factors, such as a loose bulb or a faulty switch. To fix the issue, try tightening the bulb or replacing the switch. If the problem persists, it may be due to a problem with the wiring or the LED driver, in which case you should consult a professional. Another common issue with LED lights is dimming. This can also be caused by a loose bulb or a faulty switch, but it can also be due to a problem with the LED driver or the dimmer switch. To troubleshoot the problem, try tightening the bulb or replacing the switch. If the issue is with the LED driver or the dimmer switch, you may need to consult a professional or replace the component yourself if you have the necessary knowledge and tools. Overall, it is important to properly troubleshoot and repair your LED lights to ensure their longevity and efficient operation.
LED lights are known for their longevity and efficiency, but they can still encounter issues. The good news is that there are several simple and effective solutions for repairing common LED light problems. For instance, if your LED light isn’t turning on, you may need to check the power source or replace the bulb. If your LED light is flickering, you may need to tighten the bulb or check the electrical connections. Additionally, if you notice that your LED light is dimming, you may need to clean the bulb or replace it altogether. By following these quick fixes, you can troubleshoot and repair your LED light in just a few minutes, saving you time and money in the long run.
When it comes to repairing LED lights, there are a few tools that you’ll want to have on hand. First and foremost, you’ll need a multimeter so that you can test the voltage and continuity of the LED components. You’ll also want a soldering iron and solder so that you can make any necessary repairs to the wiring. A set of screwdrivers in various sizes will be helpful for disassembling the light fixture, and a pair of needle-nose pliers will come in handy for manipulating small components. Finally, it’s always a good idea to have a few spare LED bulbs on hand just in case you need to replace any that are beyond repair. With these tools at your disposal, you’ll be well-equipped to troubleshoot and repair your LED light in no time.
When repairing LED lights, it is important to take certain safety precautions to avoid any accidents or injuries. Firstly, ensure that the power supply to the LED light is switched off to prevent electrical shock. Secondly, wear protective gloves and eyewear to safeguard your hands and eyes from any sharp edges or flying debris. Additionally, use a non-conductive surface to place the LED light when repairing it. It is also recommended to use appropriate tools and equipment to avoid any damage to the LED light or yourself. By following these simple safety precautions, you can effectively troubleshoot and repair your LED light in minutes without any mishaps.
When to Call for Professional Help
Knowing when to call for professional help is crucial when dealing with LED light issues. Although some problems can be easily fixed with simple troubleshooting, there are times when calling a professional is necessary. Here are some situations where seeking professional help is the best course of action. Firstly, if you have tried various troubleshooting methods but your LED light is still malfunctioning, it is time to call in the experts. LED lights are complex electrical devices, and attempting to fix them without proper knowledge and tools can lead to further damage. A professional electrician or technician will have the necessary skills and experience to diagnose the problem and provide an appropriate solution. Secondly, if you notice any signs of sparking, overheating, or burning smells coming from your LED light, it is essential to call for professional help immediately. These signs indicate a serious electrical issue that requires immediate attention. Ignoring such signs can lead to dangerous situations such as fires or electrical shocks. In such cases, it is important to turn off the light and avoid using it until it has been repaired by a professional.
While DIY LED light repair can be a cost-effective option, there are certain situations where it is not recommended. For instance, if the LED light has been damaged due to water exposure, attempting to repair it yourself may result in further damage or even electrocution. Similarly, if the LED light is not functioning due to a complex electrical issue, it is best to leave the repair to a professional electrician. Additionally, if the LED light is still under warranty, attempting to repair it yourself may void the warranty and make it difficult to get a replacement. In these instances, it is better to seek professional help to ensure safety and avoid further damage to the LED light.
When it comes to repairing an LED light, it is important to choose a reputable professional to ensure that the job is done correctly and efficiently. Look for someone with experience in LED light repair, as well as a good reputation for providing quality service. Ask for references or reviews from previous customers to get an idea of their track record. Additionally, make sure the professional uses high-quality replacement parts to ensure the longevity and safety of your LED light. Don’t be afraid to ask questions and clarify any doubts before entrusting your LED light to a repair technician. By selecting a reputable professional, you can have peace of mind knowing that your LED light is in good hands.
When it comes to repairing LED lights, cost considerations are an important factor to keep in mind. Before attempting any repairs, it’s important to assess the overall cost of the repair versus the cost of simply replacing the light altogether. If the LED light is still under warranty, there may be no cost at all for repairs, as the manufacturer may cover the cost. However, if the warranty has expired or the repair is not covered under the warranty, it’s important to consider the cost of replacement parts and any professional labor fees. In some cases, it may be more cost-effective to simply replace the LED light rather than attempting repairs. It’s important to weigh all of these factors before making a decision on how to proceed with repairs.
LED lights have become increasingly popular due to their energy efficiency, durability, and versatility. However, it is important to maintain these lights to ensure their longevity and optimal performance. Regular cleaning of the LED bulbs and ensuring proper ventilation can prevent overheating and prolong the life of the lights. Additionally, addressing any flickering or dimming issues promptly can prevent further damage and save money on replacements. Maintaining LED lights not only ensures their functionality but also contributes to overall energy conservation and cost savings. By taking a few simple steps to maintain LED lights, users can enjoy their benefits for years to come.
In conclusion, troubleshooting and repairing LED lights can be a quick and easy process if you have the right tools and knowledge. By following the simple steps of checking the power source, examining the connections, and replacing faulty components, you can have your LED lights up and running in no time. It’s important to remember to handle the lights with care and to turn off the power before starting any repairs. Additionally, regular maintenance and cleaning can help prevent future issues. With these tips in mind, you can confidently tackle any LED light problems that may arise, saving you time and money in the long run.
Conclusion

In conclusion, troubleshooting and repairing LED lights may seem daunting at first, but with the right knowledge and tools, it can be done quickly and easily. By following the steps outlined in this guide, you can diagnose and fix common issues such as flickering, dimming, and power failure. Remember to always prioritize safety when working with electrical components and to consult a professional if you are unsure about any steps. With a little effort and know-how, you can keep your LED lights shining bright for years to come.