Quick & Easy: Learn How to Repair Your LED Ceiling Light in Minutes
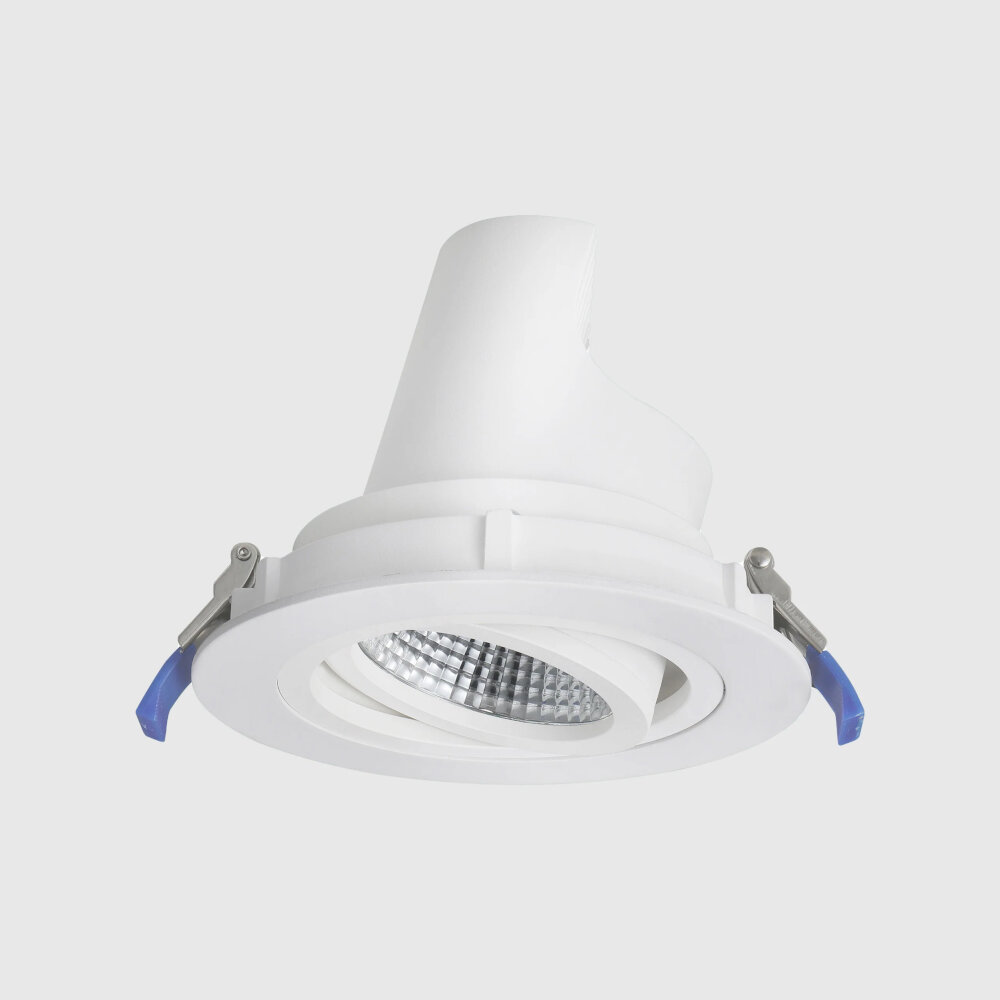
LED ceiling lights are a popular choice for homeowners because of their energy efficiency, long lifespan, and low maintenance. However, even the most reliable fixtures can encounter issues that require repair. If your LED ceiling light is flickering or not turning on, don’t panic. With a few simple steps, you can diagnose the problem and fix it in just a few minutes. Learning how to repair your LED ceiling light yourself can save you time and money, and give you the satisfaction of tackling a DIY project. Before you begin any repairs, it’s important to understand how LED ceiling lights work. Unlike traditional incandescent bulbs, LED lights use semiconductors to convert electricity into light. These semiconductors can be damaged by power surges, voltage fluctuations, or other electrical issues. If you’re experiencing problems with your LED ceiling light, it’s important to know what to look for and how to fix it. In this article, we’ll guide you through the process of troubleshooting and repairing your LED ceiling light, so you can enjoy a well-lit and energy-efficient space once again.
LED ceiling lights have become increasingly popular due to their energy efficiency, long lifespan, and bright illumination. They are also more environmentally friendly and cost-effective than traditional incandescent bulbs. However, like any electrical device, LED ceiling lights can experience issues that affect their performance, such as flickering, dimming, or complete failure. These problems can be caused by faulty wiring, power surges, or improper installation. It is essential to address these issues promptly to ensure the safety and functionality of your LED ceiling lights. With the right knowledge and tools, repairing LED ceiling lights can be quick and easy, saving you time and money in the long run.
Understanding the Components of an LED Ceiling Light
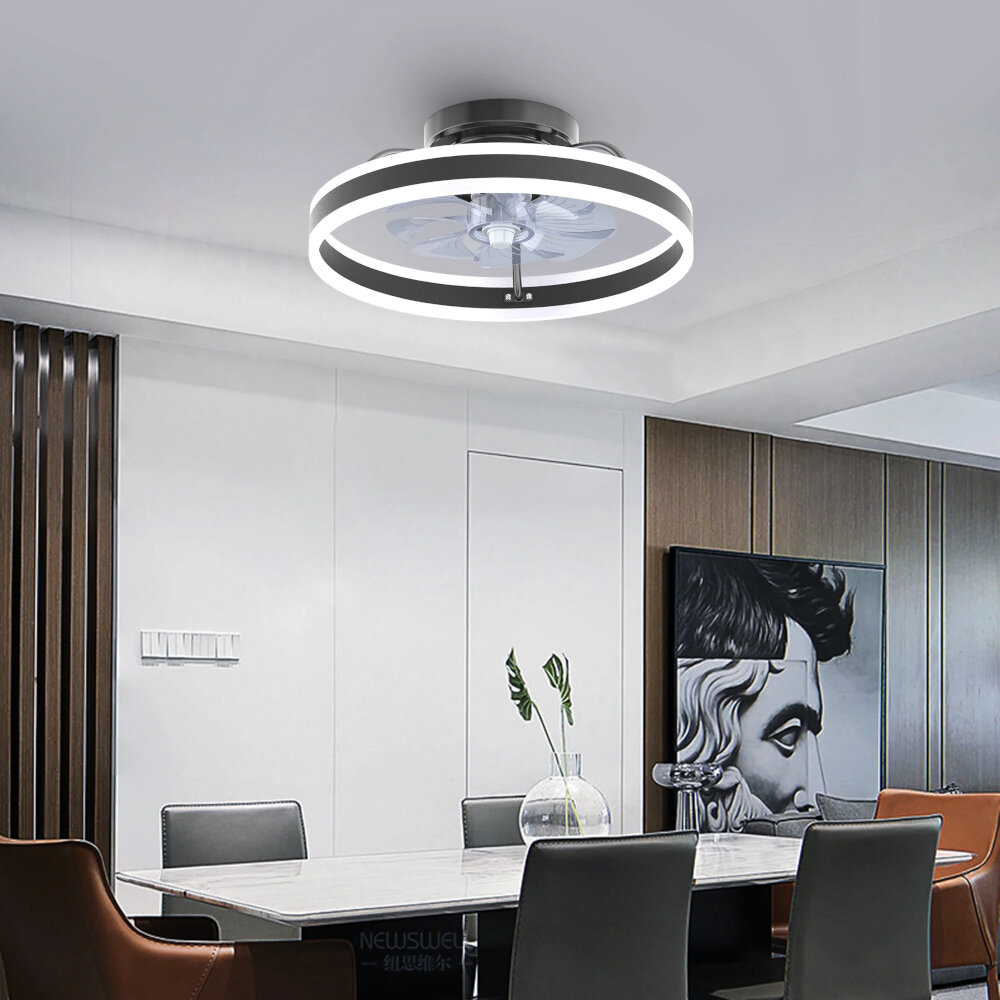
An LED ceiling light is a modern lighting fixture that is energy-efficient and long-lasting. It consists of several components that work together to provide bright and clear illumination. The primary component of an LED ceiling light is the LED chip, which produces the light. LED chips are small semiconductor devices that convert electrical energy into light energy. They are highly efficient and produce very little heat compared to traditional lighting sources. LED chips are typically arranged in clusters on a circuit board to create a bright and even light output. Another important component of an LED ceiling light is the driver. The driver is responsible for regulating the electrical current that powers the LED chips. It converts the AC voltage from the mains power supply into a DC voltage that is suitable for the LED chips. The driver also ensures that the current is constant and does not fluctuate, which can cause the LED chips to flicker or fail prematurely. Some LED ceiling lights also have dimming capabilities, which are controlled by the driver. Dimming allows you to adjust the brightness of the light to suit your needs and preferences. Understanding the components of an LED ceiling light is essential for diagnosing and repairing any issues that may arise.
An LED ceiling light is composed of several different parts that work together to produce bright and efficient lighting. The main components of an LED ceiling light include the LED chips, the heat sink, the driver, and the diffuser. The LED chips are the light source and are responsible for emitting the light. The heat sink is used to dissipate heat away from the LED chips, preventing them from overheating and causing damage. The driver is the power supply that regulates the electricity flowing to the LED chips, ensuring they receive the correct voltage and current. Finally, the diffuser is a cover that helps to distribute the light evenly across the room. Each of these parts plays a critical role in the functioning of an LED ceiling light, and any issues with these components can cause the light to malfunction or stop working altogether.
An LED ceiling light is composed of several components that work together to produce light. The first component is the LED chip, which is responsible for emitting light when an electric current passes through it. The LED chip is connected to a heat sink, which dissipates the heat generated by the chip to prevent it from overheating. The chip and heat sink are placed inside a lens or diffuser, which is responsible for spreading the light evenly across the room. The lens or diffuser is then mounted onto a circuit board, which controls the flow of electricity to the LED chip. Finally, the circuit board is connected to a power source, such as a battery or electrical outlet, which supplies the necessary electricity to power the light. All of these components work together seamlessly to produce a bright and efficient light source that can be used in a variety of settings.
LED ceiling lights are composed of various components, including the LED chips, driver, circuit board, and housing. Each of these components can fail and cause problems. LED chips can fail due to overheating, which results in reduced brightness or complete failure. The driver can malfunction due to voltage fluctuations, causing flickering or failure to turn on. Circuit boards can also fail due to power surges or damaged components, resulting in various issues. Lastly, the housing can crack or become damaged, which can cause the light to flicker or not turn on at all. Understanding how each component can fail can help in diagnosing and repairing LED ceiling light problems efficiently.
Identifying the Problem with Your LED Ceiling Light
If you’re experiencing issues with your LED ceiling light, the first step is to identify the problem. The most common issue with LED ceiling lights is flickering or dimming. This can be caused by a faulty driver, loose wiring, or a problem with the power supply. If the light is not turning on at all, the problem may be with the LED itself or the switch. Another issue that can arise is a buzzing sound, which can be caused by a loose bulb or a problem with the fixture itself. To identify the problem, start by checking the power supply and making sure it is properly connected. If the power supply is fine, check the wiring to make sure it is secure and not loose. If the wiring is loose, tighten it up and test the light again. If the problem persists, it may be a faulty driver or the LED itself. In this case, it is best to consult a professional. It’s important to identify the problem correctly before attempting any repairs, as incorrect repairs can be dangerous and cause further damage to the light fixture.
If you’re experiencing issues with your LED ceiling light, the first step is to diagnose the problem. Start by checking the power source and make sure the light is properly connected to the electrical circuit. Next, inspect the LED light itself for any visible damage or signs of wear and tear. If the light appears to be functioning properly but still isn’t working, try replacing the light bulb with a new one. If none of these steps resolve the issue, it may be time to consult a professional electrician to diagnose and repair the problem. Remember to always prioritize safety when working with electrical components and turn off power sources before beginning any repairs.
LED ceiling lights are a modern and energy-efficient lighting solution that can add style and brightness to any room. However, like any electronic device, LED ceiling lights can experience issues that affect their performance. Some of the most common problems with LED ceiling lights include flickering, dimming, and complete failure to turn on. Flickering can be caused by a loose connection, a faulty bulb, or a damaged driver. Dimming can be caused by a faulty driver, a faulty bulb, or a voltage drop. Complete failure to turn on can be caused by a faulty driver, a faulty bulb, or a faulty switch. If you notice any of these symptoms, it’s important to diagnose and repair the problem as soon as possible to avoid further damage or safety hazards.
When it comes to repairing your LED ceiling light, having the right tools is essential. First and foremost, you will need a voltage tester to determine whether the power is flowing to the light fixture. A multimeter is also necessary to measure the voltage and resistance of different parts of the fixture. A screwdriver set is handy for removing the cover or panels of the light fixture. Additionally, a wire cutter and stripper are useful for cutting and preparing wires for connection. Finally, having spare parts such as bulbs, wires, and connectors can save you time and money in case any of the components need replacement. By having these tools on hand, you can quickly diagnose and fix any issues with your LED ceiling light.
Repairing Your LED Ceiling Light
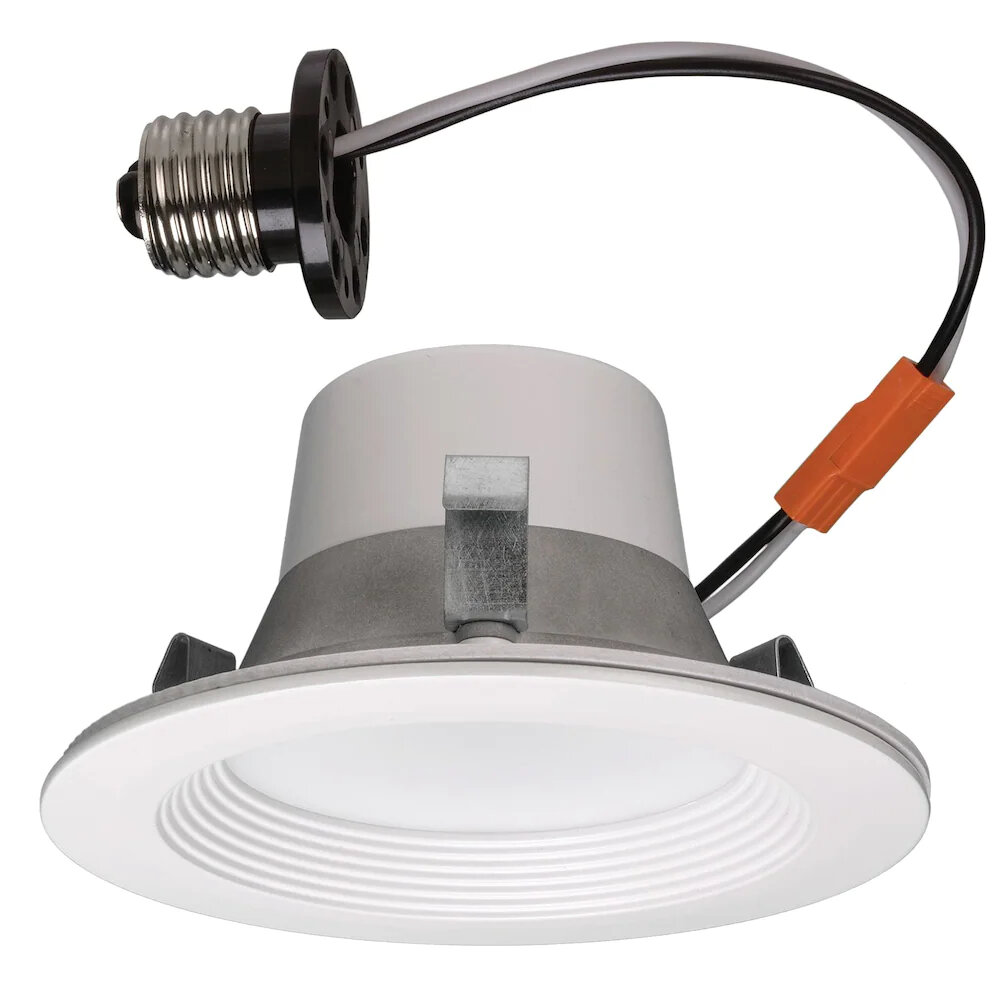
LED ceiling lights have become a popular lighting option for modern homes due to their energy efficiency, durability, and long lifespan. However, like any other electrical appliance, LED lights can experience issues that require repair. Fortunately, repairing your LED ceiling light is a simple task that can be done in just a few minutes. One of the most common issues with LED ceiling lights is a flickering or dimming light. This can be caused by a loose connection or a faulty driver. To fix this issue, first, turn off the power supply to the light. Then, remove the light cover and check for any loose connections. If you find any, tighten them with a screwdriver. If the connections are secure, the issue may be with the driver. In this case, you will need to replace the driver or seek the assistance of a professional electrician. By following these simple steps, you can quickly and easily repair your LED ceiling light, ensuring that it provides you with bright and efficient lighting for years to come.
If you’re experiencing issues with your LED ceiling light, there are several steps you can take to repair it. First, if the light is flickering or not turning on, check the wiring connections to ensure they are secure. If the wiring is fine, the issue may be with the driver, which can be replaced. If the light is dim or not as bright as it should be, check the voltage to ensure it matches the recommended level for the light. If the voltage is correct, the issue may be with the LED chips, which can also be replaced. Additionally, if the light is buzzing or making noise, it may be due to a loose screw or mounting bracket, which can be tightened. By following these simple steps, you can quickly and easily repair your LED ceiling light in just a few minutes.
To repair an LED ceiling light, you will need a few basic tools such as a screwdriver, wire stripper, wire connectors, pliers, and a voltage tester. A screwdriver is necessary to remove the cover of the light fixture, and the wire stripper is needed to strip the insulation from the wires. Wire connectors are essential to join wires together, and pliers are required to bend and twist wires. A voltage tester is used to check the electrical current in the wires, ensuring that they are not live before beginning repairs. These tools are readily available at any hardware store and can be used for other household repairs as well. With the right tools and a bit of knowledge, repairing an LED ceiling light is a quick and easy task that can be completed in just a few minutes.
Repairing an LED ceiling light can be a daunting task, especially if you have little or no experience with electrical work. However, there are a few tips and tricks that can help make the process easier. Firstly, ensure that you have all the necessary tools and equipment before starting the repair. These may include a screwdriver, wire cutters, pliers, and a multimeter. Secondly, take the time to familiarize yourself with the wiring and components of the light fixture. This will help you identify the problem and the best course of action for repairing it. Additionally, make sure to turn off the power to the fixture before starting any work to avoid electrocution. Finally, if you are unsure or uncomfortable with any aspect of the repair process, it is always best to seek the assistance of a professional electrician.
Preventing Future Issues with Your LED Ceiling Light
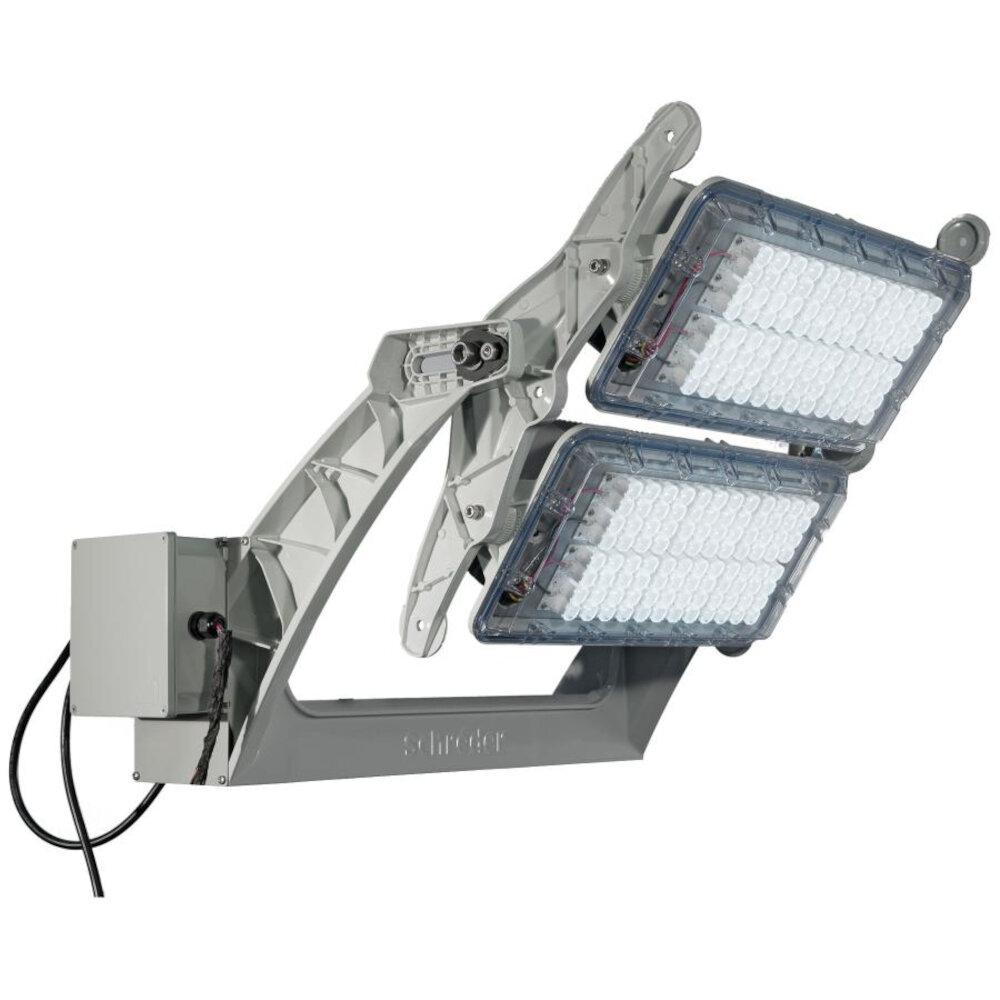
Preventing future issues with your LED ceiling light is an essential part of maintaining its functionality and longevity. One of the best ways to prevent issues is to perform routine maintenance checks. This includes cleaning the light fixtures and checking for any loose connections or damaged wires. It is also important to replace any burnt-out bulbs promptly to prevent strain on the remaining bulbs and electrical components. Another preventative measure is to choose high-quality LED bulbs and fixtures. Investing in quality products may cost more initially, but it can save money and headaches in the long run. Additionally, choosing bulbs and fixtures with a longer lifespan can reduce the frequency of replacements and maintenance. Lastly, it is crucial to follow the manufacturer’s instructions for installation and usage. Overloading circuits or using incompatible parts can cause severe damage to the light and potentially harm those nearby. By taking these preventative measures, you can ensure that your LED ceiling light remains functional and efficient for years to come.
Maintaining your LED ceiling light is crucial to prevent future issues and ensure longevity. Firstly, make sure to dust the fixture regularly using a soft cloth to prevent buildup. Secondly, avoid using harsh chemicals or abrasive materials when cleaning the fixture as these can damage the LED lights. Additionally, ensure that the fixture is securely installed and check for any loose connections or wiring. Finally, if you notice any issues with the fixture such as flickering lights or dimming, make sure to address them promptly to avoid further damage. By following these simple steps, you can keep your LED ceiling light in top condition and avoid the need for costly repairs.
To extend the lifespan of your LED ceiling light, there are various tips and tricks that you can follow. Firstly, make sure that you don’t exceed the recommended wattage as this can cause the LED light to overheat and result in a shorter lifespan. Secondly, clean the light fixtures regularly to prevent dust and debris buildup, which can also cause the LED light to overheat. Thirdly, ensure that the light is installed correctly and securely to prevent any damage or wear and tear over time. Finally, avoid turning the light on and off frequently as this can cause stress on the LED components, resulting in a shorter lifespan. By following these tips and tricks, you can ensure that your LED ceiling light lasts for an extended period and operates efficiently.
When attempting to repair your LED ceiling light, there are several common mistakes that you should avoid. One of the most common mistakes is not turning off the power supply before attempting to fix the light. This can result in electrocution or damage to the light fixture. Another mistake is not properly identifying the problem before attempting to fix it. This can lead to ineffective repairs or even further damage to the light. Finally, not having the proper tools or knowledge can also lead to unsuccessful repairs. It’s important to do your research and gather the necessary tools before attempting any repairs to your LED ceiling light.
LED ceiling lights have become increasingly popular due to their energy efficiency, long lifespan, and sleek design. They offer a bright and attractive lighting option that can complement any interior design. However, like any technology, they are not without their issues. Common problems with LED ceiling lights include flickering, dimming, and complete failure. These issues can be caused by faulty wiring, a malfunctioning driver, or overheating. It is important to address these issues promptly to ensure the longevity and effectiveness of your LED ceiling lights. By learning how to repair your LED ceiling lights, you can save money and avoid the inconvenience of having to replace them.
Your LED ceiling light is not functioning properly? Don’t let frustration get the best of you! Instead, take action and repair it yourself in just a few minutes. Not only will you save money, but you’ll also feel a sense of accomplishment for having fixed it on your own. Don’t be intimidated by the thought of repairing your light. With a little bit of guidance and patience, you can get it back to working perfectly in no time. So, roll up your sleeves, grab your tools, and let’s get to work!
In conclusion, repairing your LED ceiling light can be an easy and cost-effective task to do on your own. With the right tools and knowledge, you can save money and time by not having to call for professional help. However, it is important to always prioritize safety and caution when dealing with electrical wiring. Remember to turn off the power supply before starting any repairs, and if you are unsure about anything, seek professional assistance. With these tips in mind, you can confidently troubleshoot and repair your LED ceiling light in just a few minutes.
Conclusion

In conclusion, repairing your LED ceiling light is a simple and quick task that can be accomplished in just a few minutes with the right tools and knowledge. By following the steps outlined in this guide, you can save yourself time and money by avoiding the need to hire a professional electrician. Remember to always turn off the power source before attempting any repairs, and to handle all electrical components with care. With a little patience and practice, you can become a pro at fixing your LED ceiling lights and keeping your home well-lit and comfortable.

