LED Light Repair: Quick and Easy Tips to Fix a Broken Bulb
In today’s world, LED lights have become an essential part of our daily lives. They are used in various settings, from homes to offices, and even in public places like streets and airports. However, just like any other electrical equipment, LED lights can malfunction or break due to various reasons. A broken LED bulb can be frustrating, especially when it is in a crucial location like your study table or kitchen. Fortunately, with some quick and easy tips, you can fix a broken LED bulb without having to replace it entirely. LED light repair may seem daunting, but it is relatively simple and straightforward. By learning some basic troubleshooting techniques, you can save yourself the hassle and money of hiring a professional. Whether it’s a flickering bulb or a completely dead one, there are several ways to fix the issue. In this article, we will discuss some quick and easy tips to help you repair your LED light bulb. So, if you’re tired of constantly replacing your LED bulbs or want to know how to fix a broken one, read on to learn more.
LED lights have gained immense popularity in recent years. They are highly energy-efficient and have a longer lifespan than traditional incandescent bulbs. LED lights are also eco-friendly as they do not contain any harmful substances, such as mercury or lead. Furthermore, they emit very little heat, making them safe to touch even during extended periods of use. LED lights come in a variety of colors and styles, making them versatile for any application. They are also durable and resistant to shock and vibration, making them ideal for use in outdoor settings or areas prone to rough handling. With all these benefits, it’s no wonder that LED lights have become the go-to choice for lighting solutions.
LED lights have become increasingly popular due to their energy efficiency and long lifespan. However, even though they are more durable than traditional incandescent bulbs, they can still break due to a variety of reasons. One common cause of LED light failure is overheating, which can occur when the bulb is installed in a fixture that does not provide adequate ventilation. Additionally, power surges and electrical fluctuations can damage the LED components, causing them to fail prematurely. Physical damage, such as dropping or mishandling the bulb, can also cause it to break. Finally, manufacturing defects can lead to early failures, although these are generally rare.
Identify the Problem
Identifying the problem is the first step towards repairing your LED light bulb. It is essential to understand the issue before taking any action to fix it. The problem could be as simple as a loose connection or a more complicated issue like a damaged circuit board. Once you have identified the problem, you can decide whether to fix it yourself or seek professional help. In many cases, repairing a broken LED light bulb is a quick and easy process that can be done at home with the right tools and instructions. To identify the problem, you should start by examining the bulb carefully. Look for any signs of damage, such as cracks or burns, on the glass or the base of the bulb. Check the wiring to ensure that all connections are secure and in good condition. If the bulb is flickering or not turning on, try replacing it with a new one to see if that solves the problem. If the issue persists, you may need to inspect the circuit board or other internal components. By identifying the problem, you can take the necessary steps to repair your LED light bulb and enjoy its bright, energy-efficient light once again.
If you suspect that your LED light bulb is broken, there are a few easy ways to check before replacing it. Firstly, you can inspect the bulb for any visible signs of damage, such as cracks or blackened areas. Another method is to swap the bulb with a known working one to see if the problem is with the bulb or the fixture. You can also use a multimeter to test the bulb’s continuity, which is the ability to conduct electricity. If the multimeter shows no continuity, it means that the bulb is broken and needs to be replaced. It’s important to remember to turn off power to the fixture before attempting any repairs or tests to ensure your safety.
When an LED bulb is broken, it may show some clear signs that indicate there is a problem that needs to be fixed. The most common sign of a broken LED bulb is that it does not light up when you turn it on. The bulb may also flicker or have a dimmer light than usual. Sometimes, you may notice that the bulb emits a strange smell when it is turned on, which could be a sign of a burnt-out component. Additionally, the bulb may have physical damage, such as a crack or a broken filament, which can be seen when inspecting the bulb. If you notice any of these signs, it is important to address the problem promptly to prevent any further damage and ensure the bulb’s proper functioning.
Tools You Will Need
When it comes to repairing an LED light, having the right tools is crucial. Without the proper equipment, you may find yourself struggling to get the job done, or worse, causing further damage to the bulb. Some essential tools you will need include a soldering iron and solder, wire cutters and strippers, pliers, and a multimeter. A soldering iron is necessary to reattach any broken connections or wires inside the bulb. Wire cutters and strippers will help you remove any damaged wires or insulation, allowing you to replace them with new ones. Pliers can come in handy for bending wires into shape or holding small components in place. Finally, a multimeter is an essential tool that can help you check for continuity, voltage, and resistance, allowing you to troubleshoot any issues with your LED light. In addition to these basic tools, there are other items you may find useful when repairing an LED light. For example, a heat gun can be helpful for removing old solder, while a desoldering pump can help you extract excess solder from a joint. A magnifying glass or microscope can also be useful for inspecting small components or connections. Additionally, you may need replacement parts such as resistors or capacitors, depending on the specific issue with your LED light. By gathering all the necessary tools and supplies before you begin the repair process, you’ll be better equipped to handle any challenges that arise and increase your chances of successfully fixing your broken bulb.
To fix a broken LED bulb, there are several tools one should have on hand. First and foremost, a multimeter is essential for testing the voltage and continuity of the bulb’s components. A soldering iron and solder are also necessary for fixing any loose connections or broken wires. Additionally, a pair of pliers and wire cutters may come in handy for manipulating small parts and cutting wires to the appropriate length. A screwdriver set is also useful for opening up the bulb casing and accessing the internal components. Finally, a steady hand and attention to detail are crucial for a successful repair job. With these tools and a little bit of know-how, repairing an LED bulb is a relatively simple and cost-effective solution.
One of the main tools used in LED light repair is a multimeter. This device is used to measure the voltage, current, and resistance of the circuit. By using a multimeter, you can easily identify if there is a problem with the LED light’s electrical connection. Another important tool is a soldering iron, which is used to fix any broken connections or faulty components. A soldering iron is also useful for replacing damaged LEDs or resistors. Finally, a screwdriver is needed to open up the LED light and access the circuit board. With these tools, you can easily diagnose and fix many common issues with LED lights, saving you time and money.
Fixing the LED Light
LED lights are a popular and energy-efficient alternative to traditional light bulbs. However, like any electronic device, they can sometimes malfunction or break down. If your LED light is flickering, not turning on, or emitting a dim light, there are a few quick and easy tips you can try to fix the problem. First, check the power source. Make sure the light is properly plugged in or the battery is fully charged. If the power source is not the issue, then check the bulb itself. Sometimes, the bulb may be loose or not properly screwed in. Try tightening the bulb and see if that fixes the problem. If the bulb is still not working, then it may need to be replaced. LED bulbs can last for years, but they do eventually burn out. Be sure to purchase a replacement bulb that is compatible with your fixture and wattage requirements. With these simple steps, you can quickly and easily fix your LED light and enjoy its energy-efficient benefits once again.
Repairing a broken LED bulb is a straightforward process that requires only a few tools and some basic skills. The first step is to turn off the power source and unplug the bulb from the socket to avoid any electrical hazards. Next, carefully remove the damaged bulb from its base by twisting and pulling it out gently. Then, using a pair of pliers, carefully remove any broken glass pieces or debris from the base. After that, take a new LED bulb and insert it into the base, making sure it is securely in place. Finally, plug the bulb back into the socket and turn on the power source to test if it is working correctly. With these simple steps, anyone can repair a broken LED bulb without the need for professional assistance.
Fixing a broken LED light bulb can be a daunting task for some people, but with the right tips and tricks, the process can be made easier. One of the most important things to keep in mind is to always turn off the power before attempting any repairs. This can prevent accidents and ensure that the repair is done safely. Another helpful tip is to use the right tools for the job. A pair of pliers, a screwdriver, and a voltage tester can come in handy when repairing a broken LED bulb. Additionally, it’s important to pay attention to the details when taking apart the bulb. Keeping track of which screws go where and being gentle when removing delicate parts can help prevent further damage. Finally, it’s always a good idea to consult a professional if you’re unsure about any aspect of the repair process.
Prevention Tips
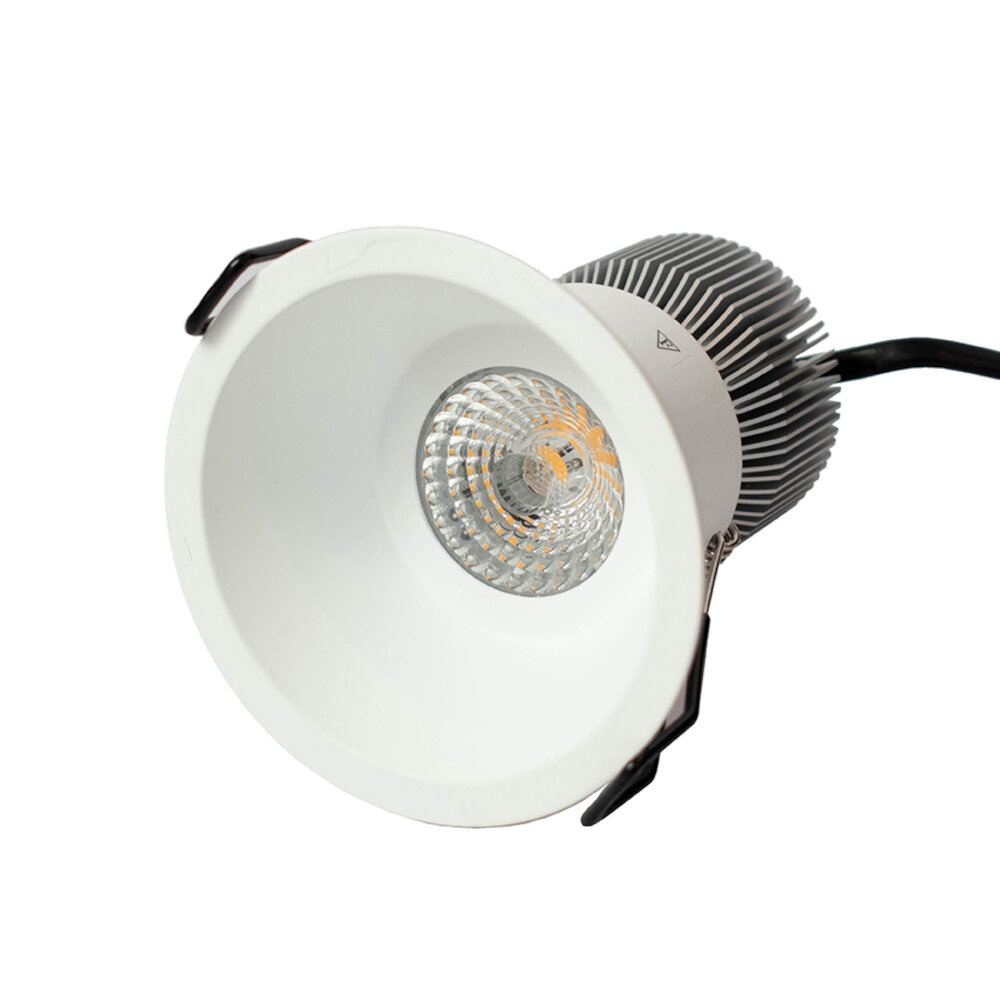
Prevention is always better than cure, and this holds true for LED light bulbs as well. To prevent them from breaking or malfunctioning, there are a few tips you can follow. Firstly, make sure you purchase LED bulbs from a reputable manufacturer. This way, you can be assured of their quality and durability. Secondly, handle the bulbs with care. Avoid dropping them or exposing them to extreme temperatures. This can cause the bulbs to break or malfunction. Thirdly, do not overtighten the bulbs when installing them. This can damage the base and make it difficult to remove the bulb later on. Another tip to prevent LED light bulbs from breaking is to avoid touching the bulb with your bare hands. The natural oils on your skin can damage the bulb and reduce its lifespan. Instead, use gloves or a clean cloth to handle the bulbs. Additionally, avoid using LED bulbs in enclosed fixtures or areas with poor ventilation. This can cause the bulbs to overheat and malfunction. Finally, make sure to turn off the power before replacing LED bulbs. This will prevent electrical shock and damage to the bulb. By following these prevention tips, you can ensure that your LED light bulbs last longer and function properly.
LED bulbs are a great investment for energy efficiency and longevity, but they can still break if not handled properly. To prevent future breakages, there are a few steps you can take. First, make sure to handle the bulb with care and avoid dropping it. Second, do not twist or force it into the socket, as this can damage the internal components. Third, avoid exposing the bulb to extreme temperatures or water, as this can cause it to malfunction. Finally, consider purchasing LED bulbs with a protective coating or shatter-resistant design for added durability. By taking these precautions, you can extend the life of your LED bulbs and save money in the long run.
LED bulbs have become a popular choice for lighting due to their energy efficiency and long lifespan. However, to maximize the lifespan of these bulbs, it is important to perform regular maintenance. One of the most important things to do is to clean the bulbs regularly. Dust and debris can accumulate on the surface of the bulb, reducing its brightness and shortening its lifespan. In addition, it is important to avoid using LED bulbs in areas with high temperatures, as this can also reduce their lifespan. Finally, it is important to avoid turning LED bulbs on and off frequently, as this can also shorten their lifespan. By following these simple maintenance tips, you can ensure that your LED bulbs last as long as possible, saving you money and reducing your environmental impact.
Repairing LED bulbs is an essential task that can save you time, money, and the environment. Instead of throwing away a broken LED bulb and buying a new one, you can fix it with some simple tools and techniques. By repairing the bulb, you keep it out of a landfill and reduce the amount of electronic waste. Additionally, repairing LED bulbs can be cost-effective, especially if you have multiple bulbs to fix. Most importantly, repairing LED bulbs promotes sustainability by reducing the need for new resources and energy to produce new bulbs. Therefore, by repairing your LED bulbs, you are not only saving money but also contributing to a greener and healthier planet.
In conclusion, repairing LED bulbs can be a cost-effective solution to extend the lifespan of your lighting fixtures. However, it is crucial to take safety precautions and avoid causing more damage to the bulb or yourself. Always make sure to turn off the power source and handle the bulb gently. If a bulb is beyond repair, it is better to replace it instead of risking potential hazards. Additionally, investing in high-quality LED bulbs can prevent frequent replacements and save money in the long run. By following these tips and recommendations, you can enjoy well-lit and energy-efficient spaces while reducing your environmental footprint.
Conclusion
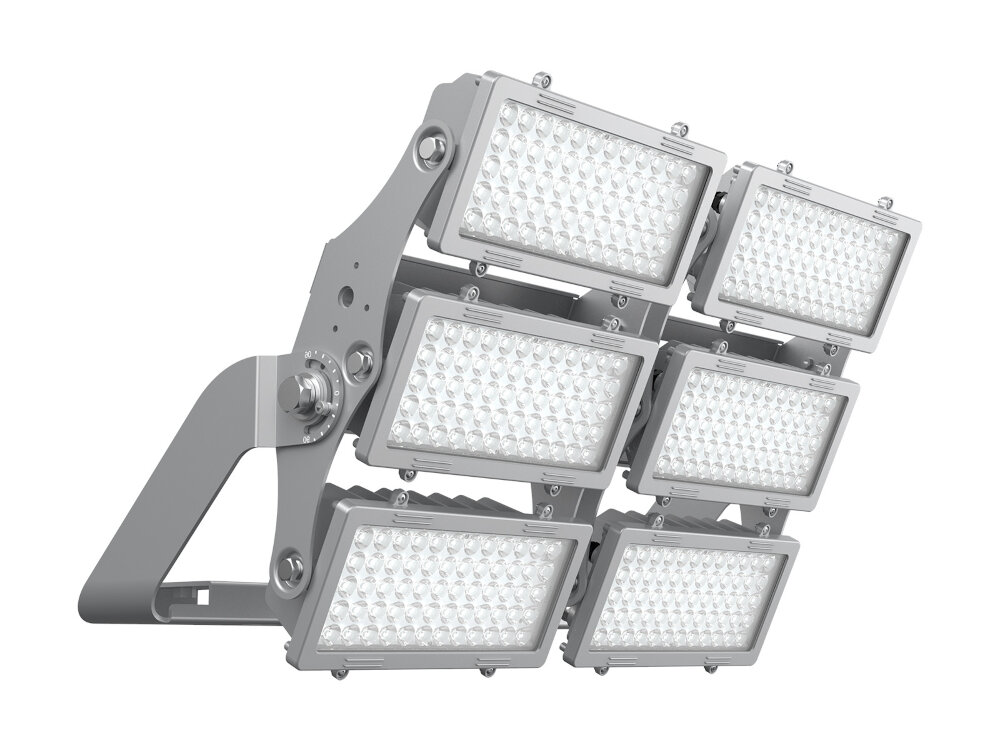
In conclusion, repairing a broken LED light bulb is not as daunting as it may seem, and with a few simple tips and tricks, it can be done quickly and easily. From checking the connections to replacing the driver, each step is essential in determining the cause of the issue and fixing it. However, it is important to remember to take the necessary safety precautions when handling electrical components. With the right tools and a bit of patience, anyone can successfully repair their LED light bulb and save money in the process. So don’t throw away that broken bulb just yet and give these tips a try!

