Quick and Easy Guide: Removing LED Recessed Lights Like a Pro
LED recessed lights are a popular lighting option for modern homes and offices. They are energy-efficient, long-lasting, and provide a clean and modern look to any space. However, there may come a time when you need to replace or remove them. Whether you are upgrading to a newer model or simply want to change the style of your lighting fixtures, it’s important to know how to remove LED recessed lights safely and efficiently. In this quick and easy guide, we will walk you through the steps to remove LED recessed lights like a pro. Removing LED recessed lights can be a daunting task, especially if you have never done it before. However, with the right tools and techniques, it can be a quick and easy process. This guide will provide you with all the information you need to safely remove your LED recessed lights, including the tools you will need, the steps involved, and some helpful tips and tricks to make the process as smooth as possible. So whether you are a seasoned DIYer or a novice homeowner, this guide will help you remove your LED recessed lights like a pro.
Removing LED recessed lights is important for a variety of reasons. Firstly, it allows you to replace or upgrade the lighting fixture to a newer and more efficient model. This can help to reduce energy consumption and save you money on your electricity bills. Secondly, removing recessed lights can give you access to the ceiling cavity, allowing you to perform maintenance or repairs on electrical or plumbing systems. Additionally, removing recessed lights can help to update the aesthetic of your space, allowing you to switch to a different style or color of fixture that better suits your décor. Finally, removing LED recessed lights can also be necessary if the fixture is damaged or malfunctioning, as it may need to be repaired or replaced for safety reasons.
Removing LED recessed lights like a pro has several benefits, including saving time and money. Doing it like a pro requires minimal effort and tools, resulting in a quick and easy process. Additionally, removing the lights professionally ensures that the job is done correctly, minimizing the risk of damage to the ceiling or the light fixture itself. Doing it like a pro also means that the light can be reinstalled without any issues or complications, making it a cost-effective solution. Finally, removing LED recessed lights like a pro adds a touch of professionalism and expertise to any DIY project, making it a valuable skill to have.
Gather the Tools
To remove LED recessed lights like a pro, it is essential to gather the necessary tools before starting the process. The required tools include a ladder or step stool, a flathead screwdriver or a trim removal tool, and a pair of gloves. Ladders or step stools are necessary to reach the recessed lights installed on high ceilings. A flathead screwdriver or trim removal tool can be used to remove the housing or trim of the recessed lights. Gloves protect your hands from injuries and also provide a better grip on the recessed lights. Before starting the process, make sure the power supply to the LED recessed lights is turned off. Once all the tools are gathered, the process of removing LED recessed lights becomes easier and safer. Using a ladder or step stool to reach the recessed lights, carefully remove the housing or trim with a flathead screwdriver or trim removal tool. It is essential to handle the recessed lights carefully to avoid damages to the wiring or the fixture. Wearing gloves provides a better grip on the recessed lights and also protects your hands from any sharp edges or cuts. By following these steps and using the required tools, anyone can remove LED recessed lights like a pro.
Removing LED recessed lights can be a daunting task, but with the right tools, it can be a breeze. To start, you will need a ladder to reach the ceiling where the lights are installed. You will also need a screwdriver to remove any screws that are holding the trim in place. A pair of pliers or wire strippers may also be necessary if the light is hard-wired into the electrical system. Additionally, you may need a voltage tester to ensure that the power is off before you begin working on the lights. Finally, a pair of gloves and safety glasses can help protect you from any debris or broken glass that may result from the removal process. By having all of these tools on hand, you will be able to remove your LED recessed lights quickly and safely, like a pro.
To remove LED recessed lights like a pro, there are a few essential tools that you will need. Firstly, a ladder or step stool is necessary to access the recessed light fixture. Secondly, a flathead screwdriver or a trim removal tool is needed to detach the trim from the fixture. A pair of gloves is also recommended to protect your hands from any sharp edges. Additionally, a wire cutter or needle-nose pliers may be required to disconnect any wires that are connected to the fixture. Finally, a flashlight can be helpful to provide additional lighting in the area. With these tools, you can efficiently remove LED recessed lights without any hassle.
Turn off the Power
When it comes to removing LED recessed lights, the first and most crucial step is to turn off the power. This is an essential safety measure that helps to prevent electrical shock or any other accidents that may occur during the removal process. There are several ways to turn off the power, depending on the location of the light fixture. In most cases, the power can be turned off by flipping the switch on the circuit breaker box or by simply turning off the light switch. However, if you are unsure about which circuit breaker controls the light fixture, it is always best to turn off the main power switch to ensure complete safety. Turning off the power not only ensures your safety but also protects the LED recessed light from any damage that may occur during the removal process. When the power is turned on, the LED light is energized, which means that there is a risk of short-circuiting or damaging the light fixture if it is removed improperly. Therefore, it is essential to turn off the power to the LED recessed light before attempting to remove it. This will reduce the risk of any damage to the light fixture and ensure that it can be removed safely without any issues. Overall, turning off the power is a crucial step in removing LED recessed lights and should not be overlooked.
It is crucial to turn off the power before removing LED recessed lights to ensure safety and prevent electrical shock. LED recessed lights are connected to an electrical supply, and any mishandling can lead to serious injuries or damage to the lighting fixture. Moreover, leaving the power on can also cause the LED recessed lights to overheat, leading to a fire hazard. Turning off the power is a simple yet essential step that should not be overlooked. It is recommended to use a non-contact voltage tester to ensure that the power is off before starting the removal process. By taking this precautionary measure, you can remove LED recessed lights like a pro without risking your safety or damaging the lighting fixture.
Before removing LED recessed lights, it is essential to turn off the power to avoid any electrical accidents. Here’s a step-by-step guide on how to do it like a pro. Firstly, locate the electrical panel in your home or office. Once located, open the panel door and look for the circuit breaker that controls the power to the recessed lights. Flip the switch to the \off\ position. If you are unsure which switch controls the lights, turn off the main power switch to the entire building to be safe. After turning off the power, wait for a few minutes to ensure that the circuit is completely de-energized. You can then safely proceed with removing the LED recessed lights. Remember to always take the necessary precautions when working with electricity to avoid any hazards.
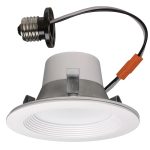
Remove the LED Recessed Light
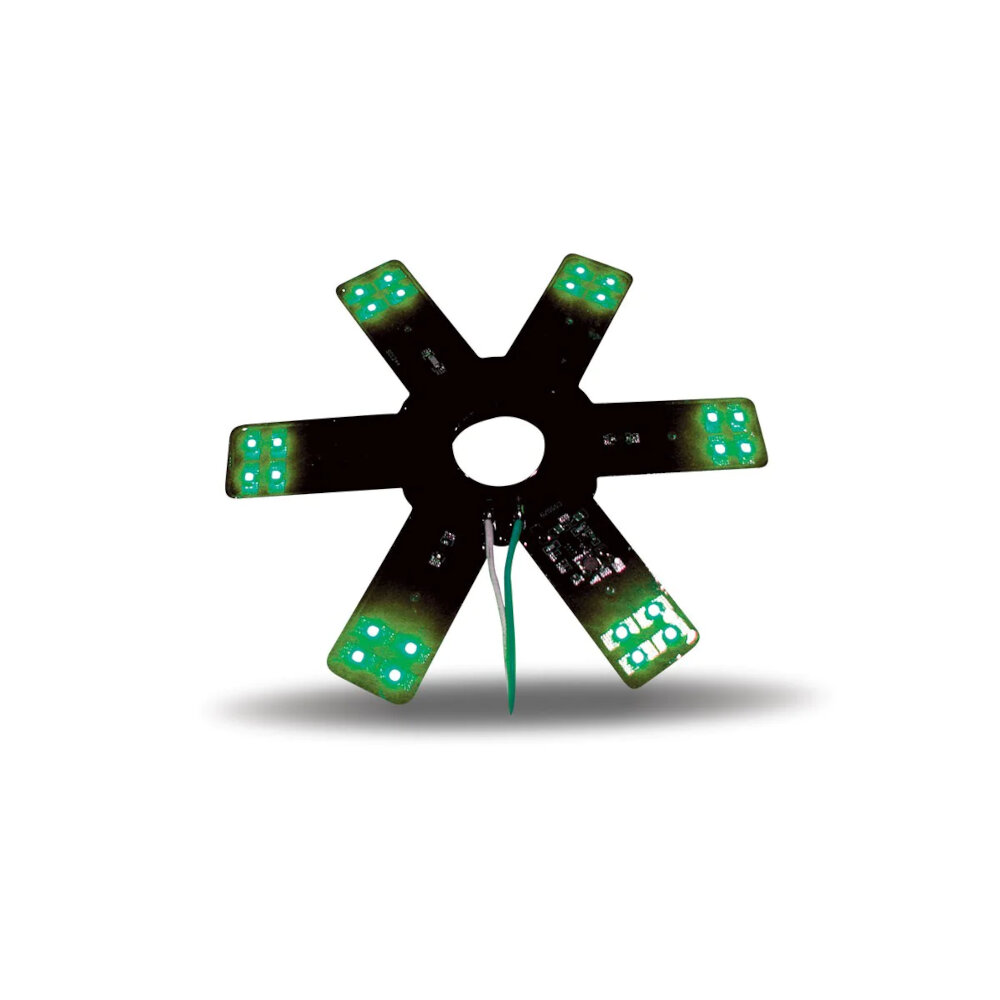
Removing LED recessed lights might seem like a daunting task, but with the right tools and knowledge, it can be done quickly and easily. The first step is to turn off the power supply to the light fixture at the circuit breaker. This is important to avoid any electrical hazards during the removal process. Once the power is off, use a ladder or step stool to reach the light fixture. Using a flathead screwdriver, gently pry the trim or cover off the fixture. Be careful not to damage the fixture or ceiling while doing this. Next, locate the clips that hold the fixture in place. There are usually two or four clips that can be seen once the cover or trim is removed. Use a screwdriver to press the clips inward and pull the fixture down carefully. If the fixture seems stuck, use a flathead screwdriver to gently pry it loose. Once the fixture is out of the ceiling, disconnect the wires by unscrewing the wire nuts and separating the wires. Remember to label the wires so that you can easily reconnect them to the new fixture. With these simple steps, removing LED recessed lights can be done efficiently and safely.
Removing LED recessed lights from the ceiling can seem like a daunting task, but with the right tools and techniques, it can be done quickly and easily. First, turn off the power to the light fixture by switching off the circuit breaker or removing the fuse. Next, use a stepladder to reach the light fixture, and carefully remove the trim by either unscrewing it or gently prying it off with a screwdriver. Once the trim is removed, you will be able to see the LED module, which can be gently pulled out of the housing by gripping it with both hands and twisting it slightly. Finally, disconnect the wires by using wire cutters or pliers to remove the wire connectors, and the LED recessed light will be ready to be replaced or disposed of.
When removing LED recessed lights, it’s crucial to take precautions to avoid damaging the ceiling or wires. Firstly, turn off the power supply to the fixture at the circuit breaker to prevent electrical shocks. Next, use a screwdriver to remove the screws holding the fixture in place, and gently pull down the fixture to expose the wiring. Avoid pulling or tugging on the wires, as this can damage the connections. Instead, use wire cutters to cut the wires if they’re tightly secured. When handling the fixture, be careful not to bump it against the ceiling, as this can cause damage. By following these tips, you can remove LED recessed lights like a pro without causing any damage.
Install a New LED Recessed Light
Installing a new LED recessed light can seem like a daunting task, but with the right tools and guidance, it can be done quickly and easily. The first step is to turn off the power to the area where the light will be installed to ensure safety. Next, locate the hole in the ceiling where the light will go and remove the existing recessed light fixture. This can be done by unscrewing the screws or twisting the fixture counterclockwise. Once the fixture is removed, disconnect the wires and remove any excess insulation around the hole. Now that the hole is prepped, it’s time to install the new LED recessed light. Start by connecting the light’s wires to the house wires, making sure to match the colors. Next, align the light with the hole and use the accompanying clips to secure it in place. Finally, attach the trim to the light and turn the power back on to test the light. With these simple steps, you can have a new LED recessed light installed in no time, adding both style and functionality to your space.
Installing a new LED recessed light may seem like a daunting task, but it can be done with ease by following a few simple steps. First, turn off the power to the existing recessed light by switching off the circuit breaker. Then, remove the old light fixture by unscrewing the screws that hold it in place and disconnecting the wires. Next, connect the wires of the new LED recessed light to the existing wires using wire connectors. Finally, attach the new light fixture to the ceiling using the screws provided, and turn the power back on to test the light. With these steps, you can successfully install a new LED recessed light and enjoy energy-efficient lighting in your home.
Proper installation of a new light is crucial to ensure its optimal functionality and longevity. Firstly, check if the location where the light is to be installed is suitable and has the necessary electrical connections. Secondly, carefully read and follow the manufacturer’s instructions and guidelines for installation. Thirdly, ensure that the wiring is done correctly and safely, and that the fixture is securely attached to the ceiling or wall. Finally, test the light to ensure it is functioning correctly and that there are no loose connections or other issues. By following these simple steps, you can ensure that your new light is properly installed and will provide you with the ideal lighting solution for your home or office.
Removing LED recessed lights like a pro is an essential skill that every homeowner should have. It is crucial to know how to remove these lights safely and efficiently to avoid any potential hazards that may arise. Whether you are replacing your old LED lights with new ones or making some changes to your ceiling, the process of removing LED recessed lights requires precision and care. A professional approach not only ensures that you complete the task quickly, but it also minimizes the risk of damaging your ceiling or the light fixture. By following the quick and easy guide to removing LED recessed lights like a pro, you can save yourself time, money, and the headache of dealing with any unexpected issues.
Removing LED recessed lights may seem like a daunting task, but with the right tools and guidance, it can be a breeze. This quick and easy guide will provide you with all the necessary steps to successfully remove your LED recessed lights like a pro. By following this guide, you can avoid damaging your ceiling or the light fixture itself, and ensure a smooth removal process. It is essential to take your time, read through the steps carefully, and gather all the necessary tools before starting the removal process. With a little patience and attention to detail, you can easily remove your LED recessed lights and achieve the desired outcome. So, follow this guide and be confident in your ability to complete the task like a pro!
Conclusion
In conclusion, removing LED recessed lights can be a straightforward process with the right knowledge and tools. By following the steps outlined in this quick and easy guide, you can remove these lights like a pro, without damaging your ceiling or the lights themselves. Remember to turn off the power supply, use proper tools, and handle the lights with care. Whether you’re replacing the lights or performing maintenance, this guide can help you get the job done efficiently and safely. With a little patience and attention to detail, you can handle this task like a true DIY expert.