LED Light Replacement Made Easy: How to Change an LED Light in a Few Simple Steps
LED lights have revolutionized the world of lighting with their energy efficiency, durability, and long lifespan. They have replaced traditional incandescent and fluorescent bulbs in many homes and businesses. However, even the most advanced LED lights will eventually need to be replaced. Whether it’s because of a burnt-out bulb or a desire to upgrade to a more efficient model, changing an LED light may seem like a daunting task. But fear not, with a few simple steps, you can replace your LED light with ease and save money on professional installation fees. In this article, we will guide you through the process of changing an LED light in a few easy-to-follow steps. We’ll cover the tools you’ll need, safety precautions to keep in mind, and the different types of LED lights and their installation methods. With our comprehensive guide, you’ll be able to replace your LED light quickly and efficiently, without any hassle. So, let’s get started and learn how to change an LED light in just a few simple steps.
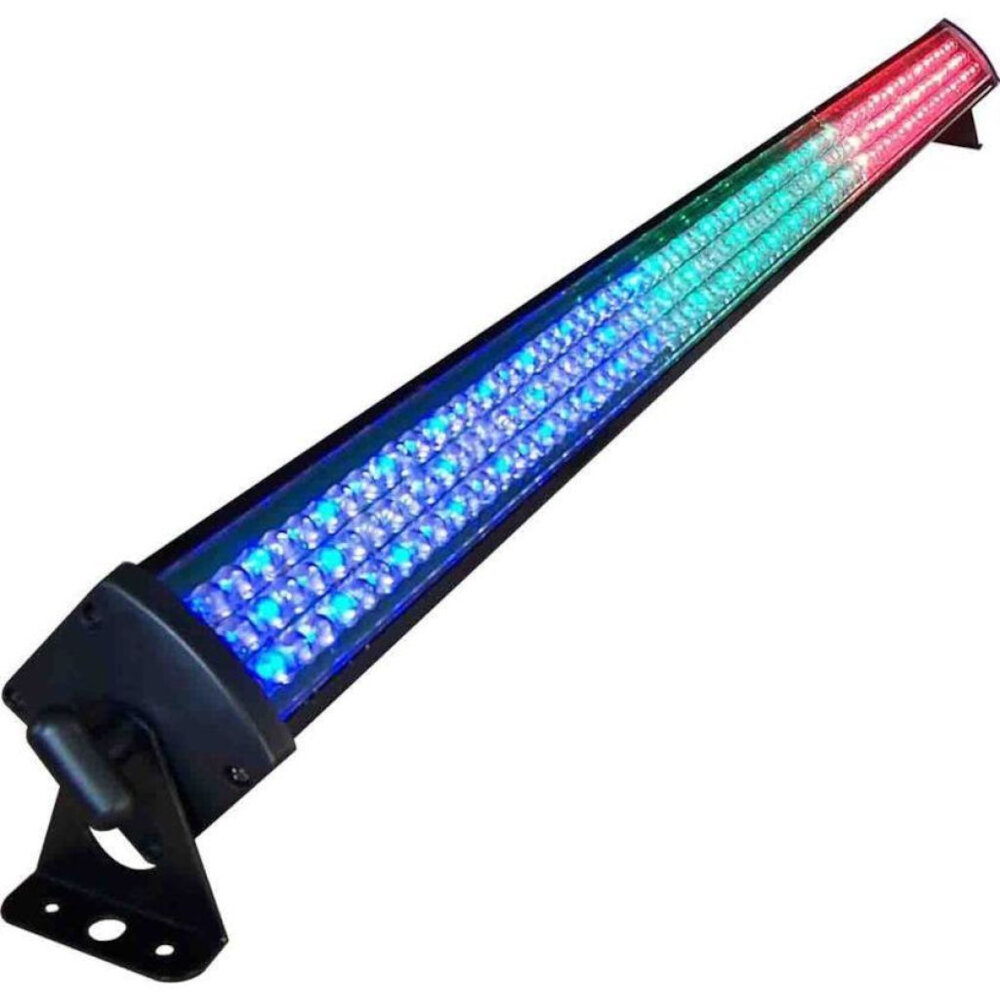
LED lights, or light-emitting diodes, are a newer form of lighting technology that have quickly gained popularity due to their many advantages over traditional lights. Unlike incandescent or fluorescent bulbs, LEDs do not use a filament or gas to produce light, but instead use a semiconductor that generates light when an electrical current is passed through it. This allows LEDs to be much more energy-efficient, long-lasting, and durable than traditional lights. Additionally, LEDs do not emit heat, UV rays, or other harmful substances, making them safer and more environmentally friendly. Overall, LED lights are a great choice for anyone looking to upgrade their lighting system to a more efficient, cost-effective, and eco-friendly option.
Knowing how to change an LED light is an important skill to have as these energy-efficient bulbs become more common in our homes and workplaces. Not only does it save you money on the cost of hiring an electrician, but it also helps you maintain a well-lit and comfortable environment. Being able to replace an LED light quickly and easily means that you’ll never have to suffer through a dimly lit room or deal with the frustration of a burnt-out bulb. Additionally, changing an LED light is a simple task that can be accomplished with a few basic tools and a little bit of knowledge, making it accessible to anyone regardless of their level of expertise. So whether you’re a seasoned DIYer or just starting out, learning how to change an LED light is a valuable skill that will come in handy time and time again.
Safety First
Ensuring safety should be the top priority when it comes to any electrical work. This is especially true when replacing LED lights. Before starting any work on the LED light, make sure to turn off the power source to the fixture. This can be done by turning off the switch or circuit breaker that controls the fixture. Additionally, it is recommended to use a voltage tester to confirm that the power is indeed off. This will prevent any accidental shocks or electrocution while working on the LED light. Also, make sure to wear protective gear such as gloves and safety glasses to prevent any injuries. Furthermore, it is important to consider the environment when replacing LED lights. If the fixture is located in a damp area such as a bathroom, it is important to ensure that the LED light is rated for damp locations. Using a non-rated LED light can lead to electrical hazards and damage to the fixture. Additionally, it is important to ensure that the LED light is the correct size and shape for the fixture. Using an LED light that is too big or too small can lead to improper installation and potential hazards. By following these safety precautions, replacing an LED light can be a simple and safe task.
Before attempting to change an LED light, there are some important precautions to take to ensure your safety and the proper functioning of the light. First, make sure the power source to the light is turned off to avoid any potential electrical shock. Next, check the manufacturer’s instructions for any specific guidelines or tools required for the replacement. It’s also important to handle the LED light carefully to avoid damaging it, as even small cracks or chips can affect the performance of the light. Lastly, make sure to dispose of the old LED light properly, as it may contain hazardous materials. By following these precautions, you can successfully replace your LED light while ensuring safety and optimal performance.
When it comes to changing an LED light, having the right tools on hand is crucial to getting the job done quickly and effectively. First and foremost, you’ll need a replacement LED light that is compatible with your fixture. Additionally, you’ll need a ladder or stool to reach the fixture, as well as a pair of gloves to protect your hands from any sharp edges or broken glass. A screwdriver may also be necessary to remove any screws or fasteners holding the fixture in place. Finally, a voltage tester can be helpful for ensuring that the power to the fixture is turned off before you begin working on it. With these tools at your disposal, changing an LED light can be a simple and stress-free task.
Before replacing an LED light, it is essential to switch off the power supply to avoid any electrical shocks or hazards. To switch off the power supply, locate the circuit breaker or the switch that controls the LED light you are replacing. If you are unsure which switch controls the LED light, turn off the main power supply to the house. Once you have identified the correct breaker or switch, turn it off by flipping the switch or pushing the circuit breaker to the off position. Double-check that the power supply is off by testing the LED light with a voltage tester. Once you have confirmed that the power supply is off, you can safely proceed with changing the LED light.
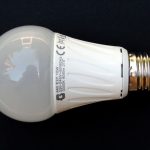
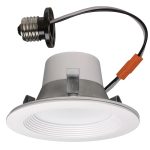
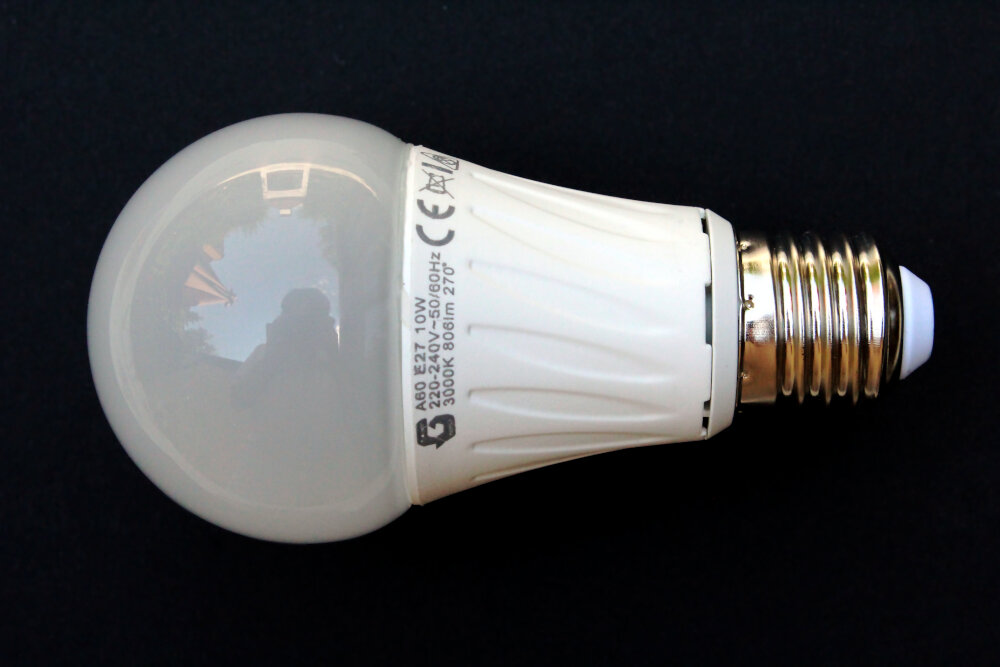
Identifying the Right LED Light Bulb
Choosing the right LED light bulb can be a daunting task, especially with the numerous options available in the market today. However, identifying the right LED bulb can help you save money in the long run, as LED bulbs are not only energy-efficient but also last longer than traditional bulbs. When selecting an LED bulb, consider the brightness, color temperature, and size of the bulb. The brightness of the bulb is measured in lumens, and the higher the lumens, the brighter the bulb. Additionally, color temperature is essential in determining the ambiance of a room. Warm white bulbs give a cozy feel, while cool white bulbs provide a more clinical atmosphere. Another factor to consider when choosing an LED bulb is the size of the bulb. LED bulbs come in different shapes and sizes, and it is crucial to choose the bulb that fits your fixture. One way to ensure that you get the right bulb size is by checking the base type of the bulb. Different bulbs have different base types, and it is important to match the base type with the fixture. Lastly, it is essential to choose an LED bulb with a high-quality driver. The driver is responsible for regulating the current that powers the light, and a low-quality driver can result in flickering or dimming of the light. In conclusion, selecting the right LED bulb can be overwhelming, but with the right information, you can easily make an informed decision.
Choosing the right LED light bulb size and style for your fixture can be a daunting task, but it doesn’t have to be. To determine the correct size, start by checking the base of your fixture to ensure compatibility with the bulb you choose. Next, consider the wattage and brightness level you need. LED bulbs come in a range of wattages and lumens, so determine how bright you want the room to be and choose accordingly. Additionally, consider the style of the bulb, such as a traditional A-shape, globe, or candelabra. By taking these factors into account, you’ll be able to select the perfect LED bulb for your fixture and enjoy the energy-efficient benefits of LED lighting.
When choosing the right LED light, it’s important to understand the difference between lumens and watts. Lumens measure the brightness of a light, while watts measure the amount of energy it uses. In the past, we used watts to determine the brightness of a light, but with LED technology, the same amount of brightness can be achieved with much less energy. So, when shopping for LED lights, pay attention to the lumens rather than the watts. A higher lumen count means a brighter light, while a lower lumen count means a dimmer light. By understanding lumens and watts, you can make an informed decision when it comes to choosing the right LED light for your home or business.
Choosing the right color temperature for your LED light is crucial in setting the mood and ambiance of your space. Color temperature is measured in Kelvin, and the higher the number, the cooler and bluer the light appears. Lower numbers indicate a warmer, yellowish light. For a cozy and relaxing atmosphere, choose a warmer color temperature between 2700K to 3000K. If you need brighter lighting for a workspace, a cooler temperature of 4000K to 5000K would be more suitable. It’s important to consider the purpose of the space and the activities that will take place when selecting the appropriate color temperature for your LED light replacement.
Removing the Old LED Light Bulb
Removing the old LED light bulb is the first and crucial step towards replacing it with a new one. Before you begin, ensure that the light switch is turned off to avoid any electrical shock. It is recommended to wear gloves while removing the bulb, as the heat generated may cause it to become hot and difficult to handle. To remove the bulb, hold it firmly at its base and twist it counterclockwise until it comes out of the socket. If it is stuck, try gently wiggling it from side to side to loosen it up. Be careful not to apply too much pressure, as this may cause the bulb to break and scatter glass shards around the area. Once you have successfully removed the old LED light bulb, inspect the socket to ensure that it is in good condition. Check for any signs of damage or corrosion, as this may affect the performance of the new bulb. If you notice any issues, it is recommended to replace the socket as well. Additionally, take this opportunity to clean the socket and surrounding area to remove any dust or debris that may have accumulated. This will help ensure a good connection between the new bulb and the socket, which is essential for optimal performance. With the old bulb removed and the socket inspected and cleaned, you are now ready to install the new LED light bulb.
When it’s time to replace your old LED light bulb, safety should be your top priority. First, make sure the light switch is turned off to avoid any electrical shock. Then, allow the bulb to cool down if it has been on recently. Gently twist the old bulb counterclockwise until it releases from the fixture. If the bulb is stuck, try using a pair of rubber gloves or a cloth for better grip. Once the old bulb is removed, dispose of it properly according to your local regulations. Finally, insert the new LED bulb by gently twisting it clockwise until it is securely in place. Remember to turn on the light switch to test the new bulb’s functionality.
During the process of LED light replacement, certain issues may arise which can delay or interrupt the installation process. One of the most common issues is the tightness of the existing light fixture, which can make it difficult to remove the old bulb. Another issue is the compatibility of the new bulb, which can be determined by the type of bulb base or the wattage required. Additionally, the age of the fixture can also lead to issues such as rusted screws or damaged sockets. It is important to be patient and cautious when removing the old bulb and to ensure that the replacement bulb is compatible with the fixture before installation.
Replacing LED lights can be a daunting task, especially for those who lack technical know-how. However, there are several solutions that can make the process easy and hassle-free. First, it is important to choose the right LED bulb that matches the specifications of the fixture. Secondly, turn off the power to the light fixture before replacing the bulb to prevent electrocution. Thirdly, remove the old bulb by gently twisting it in a counterclockwise direction and insert the new bulb by twisting it in a clockwise direction. Finally, turn on the power and test the new bulb to ensure it is functioning correctly. By following these simple steps, anyone can replace an LED light with ease.
Installing the New LED Light Bulb
LED light bulbs are a popular choice for homeowners due to their energy efficiency and longevity. However, changing an LED light bulb can be a bit different than changing a traditional incandescent bulb. Installing a new LED light bulb is a straightforward process that can be completed in just a few simple steps. To begin, make sure the power to the light fixture is turned off before attempting to change the bulb. This can be done by turning off the switch or unplugging the fixture. Next, remove the old bulb by gently twisting it counterclockwise until it comes loose from the socket. Be careful not to apply too much pressure or force as this could damage the socket or break the bulb. Once the old bulb is removed, take the new LED bulb and insert it into the socket by gently pushing it in and twisting it clockwise until it is securely in place. Turn the power back on and test the bulb to ensure that it is working correctly. With just a few simple steps, installing a new LED light bulb can be a quick and easy task that will provide energy-efficient lighting for years to come.
To install a new LED light bulb, first, turn off the power supply to the fixture. Then, wait for the bulb to cool down if it was recently on. Next, remove the old bulb by gently twisting it counterclockwise and pulling it out of the socket. Take the new LED bulb and insert it into the socket by gently pushing it in and then twisting it clockwise until it is securely in place. Finally, turn on the power supply and test the new bulb to ensure it is functioning properly. Remember to dispose of the old bulb properly and enjoy the energy-efficient benefits of your new LED light.
Proper installation of LED lights is crucial for their optimal performance and longevity. Before replacing an LED light, ensure that it is compatible with the fixture and the voltage rating is correct. Turn off the power supply to the fixture and wait for the light to cool down before starting the replacement process. Check the wiring connections carefully and make sure they are secure and properly aligned. Be cautious while handling the LED light to avoid any damage to the fixture or the light itself. Finally, test the light to ensure that it is functioning correctly before turning the power supply back on. By following these simple tips, you can ensure a hassle-free LED light replacement process and a well-lit space.
Before installing a new LED light bulb, it is essential to test it thoroughly to ensure its functionality. First, check if the bulb is compatible with the fixture and whether it has the right size and shape. Once confirmed, you can proceed with the testing by plugging it into an outlet or socket. Turn on the switch to check if the bulb illuminates properly and emits the desired brightness. You can also check for any flickering or buzzing sounds which could indicate a faulty bulb. If the bulb meets all the requirements, you can safely install it in your fixture and enjoy the benefits of energy-efficient and long-lasting lighting.
LED light replacement is a crucial aspect of maintaining a well-lit and energy-efficient environment. LED lights are rapidly becoming the preferred lighting option due to their long-lasting durability, high energy efficiency, and low maintenance costs. By replacing traditional halogen or incandescent bulbs with LED lights, you can significantly reduce your energy consumption, save money on electricity bills, and contribute towards a greener environment. LED light replacement is a simple process that can be done in just a few easy steps, making it an accessible option for everyone. So, upgrade your lighting system today and enjoy brighter, more efficient, and eco-friendly lighting with LED replacements.
Changing an LED light is a straightforward process that requires a few simple steps. First, turn off the power supply to the light to ensure safety. Next, remove the cover or casing of the light fixture to access the LED bulb. Gently twist the bulb counterclockwise to release it from the socket, and then replace it with a new LED bulb, making sure it is securely fastened by twisting it clockwise. Finally, replace the cover or casing and turn the power supply back on to test the new LED light. With these easy steps, anyone can replace an LED light quickly and easily, without the need for professional assistance.
If you’re looking to upgrade your lighting system, consider switching to LED lights. With their energy efficiency, longer lifespan, and brighter illumination, LED lights are the perfect choice for any home or office space. Not only will you save money on your electricity bill, but you’ll also enjoy the benefits of better lighting quality. Don’t be intimidated by the thought of replacing your current lights – it’s a simple process that can be done in just a few easy steps. Try it out and see for yourself the difference that LED lighting can make in your daily life.
Conclusion

In conclusion, replacing an LED light is a straightforward process that anyone can do with a few simple steps. Whether you’re looking to upgrade your lighting or replace a broken bulb, the process is quick and easy. With the right tools and a little bit of knowledge, you can have your LED light replaced in no time. Not only are LED lights energy-efficient and long-lasting, but they’re also easy to maintain and replace. So, don’t hesitate to switch to LED lighting and enjoy the many benefits it has to offer.