Effortlessly Remove LED Flush Mount Ceiling Light with These Simple Steps
Looking to remove your LED flush mount ceiling light but not sure how? Don’t worry, it’s simpler than you think! With just a few easy steps, you can effortlessly remove your LED flush mount ceiling light without any hassle. Whether you’re looking to change the bulb or replace the entire fixture, this guide will provide you with everything you need to know. LED flush mount ceiling lights are a popular choice for many households due to their sleek and modern design. However, there may come a time when you need to remove the light for maintenance or repair purposes. While it may seem daunting at first, removing an LED flush mount ceiling light is a straightforward process that anyone can do with the right tools and a bit of guidance. So, let’s dive in and learn how to remove your LED flush mount ceiling light with ease.
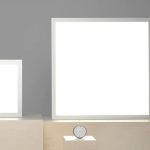
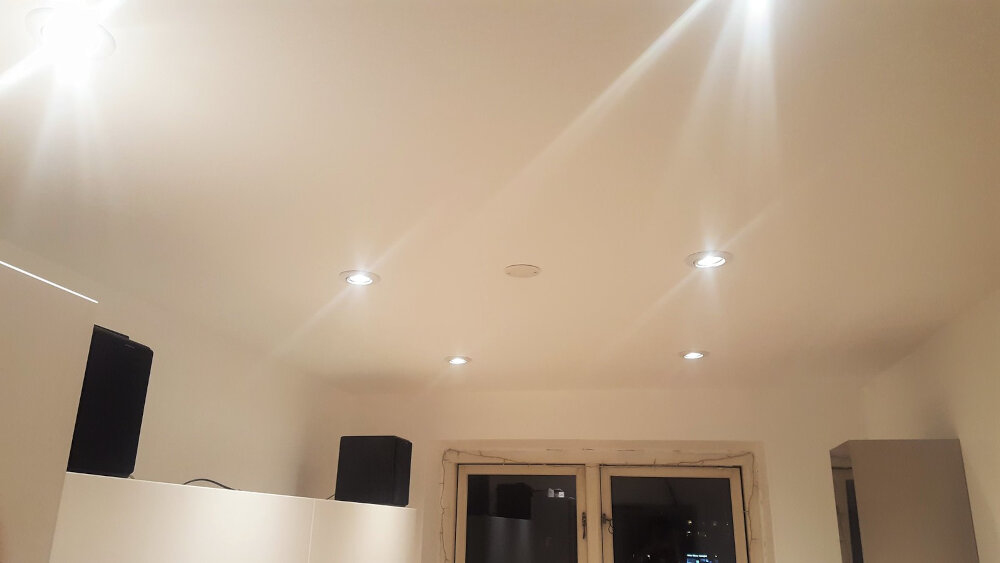
LED flush mount ceiling lights are a popular lighting fixture that is commonly used in homes, offices, and other commercial spaces. These lights are designed to be mounted flush with the ceiling, providing a sleek and modern look. LED flush mount ceiling lights are energy-efficient and long-lasting, making them a cost-effective lighting option. They come in a variety of styles and sizes, ranging from simple and understated to bold and eye-catching. Whether you’re looking to update your home’s lighting or add some style to your office, LED flush mount ceiling lights are a great choice. However, if you need to remove them for any reason, it’s important to do so safely and properly to avoid damage to the fixture or the ceiling.
Knowing how to remove an LED flush mount ceiling light is essential for any homeowner or renter. It allows for easy maintenance of the light fixture, such as changing the light bulb or cleaning the cover. In addition, knowing how to remove the fixture can save money on hiring a professional electrician for minor repairs or replacements. It also provides a sense of independence and empowerment to be able to handle household tasks on your own. With these simple steps, removing an LED flush mount ceiling light can be done effortlessly and with confidence.
Turn off the power supply
When it comes to removing a LED flush mount ceiling light, the first and most important step is to turn off the power supply. This is crucial for the safety of the person removing the light as well as for the overall functionality of the light fixture itself. Before attempting to remove the light, it’s important to locate the circuit breaker or switch that controls the power supply to the fixture. This may require some investigation or consultation with an electrician if you are unsure of which breaker or switch to turn off. Once you have located the correct breaker or switch, turn it off to ensure that there is no power running to the light fixture. This will ensure that you can safely remove the light without risk of electrical shock or damage to the fixture. It’s important to note that simply turning off the light switch is not enough to ensure that the power supply to the fixture is off. Always double-check the circuit breaker or switch to ensure that there is no power flowing to the light fixture before beginning the removal process. Taking this step will not only ensure your safety, but will also make it easier to remove the LED flush mount ceiling light in a hassle-free manner.
Before attempting to remove an LED flush mount ceiling light, it is crucial to turn off the power supply to prevent electrical accidents. Failure to do so can result in electric shock or even electrocution. Turning off the power supply also ensures that you will not damage the light fixture or any other electrical components during the removal process. Additionally, by turning off the power supply, you are not only protecting yourself but also preventing any potential damage to your home’s electrical system. Taking the simple step of turning off the power supply can save you from a lot of trouble and ensure a safe and successful removal process.
When it comes to removing a LED flush mount ceiling light, it is essential to turn off the power supply beforehand. To do so, firstly, locate the breaker box and flip the switch that corresponds to the room you are working in. Next, use a voltage tester to confirm that the power has been successfully turned off. It is important to take this step seriously as it can prevent any potential electrical hazards. Once the power has been completely shut off, you can proceed with removing the LED flush mount ceiling light with ease and safety. Remember to always prioritize safety when working with electricity.
Remove the cover
Removing the cover of your LED flush mount ceiling light can seem intimidating at first, but with the right steps, it can be done effortlessly. The first step is to turn off the power supply to the light. This is crucial to prevent any electrical accidents or shocks. You can do this by switching off the circuit breaker or simply by unplugging the light from the socket. Next, locate the screws that hold the cover in place. These screws are usually located on the outer edge of the cover and can be easily removed with a screwdriver. Once you have removed the screws, gently pull the cover away from the ceiling. You may need to wiggle it a bit to loosen it from the ceiling. Finally, be careful not to drop the cover once it is removed. Once you have successfully removed the cover, you can now access the LED bulbs and other components of the light fixture. This is the perfect time to clean the cover and other parts of the fixture. You can use a soft cloth and mild cleaning solution to wipe away any dust or dirt that has accumulated over time. If you need to replace the bulbs, this is the perfect time to do so. Simply remove the old bulbs and replace them with new ones of the same wattage. Once you have finished cleaning or replacing components, gently place the cover back onto the ceiling and secure it with the screws. Finally, switch the power supply back on and enjoy the refreshed look of your LED flush mount ceiling light.
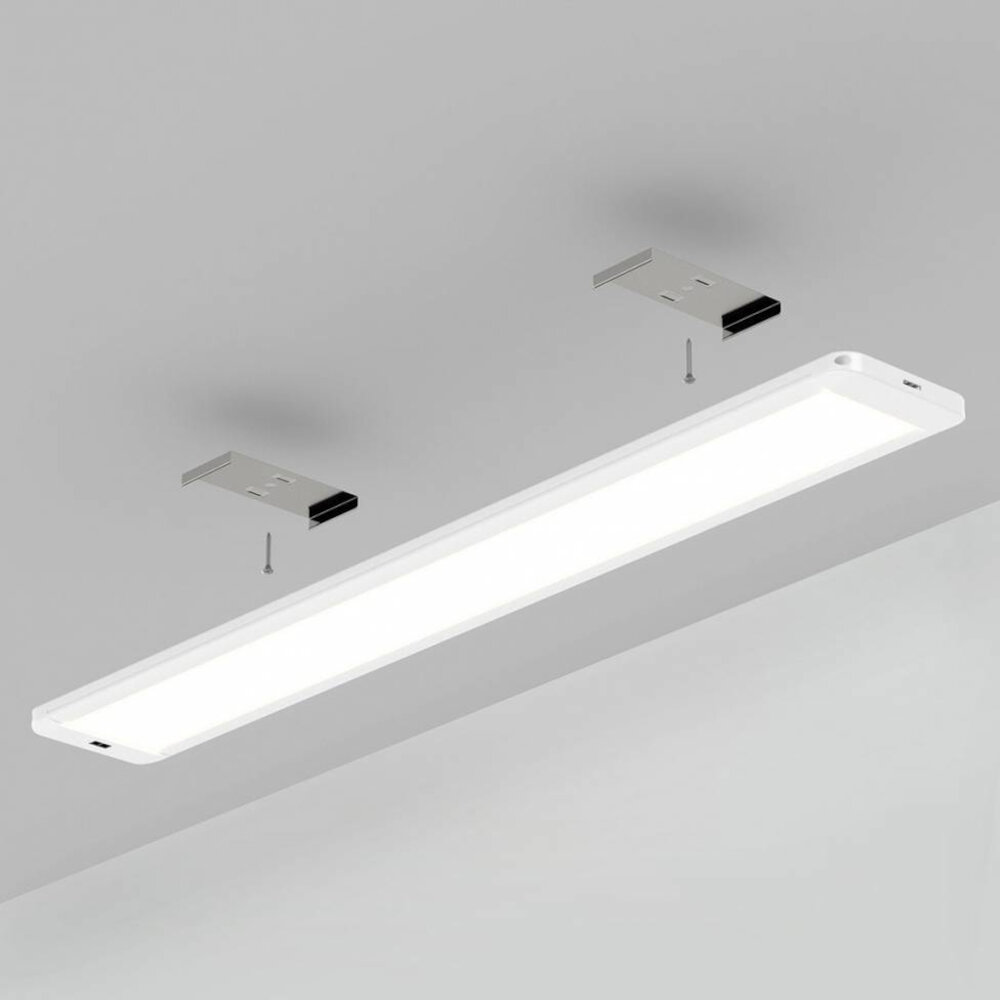
The cover of an LED flush mount ceiling light is an essential component to ensure the proper functioning of the light fixture. Typically, it is made of durable materials such as acrylic or glass, which are designed to withstand the weight of the fixture and ensure its longevity. The cover acts as a protective shield for the LED bulbs, preventing dust, dirt, and other debris from getting inside the fixture and potentially causing damage. Additionally, the cover helps to diffuse the light emitted by the LED bulbs, providing a soft and even glow throughout the room. Its sleek and modern design also adds a touch of elegance to any space, making it a popular choice for both residential and commercial applications.
Removing the cover of an LED flush mount ceiling light can be a challenging task, especially if you don’t know the right steps to follow. However, with the right guidance, this process can be effortless. First, turn off the power supply to the light to avoid any accidents. Next, remove the screws or clips that hold the cover in place. If your light has clips, gently push them inwards, and the cover will come off. If it has screws, use a screwdriver to unscrew them and lift the cover off. Finally, inspect the cover for any damages and clean it with a soft cloth. Once you’re done, replace the cover by reversing the steps you followed while removing it. These simple steps will help you remove the LED flush mount ceiling light cover effortlessly, making it easier to replace burnt-out bulbs or clean your light fixture.
Remove the old LED light

Removing the old LED light is the first step towards installing a new flush mount ceiling light. It may seem like a daunting task, but with the right tools and techniques, it can be done effortlessly. Before starting the process, make sure you have turned off the power supply to the light fixture to avoid any electrical hazards. Once you have done that, remove the screws or clips that are holding the light fixture in place. You may need a screwdriver or pliers for this task. Once the screws or clips are removed, gently pull the fixture away from the ceiling. Be careful not to damage the wires or the ceiling while doing so. If the fixture is stuck, you may need to use a putty knife or a pry bar to loosen it. Once the fixture is removed, you will be able to access the wiring. Carefully disconnect the wires from the fixture. You may need to use wire cutters or strippers to do this. Make sure you label the wires as you disconnect them to avoid any confusion while reconnecting them later. Once the wires are disconnected, you can remove the old LED light and dispose of it properly. Make sure you follow the local guidelines for disposing of electronic waste. With the old light removed, you can now start installing the new flush mount ceiling light.
Removing an old LED flush mount ceiling light may seem like a daunting task, but it can be done easily with a few simple steps. First, turn off the power supply to the light fixture by switching off the circuit breaker or removing the fuse. Use a ladder or step stool to reach the fixture, and carefully detach the cover or shade from the base by unscrewing the screws or twisting it counterclockwise. If the light is hardwired, disconnect the wires by removing the wire nuts and pulling them apart. If it is a plug-in type, unplug it from the outlet. Once the wires are disconnected, remove the mounting bracket or screws that hold the base to the ceiling, and carefully lower the fixture down. Dispose of the old LED light safely and securely.
Removing an old LED flush mount ceiling light may seem like a daunting task, but with the right tools and knowledge, it can be done effortlessly. Firstly, turn off the power supply to the fixture by flipping the switch on the circuit breaker. Next, remove the screws or bolts securing the fixture to the ceiling, being careful not to damage any wires. Once the fixture is loose, gently pull it down and disconnect any wires connecting it to the ceiling. Ensure that you label the wires for easy reconnection later. Finally, remove any remaining hardware and patch up any holes in the ceiling before installing the new fixture. With these simple steps, you can remove the old LED flush mount ceiling light and prepare for a new and improved lighting solution.
Install the new LED light
Installing a new LED light can be a great way to enhance the ambiance of your home. LED lights are energy-efficient and long-lasting, so you can enjoy your new lighting without worrying about the cost and hassle of frequent replacements. To install a new LED light, you’ll need to first turn off the power to the fixture at the breaker box. Then, you can remove the old fixture and prepare the wiring for the new one. Once you’ve connected the wires and attached the new LED light, you can turn the power back on and enjoy your bright new lighting. Before you begin installing your new LED light, it’s important to choose the right fixture for your space. Consider the size and style of the fixture, as well as the brightness and color temperature of the LED bulbs. You may also want to think about any additional features, such as dimming capabilities or remote control. Once you have your new LED light, follow the manufacturer’s instructions carefully to ensure a safe and successful installation. With a little effort and attention to detail, you can easily upgrade your home’s lighting with a beautiful new LED fixture.
Installing a new LED flush mount ceiling light is a simple and straightforward process that can be done with just a few basic tools. First, turn off the power to the existing light fixture at the circuit breaker. Then, remove the old fixture by unscrewing the mounting screws and disconnecting the wires. Next, attach the mounting bracket for the new LED light to the ceiling box using screws and attach the wires from the new fixture to the corresponding wires in the ceiling box, making sure to use wire connectors to secure the connections. Finally, attach the LED light to the mounting bracket and turn the power back on to enjoy your new, energy-efficient lighting.
If you want to install a new LED light, there are a few steps you need to follow. First, turn off the power to the light fixture at the circuit breaker. Then, remove the old light fixture and disconnect any wires. Next, attach the mounting bracket to the electrical box and connect the wires from the new LED light fixture to the corresponding wires in the electrical box. Finally, attach the LED light fixture to the mounting bracket and turn the power back on to test the light. With these simple steps, you can easily install a new LED light and enjoy the benefits of energy-efficient lighting in your home.
Removing an LED flush mount ceiling light can seem like a daunting task, but with a few simple steps, it can be done effortlessly. First, you must turn off the power supply to the light fixture. This can be done by switching off the circuit breaker that controls the light. Next, locate the screws that hold the fixture to the ceiling and loosen them using a screwdriver. Once the screws are loosened, gently pull the fixture away from the ceiling to reveal the wiring. Disconnect the wiring by unscrewing the wire nuts and separating the wires. Finally, remove any mounting hardware and the fixture itself from the ceiling. With these steps, you can easily remove an LED flush mount ceiling light and replace it with a new one.
Taking safety precautions is crucial when removing any electrical fixture like an LED flush mount ceiling light. Accidents can happen, and electrical shock or fire is a significant risk when handling electrical components. Therefore, it is essential to ensure that the electricity supply is turned off before starting the removal process. Additionally, wearing protective gear such as gloves and safety glasses can help prevent personal injury. Following manufacturer instructions and seeking professional help when necessary can also ensure that the removal process is done safely. Ultimately, taking safety precautions can prevent accidents and ensure that the removal process is completed without any hiccups.
It is always better to seek professional help when you are unsure about how to remove an LED flush mount ceiling light. While it may seem like a simple task, there are multiple factors that can make it a complicated and potentially dangerous process. A professional electrician will have the necessary tools and expertise to safely remove the light without causing any damage to your ceiling or electrical system. So, if you are hesitant or unsure about how to proceed, don’t hesitate to reach out to a professional for assistance. It’s always better to be safe than sorry.
Conclusion

In conclusion, removing an LED flush mount ceiling light can seem like a daunting task, but with the right tools and knowledge, it can be done effortlessly. By following the simple steps outlined in this guide, you can successfully remove your LED flush mount ceiling light without damaging the fixture or the ceiling. Remember to take your time, use caution, and always ensure that the power is turned off before beginning the process. With a little effort and patience, you can quickly and easily upgrade your lighting fixtures and create a brighter, more comfortable living space.