LED Light Fixture Replacement: A StepbyStep Guide on How to Change Your Old Fixture
Lighting fixtures play a crucial role in enhancing the overall ambiance and functionality of any space. Whether it’s a residential or commercial setup, the right lighting fixtures can transform the way a room looks and feels. In recent years, LED lighting has gained immense popularity due to its energy efficiency, durability, and versatility. Nowadays, people are opting to replace their old fixtures with LED ones to save money on electricity bills and reduce their carbon footprint. If you’re looking to make the switch, this step-by-step guide will walk you through the process of changing your old fixture to an LED light fixture. LED light fixture replacement might seem like a daunting task, but it’s not as complicated as you might think. With the right tools and a little bit of patience, you can easily install an LED light fixture in your home or office. This guide will cover everything you need to know, from choosing the right LED fixture to removing the old one and wiring the new one. So, if you’re ready to upgrade your lighting system and enjoy the benefits of LED lighting, keep reading!
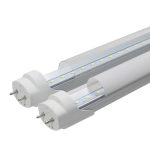
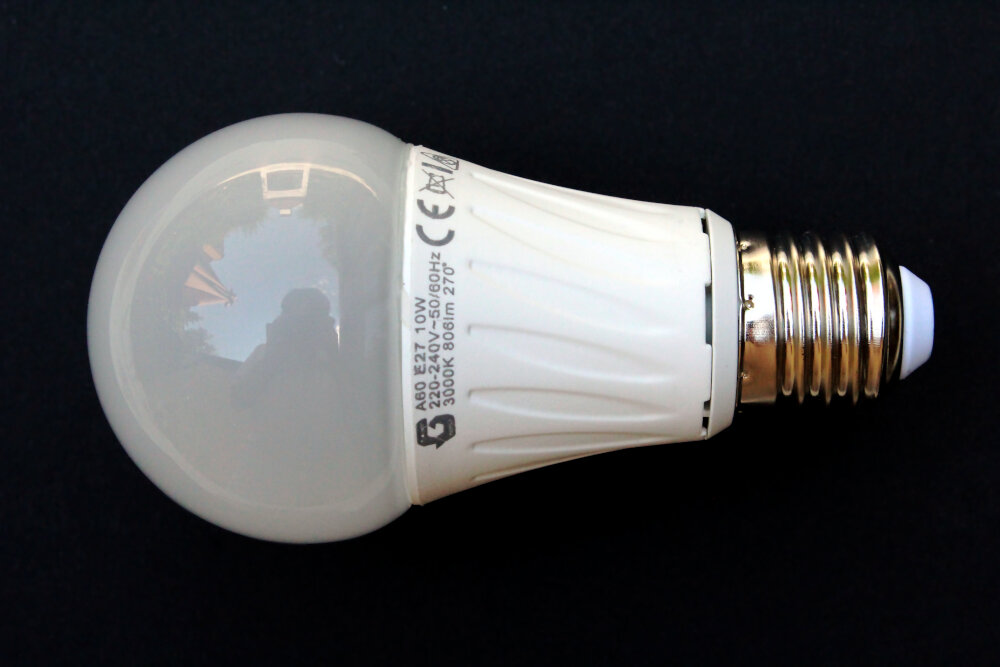
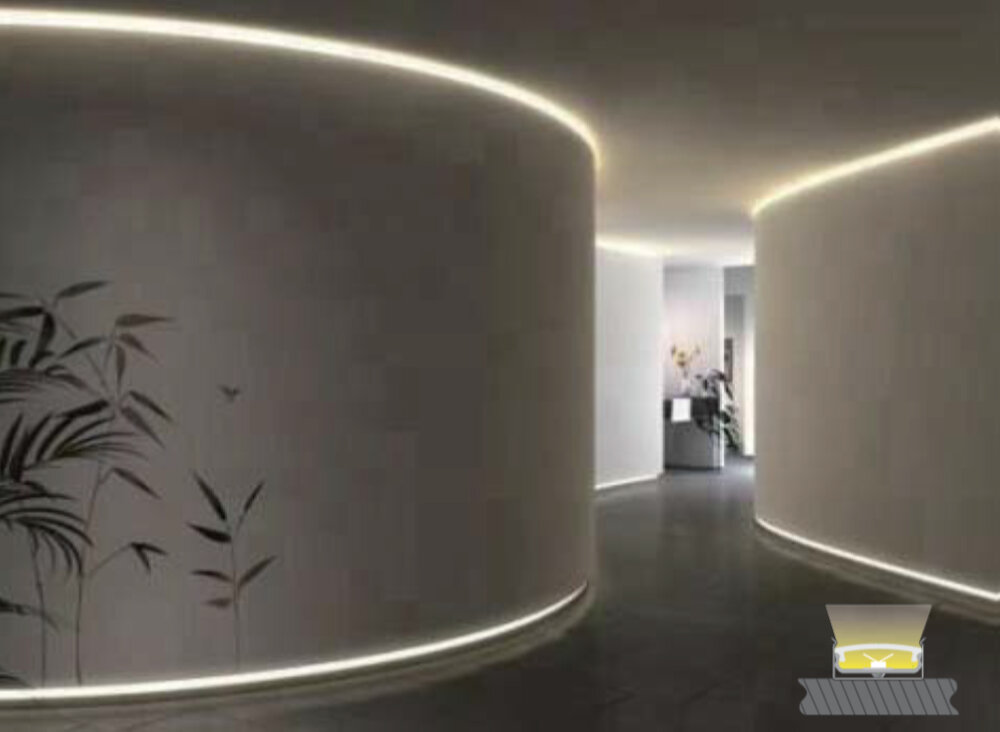
LED light fixtures have become increasingly popular in recent years due to their energy efficiency, longevity, and versatility. Compared to traditional incandescent bulbs, LED lights use up to 80% less energy, last up to 25 times longer, and emit less heat. This not only saves money on energy bills but also reduces the need for frequent bulb replacements. Furthermore, LED lights are available in a wide range of colors and styles, making them suitable for various applications such as residential, commercial, and industrial settings. Replacing an old fixture with an LED light fixture is not only a smart financial decision but also an environmentally conscious one.
Tools and Materials Needed
When it comes to replacing an old LED light fixture, it is essential to have the right tools and materials on hand. The first tool you will need is a ladder or step stool to reach the fixture safely. It is crucial to ensure that the ladder is stable and placed on a flat surface. A screwdriver or power drill is necessary to remove the old fixture from the ceiling or wall. If the old fixture is wired directly into the electrical system, you will also need wire cutters and electrical tape to disconnect the wires safely. In addition to the tools, you will also need some materials to install the new LED light fixture. These include the new fixture itself, mounting hardware, and wire nuts. It is crucial to ensure that the new fixture is compatible with the wiring in your home and that the mounting hardware is appropriate for the type of ceiling or wall you are attaching it to. If you are unsure about the compatibility or installation process of the new LED light fixture, it is best to consult a professional electrician to ensure that the job is done safely and correctly.
Before starting the replacement process of an old LED light fixture, you need to have some tools and materials. The essential items you will need include a screwdriver, wire stripper, wire nuts, electrical tape, a voltage tester, and a ladder. The screwdriver will be used to remove the old fixture, while the wire stripper is necessary when stripping the wires to connect to the new fixture. Wire nuts and electrical tape are the materials that will secure the wires in place and protect them from damage. You also need a voltage tester to ensure that the power is switched off before starting the replacement process. Lastly, a ladder is required to reach the ceiling safely. Having these items at hand will make your LED light fixture replacement process smooth and straightforward.
Turn Off Power
When it comes to replacing your old light fixture with a new LED one, the first and most crucial step is to turn off the power. Failure to do so can result in an electric shock, which could be fatal. Firstly, locate your home’s electrical panel and find the breaker that controls the power supply to the fixture. Flip the switch to the off position and double-check that the power is indeed off by trying to turn on the light switch. If the light stays off, then you have successfully turned off the power. It’s essential to take this step seriously, especially if you’re not experienced with electrical work. Don’t assume that just because the light switch is off, there’s no power running through the wires. Even if you’ve turned off the circuit breaker, there’s still a chance that other wires in the box are live. Therefore, it’s necessary to use a voltage tester to check if there’s any electricity running through the wires. If the tester shows there’s still power, then you need to cut off the main power supply and call a professional to help you with the installation. Remember, safety should always come first.
Before you start replacing your old light fixture with a new LED one, it’s crucial to turn off the power to the old fixture to avoid any electrical hazards. To do this, you first need to locate the circuit breaker that controls the power to the fixture. Once you’ve identified the right breaker, switch it off to cut off the power supply. You should also use a voltage tester to check that there’s no electrical current flowing to the fixture before you start working on it. This simple step can prevent electrocution and ensure your safety while replacing your old fixture. Always remember safety first when dealing with electrical equipment.
Remove Old Fixture
Removing an old fixture is the first step in replacing your LED light fixture. It is essential to be cautious while removing it, as it may still be connected to the electrical supply. Before you start the process, make sure to switch off the power supply to the fixture by turning off the circuit breaker or removing the fuse. If you’re unsure about how to do this, it’s best to call a qualified electrician to help you out. Once you’ve done this, you can safely proceed with the removal process. To remove the old fixture, you’ll need to unscrew it from the ceiling or wall. Begin by removing any screws or clips that are holding the fixture in place. If the fixture is flush against the ceiling or wall, you may need to use a putty knife or flat screwdriver to gently pry it loose. Be careful not to damage the ceiling or wall while doing this. Once the fixture is free from its mounting, you should be able to gently lower it to the ground. Make sure to disconnect any wires that are still attached to the fixture before you remove it completely. Keep in mind that the wires may still be live. Therefore, it’s essential to handle them with care and avoid touching them with your bare hands.
If you’re looking to upgrade your old LED light fixture, it’s important to know how to safely remove it. First, turn off the power to the fixture by switching off the circuit breaker or removing the fuse. Next, use a non-contact voltage tester to ensure that there is no electrical current flowing to the fixture. Then, remove the cover of the fixture and disconnect the wires, taking note of which wire corresponds to each terminal. After that, unscrew the fixture from the ceiling or wall and carefully lower it down. Dispose of the old fixture properly and prepare to install your new LED light fixture. Remember to follow all safety precautions and consult a professional if you’re unsure about any step in the process.
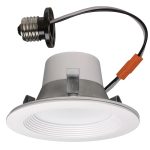
Install New Fixture
Installing a new fixture can be an exciting and rewarding task, but it can also be a bit intimidating for those who are new to DIY projects. Whether you’re replacing an old fixture or installing a brand new one, the process is relatively straightforward and can be completed with a few basic tools and some patience. The first step is to turn off the power to the area where you’ll be working by flipping the circuit breaker or removing the fuse. This is an important safety precaution that should never be skipped. Once the power is off, you can remove the old fixture by unscrewing the mounting screws or nuts and disconnecting the wires. Be sure to support the fixture with one hand as you remove the last screw or nut to prevent it from falling. Before installing the new fixture, check that the mounting bracket is securely attached to the electrical box and that the wires are properly connected. If the old fixture had a mounting bracket, you can reuse it if it’s in good condition. If not, you’ll need to install a new one. To do this, hold the bracket against the electrical box and attach it with screws. Next, connect the wires from the new fixture to the wires in the electrical box using wire nuts. The wires should be color-coded: black to black, white to white, and green or bare copper to the ground screw. Once the wires are connected, carefully tuck them into the electrical box and attach the fixture to the mounting bracket. Finally, turn the power back on and test the fixture to ensure it’s working properly. Congratulations, you’ve successfully installed a new fixture!
Installing a new LED light fixture may seem daunting, but it doesn’t have to be. First, turn off the power supply to the old fixture at the circuit breaker. Next, remove the old fixture by unscrewing the screws that hold it in place and disconnecting the wires. Once the old fixture is removed, mount the base plate of the new fixture to the ceiling or wall using the provided screws and anchors. Then, connect the wires of the new fixture to the corresponding wires in the electrical box, making sure to match the colors. Finally, attach the light fixture to the base plate and turn the power back on to enjoy your new, energy-efficient lighting. With a little bit of patience and attention to detail, anyone can successfully install a new LED light fixture.
Testing and Cleanup
Testing and cleanup are crucial steps when replacing an old LED light fixture. Before making the final installation, you must ensure that the new fixture is working correctly. Testing involves connecting the wires to the power source and turning on the switch. You should check whether the light is bright enough and is positioned correctly. If the light is dim or flickering, it may indicate a problem with the wiring or the fixture itself. In this case, you should inspect the wiring connections and make sure they are secure. If the issue persists, you may need to contact an electrician to help you troubleshoot the problem. Once you have tested the new LED light fixture and are satisfied with its performance, you can proceed to clean up the work area. Cleaning up involves removing any debris or packaging materials left behind from the installation process. You should also dispose of any old fixtures or light bulbs in an environmentally-friendly manner. If you have any leftover screws or hardware, you can place them in a small container for future use. Finally, you should wipe down the new fixture with a soft cloth to remove any fingerprints or smudges. By taking the time to test and clean up after the installation, you can ensure that your new LED light fixture is functioning correctly and looks great in your home or office.
Once you have installed your new LED light fixture, the next step is to test it to ensure that it is working correctly. To do this, turn on the power and switch on the light. If it lights up, you can proceed to clean up any debris left from the installation process. Use a clean cloth to remove any dust or debris from the fixture and surrounding area. Ensure that the fixture is secure and that all screws and fittings are tight. If the light does not turn on, check the wiring and connections to ensure that they are properly connected. After testing and cleaning up, your new LED light fixture is ready to use, providing efficient and long-lasting lighting for your home or workplace.
LED light fixtures have become increasingly popular in recent years, and for good reason. Not only are they energy-efficient and cost-effective, but they also offer a wide range of benefits compared to older fixtures. LED lights are known to last longer, emit less heat, and provide brighter and more natural light. Additionally, they are environmentally friendly and can significantly reduce your energy bills. By replacing your old fixture with a new LED one, you can improve the overall functionality and aesthetics of your space while also reducing your carbon footprint. So, if you’re looking for a simple and effective way to upgrade your lighting system, consider switching to LED light fixtures.
Conclusion
In conclusion, replacing an old light fixture with an LED light fixture can be a simple and straightforward process, but it’s essential to follow the necessary steps and precautions to ensure a safe and successful installation. With the help of this step-by-step guide, you can confidently take on the task of upgrading your old fixture to an energy-efficient LED light fixture. Not only will you save money on your energy bills, but you’ll also enjoy the many benefits of LED lighting, including brighter light, longer lifespan, and reduced environmental impact. So, don’t hesitate to make the switch and enjoy the many benefits of LED lighting in your home or office today!