Wiring a Fluorescent Light Fixture for LED: A StepbyStep Guide
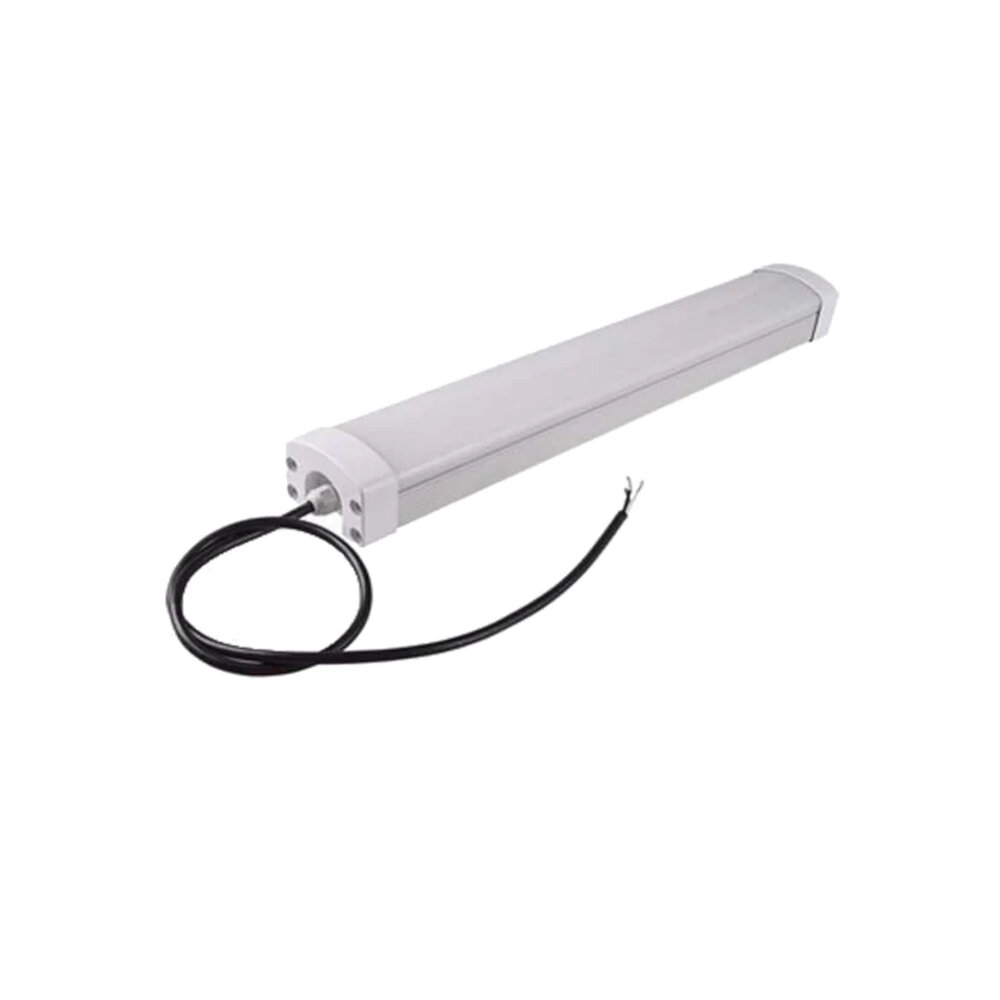
Quick answer: Before wiring a fluorescent fixture for LED tubes, identify the LED tube type. Type A tubes usually keep the existing ballast. Type B tubes bypass the ballast and put line voltage at the lampholders. Type C tubes use an external LED driver. Do not follow a generic wiring diagram: follow the exact instructions … Read more