Rewiring Fluorescent Lights for LED: A StepbyStep Guide
The world of lighting technology is advancing at a rapid pace, and fluorescent lights are quickly becoming a thing of the past. LED lights have gained popularity in recent years due to their energy efficiency, longevity, and cost-effectiveness. Many homeowners and businesses are now looking to switch from fluorescent to LED lights to save on energy bills and reduce their carbon footprint. However, rewiring fluorescent lights for LED can be a daunting task for those who are not familiar with electrical work. That’s why we’ve created this step-by-step guide to help you make the switch to LED lights. This guide is designed for those who want to upgrade their existing fluorescent lights to LED lights. It will take you through the process of rewiring your fluorescent light fixtures to accommodate LED bulbs, step-by-step. We’ll cover everything from selecting the right LED bulbs to wiring the new fixtures, so you can have a smooth and successful transition to LED lighting. Whether you’re a DIY enthusiast or a professional electrician, this guide will provide you with the knowledge and skills you need to make the switch to LED lights. So let’s get started!
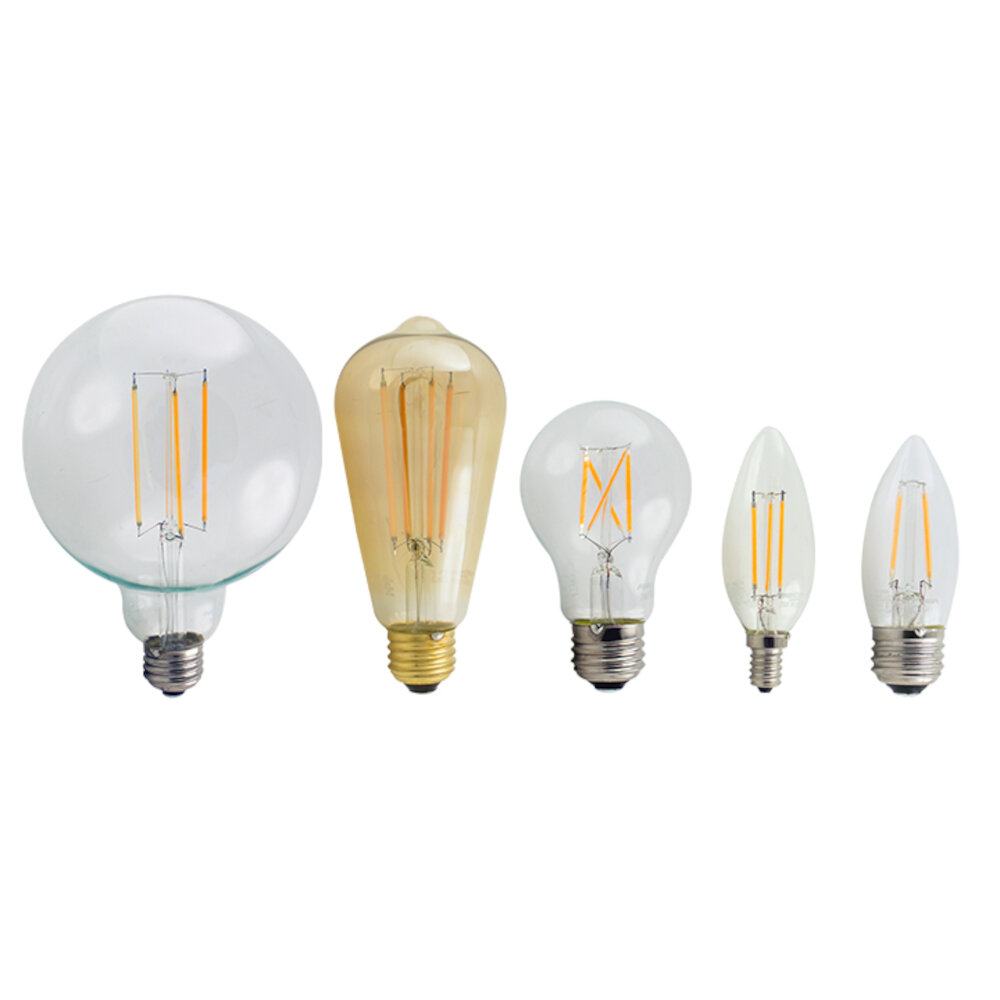
LED lights, or Light Emitting Diodes, are a type of energy-efficient lighting technology that has become increasingly popular in recent years. Unlike traditional incandescent or fluorescent bulbs, which rely on a filament or gas to produce light, LED lights use semiconductors to convert electricity into light. This allows them to consume less energy, last longer, and emit less heat than other types of lighting. LED lights also come in a variety of colors and can be easily customized to fit a variety of lighting needs. They are commonly used in homes, businesses, and outdoor spaces, and are a great option for anyone looking to save money on their energy bills while still enjoying high-quality lighting.
There are several reasons why people are choosing LED lights over fluorescent lights. First, LED lights are more energy-efficient, which means they use less electricity and can save you money on your energy bills. Second, LED lights have a longer lifespan than fluorescent lights, so you don’t have to replace them as often. Third, LED lights are more environmentally friendly, as they don’t contain hazardous materials like mercury. Fourth, LED lights produce less heat than fluorescent lights, making them safer to use. Finally, LED lights are more versatile in terms of design and color options, allowing you to create a customized look for your space. With all these benefits, it’s no wonder why more and more people are making the switch to LED lights.
Tools and materials needed
When rewiring fluorescent lights to LED, it is essential to have the right tools and materials at hand. The first and most critical tool is a pair of safety gloves. Safety gloves provide insulation from electricity and protect your hands from the sharp edges of wires and metal parts. You will also need a voltage tester to ensure that the electrical circuit is safe to work on. Other necessary tools include wire cutters, wire strippers, pliers, and a screwdriver. A wire cutter is needed to cut the wires that connect the fluorescent lights to the electrical circuit, while wire strippers are necessary to strip the insulation off the wires. Pliers are useful for bending wires or holding them in place, and a screwdriver is needed to remove the screws that hold the fluorescent light fixture in place. Apart from safety gloves and tools, you will also need some materials to rewire fluorescent lights to LED. One of the essential materials is a LED tube light. LED tube lights are energy-efficient and last longer than fluorescent lights. You will also need a ballast bypass kit, which is necessary to remove the ballast that controls the electrical current in the fluorescent light fixture. Additionally, you will need wire connectors to connect the wires, electrical tape to insulate the wires, and a mounting bracket to hold the LED tube light in place. These materials can be purchased at your local hardware store or online. By having the right tools and materials, you can easily rewire your fluorescent lights to LED and enjoy the benefits of energy-efficient lighting.
Before attempting to rewire fluorescent lights to LED, it’s important to have the right tools on hand. Firstly, a voltage tester is essential to ensure that the power is off before beginning work. Additionally, wire strippers, wire nuts, electrical tape, and a screwdriver set will be needed to remove the old ballast and connect the new LED driver. A wire cutter and pliers may also be necessary for cutting and bending wires to fit properly. It’s important to have all the necessary tools on hand to complete the rewiring process safely and effectively. By using the right tools and following the step-by-step guide, you can transform your outdated fluorescent lights into energy-efficient LED fixtures.
If you’re thinking of converting your old fluorescent lights to LED, it’s important to have the necessary materials for the job. Firstly, you’ll need LED bulbs that are compatible with your existing fluorescent fixtures. You’ll also need a wire cutter and stripper to remove the old wiring, as well as wire nuts to connect the new wires. A non-contact voltage tester can help ensure that the power is off before you begin work. Additionally, a drill or screwdriver may be necessary to remove the old fixtures and install the new LED bulbs. Finally, a ladder or step stool may come in handy for reaching high ceilings or fixtures. With these materials in hand, you’ll be able to successfully rewire your fluorescent lights to LED and enjoy the benefits of energy-efficient lighting.
StepbyStep Guide
If you are tired of the flickering fluorescent lights in your home or office, it may be time to upgrade to LED lighting. Not only are LED lights more energy-efficient and longer-lasting, but they also provide better, brighter light. But what do you do if you already have fluorescent fixtures installed? Don’t worry, with a little DIY know-how, you can rewire your fluorescent lights for LED in just a few easy steps. First, you’ll need to gather your supplies. You’ll need LED light bulbs, wire cutters, wire strippers, electrical tape, and a new LED-compatible ballast. Once you’ve collected your supplies, turn off the power to the fixture and remove the fluorescent bulbs and ballast. Cut the wires connecting the ballast to the fixture and remove the ballast entirely. Next, strip the ends of the wires and connect them to the new ballast according to the manufacturer’s instructions. Finally, install the LED light bulbs and turn the power back on. With just a few simple steps, you can enjoy the benefits of LED lighting in your home or office.
Before starting the process of rewiring fluorescent lights for LED, it is crucial to ensure that the power supply is turned off. This is a critical safety measure that must not be overlooked. Turning off the power supply helps to eliminate the risk of electric shock and other potential hazards. It is advisable to switch off the power supply from the main circuit breaker or the fuse box. You should also unplug the fixture or remove the fuse to ensure that there is no electricity flowing through the wires. The process of rewiring fluorescent lights for LED can be a simple and easy task if done correctly, but safety should always be the top priority.
In the process of rewiring fluorescent lights for LED, Step 2 involves removing the ballast cover. This step is crucial as it provides access to the ballast, which is a device responsible for regulating the current in the light fixture. The ballast cover can be removed by prying it off with a screwdriver or by unscrewing it. It is important to switch off the power supply before attempting to remove the ballast cover to ensure safety. Once the cover is removed, the ballast can be disconnected and removed from the fixture, making way for the LED driver installation. Removing the ballast cover requires some caution and skill to avoid damaging the fixture, but it is a necessary step in the process of upgrading to LED lighting.
Step 3 of rewiring fluorescent lights for LED involves disconnecting the ballast. This is an essential step, as the ballast is responsible for regulating the current in the fluorescent light. Since LED lights function differently, they do not require a ballast. Disconnecting the ballast ensures that there is no interference with the LED’s performance, and it also eliminates the risk of any electrical hazards. It is important to follow the manufacturer’s instructions carefully when disconnecting the ballast, as it may involve cutting wires or removing parts. Once the ballast is disconnected, the LED driver can be wired in its place, allowing for an efficient and long-lasting lighting solution.
Step 4 of rewiring fluorescent lights for LED is to remove the fluorescent bulbs. This process requires utmost caution and safety measures. The fluorescent bulbs contain hazardous materials such as mercury, which can be harmful if not handled properly. Before removing the bulbs, it is important to turn off the power supply to the fixture to avoid electric shock. Once the power is off, the bulbs can be carefully twisted and pulled out of their sockets. It is advisable to dispose of the fluorescent bulbs in accordance with the regulations set by the local authorities. With the fluorescent bulbs removed, the fixture is now ready for the installation of LED bulbs, which are safer, more energy-efficient, and have longer lifespans.
Now that you have installed the LED lights, it is time to install the LED driver. The LED driver is a crucial component that regulates the amount of power that flows to the LED lights. It is essential to use a compatible LED driver to ensure that the LED lights work efficiently and have a long lifespan. To install the LED driver, turn off the power supply and remove the cover of the fluorescent light fixture. Locate the ballast and disconnect it from the wires. Then, connect the LED driver to the wires and secure it in place. Once the LED driver is properly installed, you can turn the power supply back on and enjoy the benefits of your newly installed LED lights.
Step 6 in the process of rewiring fluorescent lights for LED involves connecting the LED driver, which is an electronic device that regulates and supplies the correct amount of power to the LED lights. This component is essential in ensuring that the LED lights function correctly and do not get damaged due to overvoltage or undervoltage. The LED driver is typically connected to the incoming power supply, and the LED lights are connected to the output terminals of the driver. It is crucial to follow the manufacturer’s instructions when connecting the LED driver to ensure proper installation and safe operation. Once the LED driver is connected, the LED lights can be tested to ensure they are functioning correctly and providing the desired level of illumination.
Step 7 of the rewiring process for fluorescent lights to LED bulbs is a critical point where the actual installation of the LED bulbs takes place. After ensuring that the power is turned off, the ballast is removed, the wires are stripped, and the sockets are rewired, it is time to install the LED bulbs. This process requires careful handling of the LED bulbs as they are delicate and prone to damage. The LED bulbs must be inserted into the sockets, and the pins should fit snugly into the holes to ensure a secure connection. Once installed, the LED bulbs will provide brighter and more energy-efficient lighting, making the rewiring process worth the effort.
After completing the previous steps of rewiring the fluorescent lights to LED, it’s essential to test the LED lights before finishing up. Step 8 involves turning on the power to the light fixture and checking if the LED lights are working correctly. This step ensures that the wiring is done correctly, and there are no loose connections or short circuits. If the LED lights do not turn on, it’s important to check the wiring connections and troubleshoot any issues. Testing the LED lights is a crucial step in the rewiring process, and it ensures that the light fixture will work efficiently and effectively.
Tips and Precautions

When it comes to rewiring fluorescent lights for LED, there are a few tips and precautions that you should keep in mind to ensure a successful and safe installation. Firstly, it is important to turn off the power supply to the light fixture at the circuit breaker before attempting any rewiring. This will prevent electrical shock and other potential hazards. Make sure to double-check that the power is off by using a non-contact voltage tester. Additionally, avoid touching any exposed wires or metal parts of the fixture to prevent any electrical shock. Another important tip is to carefully read the manufacturer’s instructions before beginning the rewiring process. Different LED conversion kits may have varying requirements, and it is essential to follow the instructions closely to avoid any mistakes or damage to the fixture. It is also important to choose the right LED conversion kit for your particular fixture, as not all kits will work with all types of fluorescent lights. Additionally, make sure to properly dispose of any old fluorescent bulbs or tubes according to local regulations, as they may contain hazardous materials. By following these tips and precautions, you can ensure a safe and successful rewiring of your fluorescent lights for LED.
When rewiring fluorescent lights for LED, it is crucial to take proper safety precautions to prevent accidents and injuries. Before starting the process, make sure to turn off the power supply to the fluorescent light fixture. Use a non-contact voltage tester to ensure that the power is completely off. Wear appropriate safety gear, including gloves, safety glasses, and closed-toe shoes. Use insulated tools and avoid working in wet conditions. Be cautious when handling wires and make sure they are properly secured and not exposed. If you are unsure about any step in the rewiring process, consult a professional electrician to ensure that the job is done safely and correctly.
There are several tips that can make the process of rewiring fluorescent lights for LED easier and faster. First, ensure that you have all the necessary tools and materials before starting the project. This includes wire cutters, wire strippers, electrical tape, and the LED conversion kit. Secondly, turn off the power source to the lights and use a voltage detector to confirm that the power is indeed off. This will minimize the risk of electric shock. Additionally, label the wires and take pictures of the wiring before disconnecting them to ensure you can rewire them correctly. Finally, follow the step-by-step guide carefully and take your time to avoid mistakes. By following these tips, you can successfully rewire your fluorescent lights to LED quickly and efficiently.
Upgrading fluorescent lights to LED is a smart decision for several reasons. Firstly, LED lights consume less energy, which leads to lower electricity bills for the user. Secondly, they have a longer lifespan, which means that they need to be replaced less often. Thirdly, LED lights are more environmentally friendly than fluorescent lights because they contain no harmful chemicals such as mercury. Fourthly, LED lights produce less heat, which means that they can be used in areas where heat is an issue. Additionally, LED lights produce a brighter, more natural-looking light that creates an inviting and comfortable environment. Lastly, retrofitting fluorescent lights with LED lights is a simple process that can be done by anyone with basic electrical knowledge, making it a cost-effective way to upgrade your lighting system. Overall, rewiring fluorescent lights to LED is a wise investment that can provide long-lasting benefits for both the environment and your wallet.
Rewiring fluorescent lights to LED is a simple process that can save you money and improve the quality of light in your space. The first step in this process is to remove the old fluorescent bulbs and ballasts. Then, you will need to install LED bulbs that are compatible with your fixture. Next, you will need to install an LED driver, which regulates the power supply to the bulbs. After installing the driver, you will connect the LED bulbs to the driver using the provided wiring. Finally, you will need to test the new LED lights to ensure they are working properly. By following these steps, you can easily convert your old fluorescent lights to energy-efficient LED lights.
In conclusion, rewiring fluorescent lights for LED can be a cost-effective and energy-efficient solution for your lighting needs. This step-by-step guide has outlined the necessary tools and materials, as well as provided clear instructions for the process. However, it is important to note that electrical work can be dangerous and should only be attempted by those with the appropriate knowledge and experience. It is recommended to consult a licensed electrician for assistance with this project. Additionally, be sure to properly dispose of your old fluorescent bulbs and follow all safety precautions throughout the process. By following these recommendations, you can successfully rewire your fluorescent lights to LED and enjoy the benefits of modern lighting technology.
Conclusion
In conclusion, rewiring fluorescent lights for LED is a practical and cost-effective solution for upgrading your lighting system. This step-by-step guide provides an easy-to-follow process that anyone can do with the right tools and knowledge. With LED lights, you can save money on energy costs while also improving the quality and longevity of your lighting. Not only is this a smart choice for homeowners, but it is also an eco-friendly option that reduces energy consumption and carbon footprint. So, if you’re looking to make a change and improve your lighting, consider rewiring your fluorescent lights to LED and enjoy the benefits for years to come.

