LED Light Change Made Easy: StepbyStep Guide for Quick and HassleFree Replacement
Light-emitting diode (LED) lights have been increasingly popular due to their energy efficiency, longer lifespan, and brighter illumination compared to traditional bulbs. However, as with any lighting fixture, LEDs eventually need replacement. This task may seem daunting, especially for those who are not familiar with electrical work. Nonetheless, changing an LED light is a simple and easy process that requires minimal effort and tools. With the right knowledge and guidance, anyone can replace LED lights like a pro. This step-by-step guide will provide a quick and hassle-free approach to replacing LED lights. The guide will cover the basic tools needed, safety precautions, and the actual process of replacing an LED light. Whether you are replacing a single bulb or upgrading an entire lighting system, this guide will provide helpful tips and tricks to make the process run smoothly. With this guide, you can save money and time by avoiding professional services and confidently undertake the task of changing LED lights in your home or office.
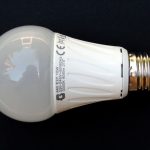
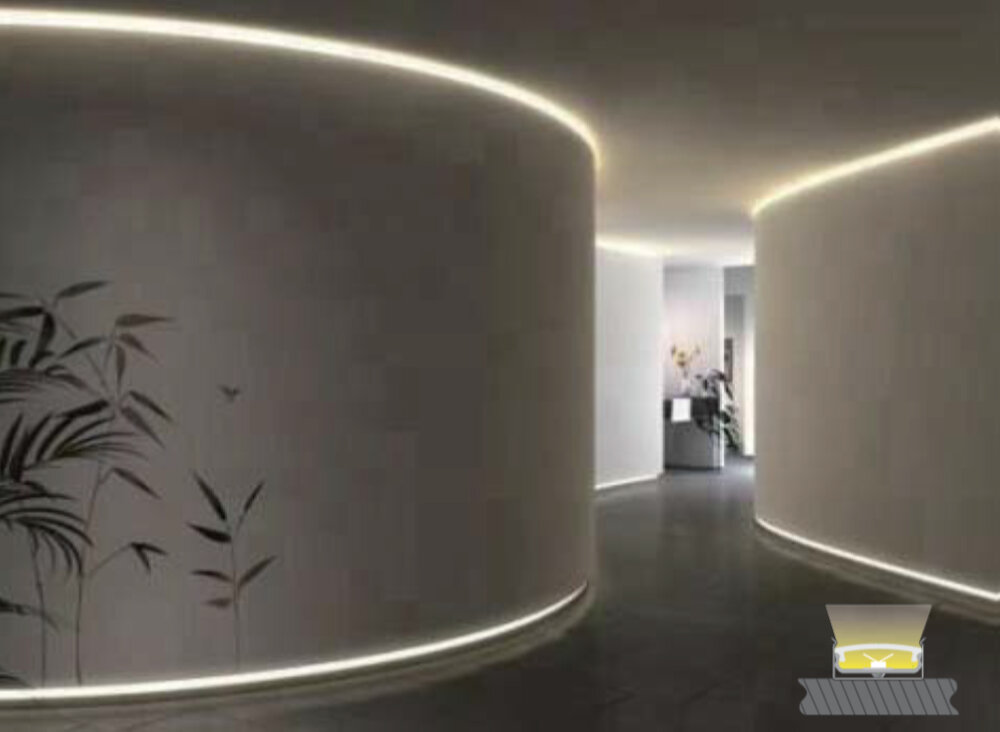
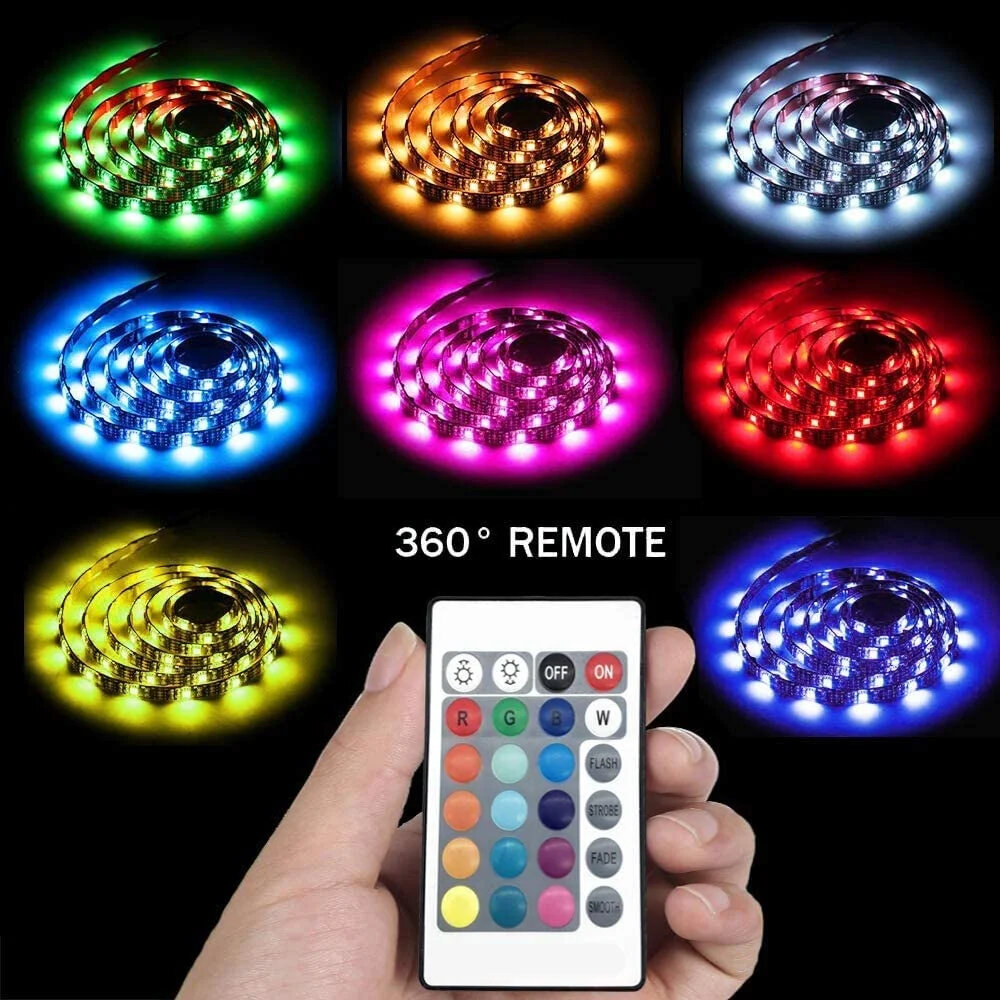
LED lights, or Light Emitting Diodes, are a type of energy-efficient lighting technology that have gained popularity in recent years due to their long lifespan and low energy consumption. Unlike traditional incandescent bulbs, LED lights do not rely on a filament to produce light, but rather use a semiconductor material to emit photons. This allows them to produce brighter, more intense light without generating heat, making them a safer and more sustainable option for lighting. LED lights are also highly customizable, with a wide range of colors and designs available to suit different needs and preferences. Overall, LED lights are a practical and eco-friendly choice for anyone looking to upgrade their lighting system.
LED lights are a popular choice for lighting up homes and offices due to their energy efficiency and long lifespan. However, it is important to change LED lights when necessary to ensure their optimal performance and longevity. Over time, LED lights can become dimmer and less efficient, which can impact the quality of light and increase energy costs. Additionally, failing to replace LED lights can result in potential safety hazards such as flickering, overheating, or even complete failure. Therefore, it is essential to regularly check and replace LED lights when needed to maintain a safe and efficient lighting system. With a step-by-step guide for quick and hassle-free replacement, changing LED lights has never been easier.
Tools and Materials Needed
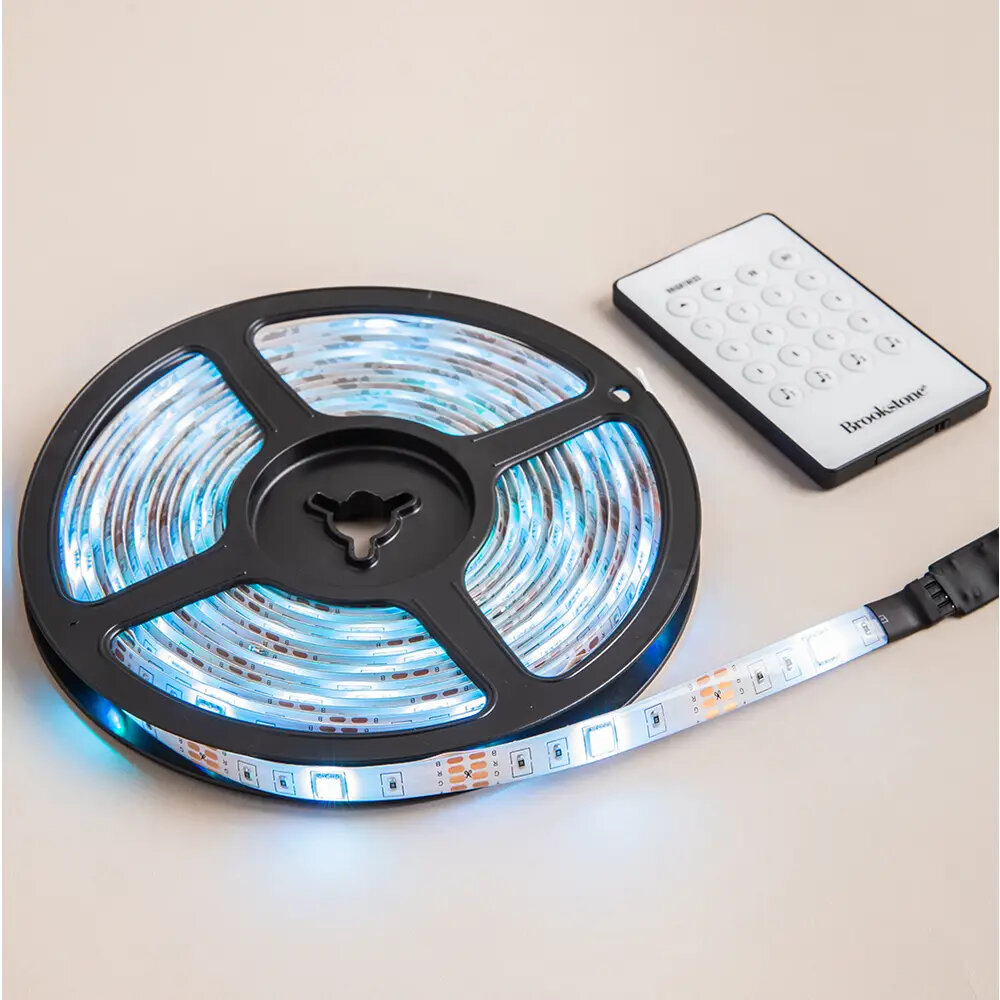
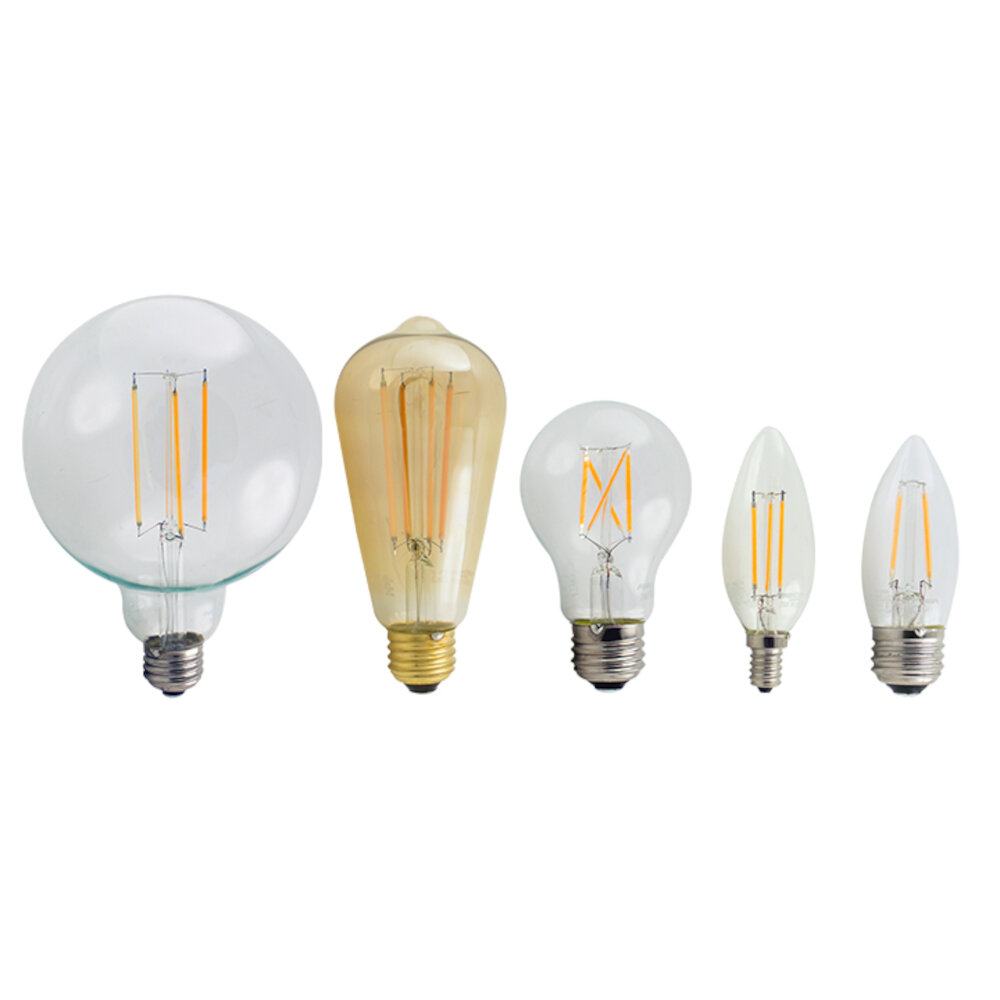
When it comes to changing an LED light, having the right tools and materials can make the process much easier and hassle-free. The first and most important item you will need is a replacement LED light. Be sure to choose the correct size and type of bulb for your fixture. You can find this information on the old bulb or in the fixture’s manual. It’s always a good idea to have a few extra bulbs on hand in case one burns out in the future. Next, you’ll need a few tools to help with the replacement process. A pair of gloves can protect your hands from any broken glass or sharp edges. A step ladder or stool will allow you to reach the fixture safely, and a screwdriver may be needed to remove any screws or clips holding the fixture in place. Finally, a clean cloth or paper towel can be used to handle the bulb without leaving any fingerprints or oils that can shorten the life of the bulb. With these tools and materials on hand, changing an LED light will be a breeze. In addition to the basic tools and materials, there are a few optional items that can make the process even easier. A headlamp or flashlight can provide additional light to help you see what you’re doing. A voltage tester can ensure that the power is off to the fixture before you start working on it. And if the fixture is hard to reach, a suction cup tool can help you remove the old bulb without risking injury. These optional items can save time and make the LED light change process even smoother.
If you’re looking for a quick and hassle-free way to replace an LED light, you’ll need a few basic tools and materials. First and foremost, you’ll need the replacement LED light itself, which should be of the same size and type as the one you’re replacing. You’ll also need a screwdriver or pliers to remove any screws or clips holding the old light in place, as well as a pair of gloves to protect your hands from any sharp edges or electrical contacts. Additionally, it’s a good idea to have a flashlight or other light source handy so you can see what you’re doing, especially if you’re working in a dark or cramped space. Finally, you may want to have a small container or bag to hold any screws or other small parts you remove during the process, to help prevent them from getting lost or misplaced. With these tools and materials in hand, you’ll be ready to tackle your LED light replacement with confidence!
In this article, we will explain the tools and materials needed to replace an LED light bulb. The first tool required is a ladder or step stool to reach the light fixture. Next, a pair of gloves should be worn to prevent any injuries from broken glass or cuts from the fixture. A screwdriver or pliers may also be needed to remove the old bulb or fixture. As for materials, it is important to choose an LED bulb that is compatible with the fixture and has the correct wattage. LED bulbs are available in different shapes, sizes, and colors, so it is important to choose one that fits the desired lighting needs. Additionally, a cleaning cloth or paper towel may be needed to wipe down the fixture and remove any debris before installing the new bulb.
Preparation
Preparation is the key to any successful LED light change. Before starting the replacement process, it is important to gather all the necessary tools and materials. This includes a new LED light bulb, a ladder or step stool, gloves for safety, and a screwdriver or pliers if needed. It is also important to turn off the power to the existing light fixture to avoid any electrical accidents. This can be done by turning off the circuit breaker or removing the fuse that controls the light fixture. It is crucial to test that the power is off before continuing with the replacement process. Another crucial aspect of preparation is ensuring that the new LED light bulb is compatible with the existing light fixture. This can be done by checking the wattage and base type of the old bulb and selecting a new LED light bulb with the same specifications. It is also important to consider the color temperature and brightness of the new LED light bulb to ensure it meets the desired lighting needs. Proper preparation will not only make the replacement process quick and hassle-free, but it will also ensure that the new LED light bulb is installed safely and effectively.
If you are planning to change the LED lights in your home or office, it’s essential to prepare yourself first. The first step is to ensure that you have the right tools for the job, such as pliers, screwdrivers, and a ladder if necessary. Next, turn off the power supply to the light fixture to avoid any electrical hazards. If you are replacing a bulb, gently twist it counterclockwise to remove it, making sure not to break the bulb or damage the socket. For a fixture replacement, remove any screws or fasteners holding it in place and carefully lower it down. Take note of the type of LED bulb or fixture you are replacing and ensure that you purchase the correct replacement. Finally, install the new bulb or fixture, secure it in place, and turn on the power supply to test it out. By following these simple steps, you can make the LED light change quick and hassle-free.
Safety precautions are essential when it comes to changing LED lights. Firstly, make sure the light switch is turned off before beginning any work. Secondly, wear protective gloves and glasses to avoid any physical damage. Thirdly, if the LED light is hot, let it cool down for a few minutes before touching it. Fourthly, avoid touching the bulb with bare hands as the oil from the skin can damage the LED. Lastly, dispose of the old bulb safely and properly. Following these safety precautions will make the LED light change process quick, hassle-free, and most importantly, safe.
Changing the LED Light
Changing the LED light has become a common task for most households and offices. LED lights are durable, energy-efficient, and long-lasting. However, over time, they may start to flicker, dim or become completely non-functional. In such cases, replacing the LED light is the only option. This easy step-by-step guide will help you replace an LED light easily and quickly without any hassle. Firstly, turn off the power supply to the LED light. It is important to ensure that the power is completely turned off to avoid any risk of electrocution. Next, remove the old LED light by twisting it counterclockwise or by pulling it straight out. If it’s too tight, use a suction cup or pliers to remove it. After removing the old LED light, replace it with the new one. Align the pins or base of the new LED light with the socket and twist it clockwise or push it straight in. Finally, turn on the power supply and test the new LED light to ensure that it’s working properly. With these simple steps, changing an LED light can be done in no time, saving you both time and money.
Changing the LED light might seem like a daunting task, but with the right tools and a step-by-step guide, it can be done quickly and easily. First, ensure that the power supply is turned off and the light has cooled down. Then, remove the cover or casing of the light fixture to access the LED bulb. Gently twist the bulb counterclockwise to loosen it from the socket, and carefully remove it. Next, insert the new LED bulb by gently twisting it clockwise into the socket until it is securely in place. Finally, replace the cover or casing of the light fixture, turn on the power supply, and test the new LED bulb to ensure it is working properly. With these simple steps, changing the LED light can be done in no time, without any hassle.
Replacing an LED light can be a daunting task, but with a few tips and tricks, the process can be made much easier. Firstly, it is important to turn off the power source before attempting to replace the light. This will prevent any electrical shocks or damage to the fixture. Secondly, ensure that you have the correct replacement bulb for your fixture as LED lights come in different shapes and sizes. Thirdly, handle the bulb with care and avoid touching the glass with your fingers as the oils from your skin can damage the bulb. Finally, take your time and follow the step-by-step guide provided to ensure a quick and hassle-free replacement.
Troubleshooting
Troubleshooting is an essential aspect of LED light change that you must have a good understanding of. It involves identifying and fixing any problems that may arise during the LED light change process. One of the most common issues that you may encounter is flickering or dimming lights. This can be caused by a faulty bulb or a loose connection. To fix this problem, ensure that the bulb is properly screwed in and the connection is secure. If the problem persists, try replacing the bulb with a new one. Another issue that may arise is overheating, which can damage the LED light fixture. To prevent this, ensure that the fixture is properly ventilated and not covered by any obstructions. Another common problem during LED light change is incorrect installation. This can cause the light to not function or function poorly. To avoid this, ensure that you have read and understood the installation instructions provided by the manufacturer. Make sure you have the right tools and equipment to complete the job. If you are unsure of anything, seek professional help. Additionally, it is important to check the voltage of the LED light to ensure it matches the voltage of your electrical system. Failure to do so can result in a short circuit or even an electrical fire. By understanding these common issues and how to troubleshoot them, you can successfully change your LED lights with ease and confidence.
While replacing traditional light bulbs with LED ones can bring a host of benefits, several issues may arise during the process. One common issue is the compatibility of the LED bulb with the fixture. LED bulbs come in different shapes and sizes, and it’s crucial to choose the right one that fits your fixture. Another issue is the color temperature of the LED bulb. Some people may prefer warmer or cooler light, and choosing the wrong color temperature can result in dissatisfaction with the lighting. Lastly, flickering and buzzing lights can occur due to incompatible dimmer switches or faulty wiring. Addressing these issues can ensure a smooth and successful LED light replacement.
There are several solutions to the issues that may arise during the LED light change process. First and foremost, it is important to ensure that the replacement bulb is the correct size and type for the fixture. If the bulb does not fit properly, it may not work or could even cause damage to the fixture. Additionally, if the bulb is dimmer than the previous one, it may be necessary to install additional lighting or upgrade the fixture entirely. Finally, if the bulb is difficult to install or remove, it may be helpful to use tools such as pliers or gloves to get a better grip. By following these steps and taking the necessary precautions, the LED light change process can be quick and hassle-free.
Regularly changing LED lights is essential for maintaining optimal lighting conditions in your home or workplace. These lights have a lifespan, and when they reach the end of it, they begin to dim or flicker, leading to poor illumination. Not only does this affect visibility, but it can also have negative impacts on mood, productivity, and energy efficiency. Therefore, it is crucial to replace old or damaged LED lights promptly to ensure that you have reliable and bright lighting that enhances the ambiance of your space. By following the easy step-by-step guide provided, you can quickly and hassle-free replace your LED lights and enjoy the benefits of optimal illumination.
Changing LED lights may seem like a daunting task, but with the right tools and instructions, it can be done quickly and easily. First, turn off the power supply to the light fixture to avoid electrical shocks. Next, remove the old LED bulb by gently twisting it counterclockwise and pulling it out. Then, insert the new LED bulb by gently pushing it in and twisting it clockwise until it is securely in place. Finally, turn on the power supply and test the light to ensure it is working properly. Remember to dispose of the old bulb properly and take caution when handling the new bulb to avoid damaging it. With these steps, changing LED lights can be hassle-free and efficient.
In conclusion, replacing your traditional light bulbs with LED lights can be a simple and cost-effective way to improve your home’s energy efficiency and reduce your environmental impact. By following the step-by-step guide outlined in this article, you can easily make the switch and start enjoying the many benefits of LED lighting. Additionally, we recommend choosing high-quality LED bulbs from reputable brands to ensure optimal performance and longevity. With a little effort and attention to detail, you can make a positive change in your home and help create a brighter, more sustainable future.
Conclusion
In conclusion, replacing LED lights can be a simple and hassle-free process when you follow a step-by-step guide. The benefits of LED lighting, such as energy efficiency and long lifespan, make it a popular choice for homeowners and businesses alike. By taking the time to properly replace your LED lights, you can ensure that your lighting system remains efficient and effective for years to come. Remember to always prioritize safety, and don’t hesitate to seek professional assistance if needed. With these tips in mind, you can confidently upgrade your lighting system and enjoy the many benefits of LED technology.