Upgrade Your Home Lighting: A StepbyStep Guide on How to Change Your LED Light Fixture
Upgrading your home lighting is an excellent way to revamp and modernize your living space. Whether you’re looking to enhance the ambiance, improve energy efficiency, or just want to update your decor, changing your LED light fixtures can bring significant changes to your home. However, the process can be intimidating for those who’ve never done it before. Fortunately, with a step-by-step guide, you can easily upgrade your home lighting without professional help. This guide will walk you through the process of changing your LED light fixture, from selecting the right fixtures to installation and testing. Choosing the right LED light fixture is the first step towards upgrading your home lighting. With the vast array of fixtures available in the market, selecting the right one for your space can be overwhelming. The type of fixture you choose will depend on several factors, including the size and function of the room, the existing decor, and your personal style. The guide will help you navigate through the many options available and choose the right fixture that aligns with your needs and preferences. Whether you want a statement piece or a subtle fixture, this guide will ensure you make an informed decision.
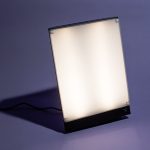
Home lighting plays a crucial role in creating a comfortable and inviting atmosphere for residents and visitors alike. It can also affect our mood, productivity, and overall well-being. Switching to LED fixtures can offer numerous benefits, including energy savings, longer lifespan, and improved lighting quality. LED lights are known for their energy efficiency, using up to 80% less energy than traditional incandescent bulbs, which can translate into significant savings on electricity bills. They also have a longer lifespan, lasting up to 25 times longer than traditional bulbs, reducing the need for frequent replacements. Additionally, LED lights offer improved lighting quality, providing brighter and clearer illumination that can enhance the aesthetic appeal of any room in the house.
Gather Supplies
When it comes to upgrading your home lighting, the first step is to gather all the necessary supplies you will need for the installation. This will ensure that you have everything you need on hand and reduce the risk of having to make multiple trips to the hardware store. Some of the essential supplies you will need include a new LED light fixture, wire connectors, electrical tape, a voltage tester, wire strippers, a ladder, and a screwdriver. It’s crucial to choose an LED light fixture that matches the style and décor of your home and provides the right amount of lighting for the area you plan to install it. Before you start the installation process, it’s essential to turn off the power to the light fixture you plan to replace. You can do this by turning off the circuit breaker or removing the fuse that controls the power to the fixture. Once you have ensured that the power is off, you can begin removing the old light fixture. This may involve removing screws, nuts, or bolts that hold the fixture in place. Be sure to keep all of the screws and other hardware in a safe place so that you can use them to install the new fixture. With the old fixture removed, you can begin installing the new LED light fixture, following the manufacturer’s instructions carefully.
Before starting to upgrade your home lighting fixtures, it is essential to gather all the necessary tools and materials. Firstly, you will need a ladder or a step stool to reach the ceiling. Secondly, you will require a screwdriver set to remove the old fixture and install the new one. Thirdly, pliers will be necessary to connect the wires correctly. Fourthly, a voltage tester will help you to ensure that the power is off before you start working. Additionally, you will need a wire stripper to remove the insulation from the wires. Finally, a new LED light fixture is crucial to complete the project successfully. It is vital to gather all these tools and materials before starting the project to avoid any inconvenience or delays.
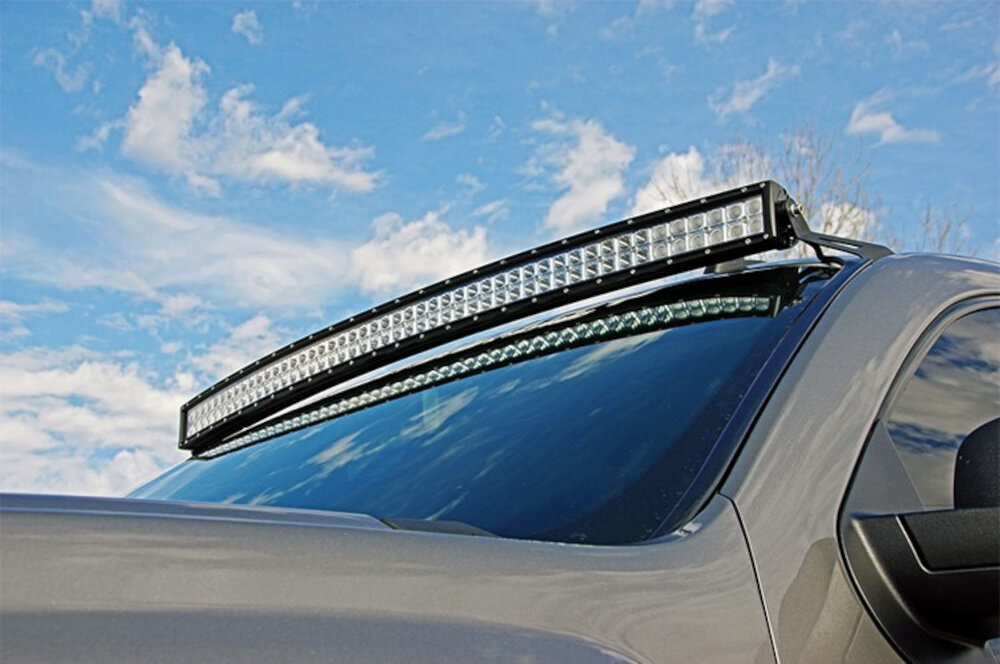
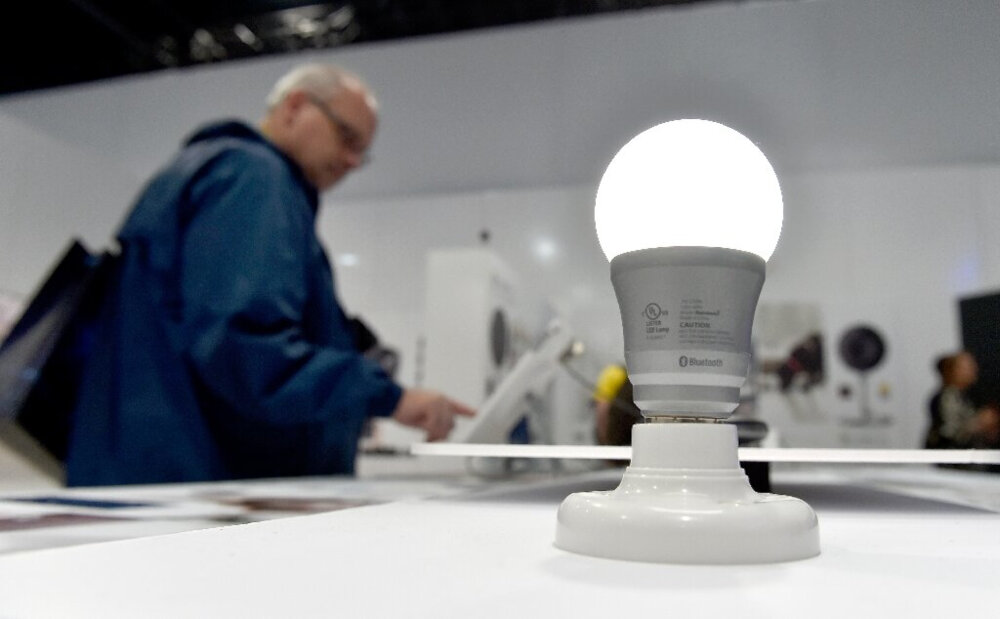
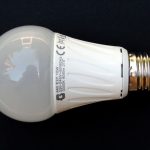
When selecting the right LED fixture for your space, there are a few important tips to keep in mind. First, consider the size of the room and the amount of light needed. A larger room may require a fixture with higher wattage or more bulbs, while a smaller space may only need one or two bulbs. Second, think about the style and design of the fixture, as it should complement the overall aesthetic of the room. Third, choose a fixture with a color temperature that matches the desired ambiance, whether it be warm and cozy or cool and modern. Finally, make sure to check the fixture’s compatibility with any dimmer switches or smart home systems you may have installed. With these tips in mind, you can select the perfect LED fixture to upgrade your home lighting.
Turn Off Power and Remove Old Fixture
The first crucial step in upgrading your home lighting is to turn off the power and remove the old fixture. This is a fundamental safety measure, and it is important to exercise caution when dealing with electrical systems, especially if you are not familiar with them. Before starting, ensure that the circuit breaker or fuse box is switched off to cut off the power supply to the fixture. Use a voltage tester to confirm that the power is indeed off. Once you are sure the power is off, you can proceed to remove the old fixture. It is advisable to have someone assist you, especially if the fixture is bulky or heavy. Removing the old fixture can be a straightforward process, but it can also be complicated, depending on the type of fixture and how it is secured to the ceiling or wall. The first step is to remove any screws, nuts, or bolts that are holding the fixture in place. Next, carefully detach the wires from the fixture, remembering which wire is connected to which terminal. You may need to unscrew wire connectors or use a wire stripper to remove the insulation from the wires. If the fixture is stuck, you can use a flat-head screwdriver to gently pry it off. Once the old fixture is removed, inspect the wiring and make sure there are no signs of damage or wear. If you notice anything unusual, it is advisable to consult a licensed electrician before proceeding with the installation of the new fixture.
Before attempting to change your LED light fixture, it is crucial to turn off the power to the fixture safely. Begin by locating the circuit breaker that controls the power supply to the fixture. Turn off the switch on the breaker panel that corresponds to the fixture you want to work on. If you cannot locate the correct breaker, turn off the main switch to the house. Next, use a voltage tester to confirm that the power is off. Test the wires both at the fixture and at the switch to ensure that there is no electrical current flowing. Once you have confirmed that the power is off, you can safely proceed to change your LED light fixture. Remember to always take the necessary precautions when working with electricity to prevent injury or damage to your home.
If you’re looking to upgrade your home lighting, replacing old fixtures with LED ones is a great option. But before you can install a new fixture, you’ll need to remove the old one. Start by turning off the power to the fixture at the circuit breaker. Next, remove the light bulbs and any glass or plastic covers that may be in place. Use a voltage tester to ensure that the wires are no longer live. Then, loosen the screws or nuts that hold the fixture to the ceiling or wall. Gently pull the fixture down to expose the wires. Disconnect the wires from the old fixture by unscrewing the wire nuts and separating the wires. Finally, remove the mounting bracket and screws from the ceiling or wall. With the old fixture removed, you’re ready to install your new LED light fixture.
Install New Fixture
Installing a new fixture is a great way to upgrade your home lighting and add a touch of modernity to your living space. However, before you start the installation process, you need to make sure you have the right tools and equipment. You’ll need a screwdriver, wire stripper, wire nuts, electrical tape, a ladder, and of course, your new LED light fixture. Make sure you turn off the power to the fixture you’re replacing before you begin. This can be done by switching off the circuit breaker that controls the circuit or by removing the fuse that controls the circuit. Once you have your tools and equipment ready, you can start the installation process. Start by removing the old fixture. This is usually done by removing the screws that hold the fixture to the ceiling or wall. Once you have removed the old fixture, you can start installing the new one. Start by connecting the wires from the new fixture to the wires from the ceiling or wall. Make sure you match the colors of the wires, so the connections are correct. Once you have connected the wires, you can screw the fixture to the ceiling or wall. Finally, turn on the power and test the fixture to make sure it’s working. If everything is working correctly, you now have a new LED light fixture in your home!
If you’re looking to upgrade your home lighting and change your LED light fixture, you’re in the right place. Here’s a step-by-step guide to help you get started. First, turn off the power source to the existing light fixture. Next, remove the old fixture and disconnect the wires. Follow the manufacturer’s instructions to assemble the new LED fixture, making sure to connect the wires correctly. Install the mounting bracket and attach the fixture to it. Finally, turn on the power source and test the new fixture. With this simple guide, you can easily upgrade your home lighting and enjoy the benefits of energy-efficient LED light fixtures.
When upgrading your home lighting by changing your LED light fixture, proper wiring and securing of the fixture are crucial for safety and optimal performance. Start by turning off the power to the fixture at the circuit breaker and removing the old fixture. Before wiring the new fixture, ensure that your wires are the correct gauge and color-coded for easy connection. Tighten all wire connections and screw in the mounting bracket securely to avoid any wobbling or movement of the fixture. Use wire nuts or electrical tape to cover and secure the connections. Finally, follow the manufacturer’s instructions carefully to ensure proper installation and avoid any potential hazards. A well-wired and secured LED light fixture will brighten up your home and create a safer environment for you and your family.
Test and Adjust
The Test and Adjust phase is a crucial step in upgrading your home lighting system. Once you have installed your new LED light fixture, it is essential to ensure that it functions correctly and meets your expectations. In this phase, you will need to test the fixture’s brightness, color temperature, and dimming capabilities. You may also need to adjust the fixture’s position or angle to achieve optimal lighting conditions in your space. Testing and adjusting your LED light fixture will help you to get the most out of your investment and create a comfortable and functional environment in your home. To test your LED light fixture, you can use a light meter to measure its brightness and compare it to your previous lighting system’s output. You can also use a color temperature meter to ensure that the fixture emits the desired color temperature. If your fixture has dimming capabilities, you should test it at different settings to find the right balance between brightness and energy efficiency. Once you have tested the fixture, you may need to adjust its position or angle to eliminate any glare or shadows and achieve optimal lighting conditions. By taking the time to test and adjust your LED light fixture, you can enjoy the benefits of improved lighting quality and energy efficiency in your home.
Before installing your new LED light fixture, it is important to test it to ensure that it is functioning properly. First, turn off the power supply to the room where the fixture will be installed from the circuit breaker. Then, carefully remove the old fixture and its wiring from the ceiling. Next, connect the wiring from the new fixture to the corresponding wires in the ceiling, following the manufacturer’s instructions. Once the wiring is connected, turn the power supply back on and test the fixture by turning it on and off. Check for any flickering, dimming, or other issues that may indicate a problem with the wiring or the fixture itself. If everything appears to be working correctly, proceed with the installation of the fixture onto the ceiling.
When it comes to upgrading your home lighting with an LED light fixture, adjusting the brightness and positioning of the fixture is essential to creating the perfect ambiance. To adjust the brightness, you can use a dimmer switch or choose a fixture with adjustable brightness settings. Positioning is key to creating a balanced and functional lighting scheme. For overhead fixtures, make sure they are centered in the room and at the appropriate height. For task lighting, such as a reading lamp, position the fixture to shine directly onto the task at hand. By taking the time to adjust the brightness and positioning of your LED light fixture, you can create a welcoming and functional space that meets all of your lighting needs.
Upgrading to LED fixtures is a smart decision for any homeowner looking to save money on their electricity bill while also reducing their environmental impact. LED bulbs are incredibly energy-efficient, using up to 75% less energy than traditional incandescent bulbs. They also last up to 25 times longer, saving you money on replacement costs. Additionally, LED bulbs produce less heat, making them safer to use and reducing your cooling costs. LED bulbs are also available in a wide range of colors and styles, allowing you to customize your lighting to suit your home’s decor. Overall, upgrading to LED fixtures is a cost-effective and eco-friendly way to improve your home’s lighting.
Congratulations on successfully upgrading your home lighting with a new LED light fixture! You’ve taken the first step in transforming your home into a brighter and more energy-efficient space. Don’t stop there! With your newfound knowledge and confidence, you can tackle other DIY home improvement projects with ease. From painting your walls to installing new flooring, the possibilities are endless. Remember to take your time, follow instructions carefully, and don’t be afraid to ask for help if needed. You’ll be amazed at what you can accomplish with a little determination and creativity. So go forth and unleash your inner DIY guru!
Conclusion
In conclusion, upgrading your home lighting can have a significant impact on the overall look and feel of your living space. By following the step-by-step guide on how to change your LED light fixture, you can create a brighter, more energy-efficient environment that enhances your home’s ambiance and functionality. With a variety of options available, from color temperatures to dimming features, you can customize your lighting to suit your specific needs and preferences. So, whether you’re looking to improve your home’s aesthetic appeal or simply save money on your energy bills, upgrading your lighting is a smart investment that can pay dividends for years to come.
Related posts:
 Upgrade Your Home Lighting: A Beginner’s Guide on How to Easily Change an LED Ceiling Light
 LED Light Fixture Replacement: A StepbyStep Guide on How to Change Your Old Fixture
 StepbyStep Guide: Installing LED Wall Pack Lights for Efficient Home Lighting
 StepbyStep Guide: How to Easily Change a LED Ceiling Light