Quick Guide: How to Fix Your LED Light Fixture in 5 Easy Steps
Are you tired of living with a flickering LED light fixture that’s not only annoying but also affecting your daily routine? Well, you don’t have to replace the entire thing just yet. With a little bit of knowledge and expertise, you can easily fix your LED light fixture in no time. And the best part, you don’t need to be an electrician or have fancy tools to do so. In this quick guide, we will walk you through the five easy steps you need to follow to fix your LED light fixture. LED light fixtures are an excellent source of energy-efficient lighting, and they last much longer than traditional light bulbs. However, like all electrical devices, they can develop faults, which can cause the bulbs to flicker, dim, or not turn on at all. These faults can be frustrating and costly if you choose to replace the entire fixture. But, with our easy-to-follow guide, you’ll be able to diagnose and fix the problem in no time. So, let’s get started on fixing your LED light fixture in five easy steps.
Step 1: Identify the Problem
Identifying the problem is a crucial step in fixing your LED light fixture. Before you can take any action, you need to determine what is causing the issue. It could be a loose connection, a faulty component, or a burnt-out LED. Start by inspecting the fixture carefully and checking for any visible signs of damage. Look for loose wires, discolored components, or any other signs of wear and tear. Once you have identified the problem, you can begin to troubleshoot and take the necessary steps to fix it. If the issue is with a loose connection, you may need to tighten the wires or replace the damaged connector. If it’s a faulty component, you’ll need to replace it with a new one. If the LED has burned out, you can replace it with a new one or replace the entire fixture if it’s beyond repair. Remember to always turn off the power to the fixture before attempting any repairs to avoid any accidents or injuries. By identifying the problem and taking the necessary steps to fix it, you can ensure that your LED light fixture is working correctly and efficiently.
If you’re having trouble with your LED light fixture, the first thing you should check is the power source. Make sure that the fixture is properly plugged in and that there are no loose connections. If the fixture is battery-operated, make sure that the batteries are installed correctly and are not dead. You should also check the circuit breaker or fuse box to make sure that the circuit is not tripped or blown. If everything seems to be in order with the power source, you can move on to the next step in troubleshooting your LED light fixture.
One of the crucial steps in fixing your LED light fixture is inspecting the LED bulbs. It is imperative to check if the bulbs are correctly inserted into the socket and are not loose. Additionally, make sure that the bulbs are not damaged, and there are no visible cracks or burns on the surface. If you see any of these signs, it’s time to replace the LED bulbs. Furthermore, examine the wattage and voltage compatibility of the bulbs with the fixture because using the incorrect wattage could lead to flickering or even damage to the fixture. By inspecting the LED bulbs carefully, you can identify the root cause of the issue and take appropriate action to fix it.
When it comes to fixing LED light fixtures, one of the most common issues is loose connections. Loose connections can cause flickering, dimming, or even complete failure of the light. To solve this problem, it’s important to first turn off the power to the fixture. Then, carefully inspect all of the connections, including the wires and terminals. Look for any signs of damage or corrosion, and tighten any loose connections using a screwdriver or pliers. It’s also a good idea to use electrical tape or wire connectors to secure the connections and prevent them from coming loose again in the future. By addressing loose connections, you can ensure that your LED light fixture is functioning properly and providing reliable illumination.
Step 2: Gather the Necessary Tools

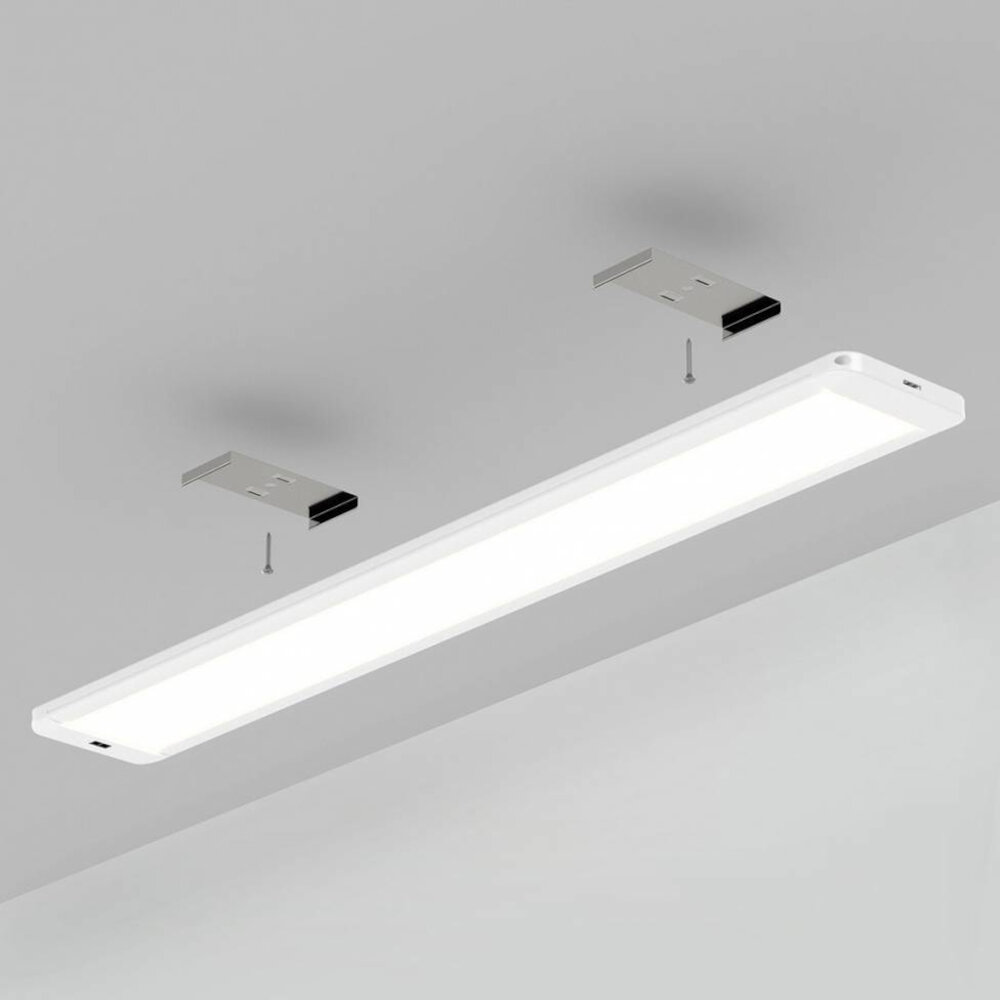
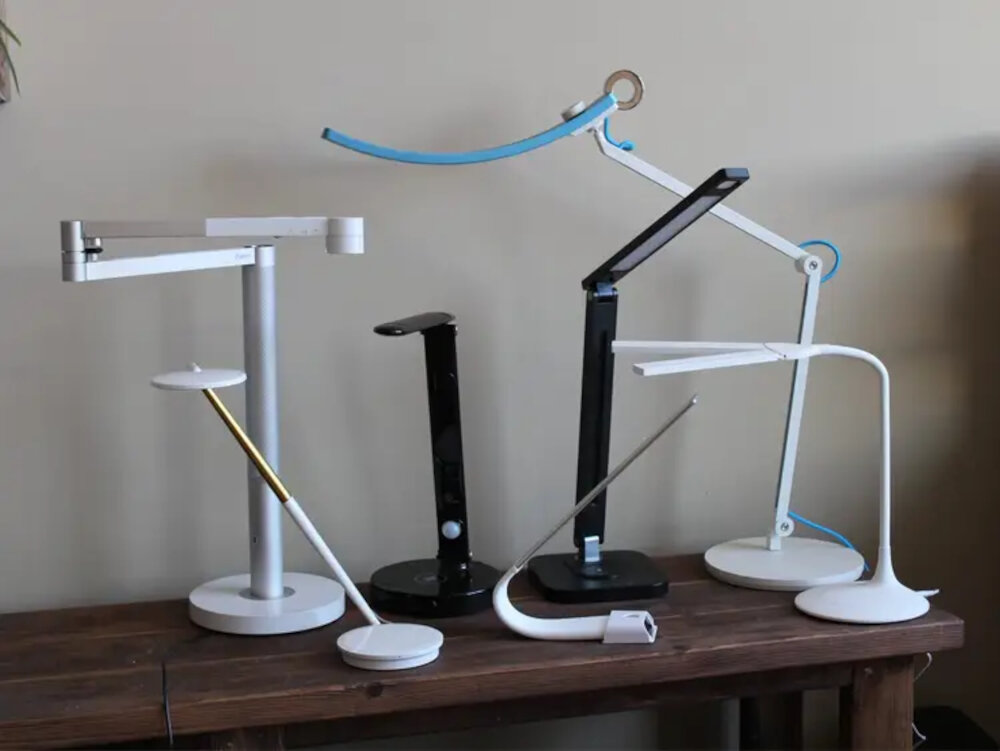
In Step 2 of fixing your LED light fixture, it is crucial to gather all the necessary tools before proceeding. This will help you avoid unnecessary interruptions during the repair process, saving you time and effort. Some of the essential tools you may need include a screwdriver, pliers, wire strippers, electrical tape, and a multimeter. Depending on the specific issue with your LED light fixture, you might also need replacement parts such as LED bulbs, drivers, or ballasts. Make sure you have all the necessary equipment before you start disassembling your LED light fixture to avoid any frustration or delays. Additionally, it’s always a good idea to wear protective gear while working with electrical equipment. Gloves and safety glasses can help protect you from any potential hazards while working on your LED light fixture. Also, make sure to turn off the power supply to the fixture before starting any work. This will help prevent electrical shock or damage to the fixture. By taking these precautions and gathering all the necessary tools beforehand, you’ll be well-prepared to tackle any issue and repair your LED light fixture with confidence.
A screwdriver is a versatile tool that is essential in fixing an LED light fixture. It comes in different types and sizes, but the most commonly used ones are the flathead and Phillips screwdrivers. The flathead screwdriver has a single blade that fits into the slot of a screw, while the Phillips screwdriver has a cross-shaped head that fits into the corresponding screw head. A screwdriver’s purpose is to tighten or loosen screws that hold the LED light fixture in place. It is important to choose the correct size and type of screwdriver to avoid damaging the screws or the fixture. With the right screwdriver, fixing an LED light fixture becomes an easy task that can be completed in a matter of minutes.
Wire cutters are an essential tool for any DIY enthusiast or professional electrician. These pliers are designed to cut through electrical wires of various gauges with precision and ease, making them an indispensable tool for repairing LED light fixtures. With a sharp cutting edge and comfortable grip, wire cutters allow users to strip, snip, and trim wires with minimal effort. Whether you are replacing a damaged wire, splicing two wires together, or simply adjusting the length of a wire, a quality pair of wire cutters is a must-have for any electrical repair job. So, if you’re looking to fix your LED light fixture in just five easy steps, make sure to add a reliable set of wire cutters to your toolbox.
Electrical tape is a versatile and essential tool for any DIY electrical project, including fixing LED light fixtures. Made of vinyl or rubber material, this tape is designed to insulate and protect electrical wires and connections from damage and exposure to moisture. Its adhesive properties allow for a secure and long-lasting bond, and it comes in a variety of colors to match your wiring needs. When using electrical tape, make sure to wrap it tightly and evenly around the wires, covering any exposed areas and ensuring a secure seal. With its reliable performance and ease of use, electrical tape is a must-have for any electrical repair or installation project.
When it comes to fixing an LED light fixture, one important aspect to consider is the need for replacement parts. Depending on the issue at hand, it may be necessary to replace certain components such as the LED bulbs, driver, or even the entire fixture itself. It’s important to ensure that any replacement parts used are compatible with the fixture and of high quality to ensure optimal performance and longevity. It’s also recommended to consult with the manufacturer or a professional electrician to ensure that the correct parts are being used and installed properly. By addressing any necessary replacement parts, you can effectively restore your LED light fixture to its optimal functionality and brightness.
Step 3: Turn Off the Power

Step 3 of fixing your LED light fixture involves turning off the power to the fixture. This is a crucial step that should not be overlooked, as it can prevent potential accidents or injuries. To turn off the power, locate the switch or circuit breaker that controls the power to the fixture and flip it off. It’s important to make sure that the power is completely off before proceeding to the next step. This can be done by testing the fixture with a voltage detector to ensure that there is no electricity flowing through it. Turning off the power not only ensures safety, but it also prevents damage to the fixture and the electrical system. When turning off the power, it’s important to remember that safety should always be a top priority. Electrical accidents can be dangerous and even deadly, so it’s important to take the necessary precautions. Always wear protective gear, such as gloves and safety glasses, and avoid touching any live wires or components. Additionally, make sure that the area around the fixture is clear of any flammable materials or debris. Turning off the power may seem like a simple task, but it’s an essential step in fixing your LED light fixture safely and effectively.
Before beginning any electrical work, it is crucial to take safety precautions to prevent electrocution or other accidents. To fix your LED light fixture, start by unplugging the fixture or turning off the circuit breaker that supplies power to it. This will ensure that there is no electricity running to the fixture while you work on it, reducing the risk of injury. Once the power is off, you can proceed with the repair or replacement of any faulty components in your LED light fixture with confidence and peace of mind. Remember to always prioritize safety when working with electricity to avoid any accidents that could result in harm to yourself or others.
Step 4: Fix the Issue
Step 4: Fix the Issue is the most important step in the process of fixing your LED light fixture. This step requires you to identify the exact issue with your light fixture and to determine the best solution for fixing it. Some of the common issues that you may encounter with your LED light fixture include faulty wiring, broken or burnt-out bulbs, and damaged components. Once you have identified the issue, you can then proceed to fix it using the appropriate tools and techniques. You may need to replace a bulb or a component, rewire the fixture, or repair any damaged parts to ensure that your light fixture is functioning properly. Fixing the issue with your LED light fixture can be a delicate process that requires patience and attention to detail. It is important to follow the manufacturer’s instructions carefully and to use the right tools and techniques for the job. If you are unsure of how to fix the issue, it is best to seek the help of a professional electrician or lighting technician. They can provide expert advice and guidance on how to fix the issue and ensure that your light fixture is working safely and efficiently. By taking the time to fix the issue with your LED light fixture, you can enjoy bright, energy-efficient lighting in your home or workplace for years to come.
If you have noticed that your LED light fixture is not working properly, one of the first things you can do is replace the LED bulbs. This is a relatively simple process that can be done in just a few minutes. Start by turning off the power to the fixture and then removing the old bulbs. Take note of the wattage and color temperature of the old bulbs so you can replace them with the same type. Insert the new bulbs into the fixture and turn the power back on to test the lights. If the bulbs still don’t work, you may need to troubleshoot further, but often replacing the bulbs is all it takes to get your LED light fixture back to working order.
One of the most common issues with LED light fixtures is loose connections, which can cause flickering or complete failure of the fixture. To tighten loose connections, start by turning off the power to the fixture at the circuit breaker. Carefully remove the cover or diffuser to access the wiring connections. Use a screwdriver to tighten any loose screws or connectors, making sure they are firmly in place. Inspect the wires for any damage or fraying and replace if necessary. Once all connections are secure, replace the cover or diffuser and restore power to the fixture.
If you are experiencing issues with your LED light fixture, one possible cause may be damaged wires. Wires can become frayed, cut, or disconnected, which can prevent proper electrical current flow and cause the fixture to malfunction. To address this issue, first, turn off the power to the fixture. Then, carefully inspect the wires for any damage. If the damage is minor, such as a small cut or frayed end, you may be able to repair it by stripping the wire and reconnecting it. However, if the damage is more severe, such as a completely severed wire, it may be necessary to replace the damaged wire entirely. Make sure to use the appropriate wire gauge and connectors for your fixture to ensure safety and proper functionality.
Step 5: Test the Fixture
Once you have successfully completed the fourth step, which is to replace the defective parts, it is time to move on to the fifth and final step, which is to test the fixture. Testing your LED light fixture is an essential step to ensure that it is working correctly and that you have fixed the issue. To test the fixture, you should switch on the power and check if the light is emitting as it should. You can also verify if the light is emitting at the correct brightness level and color temperature. If the light is not functioning correctly, you may need to repeat the previous steps or seek further assistance. Testing the fixture is also an excellent opportunity to ensure that your LED light fixture is in good condition and that you have fixed the issue efficiently. Consider testing the fixture at different times of the day and in different lighting conditions to ensure that it is functioning correctly. Moreover, it is essential to check the fixture periodically to ensure that it continues to work correctly over time. By testing your LED light fixture, you can rest assured that you have fixed the issue and that your fixture is in good condition, providing the light you need for your daily activities.
Now that you have successfully replaced the faulty LED bulb or driver, it’s time to turn the power back on. First, ensure that the switch is turned off to avoid any electrical shock. Once you’ve confirmed that the switch is off, you can safely turn the power back on. Flip the switch and wait for a few seconds to see if the LED light fixture turns on. If the light doesn’t turn on, double-check the connections and make sure that everything is properly connected. If everything looks good, then it’s time to call a professional electrician to check the wiring and the fixture itself.
After replacing any faulty components or wiring, it’s important to check that the LED light fixture is working properly. This can be done by turning on the power and observing the light output. If the fixture is flickering or not producing the expected amount of light, further troubleshooting may be necessary. It’s also important to ensure that the fixture is securely mounted and that all connections are tight. Regularly checking the fixture’s performance can help prevent future issues and ensure that it continues to provide reliable illumination.
If you’re looking to save money on costly repairs for your LED light fixture, then you’re in the right place! By following these five easy steps, you can fix your LED light fixture without the need for professional help. However, safety always comes first. Be sure to turn off the power before attempting any repairs and use caution when working with electricity. Once you’ve taken the necessary precautions, you’ll be ready to tackle the problem. This quick guide will walk you through the five simple steps you need to take to fix your LED light fixture, so you can get back to enjoying your well-lit space without breaking the bank.
Conclusion
In conclusion, fixing your LED light fixture is an easy task that can be accomplished in just a few simple steps. By following the guide outlined above, you can easily diagnose and resolve any issues with your fixture, ensuring that it provides reliable and efficient lighting for years to come. Remember to always take the necessary precautions when working with electricity, and don’t hesitate to seek professional assistance if you’re uncertain about any aspect of the repair process. With a little patience and know-how, you can have your LED light fixture shining bright in no time!
Related posts:
 Quick Guide: Changing Integrated LED Light Fixture in Few Simple Steps
 Quick Fixes: How to Repair Your LED Light Fixture in 5 Simple Steps
 LED Lighting 101: A Quick Guide on How to Easily Replace Your Fluorescent Light Fixture
 LED Light Fixture Replacement: A StepbyStep Guide on How to Change Your Old Fixture