Quick Fixes: How to Repair Your LED Light Fixture in 5 Simple Steps

LED light fixtures are an excellent way to brighten up your home or office space. They are energy-efficient, long-lasting, and come in a wide variety of styles and designs. However, just like any other electrical appliance, LED light fixtures can break down or malfunction over time. This can be frustrating, especially if you rely on them for your daily activities. Fortunately, repairing your LED light fixture is not as complicated as it may seem. In fact, you can fix most issues in just a few simple steps. In this article, we will discuss five quick fixes that will help you repair your LED light fixture in no time. Whether you are dealing with a flickering light, a burnt-out bulb, or a faulty switch, we have got you covered. Our step-by-step guide is easy to follow and does not require any special tools or technical skills. So, sit back, relax, and let us show you how to get your LED light fixture back in working order.
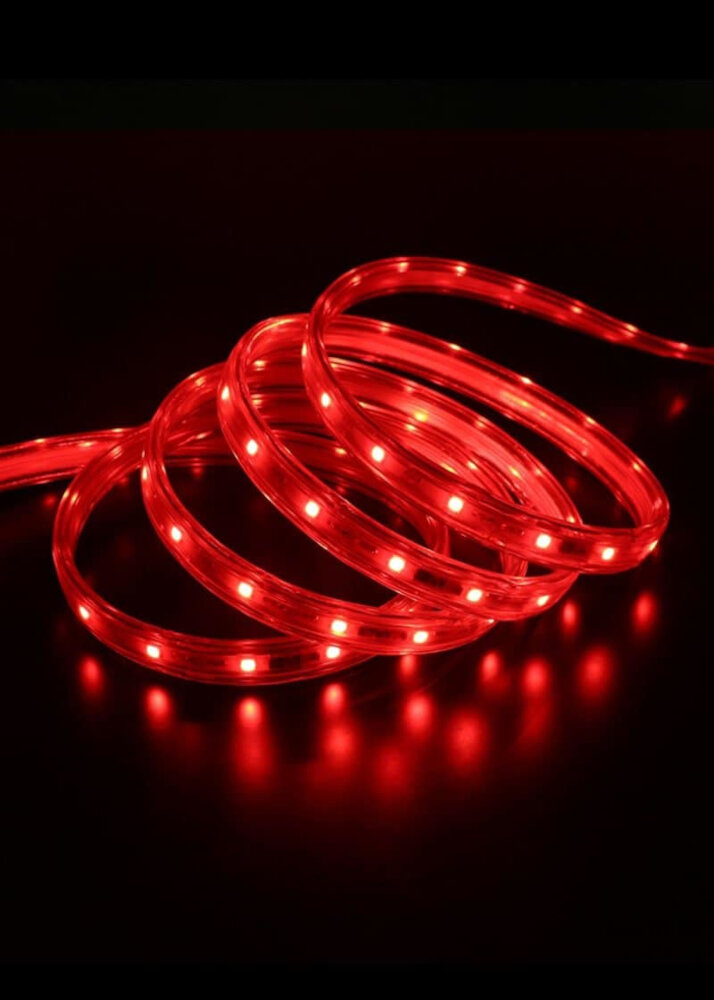
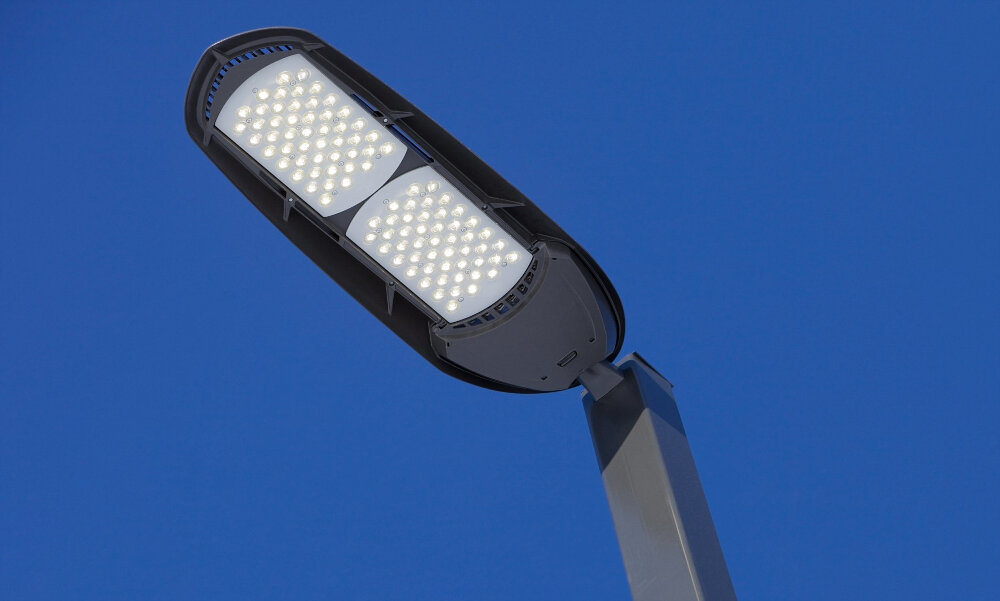
LED light fixtures are becoming increasingly popular due to their energy efficiency and longevity. These fixtures have a lifespan of up to 50,000 hours and are available in a variety of colors, sizes, and shapes. However, despite their many benefits, LED light fixtures can sometimes experience common issues such as flickering, dimming, or complete failure. These issues can be caused by a range of factors including faulty wiring, overheating, or a damaged LED driver. Fortunately, many of these issues can be resolved with a few simple steps, allowing you to quickly repair your LED light fixture and enjoy its benefits once again.
Knowing how to repair your LED light fixture is essential for several reasons. Firstly, it saves you money since you don’t have to replace the entire fixture every time it malfunctions. Secondly, it promotes sustainability by reducing the amount of electronic waste that ends up in landfills. Moreover, it enables you to maintain a well-lit and safe environment in your home or workplace. Additionally, fixing your light fixture gives you a sense of satisfaction and accomplishment, especially if you are someone who enjoys DIY projects. In short, having the knowledge and skills to repair your LED light fixture is a valuable asset that can benefit you in many ways.
Step 1: Identify the Problem
Before attempting to repair your LED light fixture, it is essential to first identify the problem. This step is crucial in determining the necessary repair method and ensuring the safety of the individual doing the repair. There are various issues that may arise with LED light fixtures, and identifying the problem can help save time and resources. Some common problems include flickering lights, unresponsive switches, and broken bulbs. By determining the problem, you can also decide whether to repair or replace the fixture altogether. To identify the problem, it is recommended to start by checking the power source. Ensure that the fixture is plugged in and that the circuit breaker has not been tripped. If the power source is not the issue, inspect the fixture for visible damage or loose connections. Additionally, checking the bulb can help identify the problem. If the bulb is broken or burnt out, replacing it may solve the issue. If the problem persists, it may be necessary to further inspect the wiring or consult with a professional for assistance. Overall, identifying the problem is the first step in repairing your LED light fixture and can help ensure a safe and effective repair process.
If you are experiencing issues with your LED light fixture, the first step is to identify the problem. Begin by checking the power source and ensuring that the fixture is securely connected to the electrical outlet. If the fixture is receiving power, but the light is not turning on, check the LED bulbs to see if they need to be replaced. Additionally, inspect the wiring and connections to make sure there are no loose or damaged components. If the issue persists, consult the manufacturer’s manual for troubleshooting tips or consider contacting a professional electrician for further assistance. By taking these steps, you can quickly diagnose and repair common issues with your LED light fixture.
Common problems that may arise with LED light fixtures include flickering lights, dimming lights, and lights that won’t turn on at all. These issues can be caused by a variety of factors, such as loose wiring, faulty LED drivers, or power supply issues. In some cases, the problem may be as simple as a burned-out bulb or a loose connection. However, more complex issues may require the expertise of a professional electrician to diagnose and repair. By understanding the potential causes of these problems, you can quickly identify and address any issues with your LED light fixtures, ensuring that they are functioning properly and efficiently.
Step 2: Gather Materials
Step 2: Gather Materials is a crucial part of the process when it comes to repairing an LED light fixture. Before you start fixing it, you need to make sure you have all the necessary materials on hand. This step saves you time and energy, and it also ensures that you can complete the repair without any interruptions. Some of the materials you might need include a screwdriver, pliers, wire cutters, wire strippers, and electrical tape. Depending on the problem, you might also need replacement parts such as LED bulbs or fuses. It’s important to gather all the materials before starting the repair to avoid running back and forth to the store, which can be frustrating and time-consuming. Another reason why Step 2: Gather Materials is so important is that it helps you prepare mentally for the task at hand. When you have all the necessary tools and materials in front of you, you can take a deep breath and focus on the repair. It’s also a good idea to read through the repair instructions and make sure you understand each step before you start. This will help you feel confident and in control throughout the process. By gathering materials beforehand, you set yourself up for success and ensure that the repair process goes smoothly.
When it comes to repairing an LED light fixture, having the right tools and materials is crucial. You’ll need a few basic items, such as a screwdriver set, pliers, wire cutters, and a voltage tester. Additionally, you’ll need replacement parts, such as LED bulbs and wiring, depending on the nature of the problem. It’s important to ensure that you have high-quality replacement parts that are compatible with your fixture to avoid any further damage. Don’t forget to take safety precautions, such as turning off the power supply and wearing protective gear, before starting the repair. With the right tools and materials, you can easily fix your LED light fixture in just a few simple steps.
If you are wondering where to locate the necessary tools and parts to repair your LED light fixture, look no further than your local hardware store or home improvement center. These stores typically carry a wide range of replacement parts, such as LED bulbs, wiring, and connectors. In addition, they also offer an array of tools, including wire cutters, pliers, and screwdrivers, which are essential for repairing a light fixture. If you are unsure of what specific parts or tools you need, do not hesitate to ask one of the knowledgeable employees at the store for assistance. With their guidance and the right tools and parts in hand, you can quickly and easily repair your LED light fixture in just five simple steps.
Step 3: Turn Off Power and Disassemble
In the third step of repairing your LED light fixture, it is essential to turn off the power and disassemble the fixture. This step is crucial to avoid any electrical accidents or injuries that may occur during the repair process. It is vital to turn off the power supply to the fixture by switching off the circuit breaker or removing the fuse that supplies electricity to the fixture. Additionally, it is advisable to use a voltage detector to ensure that there is no electricity flowing to the fixture before commencing the repair process. After turning off the power supply, the next step is to disassemble the fixture. Disassembling involves removing the cover, lens, or any other part that may be blocking access to the LED lights or other components that need repair. This step may require the use of a screwdriver or pliers to remove screws or clips holding the fixture together. It is crucial to be careful when disassembling the fixture to avoid damaging any parts, especially if the fixture is made of fragile materials. By disassembling the fixture, you will have access to the LED lights, driver, and other components that may need repair or replacement, making it easier to carry out the repair process.
Turning off the power is a crucial step in repairing an LED light fixture. It is imperative to shut off the power supply to avoid any potential electrical hazards, such as electrocution or short circuits. By turning off the power, you can ensure that the circuit is not live and that you can safely work on the fixture. Additionally, it is essential to make sure that the power is off before replacing any components or troubleshooting the fixture. Failure to turn off the power can result in damage to the fixture, injury to yourself, or damage to your property. Therefore, always remember to turn off the power before attempting any repairs on your LED light fixture.
When it comes to disassembling an LED light fixture, safety should be your top priority. Before you start, make sure the power source is turned off to prevent any electrical shocks. Then, carefully remove the cover or lens of the fixture by unscrewing or unclipping it. Next, locate the LED driver, which is usually a small box connected to the wiring. Disconnect the wires from the driver, taking note of which wire corresponds to each terminal. Finally, remove the screws or clips that hold the LED modules in place and gently pull them out. Remember to handle all components with care and avoid damaging any wires or connectors during the disassembly process.
Step 4: Repair or Replace Components
After identifying the faulty component in your LED light fixture, the next step is to repair or replace it. If the issue is a loose connection or a broken wire, you can easily fix it by re-soldering the wire or replacing it altogether. However, if the problem is with a more complex component like a driver or a circuit board, it might be best to replace it entirely. In such cases, it is essential to purchase a replacement part that is compatible with your LED light fixture’s make and model. It is also important to follow the manufacturer’s instructions when replacing any component to ensure proper installation and prevent any further damage to the fixture. When replacing any component in your LED light fixture, it is crucial to take all necessary safety precautions to avoid any accidents. Always switch off the power supply and unplug the fixture from the wall socket before attempting any repairs. Wear protective gear like gloves and safety glasses to prevent any injuries from broken glass or sharp edges. Additionally, if you are not comfortable with handling electrical components, it is best to seek the help of a qualified electrician. Taking these precautions will not only ensure your safety but also prevent any further damage to your LED light fixture.
LED light fixtures have become a popular choice for their energy efficiency, durability and long lifespan. However, like any other electrical device, they can also face some common issues. One of the most common problems is flickering or dimming of the light. This usually happens due to a loose connection, a faulty driver, or a damaged LED. Another issue is overheating, which can cause the LED to burn out quickly. This can be prevented by ensuring proper ventilation and avoiding high temperatures. If the light does not turn on or off, it could be due to a faulty switch, wiring or power supply. In such cases, it is recommended to call a professional electrician. By identifying these common issues and following the right steps to fix them, you can ensure that your LED light fixture stays in good working condition for a long time.
It’s essential to know when to replace components instead of repairing them to avoid costly and time-consuming repairs in the future. If the component has been repaired multiple times, it might be time to replace it. Additionally, if the component is outdated and no longer meets the fixture’s needs, it is best to replace it. Repairing a component that is no longer efficient may result in poor performance and frequent breakdowns. Furthermore, if the repair work costs more than replacing the component, it may be time to replace it. Knowing when to replace components is crucial in ensuring the longevity and optimal performance of your LED light fixture.
Step 5: Reassemble and Test
After successfully identifying and replacing the faulty components of your LED light fixture, it’s time to reassemble and test it. But before putting everything back together, it’s important to double-check if all the connections are secure and if there are no loose wires. Make sure you follow the manufacturer’s instructions when reassembling the light fixture to avoid any damage or malfunction. If you had to remove any screws or bolts, make sure to tighten them properly. Once everything is in place, turn on the power supply and test the light. If the light turns on without any flickering, you can safely assume that the repair was successful. However, if the light still doesn’t work, there may be other underlying issues that need to be addressed. It’s possible that the problem is with the LED driver or the circuit board, which may require more advanced troubleshooting and repair techniques. In such cases, it’s best to seek the help of a professional electrician or technician. Overall, repairing your LED light fixture can save you money and extend its lifespan. By following these simple steps and taking proper safety precautions, you can easily fix minor issues and keep your LED light fixture working efficiently for years to come.
After successfully troubleshooting and repairing your LED light fixture, it’s time to reassemble it. The proper way to do this is to carefully follow the steps in reverse order. Begin by reattaching the light cover or lens, making sure that it is securely in place. Then, reattach any screws or clips that were removed during the disassembly process. Ensure that all wiring is properly reconnected and tucked away neatly. Finally, reinstall the LED bulbs and turn the power back on to test the fixture’s functionality. Remember to handle all parts with care to avoid damaging any components and always refer to the manufacturer’s instructions for specific reassembly guidelines. By following these steps, your LED light fixture should be functioning like new in no time.
After completing the repair steps, it is important to test the LED light fixture to ensure it is working properly. First, turn on the power source and check if the fixture lights up. Then, inspect the light for any flickering or dimming, which could indicate a loose connection or faulty bulb. If the light is not working, check the wiring and connections to ensure they are secure and correctly installed. Additionally, you can use a multimeter to measure the voltage and current of the fixture to confirm it is within the expected range. By thoroughly testing the fixture, you can ensure it is safe and functional for use.
In the article \Quick Fixes: How to Repair Your LED Light Fixture in 5 Simple Steps,\ the five steps to repairing an LED light fixture are laid out in a clear and concise manner. The first step involves identifying the problem with the fixture, whether it’s a faulty bulb or a wiring issue. The second step is to turn off the power to the fixture to avoid any accidents while working on it. The third step involves removing the cover of the fixture and inspecting the wiring for any damage or loose connections. The fourth step is to replace any faulty components, such as bulbs or transformers. Finally, the fifth step is to reassemble the fixture and test it to ensure that it’s working properly. By following these five steps, individuals can easily repair their LED light fixture without the need for a professional electrician.
When working with electricity, safety should always be the top priority. Electrical shock can be deadly, and even a small mistake can lead to serious injury or damage. It is important to ensure that the power is turned off before attempting any repairs, and to use proper tools and equipment that are designed for electrical work. Additionally, it is crucial to wear protective gear such as gloves, goggles, and non-conductive footwear. Taking these precautions may take a little extra time, but it can save you from a potentially life-threatening situation. Remember, it is always better to be safe than sorry when it comes to working with electricity.
When an LED light fixture starts malfunctioning, the first impulse is often to immediately replace it with a new one. However, before taking such a drastic step, it is important to consider attempting repairs first. Not only can this save money, but it also promotes sustainability by reducing waste. Furthermore, attempting repairs can also be a valuable learning experience, providing opportunities to develop new skills and gain a sense of accomplishment. So, rather than giving up on a malfunctioning LED light fixture, consider taking on the challenge of repairing it yourself using the simple steps outlined in this article.
Conclusion

In conclusion, repairing your LED light fixture doesn’t have to be a daunting task. By following these 5 simple steps, you can quickly and easily fix any issues with your fixture and get it back to working like new. From checking the power source to replacing faulty components, these steps are designed to help you troubleshoot and repair your LED fixture with ease. So don’t let a broken light fixture ruin your day – use these quick fixes to get your lighting working again in no time. Remember, with a little bit of patience and know-how, you can save money and avoid the hassle of having to replace your entire fixture.