Quick Guide: How to Easily Replace LED Recessed Lights in 5 Simple Steps

If you’re looking to replace the LED recessed lights in your home, you’re in the right place. Whether it’s because they’re outdated, damaged, or you simply want to switch to a more energy-efficient option, the process is easier than you might think. With just a few simple steps, you can have your new LED lights installed and shining bright in no time. LED lights are a popular choice for homeowners because they’re long-lasting, energy-efficient, and offer a bright, clean light. However, replacing them can seem like a daunting task, especially if you’ve never done it before. But don’t worry, we’ve got you covered. In this quick guide, we’ll walk you through the process of replacing your LED recessed lights in just five simple steps. So, let’s get started!
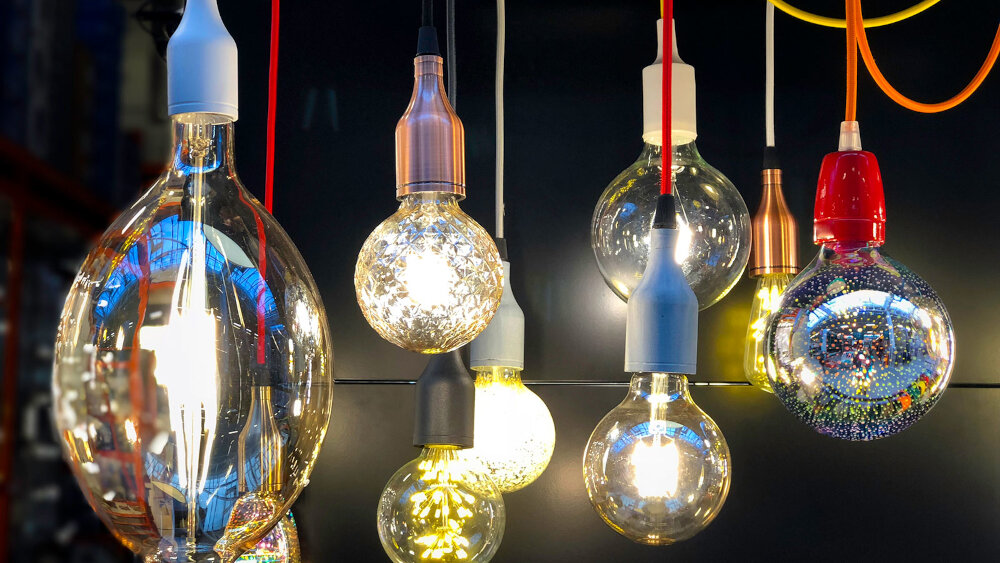
LED recessed lights are an essential part of modern lighting systems, providing energy-efficient illumination that can last for years. However, these lights may need to be replaced over time due to wear and tear or changes in style. Replacing LED recessed lights can help improve the overall appearance and functionality of a space, as well as save money on energy costs. It is essential to replace LED recessed lights as soon as they start to malfunction, as this can prevent potential hazards and ensure a safe and comfortable environment. Furthermore, replacing LED recessed lights is relatively simple and can be done in just a few steps, making it an easy DIY project for anyone looking to update their lighting system.
Replacing LED recessed lights can be a simple and easy process if you follow the right steps. First, turn off the power supply to the fixture to avoid electrical accidents during the replacement process. Second, remove the trim and light bulb from the fixture by unscrewing or pulling it out carefully. Third, disconnect the wiring from the old fixture and remove it from the ceiling. Fourth, connect the wiring to the new fixture and install it in the ceiling. Finally, attach the trim and light bulb to the new fixture and turn on the power supply to test it. By following these 5 simple steps, you can replace your LED recessed lights quickly and easily.
Step 1: Turn off the Power
When it comes to replacing LED recessed lights, safety should be your top priority. Before starting any work, make sure to turn off the power to the fixture. This can be done by turning off the switch that controls the light or by turning off the circuit breaker that powers the room. It’s important to take this step to prevent any accidents or electrical shocks while you’re working on the lights. Turning off the power is a critical first step because it ensures that no electrical current is flowing through the wires. This means that you can safely remove the old fixture without risking injury. Additionally, turning off the power also protects the new LED recessed light from damage during installation. By following this simple step, you can ensure that the entire replacement process is smooth and hassle-free. Remember, safety should always come first when working with electrical fixtures, and turning off the power is the first step in ensuring that your project is a success.
It is crucial to turn off the power before replacing LED recessed lights. Electricity can be dangerous, and working with live wires can lead to electrocution or other accidents. Turning off the power ensures that there is no electrical current running through the wires, making the process much safer. Additionally, working with live wires can damage the LED lights, as the electrical surge can cause the lights to burn out or malfunction. Taking the time to turn off the power before replacing the LED recessed lights not only ensures personal safety but also protects the lights from damage, allowing them to function properly and efficiently.
Before starting to replace LED recessed lights, it is crucial to turn off the power to avoid any electrical hazards. To do so, locate the circuit breaker box, usually found in the basement or utility room. Open the panel cover and look for the circuit breaker switch connected to the recessed lights. Flip the switch to the \off\ position. If you are unsure which circuit breaker switch to turn off, use a non-contact voltage tester to identify it. This device can detect the presence of live wires and will help you locate the correct breaker. Once the power is off, you can safely proceed with replacing your LED recessed lights.
Step 2: Remove the Old Light Fixture
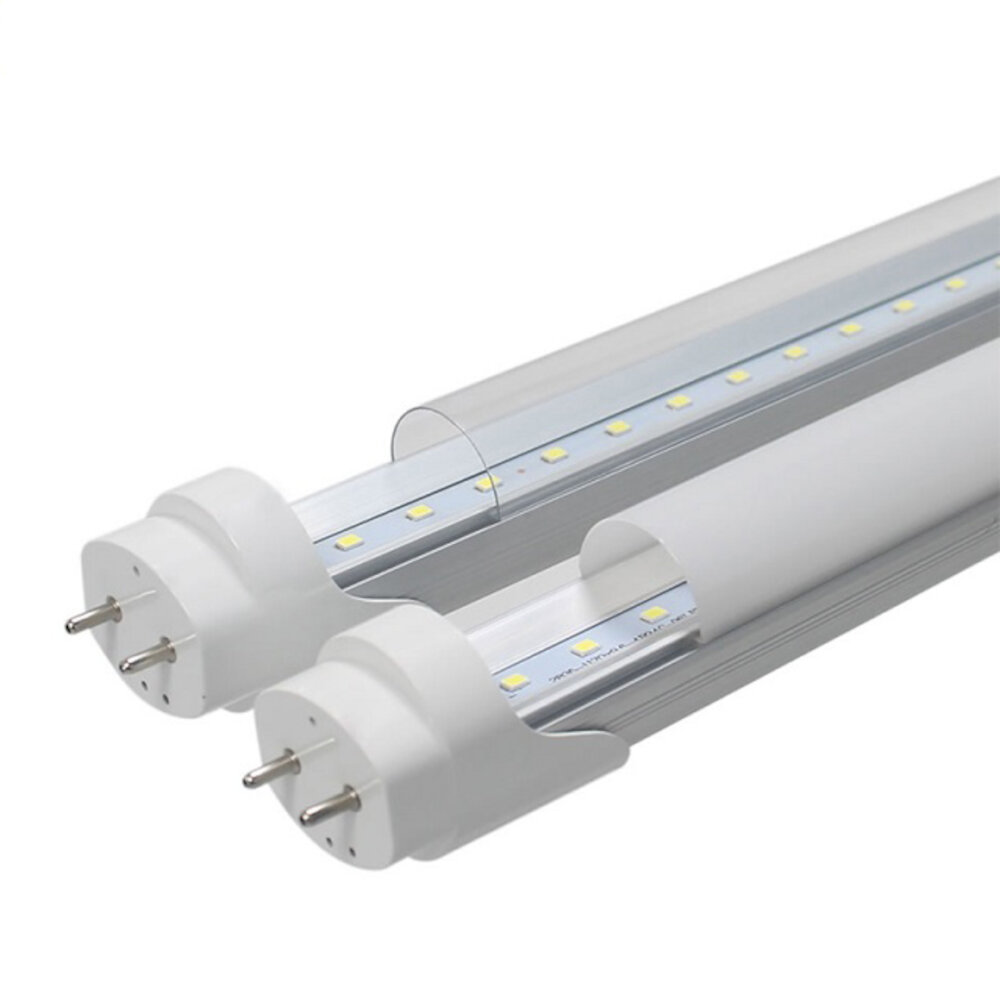
In order to replace LED recessed lights, the second step is to remove the old light fixture. This can be a relatively simple process, but it’s important to take care and follow the instructions carefully. First, turn off the power to the fixture by switching off the circuit breaker or removing the fuse. This will ensure that you don’t accidentally electrocute yourself while working on the fixture. Once the power is off, carefully remove the old fixture by unscrewing it from its mounting bracket. Be sure to keep track of any screws or other small parts that may be required for the new fixture. Once the old fixture is removed, you may need to do some additional work to prepare for the new fixture. This may include installing a new mounting bracket or making other adjustments to the wiring or ceiling. If you’re unsure about what needs to be done, consult the instructions that came with your new fixture or seek out professional advice. Remember, safety is key when working with electrical fixtures, so take your time and be careful to follow all instructions and best practices. With a little patience and attention to detail, you’ll be well on your way to enjoying the benefits of your new LED recessed lights.
To remove an old LED recessed light fixture, you should turn off the power supply to the fixture’s circuit by switching off the circuit breaker. Use a ladder to reach the light fixture and remove the bulb by twisting it anticlockwise. Then, unfasten the screws that hold the fixture’s trim in place and gently pull the trim down to expose the fixture’s housing. Loosen and remove the screws or clips that secure the housing to the ceiling and detach the electrical wires by unscrewing the wire caps or disconnecting the wire connectors. Carefully lower the fixture from the ceiling and remove any remaining wires or connectors. Finally, dispose of the old fixture and prepare to install the new one.
Removing the fixture is a crucial step when replacing LED recessed lights. To start, turn off the power supply to the fixture from the circuit breaker box. Next, remove the trim and the bulb from the fixture. Then, locate the screws or clips that secure the fixture to the ceiling and loosen them with a screwdriver. Be careful not to damage the electrical wires. If the fixture is hardwired, disconnect it from the electrical wires by unscrewing the wire nuts. Finally, gently pull the fixture down from the ceiling and set it aside. By following these steps, you can safely remove the fixture and proceed with the LED recessed light replacement process.
Step 3: Install the New Light Fixture
After successfully removing the old recessed light fixture, it’s time to install the new one. But before anything else, make sure to turn off the power supply in the circuit breaker to avoid any electrical accidents. Once you’ve ensured safety, you can start by connecting the wires of the new light fixture to the electrical wires in the ceiling. You can do this by matching the colors of the wires, connecting the black wire to the black wire, and the white wire to the white wire. Use wire nuts to secure the connection, and don’t forget to wrap the wires with electrical tape for added protection. After connecting the wires, you can now align the new light fixture with the hole in the ceiling and push it in. Once it’s in place, use screws to secure it to the ceiling, making sure that it’s sturdy and won’t fall off. Finally, you can now attach the trim or cover to the new light fixture, and turn on the power supply in the circuit breaker to test if it’s working properly. Replacing LED recessed lights may seem daunting, but with these easy steps, you can do it yourself in no time.
Installing a new LED recessed light fixture is a simple process that can be completed in a few easy steps. The first step is to turn off the power to the fixture at the breaker box. Next, remove the old fixture by unscrewing the screws or pulling it out of the ceiling. Then, connect the wires of the new LED fixture to the existing wiring using wire connectors. After that, slide the fixture into the ceiling and secure it with screws. Finally, turn the power back on and test the new LED recessed light fixture to ensure it is working properly. It is always important to follow safety guidelines and manufacturer instructions when installing any electrical fixture.
Installing a new LED recessed light fixture can be an easy and straightforward process if you follow these simple steps. First, turn off the power to the existing fixture at the circuit breaker. Next, remove the old fixture by unscrewing any mounting screws and gently pulling it down from the ceiling. Then, connect the wiring from the new fixture to the existing electrical box, making sure to match the colors of the wires. After that, attach the new fixture to the ceiling by securing it with mounting screws or clips. Finally, turn the power back on and test your new LED recessed light to ensure it is working properly. With these easy-to-follow instructions, you can replace your old fixture in no time!
Step 4: Connect the Wires
Connecting the wires is the fourth step in replacing LED recessed lights, and it’s a critical one. This step involves connecting the wires from the new LED light fixture to the wires in your ceiling. Before you get started, you need to make sure that the power is turned off at the circuit breaker. This is essential for your safety, and you should never attempt to connect wires without turning off the power. Once the power is off, you can begin connecting the wires. First, you need to strip the ends of the wires to expose the bare copper. Then, you need to twist the wires together, making sure that the connections are tight and secure. You can use wire nuts to help secure the connections, and you can also wrap them with electrical tape for added protection. Once the wires are connected, you can push them up into the ceiling and attach the LED light fixture. It’s important to take your time when connecting the wires, as this step can be tricky if you’re not familiar with electrical work. If you’re not confident in your abilities, it’s best to hire a professional electrician to do the job for you. However, if you’re comfortable with electrical work, you can easily connect the wires yourself. Just make sure that you follow the manufacturer’s instructions carefully and use the right tools for the job. Once the wires are connected, you can test the LED light fixture to make sure that it’s working properly. If everything is working as it should, you can move on to the final step, which is installing the trim and turning on the power at the circuit breaker.
Connecting the wires of a new LED recessed light fixture is a vital step when it comes to replacing old recessed lights. Firstly, ensure that the power is turned off and remove the old light fixture. Next, connect the wires of the new fixture to the corresponding wires in the ceiling, usually black to black and white to white. Some fixtures may have a grounding wire, which should be connected to the grounding wire in the ceiling. Make sure to use wire connectors to secure the connections and wrap them with electrical tape for added safety. Once the wires are connected, gently push the new fixture into the ceiling and secure it in place. Finally, turn the power back on and enjoy your new LED recessed light fixture.
Connecting the wires while replacing LED recessed lights is a crucial step in ensuring that the new fixture functions properly. First, turn off the power to the existing fixture at the circuit breaker to prevent any electrical shock. Then, remove the old fixture and disconnect the wires by unscrewing the wire nuts. Next, connect the house wires to the new fixture’s wires, using wire nuts to join the black wire to black, white to white, and green or bare copper wire to the green or bare copper wire. Make sure the connections are secure and tight. Finally, push the connected wires into the electrical box and attach the new fixture. Remember to turn the power back on and test the new LED recessed light to ensure it is working correctly.
Step 5: Test the New Light Fixture

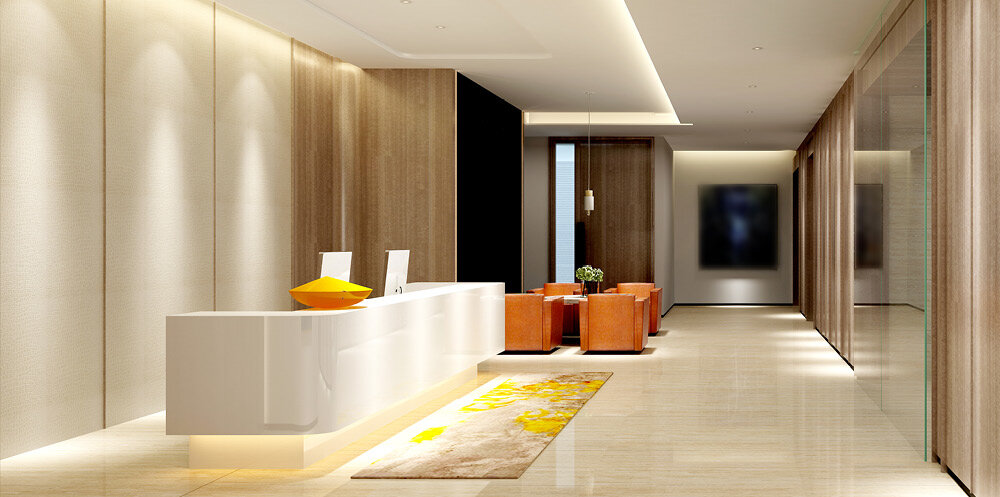
After installing the new LED recessed light fixture, it is important to test it to ensure it is working properly. Turn on the light switch and observe the new fixture’s brightness and color. Check if the light is evenly distributed throughout the room and if there are any flickers or dimming. If you notice any issues, turn off the power and check the wiring connections or make adjustments to the fixture’s position. It is also recommended to leave the light on for several minutes to make sure it does not overheat or produce any strange odor. Testing the new light fixture will not only give you peace of mind but also ensure the safety of your home. Moreover, testing the new LED recessed light fixture is an opportunity to compare it with the old one in terms of energy efficiency and cost savings. LED lights consume significantly less energy than traditional incandescent bulbs, which translates into lower electricity bills and a smaller carbon footprint. You can use a wattage meter to measure the amount of energy used by the new fixture and compare it with the old one. LED lights also have a longer lifespan, which means less frequent replacements and less waste. By testing the new light fixture, you can appreciate the benefits of upgrading to LED technology and feel good about making a sustainable choice for your home.
Once the new LED recessed light fixture is installed, testing it is essential to ensure its proper functioning. First, switch off the power supply to the fixture from the circuit breaker. Then, carefully remove the LED bulb from the fixture and replace it with another one of the same wattage and style. Switch on the power supply and check if the light turns on. Repeat this process for all the fixtures installed. If any of the fixtures fail to turn on, double-check the wiring connections and make sure they are secure. Also, ensure that the bulb is securely attached to the fixture. Finally, turn off the power supply and re-install the original LED bulb in the fixture.
Once the LED recessed light fixture has been installed, testing it is crucial to ensure that it is working correctly. First, turn on the power supply to the fixture and wait for the LED lights to illuminate. Check if the light has the correct color temperature and brightness. Next, check if the fixture is emitting any buzzing or flickering sounds. If it is, there might be a problem with the wiring or the fixture itself. Finally, ensure that the fixture is properly secured and not loose. If everything looks good, then the LED recessed light fixture is ready to use. If there are any issues, consult a professional electrician to address the problem.
In the article, \Quick Guide How to Easily Replace LED Recessed Lights in 5 Simple Steps,\ the author provides a concise and informative guide for anyone looking to replace their LED recessed lights. The guide consists of five easy-to-follow steps, starting with turning off the power to the lights, removing the trim and bulb, disconnecting the wiring, connecting the wiring to the new fixture, and finally, installing the new trim and bulb. By following these simple steps, anyone can replace their LED recessed lights without the need for professional help or extensive knowledge of electrical work. This guide is a great resource for anyone looking to upgrade their lighting fixtures or make simple improvements to their home.
When it comes to replacing LED recessed lights, safety should always be a top priority. Working with electricity can be dangerous, and it’s important to take the necessary precautions to avoid injury. Before beginning any work, ensure that the power is turned off at the circuit breaker. It’s also essential to wear protective gear such as gloves, safety glasses, and non-slip shoes. When handling the LED recessed light and its components, be gentle and avoid pulling or tugging on wires. By taking the time to follow safety procedures, you can ensure a successful and injury-free LED recessed light replacement.
If you have old LED recessed lights, it’s time to replace them with newer, more energy-efficient models. Not only will this help you save money on your energy bills, but it will also improve the ambiance and functionality of your space. With just five simple steps, you can easily replace your old LED recessed lights and enjoy the benefits of brighter, more efficient lighting. Don’t wait any longer to make the switch – take action now and upgrade your lighting system today!
Conclusion
In conclusion, replacing LED recessed lights can be a simple and straightforward process if you follow the necessary steps. By turning off the power source, removing the old fixture, installing the new one, connecting the wires, and testing the new LED light, you can have your new and improved lighting system up and running in no time. It is important to ensure that you have the right tools and equipment and to take necessary safety precautions before beginning the process. With these simple steps, you can upgrade your lighting system and enhance the ambiance of your space.